Love this? Save it for later!
Share the inspiration with your friends
Last Tuesday, I was fumbling around my cluttered kitchen counter, trying to whip up a quick snack that wouldn’t have me regretting it by mid-afternoon. My neighbor, Maria, watched me struggling to keep my toddler entertained while I wrestled with a store-bought granola bar wrapper. She didn’t say much at first, just smiled, then casually mentioned, “You should try making these chewy homemade granola bars with chocolate chips. They’re easy, and the kids love them.”
I honestly wasn’t expecting much, but Maria handed me a crumpled piece of paper with her recipe scribbled in her neat handwriting. No fuss, no fanfare—just a simple, friendly exchange over the backyard fence. That afternoon, I gave it a shot, and let me tell you, those chewy granola bars quickly became a kitchen staple.
What’s funny is that I forgot to set my timer the first time I baked them, and ended up with slightly crispier edges than planned. But it turned out to be a happy accident—those chewy centers with a hint of crunch on the outside? Magic. Maybe you’ve been there, trying to find that perfect snack that’s both wholesome and satisfying. These granola bars fit that bill every time, and I keep making them because they feel like a little gift from Maria’s kitchen to mine, with a touch of chocolatey goodness that’s impossible to resist.
Why You’ll Love This Recipe
Having tested this recipe multiple times (and yes, sometimes with a toddler underfoot), I can confidently say these chewy homemade granola bars with chocolate chips are a winner for several reasons. Here’s why you’ll want to keep this recipe handy:
- Quick & Easy: Ready in about 30 minutes total, including baking and cooling. Ideal for busy mornings or last-minute snack prep.
- Simple Ingredients: No need for obscure health food store runs. Everything is probably already in your pantry, from rolled oats to chocolate chips.
- Perfect for On-the-Go: These bars are sturdy yet soft, making them a fantastic grab-and-go snack for school lunches, hikes, or work breaks.
- Crowd-Pleaser: Kids, adults, and even picky eaters tend to love these bars. The chocolate chips add just enough sweetness without overpowering the wholesome oats and nuts.
- Unbelievably Delicious: The chewy texture combined with melty chocolate chips creates a comforting, satisfying bite every time.
- Unique Touch: Unlike many granola bars that can be dry or crumbly, this recipe balances chewiness with a slight crisp on the edges, thanks to the perfect combination of honey and brown sugar.
Honestly, this isn’t just another granola bar recipe floating around—it’s the one that makes you close your eyes after the first bite and say, “Yep, this is a keeper.” Whether you’re looking for something wholesome or a treat that doesn’t feel like a compromise, these chewy homemade granola bars with chocolate chips deliver on all fronts.
What Ingredients You Will Need
This recipe uses straightforward, wholesome ingredients to give you that perfect chewy texture and rich flavor without any fuss. Most of these items are pantry staples, and substitutions are easy if needed.
Dry Ingredients
- Old-fashioned rolled oats – 2 cups (about 180g). Choose a good-quality brand like Bob’s Red Mill for the best texture.
- All-purpose flour – ½ cup (60g). Helps bind the bars nicely. For gluten-free, swap with almond flour or oat flour.
- Chopped nuts (optional) – ½ cup (60g), such as walnuts or almonds, for a bit of crunch.
- Chocolate chips – ¾ cup (130g). Semi-sweet or milk chocolate works beautifully here; I like Ghirardelli for melting quality.
- Ground cinnamon – 1 teaspoon, to add warmth and depth.
- Salt – ¼ teaspoon, to balance the sweetness.
Wet Ingredients
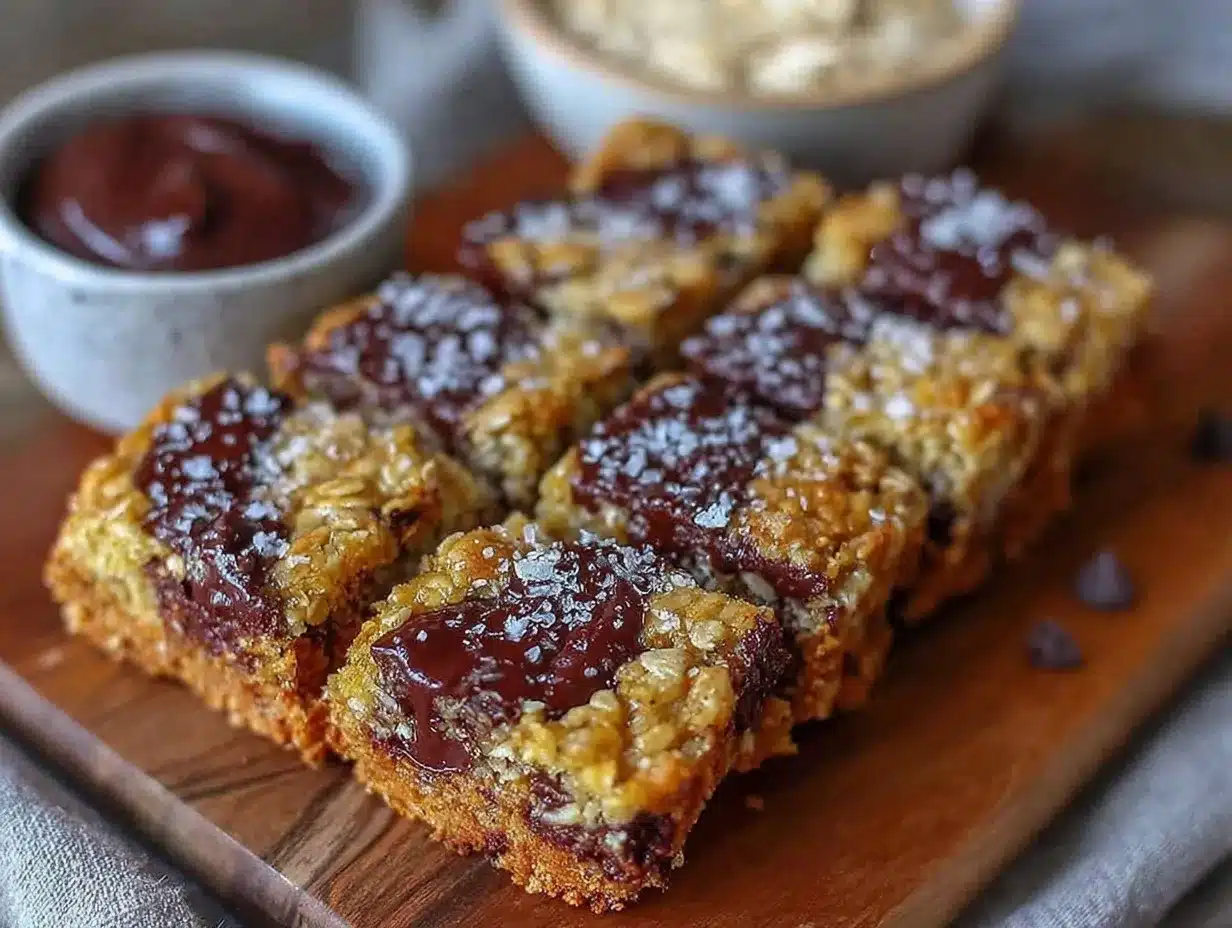
- Unsalted butter – ½ cup (113g), melted. Adds richness and helps with chewiness.
- Honey – ⅓ cup (113g). The natural sweetener that keeps these bars chewy.
- Brown sugar – ¼ cup (50g), packed. For that caramel-like hint.
- Vanilla extract – 1 teaspoon, for aromatic sweetness.
- Large egg – 1, room temperature, to bind everything together.
If you want a dairy-free option, substitute the butter with coconut oil and swap the egg for a flax egg (1 tablespoon flaxseed meal + 3 tablespoons water, mixed and rested for 5 minutes). In summer, fresh berries folded in after baking make a delightful twist, but keep in mind it changes the texture.
Equipment Needed
- 8×8-inch baking pan: Perfect size for these granola bars. You can line it with parchment paper for easy removal.
- Mixing bowls: One large for dry ingredients, one medium for wet ingredients.
- Wooden spoon or silicone spatula: For folding ingredients together without overworking.
- Measuring cups and spoons: Accuracy really helps for texture consistency here.
- Oven: Set at 350°F (175°C) for baking.
For a budget-friendly option, a simple glass baking dish works well too, though metal pans give a slightly crisper edge. I’ve tried silicone pans, but they sometimes make the bars a bit too soft on the edges. Keeping your parchment paper handy is a lifesaver for cleanup!
Preparation Method
- Preheat your oven to 350°F (175°C) and line the 8×8-inch pan with parchment paper, leaving an overhang on the sides for easy lifting later. This step saves you from scrubbing later—trust me.
- Mix the dry ingredients: In a large bowl, combine 2 cups (180g) rolled oats, ½ cup (60g) flour, ½ cup (60g) chopped nuts (if using), ¾ cup (130g) chocolate chips, 1 teaspoon cinnamon, and ¼ teaspoon salt. Stir gently to distribute everything evenly.
- Prepare the wet mixture: In a separate bowl, whisk together the melted ½ cup (113g) unsalted butter, ⅓ cup (113g) honey, ¼ cup (50g) packed brown sugar, 1 teaspoon vanilla extract, and 1 large egg until smooth and glossy. Make sure the butter isn’t too hot or it might cook the egg prematurely.
- Combine wet and dry: Pour the wet ingredients into the dry and fold gently with a spatula until everything is just combined. The mixture will be thick and sticky—that’s exactly right.
- Transfer to pan: Scrape the mixture into your prepared pan. Press firmly and evenly with a spatula or your hands (clean and slightly damp helps) to compact the bars and avoid crumbling later. This step is key for that chewy texture.
- Bake: Place in the oven and bake for 20-22 minutes. The edges should turn golden brown, but the center still looks slightly soft—don’t overbake or the chewiness disappears.
- Cool completely: Let the bars cool in the pan on a wire rack for at least 30 minutes. This can be the hardest part because they smell so good! Cooling solidifies their structure and makes slicing cleaner.
- Slice and enjoy: Use the parchment overhang to lift the slab out of the pan. Cut into 12 bars with a sharp knife. Store in an airtight container at room temperature for up to 5 days.
Pro tip: If your bars seem crumbly, try pressing the mixture a bit more firmly before baking next time. Also, if your chocolate chips sink to the bottom, toss them in a teaspoon of flour before mixing in—they’ll stay evenly distributed!
Cooking Tips & Techniques
Getting chewy homemade granola bars just right can seem tricky, but a few little tricks make a world of difference.
- Don’t skip the cooling time: I’ve learned the hard way that slicing warm bars leads to crumbling. Patience here is rewarded with neat, chewy bars.
- Mix by hand, gently: Over-mixing can make the bars tough. Use a spatula or wooden spoon to fold ingredients just until combined.
- Watch your oven: Oven temperatures vary. Start checking bars at 18 minutes to avoid drying them out. You want a golden edge and soft center.
- Use fresh ingredients: Old oats or rancid nuts can ruin the flavor. I always smell and taste my nuts before adding.
- Press firmly: Compacting the mixture ensures the bars hold together well and gives that satisfying chew.
Honestly, I once tried to speed things up by skipping the parchment lining—and ended up scraping melted chocolate and sticky honey off the pan for ages. Lesson learned! These little details, like parchment and gentle folding, create the difference between a frustrating snack and a treat you’ll crave.
Variations & Adaptations
Making this recipe your own is part of the fun. Here are some ways I’ve switched it up or that you might want to try:
- Nut-free version: Simply omit nuts and add extra oats or pumpkin seeds for crunch.
- Flavor twists: Swap cinnamon for pumpkin pie spice or add a teaspoon of orange zest for a citrusy note.
- Protein boost: Stir in a scoop of your favorite protein powder or sprinkle hemp seeds before baking.
- Seasonal fruits: After baking and cooling, fold in dried cherries, cranberries, or chopped dried apricots for bursts of flavor.
- Different chocolate: Try white chocolate chips or dark chocolate chunks depending on your sweet tooth.
One variation I adore is adding a swirl of natural peanut butter into the wet mix before combining everything. It adds a salty-sweet layer that my kids absolutely beg for. If you’re after a gluten-free snack, swapping the flour for oat flour works perfectly without sacrificing texture.
Serving & Storage Suggestions
These chewy homemade granola bars with chocolate chips are best served at room temperature, making them ideal for packed lunches or a quick afternoon pick-me-up. Pair them with a glass of cold milk or a warm cup of coffee or tea for a satisfying combo.
If you’re serving them at a brunch or snack table, cutting the bars into smaller squares and arranging them on a platter with fresh fruit adds a lovely touch. I once brought these bars to a weekend hike and found they paired wonderfully with tangy Greek yogurt.
For storage, keep bars in an airtight container at room temperature for up to 5 days. If you want to keep them longer, wrap individual bars in plastic wrap and freeze for up to 2 months. Thaw at room temperature before eating. Reheating slightly in the microwave (10-15 seconds) brings back that fresh-from-the-oven softness.
Flavors actually deepen when stored overnight, so making these bars a day ahead is a smart move. Just don’t be surprised if they disappear quickly once everyone gets a taste!
Nutritional Information & Benefits
Each chewy granola bar (assuming 12 bars per batch) provides roughly:
| Nutrient | Per Bar |
|---|---|
| Calories | 180 kcal |
| Protein | 3 g |
| Fat | 8 g |
| Carbohydrates | 24 g |
| Fiber | 3 g |
| Sugar | 12 g |
Thanks to rolled oats and nuts, these bars offer fiber and healthy fats, making them more than just a sweet treat. Honey and brown sugar provide natural sweetness, while the chocolate chips add a little indulgence without going overboard. For those mindful of allergens, note that this recipe contains nuts, dairy (from butter), and eggs. Easily adaptable for dairy-free or gluten-free diets as mentioned earlier.
I often recommend these bars as a wholesome snack alternative for busy days, giving you energy without crashing later. They’re a personal favorite when I need a quick, filling bite between meetings or after a workout.
Conclusion
Chewy homemade granola bars with chocolate chips are one of those rare recipes that feel both comforting and practical. They’re simple enough to pull together on any given day but deliver a satisfying chew and chocolate hit that make you smile. Whether you’re packing snacks for kids, prepping for a hike, or just craving something homemade and wholesome, this recipe won’t let you down.
Feel free to tweak it to match your tastes—add more nuts, swap spices, or try different mix-ins. I love how flexible it is, and honestly, it’s become my go-to when I want a treat that’s a little better than store-bought.
If you try making these chewy homemade granola bars with chocolate chips, I’d love to hear how you customized them or any little tips you picked up. Leave a comment below, share your experience, or pass this recipe along to a friend who needs a reliable snack in their life. Happy baking and snacking!
FAQs
Can I make these granola bars vegan?
Yes! Replace the butter with coconut oil and swap the egg for a flax egg (1 tablespoon flaxseed meal mixed with 3 tablespoons water, rested for 5 minutes).
How do I keep the granola bars chewy and not dry?
Don’t overbake—aim for golden edges with a slightly soft center. Also, pressing the mixture firmly into the pan helps maintain chewiness.
Can I add other mix-ins besides chocolate chips?
Absolutely! Dried fruits, seeds, nut butters, or different types of chocolate all work well. Just adjust quantities to keep the balance.
How long do homemade granola bars last?
Stored in an airtight container at room temperature, they last about 5 days. For longer storage, freeze wrapped bars for up to 2 months.
Is it possible to make these granola bars gluten-free?
Yes! Use certified gluten-free oats and substitute the all-purpose flour with oat flour or almond flour to keep the texture just right.
Pin This Recipe!
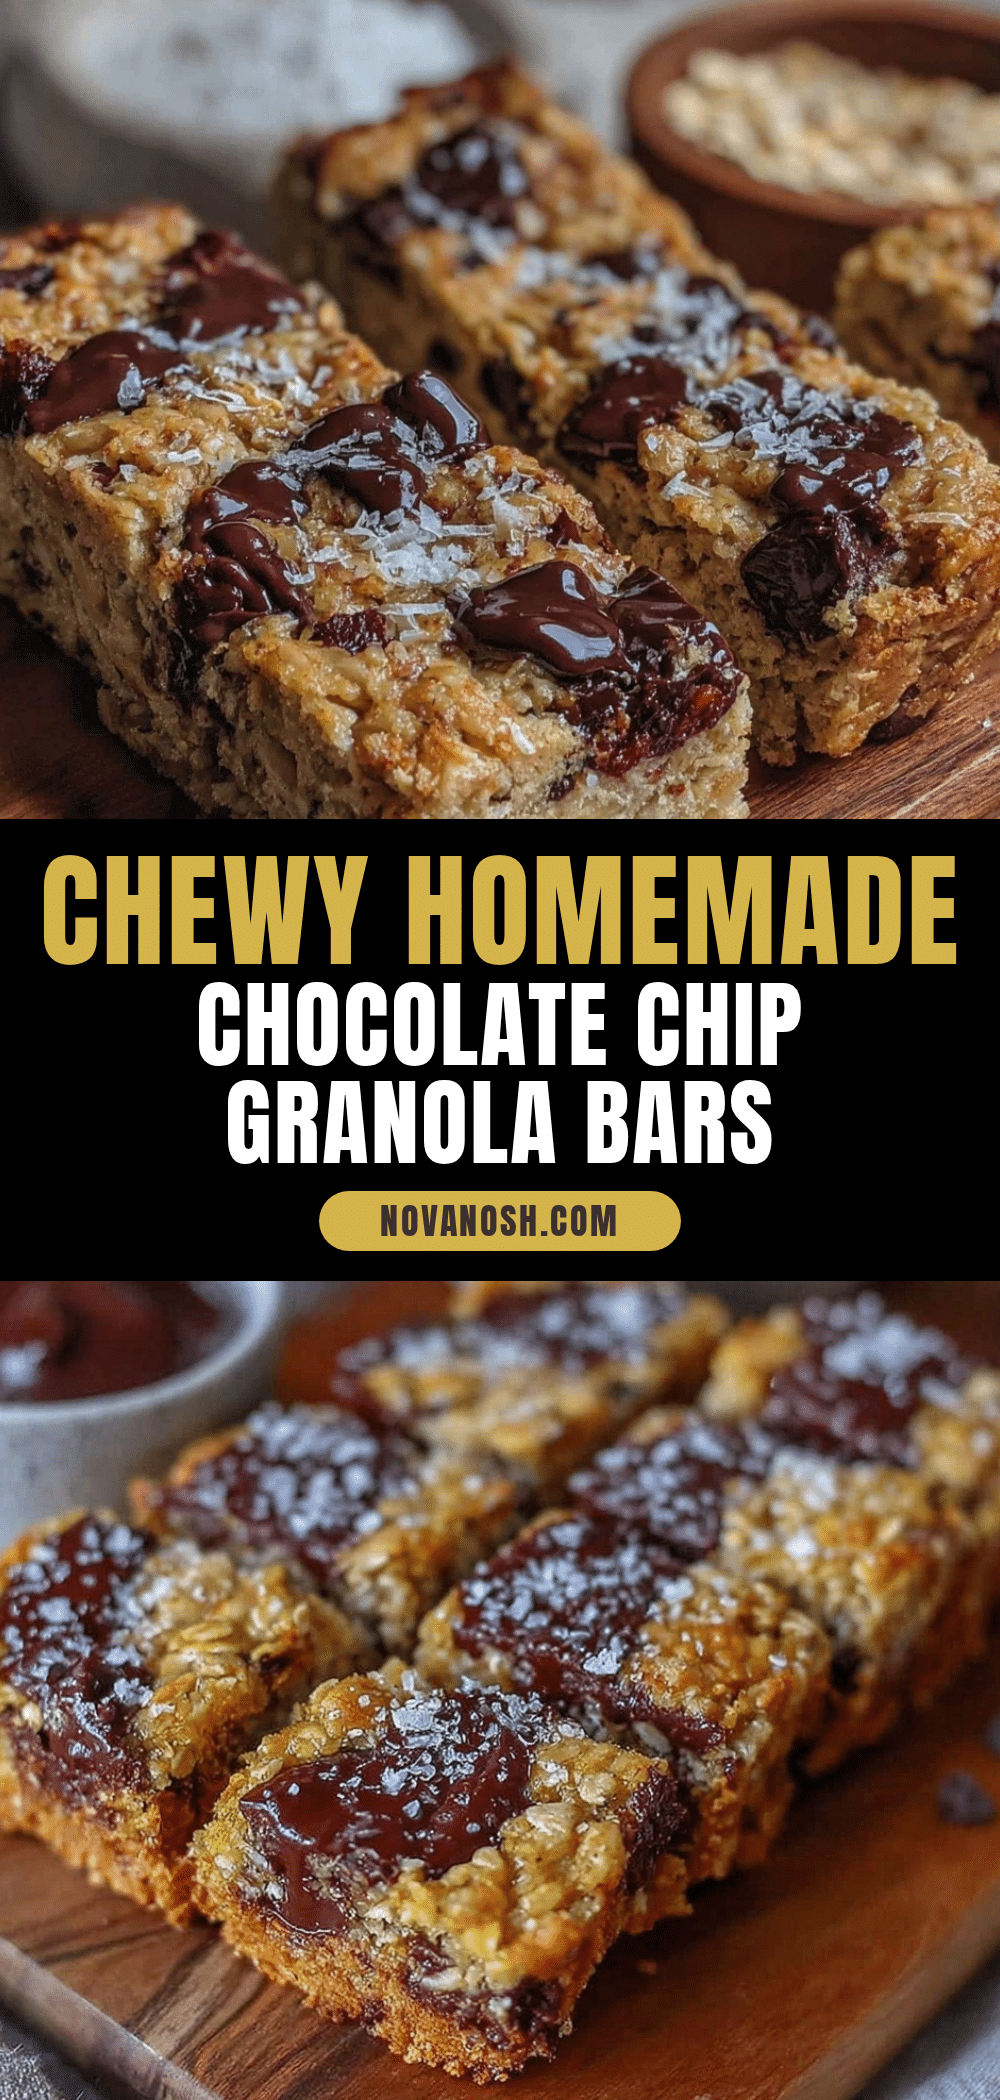
Chewy Homemade Granola Bars with Chocolate Chips
These chewy homemade granola bars with chocolate chips are an easy, wholesome snack perfect for on-the-go. They combine a satisfying chew with melty chocolate and a slight crisp on the edges.
- Prep Time: 10 minutes
- Cook Time: 22 minutes
- Total Time: 32 minutes
- Yield: 12 bars 1x
- Category: Snack
- Cuisine: American
Ingredients
- 2 cups old-fashioned rolled oats (about 180g)
- ½ cup all-purpose flour (60g) – substitute almond or oat flour for gluten-free
- ½ cup chopped nuts (60g), such as walnuts or almonds (optional)
- ¾ cup chocolate chips (130g), semi-sweet or milk chocolate
- 1 teaspoon ground cinnamon
- ¼ teaspoon salt
- ½ cup unsalted butter (113g), melted – substitute coconut oil for dairy-free
- ⅓ cup honey (113g)
- ¼ cup packed brown sugar (50g)
- 1 teaspoon vanilla extract
- 1 large egg, room temperature – substitute flax egg for vegan
Instructions
- Preheat your oven to 350°F (175°C) and line an 8×8-inch baking pan with parchment paper, leaving an overhang for easy removal.
- In a large bowl, combine rolled oats, flour, chopped nuts (if using), chocolate chips, cinnamon, and salt. Stir gently to distribute evenly.
- In a separate bowl, whisk together melted butter, honey, brown sugar, vanilla extract, and egg until smooth and glossy. Ensure butter is not too hot to avoid cooking the egg.
- Pour the wet ingredients into the dry ingredients and fold gently with a spatula until just combined. The mixture will be thick and sticky.
- Scrape the mixture into the prepared pan and press firmly and evenly to compact the bars and avoid crumbling.
- Bake for 20-22 minutes until edges are golden brown but the center remains slightly soft.
- Cool completely in the pan on a wire rack for at least 30 minutes to solidify the structure.
- Use the parchment overhang to lift the slab out of the pan and cut into 12 bars.
- Store in an airtight container at room temperature for up to 5 days.
Notes
Do not overbake to keep bars chewy; press mixture firmly into pan before baking; cool completely before slicing to avoid crumbling; toss chocolate chips in flour if they tend to sink; for dairy-free, substitute butter with coconut oil and egg with flax egg; for gluten-free, use certified gluten-free oats and substitute flour with oat or almond flour.
Nutrition
- Serving Size: 1 bar
- Calories: 180
- Sugar: 12
- Fat: 8
- Carbohydrates: 24
- Fiber: 3
- Protein: 3
Keywords: granola bars, homemade granola bars, chewy granola bars, chocolate chip granola bars, healthy snacks, easy snacks, kid-friendly snacks


