Love this? Save it for later!
Share the inspiration with your friends
Last Tuesday, while I was fumbling through the kitchen trying to pack a quick snack for my kid’s school day, my neighbor watched me silently for a while. Then she casually mentioned, “You know, these energy balls I make for my kids always disappear before lunchtime.” She didn’t lay down a recipe or make a big deal out of it—just a friendly share between two busy parents juggling mornings. That little moment turned into my go-to secret for school snacks: Easy No-Bake Chocolate Peanut Butter Energy Balls.
Honestly, I was skeptical at first. No baking? Chocolate and peanut butter that don’t get messy or ruin lunchboxes? But let me tell you, the way these energy balls come together—rich, chewy, just the right sweetness—makes them perfect for kids (and adults too). I remember the first batch I made; I forgot to pack them in a container and ended up with sticky palms and crumbs all over my counter. Classic me. But they disappeared so fast that day, I knew this recipe was a keeper.
Maybe you’ve been there—trying to find snacks that balance taste, health, and convenience without turning your kitchen upside down. This recipe landed in my life not as a formal lesson but as a natural exchange between neighbors. And that’s why I keep making these energy balls: they’re simple, forgiving, and bring a little joy to hectic school mornings.
Why You’ll Love This Recipe
After testing this recipe more times than I can count, here’s why it stands out and why it might just become your snack-time hero too:
- Quick & Easy: Ready in under 15 minutes—no oven, no hassle, just mix and roll.
- Simple Ingredients: Uses pantry staples like peanut butter, oats, and cocoa powder. You probably have everything on hand.
- Perfect for School Snacks: Portable, mess-free, and kid-approved—ideal for lunchboxes or after-school energy boosts.
- Crowd-Pleaser: My little one’s classmates always ask for seconds, and I’ve lost count of how many parents have asked for the recipe.
- Unbelievably Delicious: The texture is chewy with a hint of chocolate that pairs perfectly with peanut butter’s richness.
This isn’t just another energy ball recipe. What makes it special is the balance—the cocoa powder adds just enough chocolate flavor without overpowering, and the oats bring a hearty chew. Plus, there’s a little touch of honey for natural sweetness that keeps things just right. I’ve seen other recipes that can feel dry or crumbly, but this one stays together beautifully. You might even find yourself making a batch for your own mid-afternoon pick-me-up.
What Ingredients You Will Need
This recipe uses simple, wholesome ingredients to deliver bold flavor and satisfying texture without the fuss. They’re all easy to find and great for keeping your pantry stocked for quick snack fixes.
- Rolled oats (1 ½ cups / 135g) – The chewy base that holds everything together. I prefer old-fashioned oats for texture.
- Natural peanut butter (1 cup / 250g) – Creamy or crunchy works, but creamy gives a smoother energy ball.
- Cocoa powder (¼ cup / 25g) – Unsweetened, for that rich chocolate flavor without added sugar.
- Honey (¼ cup / 85g) – Acts as a natural sweetener and binder; you can swap for maple syrup for a vegan option.
- Vanilla extract (1 teaspoon) – Adds warmth and depth to the flavor.
- Chia seeds (2 tablespoons) – Optional but recommended for a nutritional boost and extra texture.
- Mini chocolate chips (¼ cup / 45g) – Optional, but trust me, they add a fun surprise bite (I like Enjoy Life brand for allergen-friendly options).
- Salt (a pinch) – Balances the sweetness and enhances the chocolate and peanut butter flavors.
For substitutions, if you have a peanut allergy, almond or sunflower seed butter works just as well. Also, if you want to make these gluten-free, just double-check your oats are certified gluten-free. In summer, I sometimes swap mini chocolate chips for dried cranberries for a tart twist.
Equipment Needed
- Mixing bowl: A large bowl for combining all ingredients. I usually use a 4-quart bowl—it’s roomy enough to avoid spills.
- Measuring cups and spoons: For accurate ingredient amounts (precision helps with the texture).
- Spoon or spatula: For stirring the mixture. A silicone spatula works great for scraping the sides clean.
- Baking sheet or tray: To place the rolled balls before chilling. Lined with parchment paper for easy cleanup.
- Refrigerator: To chill the balls so they firm up nicely. No special equipment needed here, thankfully.
If you want to get fancy, a small cookie scoop can help keep the energy balls uniform, but using your hands is just fine (and kind of fun). I once tried mixing these by hand in a tiny bowl and made a mess, so a bigger bowl is definitely worth the effort. For budget-friendly kitchens, these tools are standard and don’t require any special investment.
Preparation Method
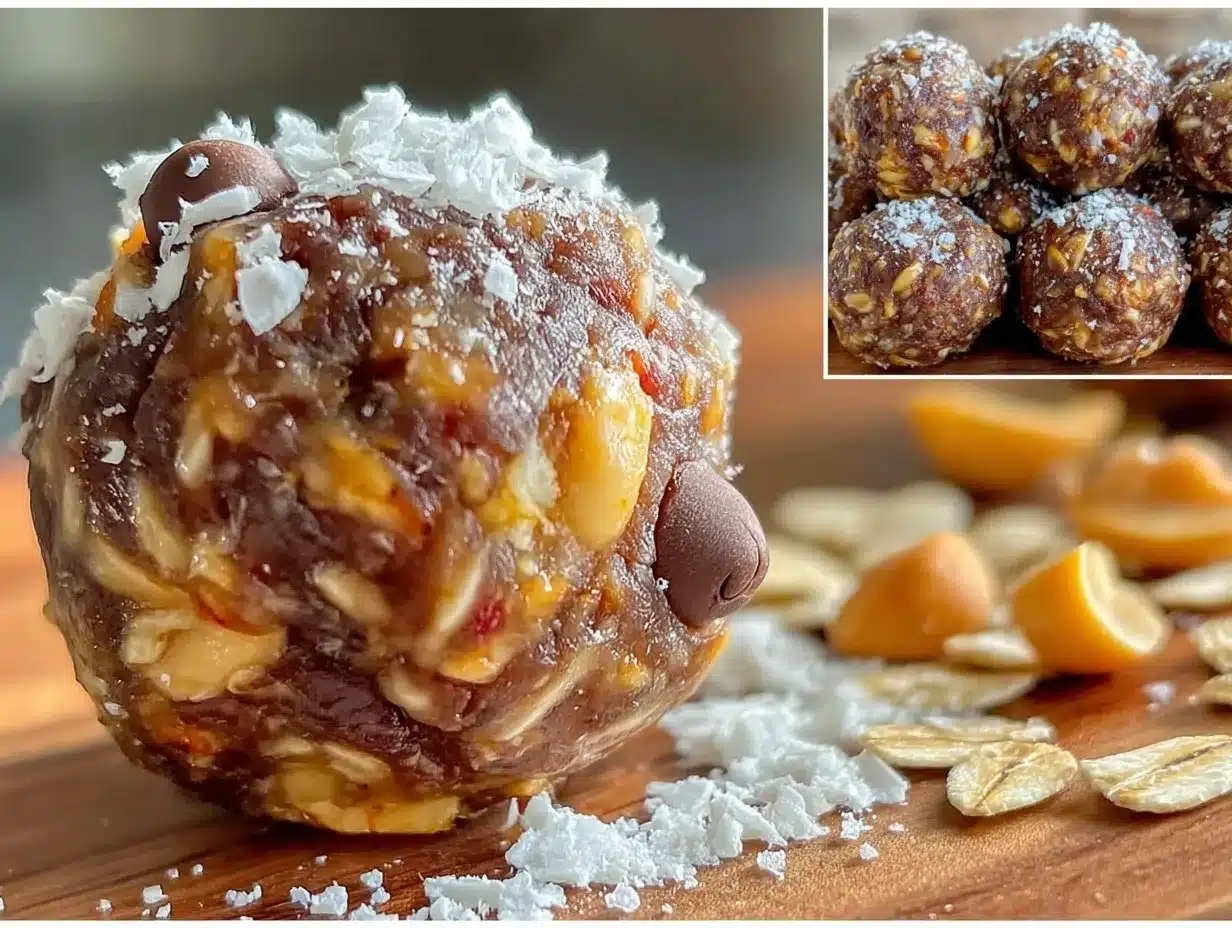
- Combine dry ingredients: In your large mixing bowl, add 1 ½ cups (135g) of rolled oats, ¼ cup (25g) unsweetened cocoa powder, 2 tablespoons of chia seeds (if using), and a pinch of salt. Stir gently to blend everything evenly. This step takes about 2 minutes. It’s important to mix well here so the cocoa powder doesn’t clump later.
- Add wet ingredients: Pour in 1 cup (250g) of natural peanut butter, ¼ cup (85g) honey, and 1 teaspoon vanilla extract. Use a spatula to fold these into the dry mix. It gets sticky fast, so patience helps. This step usually takes 3 to 4 minutes. If the mixture feels too dry, add a teaspoon of water or more honey one at a time until it holds together.
- Mix in chocolate chips: Gently fold in ¼ cup (45g) mini chocolate chips for that surprise burst of sweetness. If you want to skip this, dried fruit or chopped nuts are great alternatives. This takes about 30 seconds.
- Shape the balls: Use your hands or a small cookie scoop to form the mixture into 1-inch (2.5 cm) balls. Roll them firmly so they hold together but aren’t compressed too hard. You should get about 18-20 balls. This part takes around 10 minutes, and honestly, it’s a great way to keep little helpers entertained.
- Chill: Place the balls on a parchment-lined baking sheet and refrigerate for at least 30 minutes. This firms them up and makes them easier to pack. You can store them in an airtight container after chilling.
Pro tip: If you forget to chill them, the energy balls can be a bit sticky and soft, which is fine if you’re eating right away but tricky for lunchboxes. I once skipped this step on a rushed morning and learned the hard way when peanut butter smeared all over the bag. Lesson learned!
Cooking Tips & Techniques
When making these energy balls, a few tips can make your life easier and your snacks tastier:
- Use natural peanut butter: It has less sugar and oil separation, which helps the balls set better. Stir it before measuring if the oil has separated.
- Don’t overmix: Stir until ingredients just come together. Overworking the mixture can make the texture tough instead of chewy.
- If mixture is crumbly: Add honey or a splash of milk (dairy or plant-based) one teaspoon at a time until it sticks.
- Keep hands slightly damp: When rolling balls, wet hands prevent sticking and make shaping easier.
- Store properly: Airtight containers in the fridge keep them fresh for up to a week. For longer storage, freeze and thaw as needed.
I remember the first time I tried making these with crunchy peanut butter and forgot the honey entirely. Not my proudest moment—the energy balls were dry and crumbly! Since then, I never skip the sweetener and always keep a little extra honey handy for adjustments. Also, multitasking is key—while they chill, I prep lunchboxes or tidy the kitchen, making mornings feel less chaotic.
Variations & Adaptations
You can easily customize these energy balls to fit different tastes or dietary needs:
- Nut-Free Version: Swap peanut butter for sunflower seed butter and use allergen-friendly chocolate chips.
- Seasonal Flavors: Add citrus zest (orange or lemon) for a fresh twist or mix in pumpkin pie spice in fall.
- Protein Boost: Stir in a scoop of your favorite protein powder or add hemp seeds for extra nutrition.
- Sweetener Swap: Use maple syrup or agave nectar instead of honey for vegan-friendly options.
- Different Mix-Ins: Try shredded coconut, chopped nuts, or dried cherries instead of chocolate chips for variety.
One variation I love is adding a sprinkle of espresso powder to the mix—it gives a subtle mocha flavor that’s surprisingly delightful. I once made a batch with almond butter and dried cranberries for a friend allergic to peanuts, and they disappeared just as fast. So don’t hesitate to experiment with what you have in your pantry!
Serving & Storage Suggestions
These energy balls are best served chilled or at room temperature. They hold their shape well, making them perfect for packing in school lunches or taking on the go.
Pair them with a cold glass of milk or a cup of herbal tea for a balanced snack break. They also complement fresh fruit nicely if you want a little variety on the side.
For storage, keep them in an airtight container in the refrigerator for up to one week. They freeze beautifully too—just pop them in a freezer-safe container, and thaw at room temperature for 10-15 minutes before serving. Over time, the flavors meld and deepen, so leftovers can taste even better the next day.
Nutritional Information & Benefits
Each energy ball (assuming 20 balls total) roughly contains:
| Nutrient | Amount per Ball |
|---|---|
| Calories | 90-100 kcal |
| Protein | 3g |
| Fat | 6g (mostly healthy fats from peanut butter) |
| Carbohydrates | 9g (includes fiber and natural sugars) |
| Fiber | 2g |
Peanut butter provides heart-healthy fats and protein, while oats add fiber and slow-release energy. Chia seeds (if used) boost omega-3 fatty acids and antioxidants. This snack fits well into gluten-free and vegetarian diets (just check your oats). Just a heads-up if you have nut allergies or sensitivities.
Conclusion
In the end, these Easy No-Bake Chocolate Peanut Butter Energy Balls are more than just snacks—they’re a simple way to bring a little comfort and energy to busy school days. I love how adaptable they are, and honestly, how they bring a smile when handed to a hungry kid or enjoyed myself during a hectic afternoon. You can tweak the flavors and ingredients to fit what you’ve got or what your family loves.
Give this recipe a try, and please share how your batch turns out or any fun variations you create. It’s a small joy in the kitchen that makes a big difference in the day. Here’s to less stress and tastier school lunches!
FAQs
- Can I make these energy balls ahead of time?
- Absolutely! They store well in the fridge for up to one week and freeze nicely for up to three months.
- What if my mixture is too sticky to roll?
- Try chilling the mixture for 10-15 minutes before rolling or lightly wet your hands to prevent sticking.
- Can I use a different nut butter?
- Yes, almond, cashew, or sunflower seed butter are great alternatives depending on your preference or allergies.
- Are these energy balls suitable for kids with allergies?
- They contain nuts and oats, so for allergies, swap nut butter with seed butter and use gluten-free oats if needed.
- Do these energy balls have to be refrigerated?
- Refrigeration helps them firm up and keeps them fresh, but if eating soon after making, room temperature is fine.
Pin This Recipe!
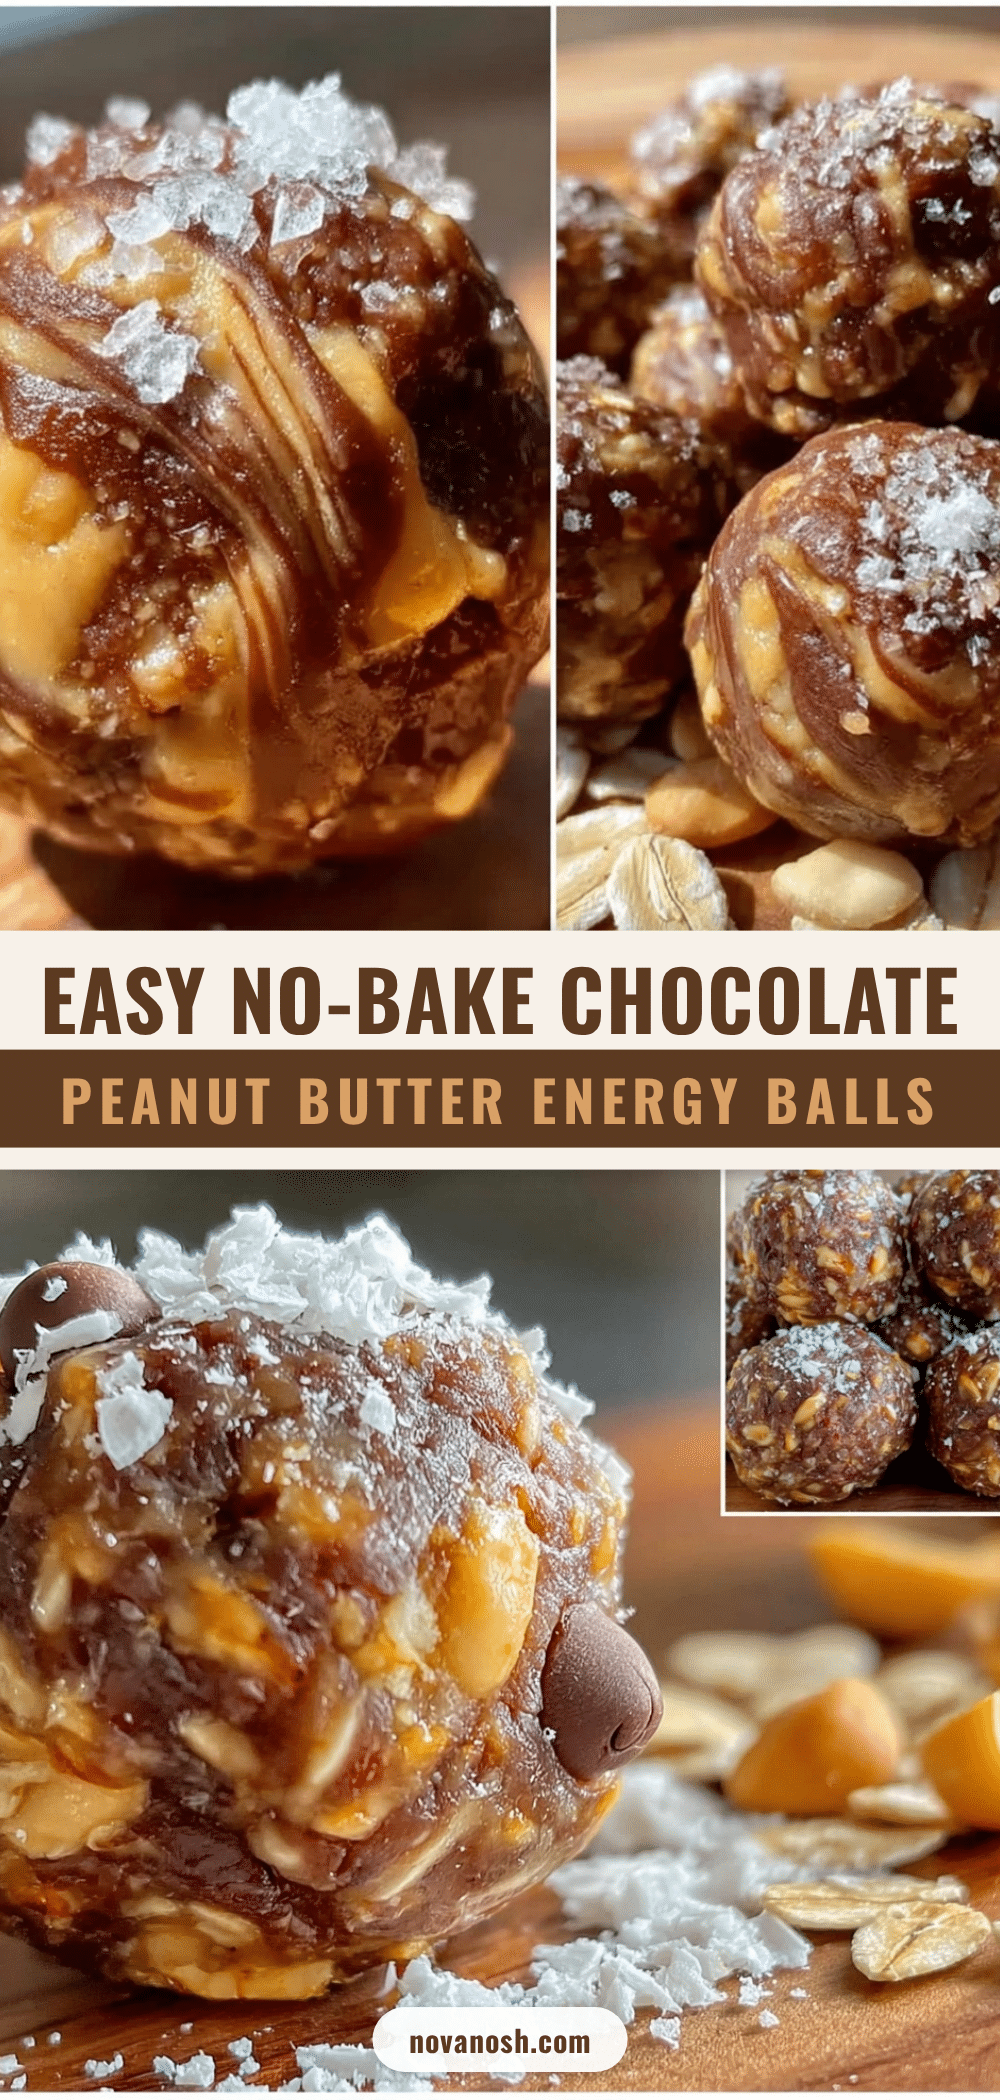
Easy No-Bake Chocolate Peanut Butter Energy Balls

These no-bake energy balls combine chocolate and peanut butter into a chewy, sweet, and portable snack perfect for school lunches or quick energy boosts.
- Prep Time: 10 minutes
- Cook Time: 0 minutes
- Total Time: 40 minutes
- Yield: 18-20 balls 1x
- Category: Snack
- Cuisine: American
Ingredients
- 1 ½ cups (135g) rolled oats (old-fashioned preferred)
- 1 cup (250g) natural peanut butter (creamy or crunchy)
- ¼ cup (25g) unsweetened cocoa powder
- ¼ cup (85g) honey (or maple syrup for vegan option)
- 1 teaspoon vanilla extract
- 2 tablespoons chia seeds (optional)
- ¼ cup (45g) mini chocolate chips (optional)
- Pinch of salt
Instructions
- Combine dry ingredients: In a large mixing bowl, add rolled oats, cocoa powder, chia seeds (if using), and salt. Stir gently to blend evenly.
- Add wet ingredients: Pour in peanut butter, honey, and vanilla extract. Fold into the dry mix using a spatula until combined. If mixture is too dry, add water or more honey one teaspoon at a time.
- Mix in chocolate chips: Gently fold in mini chocolate chips or substitute with dried fruit or chopped nuts.
- Shape the balls: Use hands or a small cookie scoop to form 1-inch balls. Roll firmly but not too hard. Yield is about 18-20 balls.
- Chill: Place balls on a parchment-lined baking sheet and refrigerate for at least 30 minutes to firm up. Store in an airtight container in the fridge.
Notes
Use natural peanut butter for best texture. If mixture is crumbly, add honey or a splash of milk. Keep hands slightly damp when rolling to prevent sticking. Store in airtight container in fridge up to one week or freeze up to three months. Variations include nut-free seed butter, protein powder addition, or seasonal spices.
Nutrition
- Serving Size: 1 energy ball
- Calories: 90100
- Fat: 6
- Carbohydrates: 9
- Fiber: 2
- Protein: 3
Keywords: no-bake, energy balls, peanut butter, chocolate, school snacks, healthy snack, quick snack, kid-friendly


