Love this? Save it for later!
Share the inspiration with your friends
The fire alarm went off at 9:47 PM. I’d just thrown a random pile of ingredients into my dorm’s communal kitchen pot—chicken thighs from the campus market, rice I’d bought in bulk, and some sad-looking garlic. My roommate’s mom had sent a care package with paprika, and honestly, I was desperate. The dining hall had served mystery meatloaf again, and I couldn’t stomach another night of instant noodles.
I stood there, stirring frantically, while the smoke detector blinked red above me. A sophomore from down the hall poked her head in. “You okay?” she asked, eyeing the pot like it might explode. I laughed nervously and told her I was just trying to make something that didn’t taste like cardboard. She shrugged and left, probably assuming I’d burn the place down.
But here’s the thing—that chaotic, thrown-together mess turned into the best thing I’d eaten all semester. The rice soaked up all the chicken juices, the paprika gave it this warm, smoky color, and it was all done in one pot. No extra pans to wash in that sketchy dorm sink. I ate it straight from the pot, standing up, and felt like a culinary genius. Maybe you’ve been there—staring at a sad kitchen, craving real food, and thinking it’s impossible. It’s not. This easy one-pot chicken and rice is proof.
Why You’ll Love This Recipe
Let me tell you why this dish became my go-to, even after I graduated and got a real kitchen. It’s not fancy, but it works every single time.
- Quick & Easy: Comes together in under 45 minutes, start to finish. Perfect for those nights when you have a paper due and a grumbling stomach.
- Simple Ingredients: You probably already have most of this stuff in your pantry. No weird spices or hard-to-find items.
- Perfect for Dorm Life: All you need is a hot plate or a communal stove. No oven required, no blender, no food processor.
- Crowd-Pleaser: I’ve made this for study groups and random hangouts. It always gets devoured, even by picky eaters.
- Unbelievably Delicious: The rice gets fluffy, the chicken stays juicy, and the whole thing has this comforting, home-cooked vibe that dorm food desperately needs.
What makes this different from other chicken and rice recipes? It’s the technique. You sear the chicken first to build flavor, then cook everything in the same pot. The rice absorbs all that goodness, so you get maximum taste with minimum cleanup. It’s comfort food that doesn’t require a full kitchen—just a pot, a spoon, and a little bit of hope.
What Ingredients You Will Need
This recipe uses simple, everyday ingredients to create something genuinely satisfying. Nothing fancy, nothing expensive—just smart combinations.
- For the Chicken:
- 2 boneless, skinless chicken breasts (about 1 lb total), cut into bite-sized pieces
- 1 tablespoon olive oil (for searing)
- 1 teaspoon salt
- ½ teaspoon black pepper
- 1 teaspoon paprika (smoked or sweet, whichever you have)
- For the Rice Base:
- 1 cup long-grain white rice (I use jasmine or basmati for fluffiness)
- 2 cups chicken broth (or water with a bouillon cube—dorm hack!)
- 1 small onion, diced (about ½ cup)
- 2 cloves garlic, minced
- 1 tablespoon butter or margarine (optional, but adds richness)
- Optional Add-ins:
- ½ cup frozen peas (adds color and sweetness)
- 1 carrot, diced (for extra veggies)
- A squeeze of lemon juice (brightens everything up)
I recommend using chicken broth over water for the best flavor. If you’re in a dorm and can’t get broth, just dissolve a bouillon cube in hot water—it works perfectly. For the rice, avoid instant rice if you can; it gets mushy. Regular long-grain rice gives you those nice, separate grains.
Equipment Needed
You don’t need much for this recipe, which is the whole point. Here’s what you’ll want:
- A large pot or deep skillet with a lid (4-5 quart capacity is ideal). If you don’t have a lid, foil works in a pinch.
- A wooden spoon or spatula for stirring. Metal spoons can scratch non-stick pots.
- A cutting board and knife for chopping the onion and garlic.
- A measuring cup for the rice and broth. A coffee mug works if you know its volume.
- Optional but helpful: A colander if you rinse your rice, though you can skip this step.
I’ve made this in a cheap non-stick pot from a discount store, and it turned out great. Don’t stress if your equipment isn’t fancy. The key is having a lid to trap steam so the rice cooks properly.
Preparation Method
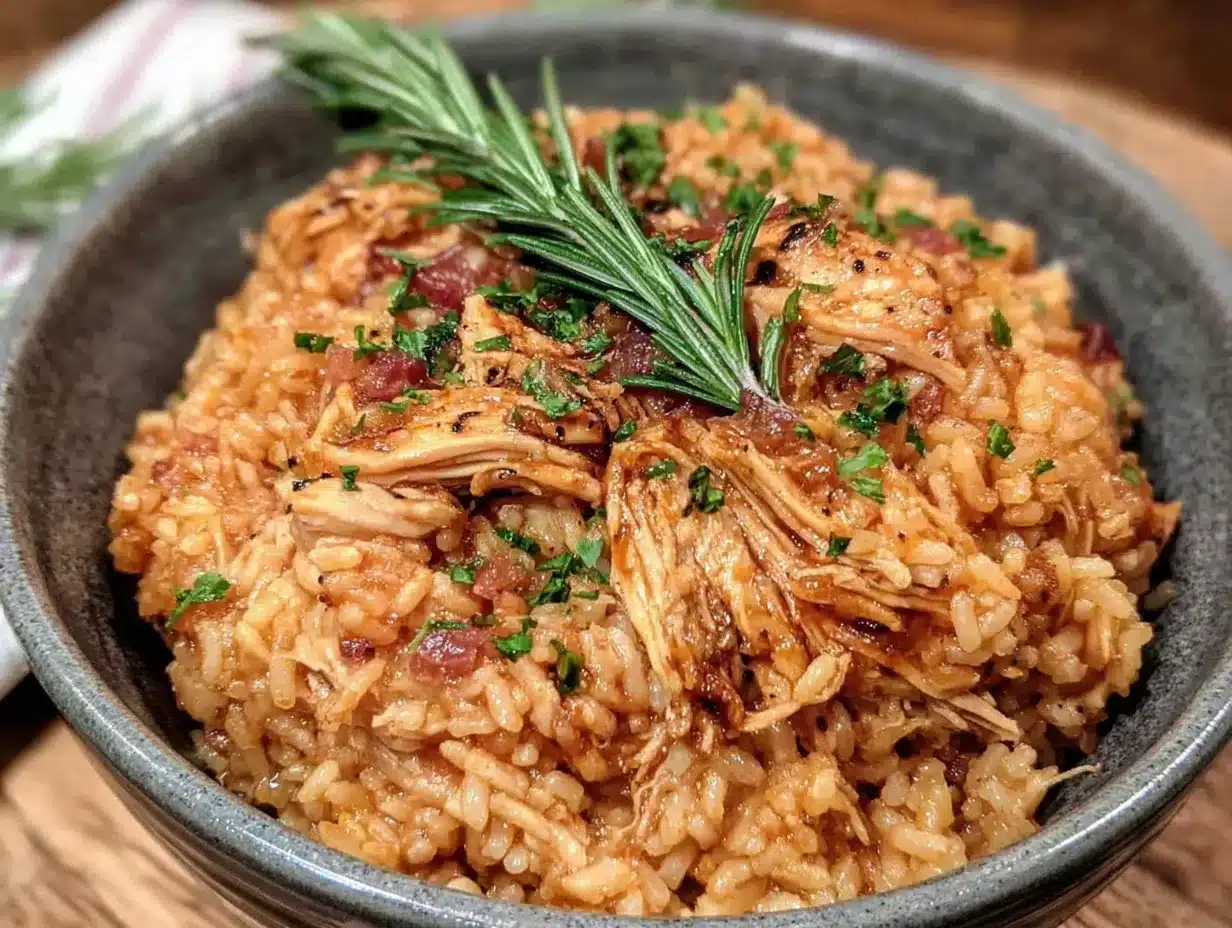
Follow these steps, and you’ll have a delicious meal without any kitchen disasters. Trust me, I’ve tested this dozens of times.
- Prep your ingredients first. Dice the onion, mince the garlic, and cut the chicken into bite-sized pieces. Having everything ready keeps you from burning anything while you scramble for the next ingredient.
- Heat the oil in your pot over medium-high heat. You want it shimmering but not smoking. Add the chicken pieces in a single layer—don’t crowd them. Let them cook for 4-5 minutes without moving them, so they get a nice golden crust. Flip and cook another 3-4 minutes. The chicken should be browned but not fully cooked through.
- Remove the chicken from the pot and set it aside on a plate. Don’t worry if it’s not done—it’ll finish cooking with the rice.
- Lower the heat to medium and add the butter (if using). Toss in the diced onion and cook for 2-3 minutes until it’s soft and translucent. Add the minced garlic and cook for 30 seconds more—garlic burns fast, so keep stirring.
- Add the rice to the pot and stir it around for about a minute. This toasts the grains slightly, which gives them a nuttier flavor. You’ll smell it when it’s ready.
- Pour in the chicken broth (or water with bouillon). Scrape the bottom of the pot with your spoon to loosen any browned bits—that’s flavor gold. Add the salt, pepper, and paprika. Stir everything together.
- Return the chicken to the pot, nestling it into the rice. Bring the liquid to a boil, then reduce the heat to low. Cover the pot with a tight-fitting lid.
- Let it simmer for 18-20 minutes. Do NOT lift the lid during this time—I know it’s tempting, but the steam is what cooks the rice. Set a timer and walk away.
- After 20 minutes, turn off the heat and let the pot sit, still covered, for another 5 minutes. This lets the rice absorb any remaining liquid and fluff up.
- Remove the lid and fluff the rice with a fork. Add the frozen peas now if you’re using them—the residual heat will warm them through. Give everything a gentle stir. Taste and adjust salt or pepper if needed.
The rice should be tender and fluffy, not mushy or crunchy. If it’s still a bit firm, add a splash of broth and cook covered for another 3-4 minutes. If it’s too wet, remove the lid and let it sit on low heat for a few minutes to evaporate excess moisture.
Cooking Tips & Techniques
I’ve made every mistake possible with this recipe, so you don’t have to. Here’s what I learned the hard way.
- Don’t skip the sear. I once tried to save time by just dumping raw chicken into the rice. It was edible, but it lacked that deep, savory flavor. The browning is where the magic happens.
- Resist the urge to stir. Once you add the rice and broth and put the lid on, leave it alone. Stirring releases starch and makes the rice gummy. I learned this after making a pot of sad, gluey rice.
- Use low heat. If your heat is too high, the liquid will evaporate before the rice is cooked, and you’ll end up with burnt rice and undercooked grains. Low and slow is the way.
- Check your rice-to-liquid ratio. Different rices absorb different amounts. I use 1 cup rice to 2 cups liquid for long-grain white rice. If you’re using brown rice, you’ll need more liquid and longer cooking time.
- Season generously. Rice needs salt to taste good. I use 1 teaspoon for this recipe, but you can adjust based on your broth’s saltiness.
One time, I forgot to add the paprika until the very end. I stirred it in, and while it didn’t look as pretty, it still tasted fine. So don’t panic if you mess up a step—this recipe is forgiving.
Variations & Adaptations
This recipe is a blank canvas. Here are some ways I’ve changed it up when I wanted something different.
- Spicy Version: Add ½ teaspoon of cayenne pepper or red pepper flakes along with the paprika. I did this during finals week for a little extra kick.
- Veggie-Packed: Throw in a diced bell pepper with the onion, or add a handful of spinach at the end. It’s an easy way to get more vegetables without extra effort.
- Budget-Friendly: Use chicken thighs instead of breasts—they’re cheaper and stay juicier. You can also swap the chicken for canned chickpeas if you’re out of meat.
- Creamy Version: Stir in ¼ cup of heavy cream or coconut milk at the end for a richer, creamier texture. I did this once when I wanted comfort food on a cold night.
- Herb Infusion: Add a sprig of thyme or rosemary during the simmering step. Remove it before serving. It adds a subtle, aromatic flavor that feels fancy.
My personal favorite variation is adding a squeeze of lemon juice and some fresh parsley at the end. It brightens everything up and makes it taste like a restaurant dish. Try it—you’ll see what I mean.
Serving & Storage Suggestions
This dish is best served hot, straight from the pot. But here’s how to handle leftovers and make the most of it.
- Serving Temperature: Serve immediately while the rice is fluffy and the chicken is hot. If you let it sit too long, the rice will continue to absorb moisture and get softer.
- Presentation: Spoon it into bowls and top with fresh herbs or a sprinkle of paprika for color. A side of steamed veggies or a simple salad rounds out the meal.
- Storage: Let the leftovers cool completely, then transfer to an airtight container. It will keep in the refrigerator for up to 4 days. The flavors actually meld together overnight, so day-old leftovers taste even better.
- Reheating: The best way to reheat is in a skillet with a splash of water or broth over medium heat. Cover and let it steam for 3-4 minutes. Microwaving works too, but add a damp paper towel to keep the rice from drying out.
- Freezing: This freezes well for up to 3 months. Portion it into freezer-safe bags or containers. Thaw overnight in the fridge and reheat as usual.
I’ve eaten this cold straight from the fridge at 2 AM during study sessions. It’s still good. No judgment here.
Nutritional Information & Benefits
Here’s a rough estimate per serving (based on 4 servings, without optional add-ins):
- Calories: ~420
- Protein: 32g
- Carbohydrates: 45g
- Fat: 12g
- Fiber: 2g
This meal is a solid source of lean protein from the chicken, which helps with muscle repair and keeps you full. The rice provides energy for those long study sessions. If you add peas or carrots, you’ll get extra fiber and vitamins. It’s not a health food, but it’s a balanced, satisfying meal that won’t leave you reaching for snacks an hour later.
For those with dietary concerns: this recipe is naturally gluten-free (check your broth). To make it dairy-free, skip the butter or use a plant-based alternative. It’s also relatively low in added sugars and processed ingredients.
Conclusion
This easy one-pot chicken and rice saved my college experience—okay, maybe that’s dramatic, but it definitely saved my taste buds. It’s proof that you don’t need a fancy kitchen, expensive ingredients, or culinary training to make something genuinely delicious. You just need one pot, a little patience, and the willingness to try.
I still make this recipe today, years after leaving the dorm. It reminds me of those chaotic, late-night cooking sessions and the simple joy of eating something you made yourself. I hope it becomes a staple in your kitchen too, whether you’re a student on a budget or just someone who wants a no-fuss dinner.
Try it, tweak it, make it your own. And when you do, come back and tell me how it turned out. I’d love to hear your variations or answer any questions. Happy cooking!
Frequently Asked Questions
Can I use brown rice instead of white rice?
Yes, but you’ll need to adjust the liquid and cooking time. Use 2 ½ cups of broth for 1 cup of brown rice, and simmer for 40-45 minutes instead of 20. The method is the same, but brown rice takes longer to absorb liquid and become tender.
What if I don’t have chicken broth?
No problem. Use water mixed with a bouillon cube or granules. If you have none of that, just use water and add an extra ½ teaspoon of salt and a pinch of garlic powder to boost the flavor. It won’t be as rich, but it’ll still taste good.
Can I make this in a rice cooker?
Absolutely. Sear the chicken in a skillet first, then transfer everything to your rice cooker. Use the same ratios of rice to liquid. Cook on the regular white rice setting. It’s even easier and requires less attention.
How do I prevent the rice from burning on the bottom?
Make sure your heat is on low during the simmering step. If your pot is thin or has hot spots, you can place a heat diffuser under it. Also, don’t lift the lid too often—each time you do, you release steam and mess up the cooking process.
Can I use frozen chicken?
I don’t recommend it. Frozen chicken releases too much water, which can make the rice mushy and prevent proper browning. Thaw the chicken completely in the fridge overnight before cooking. If you’re in a hurry, you can use a quick-thaw method in cold water.
Pin This Recipe!
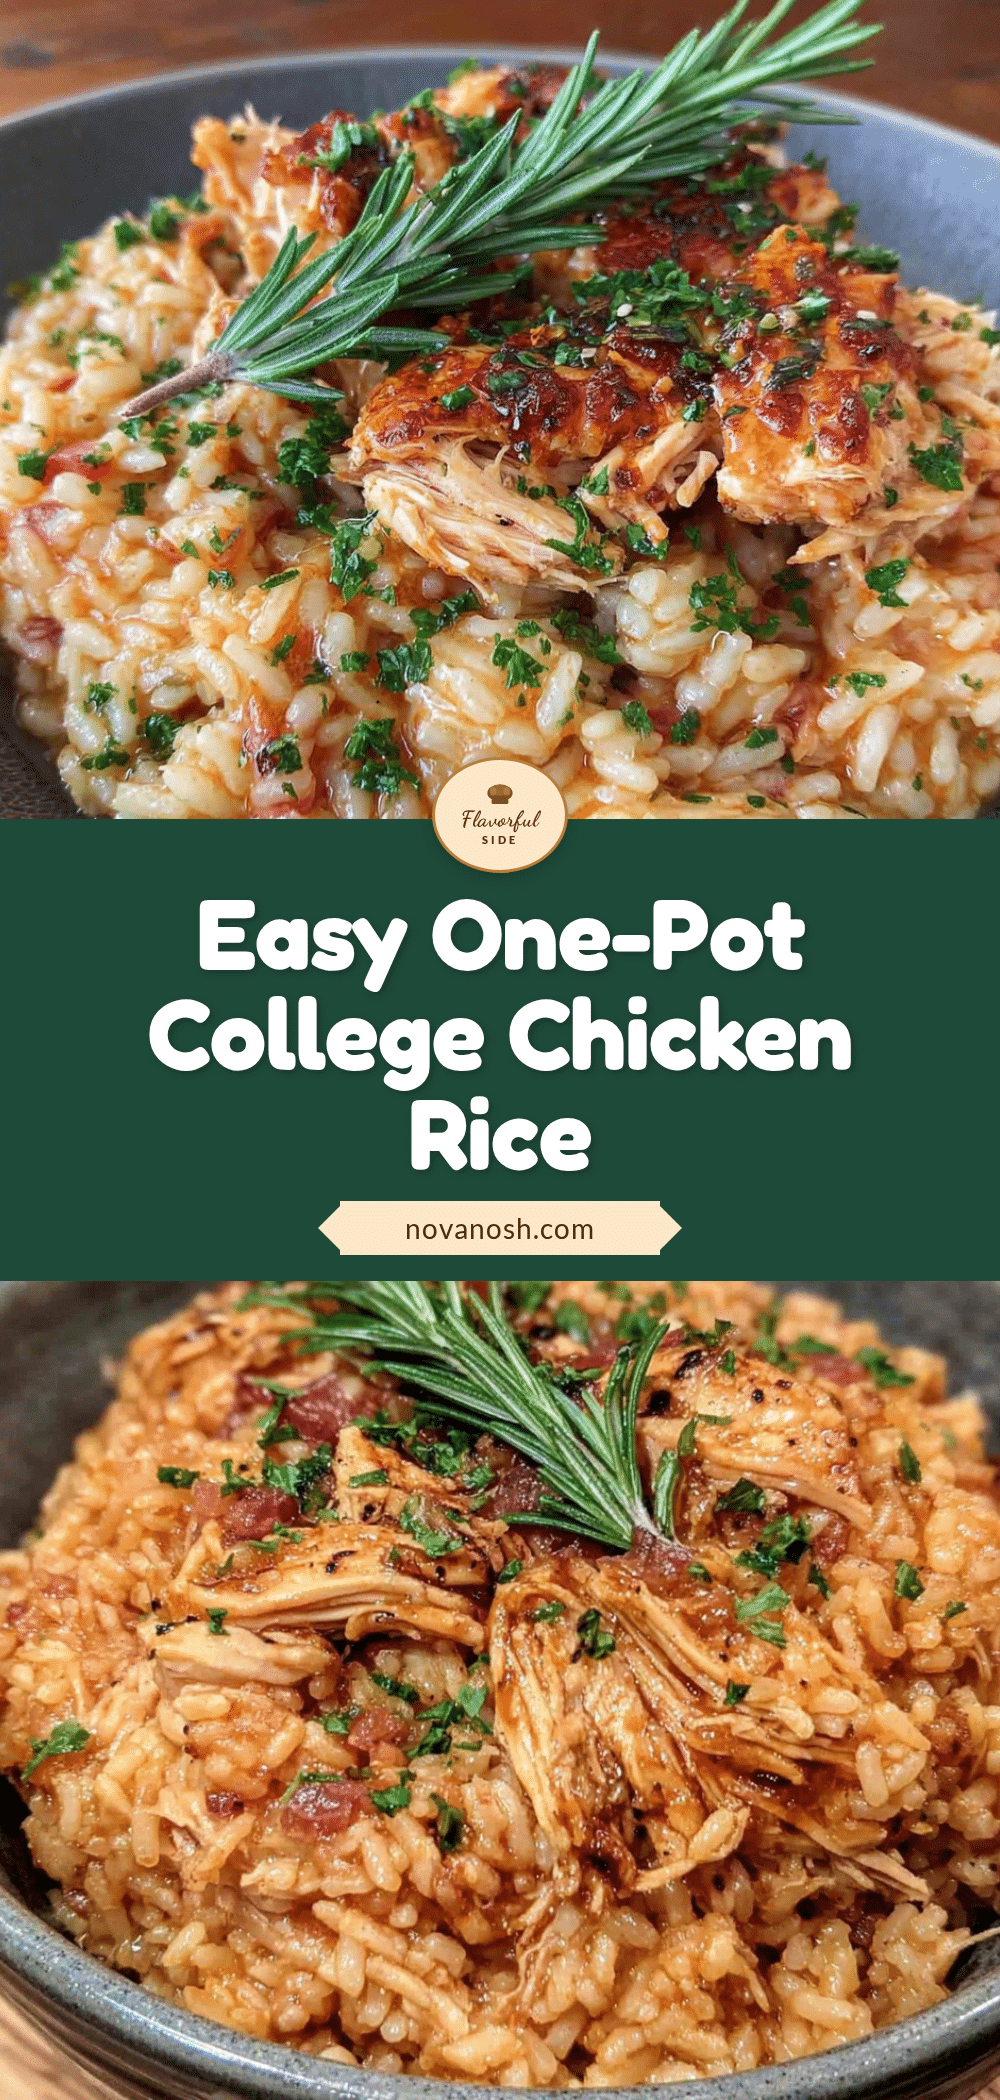
Easy One-Pot Chicken and Rice: Best College Dorm Dinner

A simple, one-pot chicken and rice recipe perfect for dorm life or busy weeknights. Made with basic ingredients and minimal equipment, it delivers a comforting, home-cooked meal in under 45 minutes.
- Prep Time: 10 minutes
- Cook Time: 30 minutes
- Total Time: 40 minutes
- Yield: 4 servings 1x
- Category: Main Course
- Cuisine: American
Ingredients
- 2 boneless, skinless chicken breasts (about 1 lb total), cut into bite-sized pieces
- 1 tablespoon olive oil
- 1 teaspoon salt
- ½ teaspoon black pepper
- 1 teaspoon paprika (smoked or sweet)
- 1 cup long-grain white rice (jasmine or basmati)
- 2 cups chicken broth (or water with a bouillon cube)
- 1 small onion, diced (about ½ cup)
- 2 cloves garlic, minced
- 1 tablespoon butter or margarine (optional)
- ½ cup frozen peas (optional)
- 1 carrot, diced (optional)
- A squeeze of lemon juice (optional)
Instructions
- Prep your ingredients first. Dice the onion, mince the garlic, and cut the chicken into bite-sized pieces.
- Heat the oil in your pot over medium-high heat until shimmering. Add the chicken pieces in a single layer and cook for 4-5 minutes without moving them, until golden. Flip and cook another 3-4 minutes. The chicken should be browned but not fully cooked through.
- Remove the chicken from the pot and set it aside on a plate.
- Lower the heat to medium and add the butter (if using). Add the diced onion and cook for 2-3 minutes until soft and translucent. Add the minced garlic and cook for 30 seconds more, stirring constantly.
- Add the rice to the pot and stir for about 1 minute to toast the grains slightly.
- Pour in the chicken broth (or water with bouillon). Scrape the bottom of the pot to loosen any browned bits. Add the salt, pepper, and paprika. Stir everything together.
- Return the chicken to the pot, nestling it into the rice. Bring the liquid to a boil, then reduce the heat to low. Cover the pot with a tight-fitting lid.
- Let it simmer for 18-20 minutes. Do NOT lift the lid during this time.
- After 20 minutes, turn off the heat and let the pot sit, still covered, for another 5 minutes.
- Remove the lid and fluff the rice with a fork. Add the frozen peas now if using. Give everything a gentle stir. Taste and adjust salt or pepper if needed.
Notes
Don’t skip searing the chicken for best flavor. Resist the urge to stir once the lid is on. Use low heat during simmering. For brown rice, use 2 ½ cups broth and cook 40-45 minutes. Leftovers keep in the fridge for up to 4 days and freeze for up to 3 months.
Nutrition
- Serving Size: 1 serving (about 1.5
- Calories: 420
- Sugar: 2
- Sodium: 800
- Fat: 12
- Saturated Fat: 3
- Carbohydrates: 45
- Fiber: 2
- Protein: 32
Keywords: one-pot chicken and rice, easy chicken and rice, dorm dinner, college meal, quick dinner, one-pot meal


