Love this? Save it for later!
Share the inspiration with your friends
I was elbow-deep in a pile of tax receipts last April, a truly soul-sucking activity, when my phone buzzed. It was a text from my neighbor, a retired plumber named Sal who I’d only ever seen tending to his immaculate rose bushes. The message read: “Got your sourdough starter from the wife. Made this bread. You need the recipe. It’s a game-changer.” I blinked at the screen. Sal, the quiet, no-nonsense guy who fixed my garbage disposal, was texting me about baking? I honestly thought it was a typo. But there it was, a photo of the most beautiful, domed loaf of pumpkin bread I had ever seen, sitting on his well-worn workbench next to a pipe wrench. It felt completely surreal, you know? The idea that the secret to the perfect fall bake was hiding in a plumber’s toolbox.
He dropped off the recipe, scribbled on a greasy napkin, later that evening. It was for an easy sourdough discard pumpkin bread, and I have to admit, I was skeptical. I mean, I love my sourdough discard, but usually it goes into crackers or pancakes. Pumpkin bread is a classic, a dense, sweet loaf that feels like a hug. Combining the two seemed risky. But Sal insisted, and honestly, who argues with a man who can fix a leaky pipe and bake a perfect loaf? So, I tried it that weekend. The result was nothing short of a revelation. It was the most tender, perfectly spiced, and moist pumpkin bread I’d ever made, with a subtle, complex tang from the discard that you just don’t get from a box mix. It was the kind of bread that makes you close your eyes after the first bite.
Maybe you’ve been there—staring at a jar of sourdough discard in your fridge, unsure what to do with it, or maybe you just want a pumpkin bread that’s a little bit special. This is it. This easy sourdough discard pumpkin bread has become my go-to, not just for the incredible flavor, but for the story behind it. It’s a reminder that the best recipes often come from the most unexpected places. And let me tell you, every time I make it, I think of Sal and his roses. This recipe stayed with me because it proves that baking, much like plumbing, is all about the perfect balance of ingredients.
Why You’ll Love This Recipe
This isn’t just another pumpkin bread recipe. After testing Sal’s original version and tweaking it over a dozen times, I can confidently say this is the best version I’ve ever made. It combines the comfort of a classic fall favorite with the unique benefits of your sourdough starter. It’s a recipe that feels both familiar and excitingly new.
- Uses Up Sourdough Discard: This is the perfect way to use up that unfed starter languishing in your fridge. No more waste, just delicious bread!
- Incredibly Moist & Tender: The sourdough discard adds a fantastic tenderness that you just can’t get from other recipes. It creates a soft, almost velvety crumb.
- Perfectly Spiced: The warm flavors of cinnamon, nutmeg, ginger, and cloves are perfectly balanced, complementing the pumpkin without overpowering it.
- Simple Ingredients: You likely have everything you need in your pantry right now. No fancy flours or hard-to-find extracts.
- Easy to Make: One bowl, a whisk, and a loaf pan. That’s it. It comes together in under 15 minutes of active prep time.
- Freezer-Friendly: This bread freezes like a dream. Make a double batch and save one for a rainy day.
What makes this recipe different from the rest is the subtle, complex tang the sourdough discard provides. It doesn’t scream “sourdough,” but it adds a depth of flavor that elevates the pumpkin and spices in a way that plain flour and oil just can’t. It’s comfort food reimagined—a little bit healthier, a lot more flavorful, and with the same soul-soothing satisfaction. It’s the kind of bread that makes you feel like a genius baker, even if you’re just starting out.
What Ingredients You Will Need
This recipe relies on simple, pantry-friendly ingredients to create a loaf that is far greater than the sum of its parts. The magic truly happens when the tangy discard meets the sweet, earthy pumpkin. Here’s what you’ll need to gather.
- For the Dry Ingredients:
- All-purpose flour (1 ¾ cups / 220g): Provides the structure. Spoon and level it for the most accurate measurement. I’ve had great results with King Arthur Flour.
- Baking soda (1 teaspoon): The primary leavening agent, working with the acid in the sourdough and pumpkin to help the bread rise.
- Ground cinnamon (1 ½ teaspoons): The backbone of the spice blend. Use a fresh jar for the best flavor.
- Ground nutmeg (½ teaspoon): Adds warmth and a slightly sweet, aromatic note.
- Ground ginger (½ teaspoon): Provides a gentle, peppery heat that brightens the other spices.
- Ground cloves (¼ teaspoon): A little goes a long way. It adds a deep, almost floral warmth.
- Salt (½ teaspoon): Enhances all the other flavors and balances the sweetness.
- For the Wet Ingredients:
- Pumpkin purée (1 cup / 245g): Make sure it’s 100% pumpkin purée, not pumpkin pie filling. Libby’s is my go-to brand for consistent results.
- Granulated sugar (1 cup / 200g): Provides sweetness and helps create a tender crumb.
- Brown sugar (½ cup / 100g, packed): Adds moisture and a deeper, caramel-like sweetness. Light or dark brown sugar works well.
- Vegetable oil (½ cup / 120ml): Keeps the bread incredibly moist. You can substitute with melted coconut oil or a neutral avocado oil.
- Large eggs (2): Bind everything together and add richness. Let them come to room temperature for the best emulsion.
- Sourdough discard (1 cup / 240g): Use unfed, straight-from-the-fridge discard. It doesn’t need to be active or bubbly for this recipe to work its magic.
- Vanilla extract (1 teaspoon): Rounds out the flavors beautifully. Use pure vanilla extract if you have it.
Ingredient Selection Tip: For the best texture, make sure your sourdough discard isn’t super watery. If it has a layer of dark liquid (hooch) on top, just stir it back in or pour it off. Both will work fine. If you want a dairy-free version, you can also use a flax egg (1 tablespoon flaxseed meal + 3 tablespoons water, per egg) instead of chicken eggs.
Equipment Needed
You don’t need a baker’s kitchen to make this bread. The equipment list is short and sweet, which is one of the reasons I love this recipe so much.
- 9×5-inch Loaf Pan: The standard size for this recipe. A metal or glass pan works well. If you use a dark, non-stick pan, you may need to reduce the baking time by 5-10 minutes as it conducts heat more efficiently.
- Large Mixing Bowls (2): One for dry ingredients and one for wet. I prefer glass or stainless steel.
- Whisk: For combining both the dry and wet ingredients smoothly.
- Rubber Spatula: Essential for scraping down the sides of the bowl and folding the batter together without overmixing.
- Measuring Cups and Spoons: For precise measurements. A kitchen scale is a game-changer for baking, but standard cups work perfectly fine.
- Cooling Rack: Allows the bread to cool evenly, preventing a soggy bottom. I once used a wire rack from a toaster oven in a pinch, and it worked great!
- Parchment Paper (optional but recommended): Lining the pan makes lifting the loaf out a breeze. Just leave a little overhang on the sides.
A budget-friendly tip: You can often find a perfectly good loaf pan and mixing bowls at a thrift store. That’s where I got my favorite heavy-duty glass bowl for less than two dollars!
Preparation Method
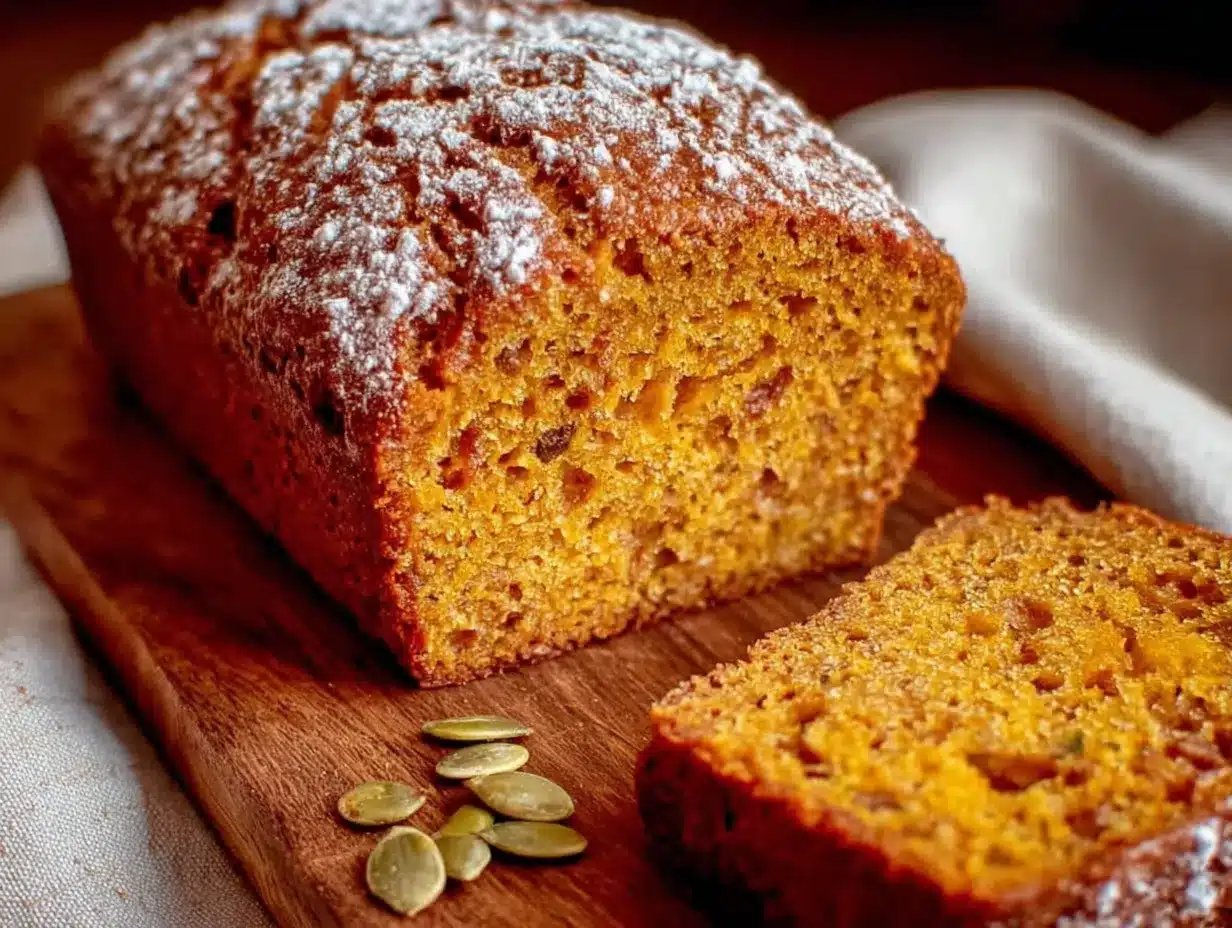
Let’s get baking! This process is incredibly straightforward. We’ll go step-by-step to ensure your easy sourdough discard pumpkin bread turns out perfectly every single time.
- Preheat and Prep (5 minutes): First, preheat your oven to 350°F (175°C). While it’s heating up, grease your 9×5-inch loaf pan with butter or non-stick spray. If you’re using parchment paper, cut a strip to fit the bottom and long sides, letting it hang over the edges by about an inch. This will act as a sling later.
- Whisk the Dry Ingredients (3 minutes): In a large bowl, whisk together the all-purpose flour, baking soda, cinnamon, nutmeg, ginger, cloves, and salt. Whisking for a good 20-30 seconds aerates the flour and ensures the spices and leavener are evenly distributed. This is a small step that makes a big difference.
- Mix the Wet Ingredients (5 minutes): In a separate, large bowl, combine the pumpkin purée, granulated sugar, and brown sugar. Whisk until smooth and the sugars have mostly dissolved into the pumpkin. Then, add the vegetable oil, eggs, sourdough discard, and vanilla extract. Whisk vigorously until everything is completely combined and you have a smooth, glossy, orange batter. It should smell amazing already.
- Combine Wet and Dry (3 minutes): Pour the dry ingredients into the bowl with the wet ingredients. Using your rubber spatula, fold the mixture together. Use a gentle “cut and fold” motion—scrape down the side of the bowl, cut through the batter, and fold it over itself. Stop mixing as soon as you no longer see any streaks of flour. A few small lumps are perfectly fine. Overmixing at this stage will develop the gluten and make your bread tough.
- Bake the Bread (55-65 minutes): Pour the batter into your prepared loaf pan and spread it into an even layer. Gently tap the pan on the counter a few times to release any large air bubbles. Place the pan in the center of the preheated oven and bake for 55-65 minutes. The bread is done when a wooden skewer or toothpick inserted into the center comes out clean or with just a few moist crumbs attached. If the top is browning too quickly after 40 minutes, tent the pan loosely with a piece of aluminum foil.
- Cool Completely (2 hours): This is the hardest part! Remove the pan from the oven and place it on a cooling rack. Let the bread cool in the pan for 15-20 minutes. Then, use the parchment paper sling to lift the loaf out of the pan and transfer it directly to the cooling rack. Let it cool completely, at least 2 hours, before slicing. I know it’s tempting, but slicing it warm will result in a gummy, crumbly mess. Patience is a virtue here!
Personal Tip: I always set a timer for 50 minutes, then start checking every 3-5 minutes after that. Oven temperatures can vary, and the difference between a perfectly moist loaf and a dry one is just a few minutes.
Cooking Tips & Techniques
Over the many times I’ve made this bread (and a few times I’ve messed it up), I’ve learned a few things that can help guarantee your success. Here are my best tips for nailing this easy sourdough discard pumpkin bread.
- Don’t Overmix the Batter: This is the number one mistake. Once you add the flour to the wet ingredients, the gluten starts to develop. If you beat it too much, you’ll end up with a tough, dense, and tunneled loaf. Mix just until the flour disappears. A few lumps are your friend.
- Let Your Ingredients Come to Room Temperature: Cold eggs or sourdough discard can seize the batter, making it lumpy and harder to mix evenly. Room temperature ingredients emulsify better, creating a smoother, more cohesive batter and a more tender crumb. Take them out of the fridge about 30 minutes before you start.
- Use a Kitchen Scale for Flour: The “spoon and level” method is good, but a kitchen scale is foolproof. Too much flour is the most common reason for dry baked goods. If you don’t have a scale, fluff your flour with a spoon, spoon it into your measuring cup, and level it off with a knife. Never scoop directly from the bag.
- Check for Doneness with a Thermometer: If you want to be absolutely sure your bread is done, use an instant-read thermometer. The internal temperature of a perfectly baked loaf of quick bread should be around 200-205°F (93-96°C) when inserted into the center.
- My Biggest Failure: The first time I made this, I was in a hurry and used an active, bubbly starter instead of discard. The bread rose beautifully in the oven, then sank dramatically in the middle as it cooled, creating a dense, gummy crater. The lesson? Use unfed discard! The acidity is what reacts with the baking soda for the perfect rise.
Variations & Adaptations
This recipe is a fantastic canvas for your own creativity. Don’t be afraid to make it your own. Here are a few of my favorite variations that I’ve tried and loved.
- Chocolate Chip Pumpkin Bread: Fold 1 cup of semi-sweet or dark chocolate chips into the batter right before pouring it into the pan. The warm, melty chocolate is a perfect counterpoint to the spiced pumpkin. This is my husband’s absolute favorite version.
- Gluten-Free Adaptation: Substitute the all-purpose flour with a good quality 1:1 gluten-free baking flour blend that contains xanthan gum (like Bob’s Red Mill or King Arthur). The texture will be slightly more tender and a bit more crumbly, but it’s still incredibly delicious. You may need to add an extra 2-3 minutes to the baking time.
- Vegan Pumpkin Bread: Replace the two eggs with flax eggs (2 tablespoons flaxseed meal + 6 tablespoons water, let sit for 5 minutes to gel). Use a neutral vegetable oil instead of butter, and ensure your sugar is vegan. The texture will be a bit denser, but the flavor is still fantastic.
- Nutty & Seedy: Add ½ cup of toasted, chopped pecans or walnuts along with 2 tablespoons of pumpkin seeds on top of the batter before baking. The crunch adds a wonderful textural contrast to the soft crumb.
- Spice It Up: For a bolder flavor, add ½ teaspoon of cardamom or a pinch of black pepper to the spice mix. I tried a version with a teaspoon of fresh, grated ginger once, and it was absolutely divine—bright and zingy.
Serving & Storage Suggestions
This bread is incredibly versatile. It’s perfect for breakfast, a midday snack, or even a simple dessert. Here’s how to serve it and keep it fresh.
- Serving: This bread is delicious at room temperature. For an extra-special treat, toast a thick slice and slather it with salted butter or a schmear of cream cheese. It’s also amazing served warm with a dollop of Greek yogurt and a drizzle of honey. A slice alongside a hot cup of coffee or a chai latte is pure fall perfection.
- Storage: Store the completely cooled bread tightly wrapped in plastic wrap or in an airtight container at room temperature. It will stay moist and delicious for up to 4 days. The flavors actually meld and deepen after a day, making it even better on day two!
- Freezing Instructions: This bread freezes beautifully. For a whole loaf, let it cool completely, then wrap it tightly in a layer of plastic wrap, followed by a layer of aluminum foil. It will keep in the freezer for up to 3 months. To thaw, simply let it sit on the counter overnight, still wrapped. You can also slice the bread before freezing, wrap individual slices, and grab one whenever you need a quick treat. It thaws in about 15 minutes at room temperature.
- Reheating: The best way to reheat a slice is in a toaster or toaster oven for a few minutes until it’s warm and the edges are just slightly crisp. You can also microwave a slice for about 15-20 seconds, but it won’t have the same crispy exterior.
Nutritional Information & Benefits
While this is definitely a treat, it does have some redeeming qualities! Here’s a rough estimate of the nutritional information per slice (based on 12 slices). Please note that these are estimates and can vary based on specific ingredients used.
| Nutrient | Amount Per Slice |
|---|---|
| Calories | ~280 |
| Fat | 12g |
| Carbohydrates | 40g |
| Fiber | 2g |
| Sugar | 22g |
| Protein | 5g |
Pumpkin is a fantastic source of Vitamin A and fiber, which is great for eye health and digestion. The sourdough fermentation process can also make the bread easier to digest for some people compared to traditional quick breads. To make it a bit healthier, you can reduce the sugar to 1 cup total (using ½ cup granulated and ½ cup brown) and substitute half of the oil with unsweetened applesauce. It’s still delicious! Be mindful that this recipe contains gluten and eggs, making it unsuitable for those with celiac disease or egg allergies without the substitutions mentioned above.
Conclusion
This easy sourdough discard pumpkin bread is more than just a recipe; it’s a solution to two common kitchen dilemmas—what to do with that leftover sourdough discard and how to make a truly spectacular pumpkin bread. It’s a testament to the fact that the best things in life often come from the most unexpected places, like a plumber’s text message. The tangy discard adds a depth of flavor you won’t find anywhere else, and the incredibly moist, tender crumb will have everyone asking for the recipe.
I truly hope you give this a try and make it your own. Don’t be afraid to toss in some chocolate chips or a handful of nuts. Baking should be fun and personal! I absolutely love hearing how my recipes turn out in your kitchens, so please leave a comment below and let me know what you think. Did you try a fun variation? Share a photo of your beautiful loaf on Pinterest and tag me—I can’t wait to see your creations! Happy baking, friends!
Frequently Asked Questions
Can I use active sourdough starter instead of discard?
I wouldn’t recommend it. Active, bubbly starter is at its peak and will cause the bread to rise too quickly and then collapse in the middle as it cools. Unfed discard is perfectly acidic and works with the baking soda for a stable, even rise. This recipe is specifically designed for discard.
My pumpkin bread is very dense. What went wrong?
This is usually caused by overmixing the batter after adding the flour. Mixing develops gluten, which makes the bread tough and dense. It could also be from using too much flour. Remember to spoon and level your flour or use a kitchen scale for the most accurate measurement.
Can I make this into muffins instead of a loaf?
Absolutely! This batter works wonderfully for muffins. Grease a 12-cup muffin tin or line with paper liners. Fill the cups about ¾ full. Bake at 350°F (175°C) for 18-22 minutes, or until a toothpick inserted into the center of a muffin comes out clean. This is a great option for a grab-and-go breakfast.
How do I know when the bread is fully baked?
The best test is the toothpick test. Insert a wooden skewer or toothpick into the very center of the loaf. If it comes out clean or with just a few moist crumbs attached, it’s done. You can also use an instant-read thermometer; the internal temperature should be around 200-205°F (93-96°C).
Can I add a streusel topping to this bread?
Yes, and it’s delicious! To make a simple streusel, combine ¼ cup all-purpose flour, ¼ cup brown sugar, ¼ cup rolled oats, and ½ teaspoon cinnamon. Cut in 3 tablespoons of cold butter until the mixture resembles coarse crumbs. Sprinkle this over the batter in the pan right before baking. It adds a wonderful crunchy, buttery topping.
Pin This Recipe!
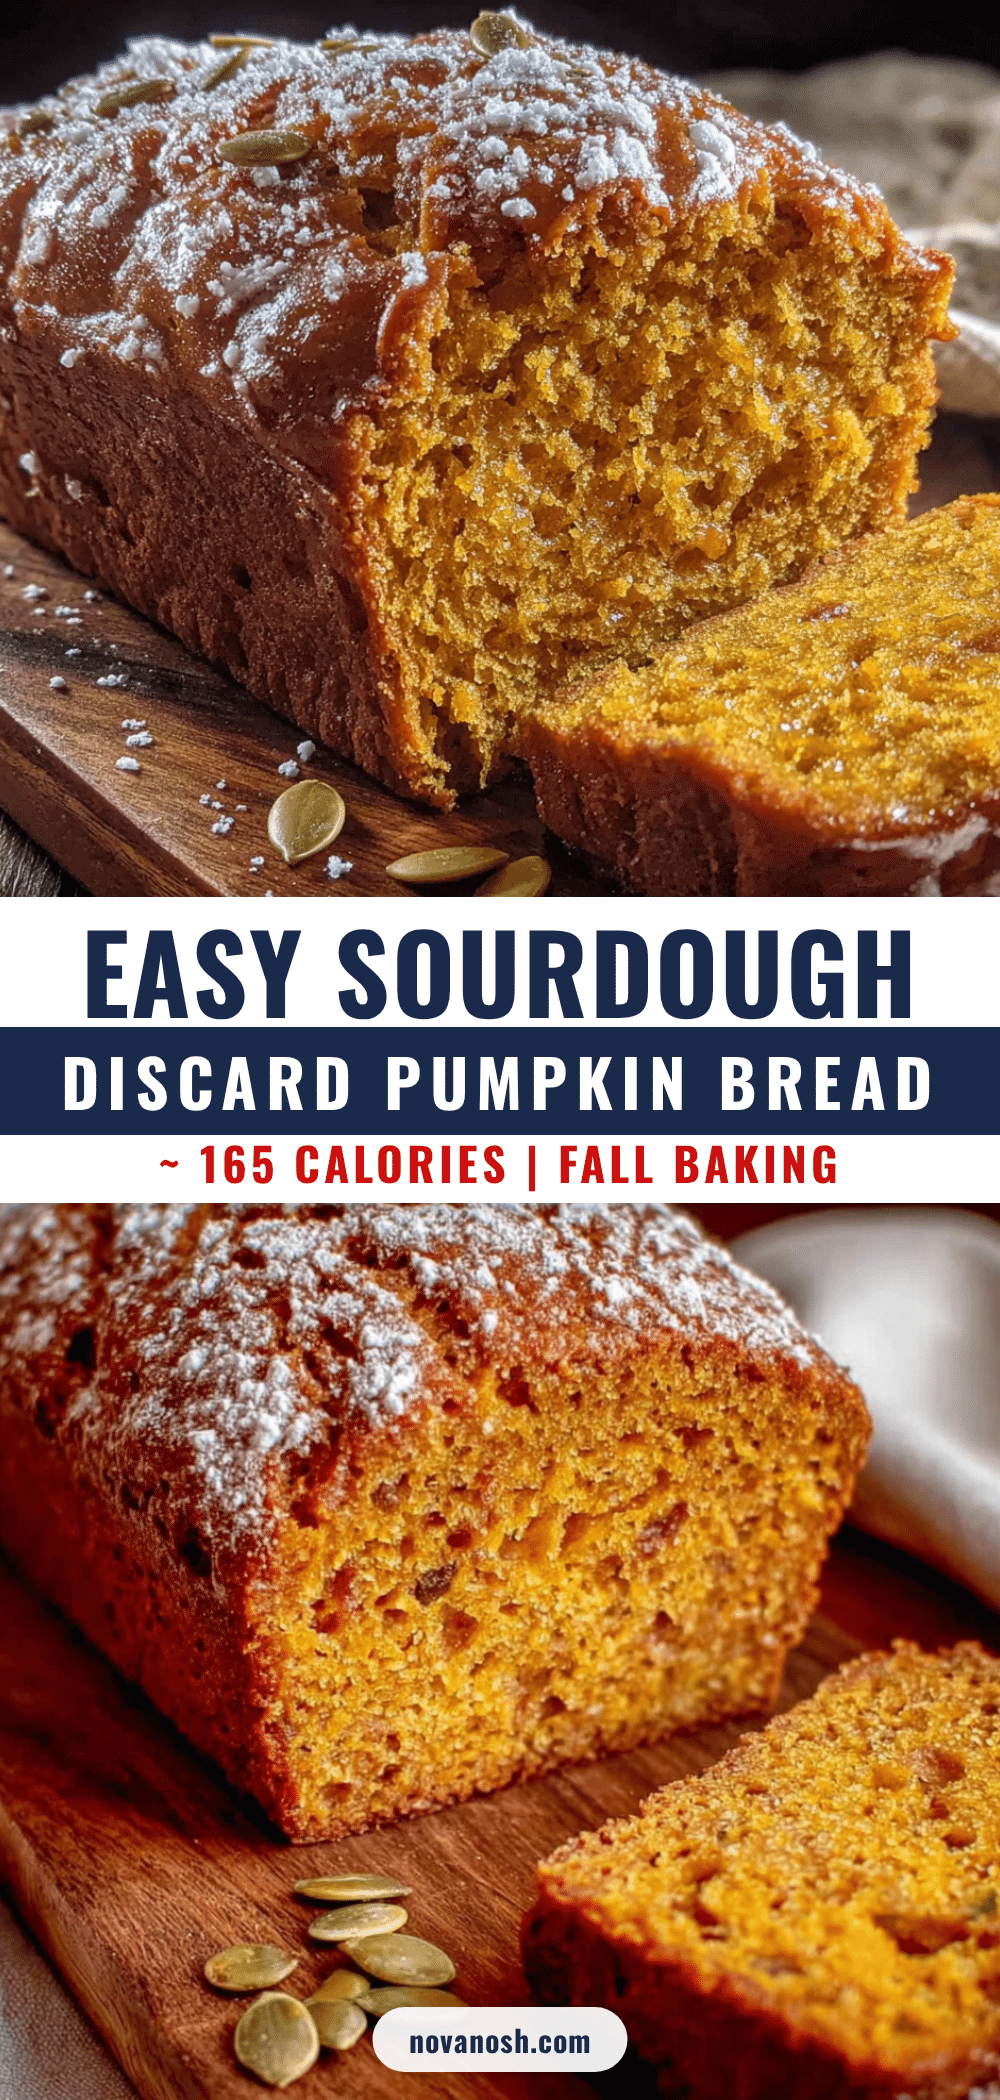
Easy Sourdough Discard Pumpkin Bread Recipe
This easy sourdough discard pumpkin bread is incredibly moist and tender, with a perfectly spiced flavor and a subtle tang from the discard. It’s the perfect way to use up leftover starter and create a delicious fall treat.
- Prep Time: 15 minutes
- Cook Time: 55-65 minutes
- Total Time: 1 hour 10 minutes - 1 hour 20 minutes (plus 2 hours cooling)
- Yield: 12 servings 1x
- Category: Dessert, Breakfast
- Cuisine: American
Ingredients
- 1 ¾ cups (220g) all-purpose flour
- 1 teaspoon baking soda
- 1 ½ teaspoons ground cinnamon
- ½ teaspoon ground nutmeg
- ½ teaspoon ground ginger
- ¼ teaspoon ground cloves
- ½ teaspoon salt
- 1 cup (245g) pumpkin purée (100% pumpkin, not pie filling)
- 1 cup (200g) granulated sugar
- ½ cup (100g, packed) brown sugar (light or dark)
- ½ cup (120ml) vegetable oil (or melted coconut oil/avocado oil)
- 2 large eggs (room temperature)
- 1 cup (240g) sourdough discard (unfed, straight from fridge)
- 1 teaspoon vanilla extract
Instructions
- Preheat your oven to 350°F (175°C). Grease a 9×5-inch loaf pan with butter or non-stick spray. Optionally, line with parchment paper, leaving overhang on the long sides for easy removal.
- In a large bowl, whisk together the all-purpose flour, baking soda, cinnamon, nutmeg, ginger, cloves, and salt for 20-30 seconds to aerate and distribute evenly.
- In a separate large bowl, combine the pumpkin purée, granulated sugar, and brown sugar. Whisk until smooth and the sugars have mostly dissolved. Add the vegetable oil, eggs, sourdough discard, and vanilla extract. Whisk vigorously until completely combined and smooth.
- Pour the dry ingredients into the wet ingredients. Using a rubber spatula, fold together with a gentle ‘cut and fold’ motion until just combined and no streaks of flour remain. Do not overmix; a few small lumps are fine.
- Pour the batter into the prepared loaf pan and spread into an even layer. Gently tap the pan on the counter a few times to release air bubbles.
- Bake in the center of the preheated oven for 55-65 minutes, or until a wooden skewer or toothpick inserted into the center comes out clean or with just a few moist crumbs. If the top browns too quickly after 40 minutes, tent loosely with aluminum foil.
- Remove the pan from the oven and place on a cooling rack. Let cool in the pan for 15-20 minutes. Then, use the parchment sling to lift the loaf out and transfer to the cooling rack. Cool completely, at least 2 hours, before slicing.
Notes
Use unfed sourdough discard, not active starter, for best results. Overmixing the batter will result in a dense, tough loaf. Let ingredients come to room temperature for better emulsification. For a dairy-free version, use flax eggs (2 tablespoons flaxseed meal + 6 tablespoons water) instead of chicken eggs. The bread can be stored tightly wrapped at room temperature for up to 4 days or frozen for up to 3 months.
Nutrition
- Serving Size: 1 slice
- Calories: 280
- Sugar: 22
- Sodium: 280
- Fat: 12
- Saturated Fat: 2
- Carbohydrates: 40
- Fiber: 2
- Protein: 5
Keywords: sourdough discard, pumpkin bread, easy pumpkin bread, sourdough pumpkin bread, fall baking, quick bread