Love this? Save it for later!
Share the inspiration with your friends
My sister-in-law, Jen, wasn’t trying to show off. I’d stopped by to borrow a ladder—of all things—and the smell of vanilla and butter hit me before I even made it past her front door. It was a Tuesday afternoon, completely ordinary, and she was just… baking a cake. Not for a birthday, not for a holiday. Just because.
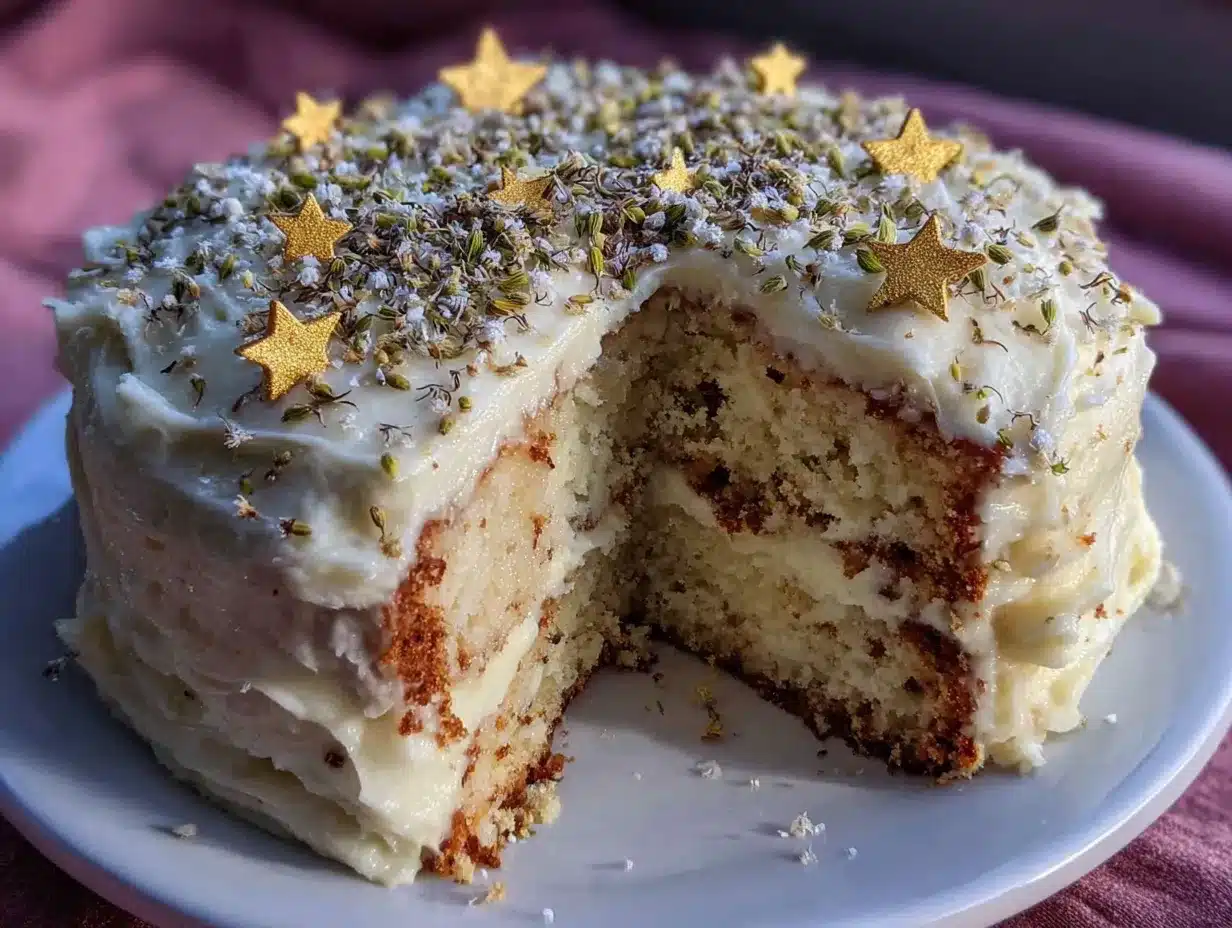
She pulled this tall, golden layer cake out of the oven, and I swear, the kitchen lights seemed to catch the pale specks in the batter just right. “Oh, that’s just my go-to vanilla bean cake,” she said, wiping her hands on her jeans like it was nothing. But it wasn’t nothing. The crumb looked impossibly tender, the aroma was pure comfort, and I knew right then I had to get the recipe out of her.
Honestly, I’ve made a lot of birthday cakes in my time. Box mixes, fancy bakery ones, complicated recipes with a dozen steps. But this one? This is the one that became my gold standard. The one my kids request every single year. It uses real vanilla bean—those tiny black specks that tell you this isn’t a fake vanilla situation—and it comes together in a way that feels almost too easy for how incredible it turns out.
Maybe you’ve been there, standing in someone else’s kitchen, watching them make something that looks like it belongs on a magazine cover with zero effort. That’s this cake. It’s the kind of recipe that makes you look like a hero, even though you barely broke a sweat. And after that Tuesday afternoon, I’ve never looked at another vanilla cake recipe the same way.
Why You’ll Love This Recipe
Let me tell you why this is the only vanilla bean birthday cake recipe you’ll ever need. I’ve tested it at least a dozen times, tweaking the ratios, trying different butter temperatures, and swapping flours. This version is the winner—the one that gets the “oh wow” reaction every single time.
- Perfectly Moist and Tender: The combination of buttermilk and real butter gives this cake a melt-in-your-mouth texture that stays moist for days. No dry cake here, I promise.
- Real Vanilla Flavor: We’re using actual vanilla bean paste or a whole vanilla bean, not just extract. Those tiny black specks aren’t just pretty—they pack a deep, aromatic vanilla flavor that’s miles above anything from a box.
- Simple Ingredients: Nothing fancy or hard to find. You probably have most of these in your pantry right now, minus maybe the vanilla bean. And honestly, it’s worth the extra trip.
- Foolproof Method: The creaming method is straightforward, and I’ve included all my tips to prevent sinking, cracking, or doming. Even beginner bakers nail this one.
- Crowd-Pleaser: I’ve brought this to birthday parties, potlucks, and family dinners. It disappears fast. Kids love it, adults love it, and everyone asks for the recipe.
What makes this different from other vanilla cakes? It’s the balance. The butter isn’t overpowering, the vanilla is front and center, and the crumb is sturdy enough to hold a thick layer of frosting without falling apart. It’s not just another version—it’s the best version.
This is the cake that makes you close your eyes after the first bite. It’s comfort food reimagined—simple, beautiful, and absolutely soul-soothing.
What Ingredients You Will Need
This recipe uses simple, wholesome ingredients to deliver a bakery-quality cake without the fuss. Most of these are pantry staples, but a few key players make all the difference.
For the Cake
- 2 ¾ cups (345g) all-purpose flour – I recommend Gold Medal or King Arthur for consistent results. Spoon and level your flour—don’t scoop directly from the bag.
- 2 ½ teaspoons baking powder – Make sure it’s fresh. Old baking powder equals a flat cake.
- ½ teaspoon salt – Fine sea salt works best. It balances the sweetness.
- 1 cup (226g) unsalted butter, softened – Leave it on the counter for about an hour. It should be soft enough to leave a dent when you press it, but not melty.
- 1 ¾ cups (350g) granulated sugar – White sugar keeps the crumb light and tender.
- 3 large eggs, room temperature – Cold eggs can seize the batter. Let them sit out for 30 minutes or place them in a bowl of warm water for 5 minutes.
- 1 tablespoon vanilla bean paste – This is my secret weapon. It has the flavor of a whole vanilla bean without the hassle of scraping. If you have a real vanilla bean, split it and scrape the seeds from one pod. You can also use 2 teaspoons of pure vanilla extract, but you’ll miss those beautiful specks.
- 1 cup (240ml) buttermilk, room temperature – Buttermilk adds tenderness and a slight tang that makes the vanilla pop. No buttermilk? Add 1 tablespoon of lemon juice or white vinegar to regular milk and let it sit for 5 minutes.
For the Vanilla Bean Frosting
- 1 ½ cups (340g) unsalted butter, softened – Yes, lots of butter. This is a celebration cake.
- 5 cups (600g) powdered sugar – Sift it if it’s lumpy. Nobody wants grainy frosting.
- 2 teaspoons vanilla bean paste – Or the seeds from half a vanilla bean.
- ¼ cup (60ml) heavy cream – Adjust for consistency. You might need a little more or less.
- ¼ teaspoon salt – To cut the sweetness.
Equipment Needed
You don’t need a professional bakery setup for this cake, but a few key tools make the process smoother.
- Two 9-inch round cake pans – I love my Fat Daddio’s anodized aluminum pans. They heat evenly and don’t warp. If you only have dark nonstick pans, reduce the oven temperature by 25°F to prevent over-browning.
- Parchment paper – Cut circles for the bottom of the pans. This is non-negotiable for easy release.
- Stand mixer or hand mixer – A stand mixer with a paddle attachment is ideal, but a hand mixer works fine. You’ll need to cream the butter and sugar for a full 3-4 minutes.
- Large mixing bowls – At least two.
- Whisk and rubber spatula – For combining dry ingredients and folding the batter.
- Cooling rack – Wire racks let air circulate so the cakes cool evenly.
- Offset spatula – For spreading frosting. A butter knife works in a pinch, but an offset spatula makes it look professional.
- Cake stand or serving plate – Show off that beautiful cake.
Budget-friendly tip: If you don’t have parchment paper, you can grease the pans with butter and dust them with flour. Just tap out the excess.
Preparation Method
Let’s bake this cake. I’ll walk you through every step so you feel confident.
- Preheat and Prep: Preheat your oven to 350°F (175°C). Grease two 9-inch round cake pans, line the bottoms with parchment paper, and grease the paper too. Lightly dust the pans with flour and tap out the excess. This extra step guarantees your cakes release perfectly.
- Whisk Dry Ingredients: In a medium bowl, whisk together the flour, baking powder, and salt. Set aside. This distributes the leavening evenly so you don’t get pockets of baking powder in your cake.
- Cream Butter and Sugar: In the bowl of your stand mixer fitted with the paddle attachment, beat the softened butter and granulated sugar on medium speed for 3-4 minutes. You’re looking for a light, fluffy, pale yellow mixture. Scrape down the sides and bottom of the bowl halfway through. Don’t rush this step—proper creaming incorporates air, which gives the cake its lift.
- Add Eggs and Vanilla: Add the eggs one at a time, beating well after each addition (about 30 seconds each). Then add the vanilla bean paste and beat until combined. The batter might look slightly curdled at this point—that’s okay. It will come together once we add the flour and buttermilk.
- Alternate Dry and Wet Ingredients: With the mixer on low speed, add one-third of the flour mixture. Mix until just combined. Then add half of the buttermilk. Mix again. Repeat with another third of flour, the remaining buttermilk, and finally the last third of flour. Stop mixing as soon as the flour disappears. Overmixing develops gluten, which makes the cake tough.
- Fold the Batter: Use a rubber spatula to give the batter a few gentle folds from the bottom up. This ensures everything is incorporated without overmixing. The batter should be thick, smooth, and glossy.
- Divide and Bake: Divide the batter evenly between the prepared pans. I use a kitchen scale to be precise—about 570g per pan. Smooth the tops with a spatula. Bake for 25-30 minutes, or until a toothpick inserted in the center comes out clean or with a few moist crumbs. The cakes should be golden brown and pulling away slightly from the edges of the pans.
- Cool Completely: Let the cakes cool in the pans for 10 minutes on a wire rack. Then run a knife around the edges, invert the pans onto the rack, and peel off the parchment paper. Let the cakes cool completely—at least 1 hour—before frosting. Warm cake will melt your frosting into a puddle.
- Make the Frosting: While the cakes cool, make the frosting. Beat the softened butter on medium speed for 2-3 minutes until smooth and creamy. Gradually add the powdered sugar, one cup at a time, beating on low speed. Add the vanilla bean paste, salt, and heavy cream. Increase to medium-high speed and beat for 3-4 minutes until light, fluffy, and spreadable. If it’s too thick, add a little more cream. Too thin? Add more powdered sugar.
- Assemble and Frost: Place one cake layer on your serving plate or cake stand. Spread about 1 cup of frosting evenly on top. Place the second layer on top, then apply a thin crumb coat (a thin layer of frosting that traps any loose crumbs). Refrigerate for 20 minutes to set the crumb coat. Then apply the final layer of frosting, using your offset spatula to create swirls or smooth sides.
Cooking Tips & Techniques
I’ve made this cake more times than I can count, and I’ve learned a few things the hard way. Here are my best tips.
Room Temperature Ingredients Matter: I cannot stress this enough. Cold butter won’t cream properly, and cold eggs can make the batter curdle and separate. Set everything out at least an hour before you start baking. If you forget, place the eggs in a bowl of warm water for 5 minutes and microwave the buttermilk for 10-15 seconds.
Don’t Overmix: Once you add the flour, keep the mixer on low and stop as soon as the streaks disappear. Overmixing develops gluten, which gives you a dense, rubbery cake instead of a tender one. Fold the last bit by hand with a spatula.
Check for Doneness Early: Ovens vary wildly. Start checking your cakes at 22 minutes. If the toothpick comes out with wet batter, give it another 3-4 minutes. If it comes out clean, it’s done. Overbaking dries out the cake.
Level Your Cakes: If your cakes dome in the center (which happens sometimes), use a serrated knife to slice off the dome once they’re completely cool. This gives you a flat surface for stacking.
Chill Before Slicing: For clean, beautiful slices, refrigerate the frosted cake for 30 minutes before cutting. Use a sharp, thin-bladed knife and wipe it clean between slices.
I once forgot the baking powder. The cake came out like a pancake. It was flat, dense, and sad. Learn from my mistake—double-check your leavening!
Variations & Adaptations
This vanilla bean cake is incredibly versatile. Here are a few ways to make it your own.
- Chocolate Swirl: Melt 4 ounces of dark chocolate and let it cool slightly. After dividing the batter into the pans, drop spoonfuls of melted chocolate on top and use a knife to swirl it through. You get a beautiful marbled effect.
- Lemon Raspberry: Add the zest of two lemons to the sugar and rub it in with your fingers before creaming. Fold 1 cup of fresh or frozen raspberries into the batter gently. The tartness cuts through the sweetness perfectly.
- Gluten-Free Option: Substitute the all-purpose flour with a 1:1 gluten-free baking flour blend that contains xanthan gum. I’ve had great results with Bob’s Red Mill 1:1. The texture will be slightly more delicate, so handle with care.
- Cupcakes: This batter makes about 24 cupcakes. Bake at 350°F for 18-22 minutes. The frosting recipe is enough to generously frost all of them.
- Dairy-Free: Use vegan butter sticks (like Miyoko’s) and a dairy-free milk mixed with lemon juice for buttermilk. The flavor is still fantastic, though the texture is slightly less tender.
My personal favorite variation is the lemon raspberry. I made it for my daughter’s spring birthday, and the combination of bright citrus and sweet berries with the rich vanilla cake was unforgettable.
Serving & Storage Suggestions
This cake is best served at room temperature. If you’ve refrigerated it, let it sit out for 30-45 minutes before serving. The flavors are more pronounced and the texture is softer.
For presentation, I like to top the cake with a few fresh berries, edible flowers, or a light dusting of powdered sugar. It looks elegant without much effort.
What to serve with it? A tall glass of cold milk is classic. For adults, a cup of coffee or a glass of dessert wine (like a Moscato or Sauternes) pairs beautifully with the vanilla notes.
Storage Instructions: Store the frosted cake in an airtight container at room temperature for up to 2 days. If your kitchen is warm, refrigerate it—the buttercream can soften too much. Bring it back to room temperature before serving.
Freezer Instructions: You can freeze the unfrosted cake layers. Wrap each layer tightly in plastic wrap, then aluminum foil. Freeze for up to 3 months. Thaw overnight in the refrigerator, then bring to room temperature before frosting. The frosting itself freezes well too—just thaw it in the fridge and re-whip it before using.
The flavors actually get better after a day. The vanilla melds with the butter and sugar, creating an even more complex taste. So don’t stress about making it the day before—it’s actually a great idea.
Nutritional Information & Benefits
Let’s be honest—this is a celebration cake, not a health food. But here’s the estimated nutritional breakdown per slice (based on 12 servings):
| Nutrient | Amount per Slice |
|---|---|
| Calories | 520 |
| Total Fat | 28g |
| Saturated Fat | 17g |
| Carbohydrates | 67g |
| Sugar | 50g |
| Protein | 5g |
That said, there are a few redeeming qualities. Real butter contains butyrate, which is beneficial for gut health in moderation. Vanilla bean has been shown to have antioxidant properties. And honestly, the joy of sharing a homemade birthday cake with people you love? That’s good for the soul.
If you’re looking for a lighter option, you can reduce the sugar in the frosting by using a sugar-free powdered sugar alternative, but the texture will be slightly different.
Potential allergens: This recipe contains dairy, gluten, and eggs. Not suitable for vegan, dairy-free (unless adapted), or gluten-free diets without the substitutions mentioned above.
Conclusion
This Best Gold Star Vanilla Bean Birthday Cake is the recipe that keeps on giving. It’s the cake I turn to when I want to make someone feel special, when I need a reliable dessert for a gathering, or when I just want to fill my kitchen with that incredible vanilla aroma. It’s simple enough for a Tuesday afternoon, yet impressive enough for a milestone celebration.
I love that this recipe has a story behind it—a casual afternoon at my sister-in-law’s house, a cake made for no reason at all, and a recipe that became my gold standard. That’s the kind of recipe worth sharing.
Now I want to hear from you. Have you made this cake? Did you try any of the variations? Drop a comment below and let me know how it turned out. And if you have a favorite birthday cake memory, I’d love to hear that too.
Happy baking, friend. You’ve got this.
Frequently Asked Questions
Can I use vanilla extract instead of vanilla bean paste?
Yes, absolutely. Use 2 teaspoons of pure vanilla extract in place of the vanilla bean paste. You’ll still get great flavor, but you’ll miss those beautiful black specks that make the cake look so special.
Why did my cake sink in the middle?
This usually happens for one of three reasons: the oven door was opened too early (wait until the cake is at least 2/3 of the way through baking), the baking powder was expired, or the batter was overmixed. Check your baking powder by dropping a teaspoon into hot water—it should fizz immediately.
Can I make this cake in advance?
Yes! You can bake the cake layers up to 2 days ahead. Wrap them tightly in plastic wrap once they’re completely cool and store them at room temperature. You can also freeze them for up to 3 months.
How do I get my frosting perfectly smooth?
Use a bench scraper or a large offset spatula. Apply a crumb coat first and chill the cake for 20 minutes. Then apply the final layer of frosting. Dip your spatula in hot water, wipe it dry, and use it to smooth the frosting. The heat helps melt the buttercream slightly for a flawless finish.
Can I use this recipe for a three-layer cake?
Absolutely. Multiply the recipe by 1.5 and bake in three 8-inch pans. Adjust the baking time—start checking at 20 minutes. You’ll need an extra batch of frosting too.
Pin This Recipe!
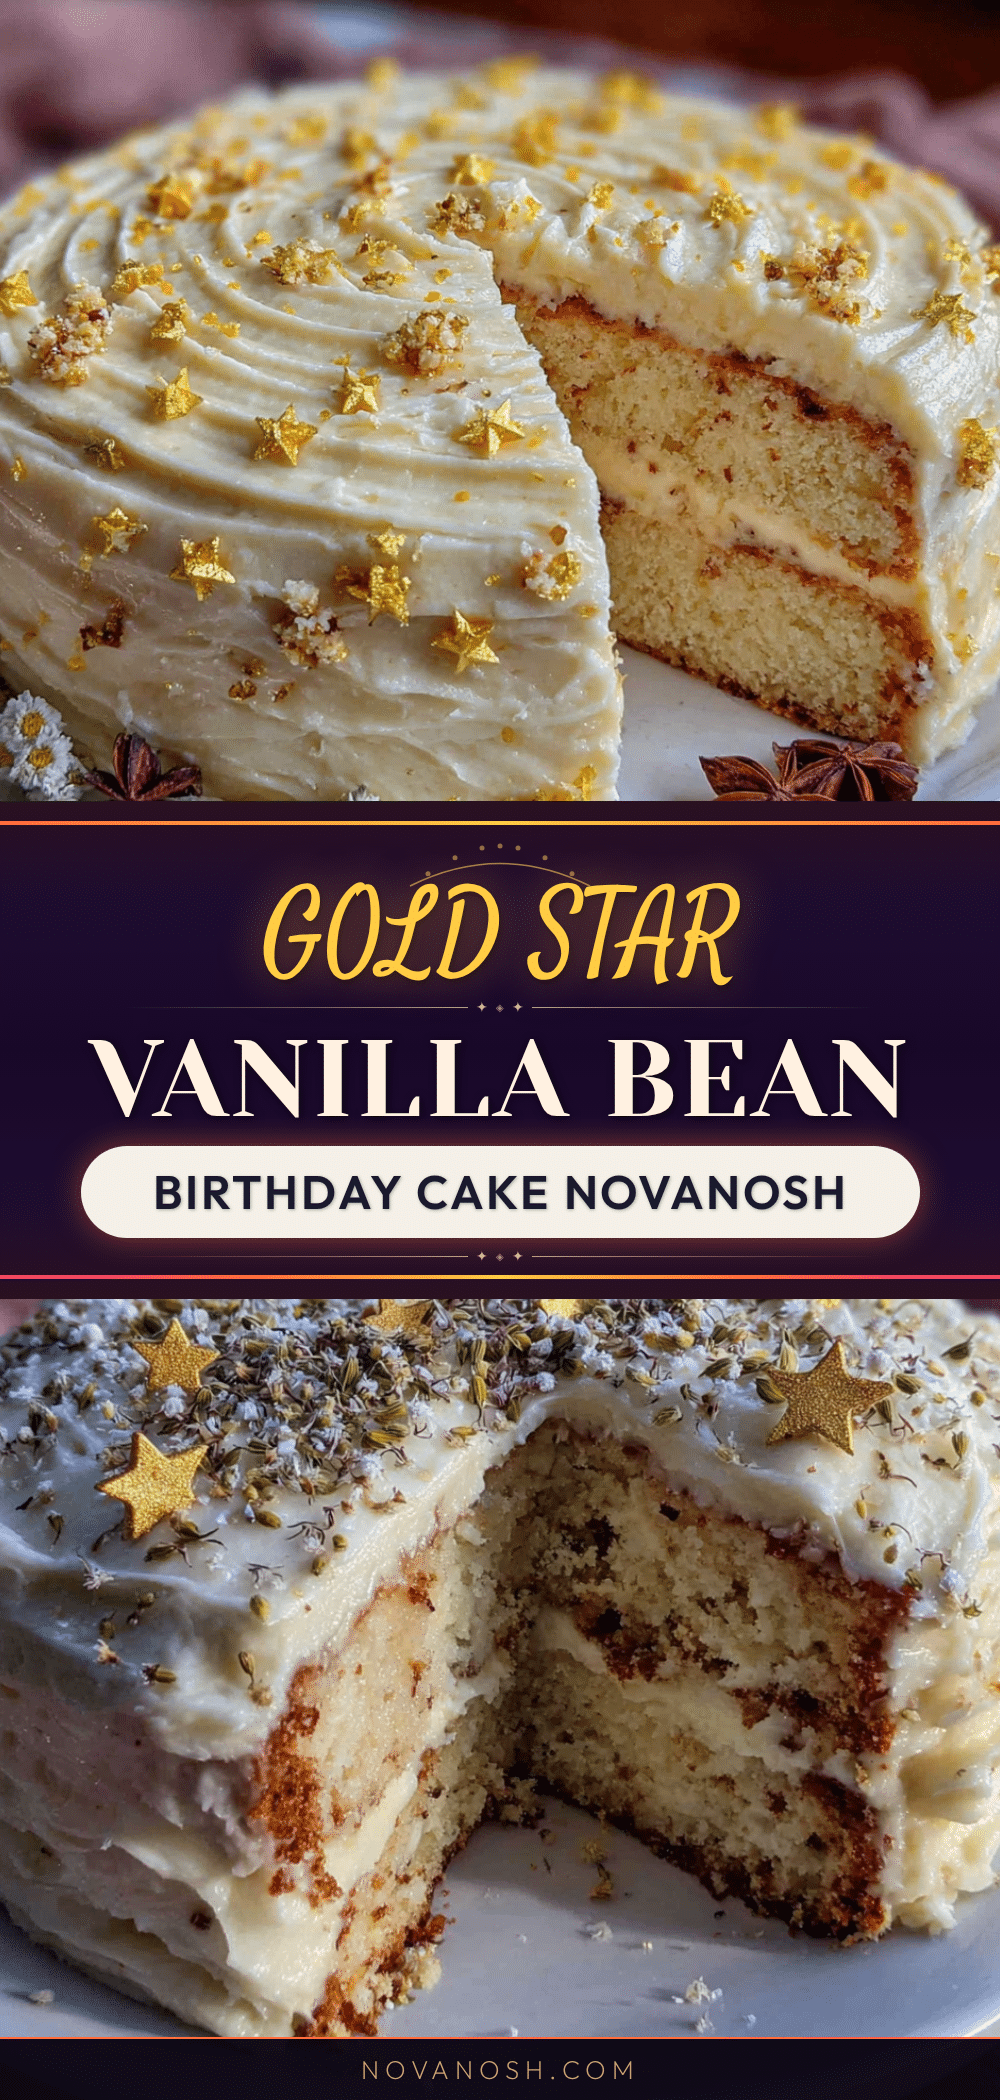
Best Gold Star Vanilla Bean Birthday Cake (Easy Homemade Recipe)
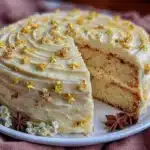
This is the only vanilla bean birthday cake recipe you’ll ever need. It’s perfectly moist and tender, with real vanilla flavor from vanilla bean paste, and it comes together easily for a crowd-pleasing celebration cake.
- Prep Time: 20 minutes
- Cook Time: 30 minutes
- Total Time: 1 hour 50 minutes (includes cooling and chilling)
- Yield: 12 servings 1x
- Category: Dessert
- Cuisine: American
Ingredients
- 2 ¾ cups (345g) all-purpose flour
- 2 ½ teaspoons baking powder
- ½ teaspoon fine sea salt
- 1 cup (226g) unsalted butter, softened
- 1 ¾ cups (350g) granulated sugar
- 3 large eggs, room temperature
- 1 tablespoon vanilla bean paste
- 1 cup (240ml) buttermilk, room temperature
- 1 ½ cups (340g) unsalted butter, softened (for frosting)
- 5 cups (600g) powdered sugar
- 2 teaspoons vanilla bean paste (for frosting)
- ¼ cup (60ml) heavy cream
- ¼ teaspoon salt (for frosting)
Instructions
- Preheat oven to 350°F (175°C). Grease two 9-inch round cake pans, line bottoms with parchment paper, grease paper, and dust with flour.
- In a medium bowl, whisk together flour, baking powder, and salt. Set aside.
- In a stand mixer with paddle attachment, beat softened butter and granulated sugar on medium speed for 3-4 minutes until light and fluffy. Scrape bowl halfway through.
- Add eggs one at a time, beating well after each addition. Add vanilla bean paste and beat until combined.
- With mixer on low, add one-third of flour mixture, mixing until just combined. Add half of buttermilk, mix. Repeat with another third of flour, remaining buttermilk, and final third of flour. Stop mixing when flour disappears.
- Fold batter gently with a rubber spatula to ensure even incorporation.
- Divide batter evenly between prepared pans (about 570g each). Smooth tops. Bake for 25-30 minutes until a toothpick inserted in center comes out clean or with a few moist crumbs.
- Cool cakes in pans on a wire rack for 10 minutes. Run a knife around edges, invert onto rack, peel off parchment. Cool completely (at least 1 hour).
- For frosting: Beat softened butter on medium speed for 2-3 minutes until creamy. Gradually add powdered sugar, one cup at a time, on low speed. Add vanilla bean paste, salt, and heavy cream. Beat on medium-high for 3-4 minutes until light and fluffy.
- Place one cake layer on serving plate. Spread about 1 cup frosting evenly on top. Place second layer on top. Apply a thin crumb coat, refrigerate 20 minutes, then apply final layer of frosting.
Notes
Room temperature ingredients are crucial for best results. Check baking powder freshness. For clean slices, refrigerate frosted cake for 30 minutes before cutting. The cake can be made up to 2 days ahead or frozen for up to 3 months.
Nutrition
- Serving Size: 1 slice
- Calories: 520
- Sugar: 50
- Fat: 28
- Saturated Fat: 17
- Carbohydrates: 67
- Protein: 5
Keywords: vanilla bean cake, birthday cake, homemade cake, vanilla cake, easy cake recipe