Love this? Save it for later!
Share the inspiration with your friends
The neighborhood chili cook-off was in six hours and I’d completely forgotten. I mean, completely. I’d been so wrapped up in work that the email reminder pinged on my phone at 9 AM, and my heart just dropped. Everyone else would be bringing their secret-recipe, all-day-simmered masterpieces. I had a bag of apples, a box of cake mix, and maybe a third of a brain cell left to figure out a plan. I’m not a competitive person, honestly, but the thought of showing up empty-handed to a bunch of slow-cooker champions was mortifying. So, I did what any rational, slightly panicked person would do: I Googled “fastest dessert ever” and prayed.
That’s how I stumbled onto the idea of a dump cake, and let me tell you, I was skeptical. Dump cakes feel almost like cheating, you know? Like you’re not really cooking. But I had the ingredients for an apple version, and time was not on my side. I threw it together in maybe ten minutes—peeled a few apples, dumped in some cinnamon, poured a box of yellow cake mix on top, and drizzled it with butter. I slid it into the oven and crossed my fingers. Honestly, I was already planning my apology for bringing a “lazy” dessert.
Well, the apology never happened. That cake came out of the oven looking like a golden, bubbly, cinnamon-dusted miracle. It smelled like autumn in a baking dish. I carried it to the cook-off feeling sheepish, but by the time people started tasting it, the sheepishness turned into pure, amused shock. It won. Not just a “oh, that’s nice” win—it actually got the most votes for dessert. People were asking for the recipe, and I had to admit it took ten minutes of active work and a box of mix. Let’s just say I’ve never felt more like an accidental overachiever. That’s the thing about this Overnight Apple Cinnamon Dump Cake—it’s the underdog that steals the show, and I’ve been making it for every gathering ever since.
Why You’ll Love This Recipe
Look, I’ve tested this cake more times than I can count. I’ve made it for Thanksgiving brunch, for casual Sunday dinners, and for that one time my in-laws showed up unexpectedly. It’s never let me down. Here’s why this particular version is the one you’ll keep coming back to:
- Incredibly Easy: You don’t need a mixer, a sifter, or any fancy gadgets. If you can open a box and peel an apple, you can make this. It’s the perfect recipe for when you’re short on time but still want to impress.
- Simple, Everyday Ingredients: Apples, butter, sugar, cinnamon, and a boxed cake mix. That’s it. No trips to a specialty store, no hunting for obscure spices. You probably have everything right now.
- Perfect for Hosting: This is a dinner party dream. You can assemble it the night before and just bake it when your guests arrive. Your kitchen will smell amazing, and you’ll look like a hero with zero stress.
- A True Crowd-Pleaser: I’ve served this to kids, to picky eaters, and to dessert snobs. Every single person goes back for seconds. It’s the kind of sweet, cozy comfort that makes people close their eyes after the first bite.
- Next-Level Flavor: The apples get soft and jammy, the cake topping turns golden and slightly crisp, and the cinnamon butter sauce that forms at the bottom is pure magic. It’s simple, but it tastes like you spent hours on it.
This isn’t just another dump cake recipe. It’s the one where the ratios are perfect, where the apples don’t turn to mush, and where the topping gets that perfect crumbly texture. I’ve tweaked the butter amount and the cinnamon ratio until it was just right. It’s comfort food at its finest—easy enough for a weeknight, but fancy enough for a holiday table.
What Ingredients You Will Need
This recipe uses humble ingredients to create something truly special. The magic is in how they layer together. Here’s everything you’ll need, plus a few notes from my own kitchen trials.
- Apples: You’ll need about 4 to 5 medium apples. I prefer a mix of tart and sweet, like Granny Smith and Honeycrisp. The tart ones hold their shape nicely during baking, while the sweet ones break down into a lovely, soft compote. Peel, core, and slice them into thin wedges—about ¼-inch thick. (Pro tip: Don’t slice them too thin, or they’ll turn to applesauce.)
- Granulated Sugar: ½ cup. This helps draw out the juices from the apples and creates that gorgeous syrupy layer at the bottom. You can reduce it slightly if your apples are very sweet, but I wouldn’t go below ⅓ cup.
- Ground Cinnamon: 2 teaspoons. This is non-negotiable for that warm, cozy flavor. I use a good-quality cinnamon like Saigon cinnamon for a bolder taste. You can also add a pinch of nutmeg or allspice if you’re feeling fancy.
- Lemon Juice: 1 tablespoon. This prevents the apples from browning and adds a tiny bit of brightness that balances the sweetness. Fresh is best, but bottled works in a pinch.
- Yellow Cake Mix: One 15.25-ounce box. This is the star of the show. I’ve tested this with generic brands and name brands like Betty Crocker or Duncan Hines, and they all work. Just make sure it’s the “standard” size. Do not use a “super moist” or “extra large” box, as it throws off the ratios.
- Unsalted Butter: ¾ cup (1.5 sticks), cold and cut into thin pats. This is key. You don’t melt the butter; you slice it thin and arrange it over the dry cake mix. As it bakes, the butter melts and creates pockets of steam that turn the cake mix into a tender, golden topping. If you use salted butter, just reduce the added salt in the apple layer.
- Optional Toppings: A handful of chopped pecans or walnuts for crunch, or a sprinkle of coarse sugar on top before baking for a shatteringly crisp crust. I’ve done both, and they’re fantastic.
One thing I’ve learned: Don’t skip the lemon juice. I did once because I was out, and the apples turned an unappetizing gray-brown. The flavor was still fine, but it didn’t look as pretty. A little squeeze of lemon keeps everything looking fresh and vibrant.
Equipment Needed
You don’t need a fully stocked kitchen for this one. Here’s what you’ll need:
- A 9×13-inch Baking Dish: Glass or ceramic works best. I prefer a glass dish because you can see the syrupy layer forming at the bottom. If you only have metal, that’s fine too—just keep an eye on the baking time, as metal conducts heat faster.
- A Sharp Knife and Cutting Board: For peeling and slicing the apples. A good peeler makes this job a lot faster, but a paring knife works too.
- A Mixing Bowl: Just a medium one for tossing the apples with sugar and cinnamon.
- A Spatula or Wooden Spoon: For stirring the apple mixture.
- Measuring Cups and Spoons: Standard set. You’ll need them for the sugar, cinnamon, and lemon juice.
That’s honestly it. No mixer, no food processor, no special pans. I’ve made this in a disposable aluminum pan for a potluck before, and it worked perfectly. Just put the pan on a baking sheet to catch any potential drips.
Preparation Method
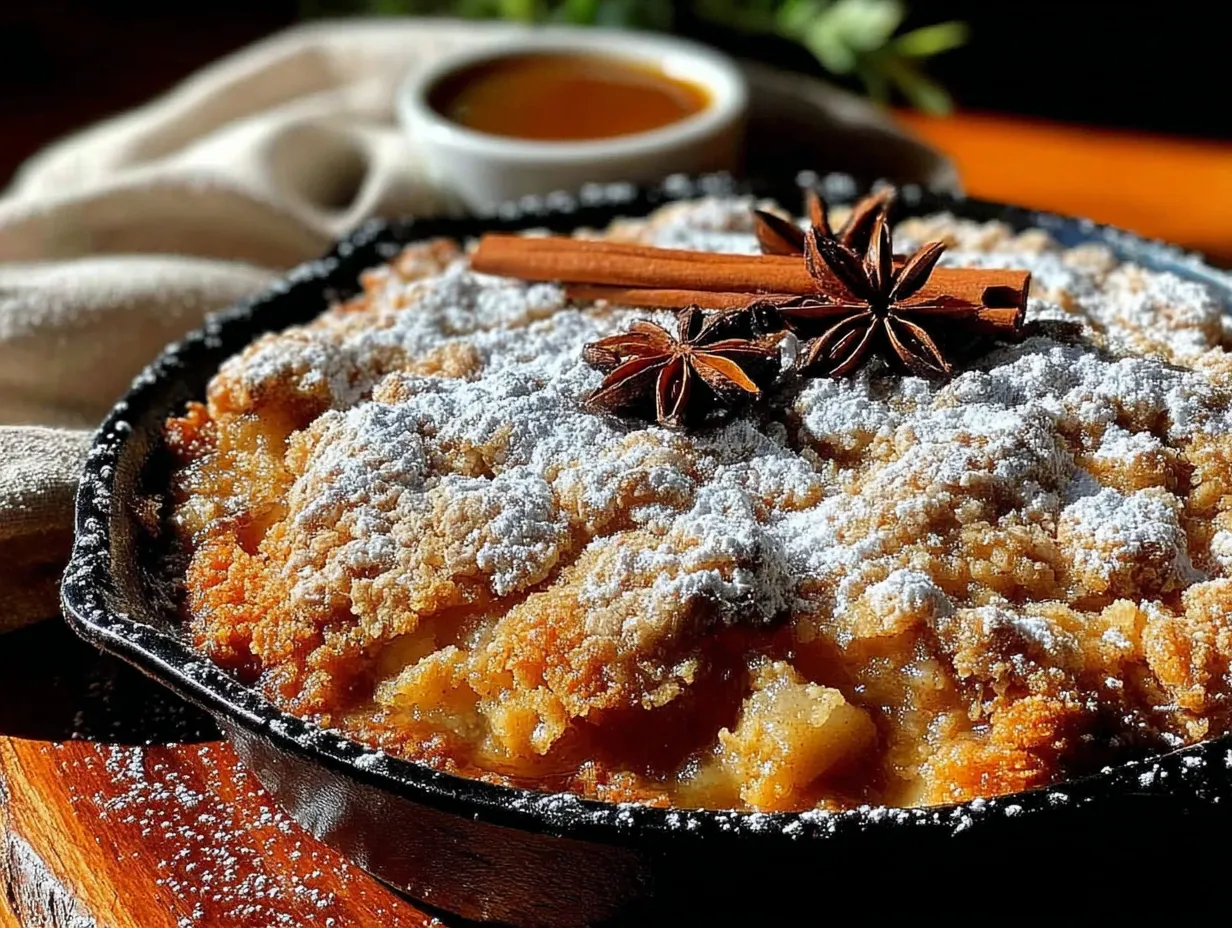
Alright, let’s get to it. This is the part where you’ll see just how easy this really is. I’ll walk you through every step, including the little tricks I’ve picked up.
- Preheat your oven to 350°F (175°C). If you’re making this overnight, you can skip this step until you’re ready to bake. Just remember to take the dish out of the fridge about 20 minutes before baking so it comes to room temperature slightly.
- Prepare the apples. Peel, core, and slice your apples into thin wedges, about ¼-inch thick. You want them uniform so they cook evenly. Toss the slices into your mixing bowl.
- Season the apples. Add the ½ cup of granulated sugar, 2 teaspoons of cinnamon, and 1 tablespoon of lemon juice to the bowl. Stir everything together until the apple slices are evenly coated. Let them sit for about 5 minutes. You’ll see some juice start to release—that’s good. That juice will become part of the amazing syrupy layer.
- Layer the apples. Spread the seasoned apple slices evenly across the bottom of your 9×13-inch baking dish. Make sure they’re in a single, even layer as much as possible. Don’t pour the leftover juices from the bowl into the dish yet—just the apples.
- Pour over the juices. Now, take that bowl with the remaining sugary-cinnamon liquid and pour it evenly over the apples. This ensures every slice gets that flavor.
- Add the cake mix. Open your box of yellow cake mix and sprinkle the dry powder evenly over the apples. Don’t stir it. Don’t mix it. Just let it sit on top like a blanket. This is what makes it a “dump” cake.
- Top with butter. Take your cold, unsalted butter and slice it into thin pats (about ¼-inch thick). Arrange these pats evenly over the entire surface of the dry cake mix. Try to cover as much of the surface as possible. The butter will melt and create those signature golden, crumbly bits.
- Bake. Place the dish in your preheated oven and bake for 40 to 45 minutes. You’ll know it’s done when the top is a deep golden brown and the edges are bubbly. The apples should be tender when poked with a fork. If the top is browning too quickly but the apples aren’t done, tent the dish loosely with foil for the last 10 minutes.
- Cool slightly. Let the cake cool on a wire rack for at least 15 to 20 minutes before serving. This allows the syrupy layer to thicken slightly. If you serve it piping hot, it might be a bit too runny.
One more thing: If you’re prepping this overnight, just cover the assembled (unbaked) dish tightly with plastic wrap or foil and pop it in the fridge. When you’re ready to bake, let it sit on the counter for 20 minutes while the oven preheats. You might need to add 5 to 10 minutes to the baking time since the dish is starting from cold.
Cooking Tips & Techniques
I’ve made this cake enough times to have a few “oops” moments, and I’m sharing them so you don’t have to repeat my mistakes.
Don’t overmix the topping. I know it’s tempting to stir the butter into the cake mix, but don’t. The whole point is that the butter melts on top and creates those uneven, craggy, crunchy bits. If you mix it, you’ll end up with a pasty, dense layer. Trust the process.
The butter matters. Use cold butter, not softened or melted. Thin pats are the way to go. If your butter is too thick, it won’t melt evenly before the top burns. If it’s melted, it will just soak into the cake mix and make it soggy. Cold, thin pats are the Goldilocks zone.
Watch your apples. Different apple varieties have different water contents. If you use very juicy apples like McIntosh, you might end up with a slightly soupier bottom layer. That’s fine—it just means a saucier dessert. If you prefer a firmer texture, stick with Granny Smith or Braeburn.
My biggest failure? I once forgot to put the butter on top. I was distracted by a phone call, slid the dish into the oven, and realized my mistake 15 minutes later. I quickly pulled it out, added the butter, and put it back. It still worked, but the top wasn’t as evenly golden. So, don’t forget the butter!
For a crispier top: Sprinkle a tablespoon of coarse sugar (like turbinado) over the butter pats before baking. It adds a lovely crunch that contrasts with the soft apples.
Timing for a party: If you’re hosting, assemble the dish the night before. The next day, you can pop it in the oven about an hour before you want to serve dessert. That way, it has time to cool slightly, and you’re not stuck in the kitchen while everyone else is having fun.
Variations & Adaptations
This recipe is a fantastic base, and I’ve played around with it quite a bit. Here are some of my favorite twists:
- Berry Apple Blend: Swap out one of the apples for a cup of fresh or frozen blueberries or raspberries. The tart berries pair beautifully with the sweet cake topping. Just toss them in with the apples and sugar.
- Spiced Chai Version: Add 1 teaspoon of chai spice blend (or a mix of cardamom, ginger, cloves, and nutmeg) along with the cinnamon. It gives the cake a warm, aromatic depth that’s perfect for fall gatherings.
- Gluten-Free Option: Use a gluten-free yellow cake mix. I’ve tried this with a couple of brands, and they all work well. Just make sure your mix is the same size (15.25 ounces).
- Nutty Crunch: Sprinkle ½ cup of chopped pecans or walnuts over the butter pats before baking. The nuts toast in the oven and add a wonderful texture. I did this for a Thanksgiving brunch, and it was gone in minutes.
- Caramel Drizzle: After the cake has cooled for 15 minutes, drizzle a good-quality caramel sauce over the top. It’s decadent, but honestly, it’s incredible. I use store-bought to keep it easy.
I once tried a version with pears instead of apples, and it was lovely—just a bit softer. If you’re feeling adventurous, give it a shot.
Serving & Storage Suggestions
This cake is best served warm, straight from the oven. The contrast between the warm, soft apples and the slightly crisp topping is what makes it so special. Here’s how I like to serve it:
- Scoop it into bowls. Use a large spoon to get a good cross-section of apples, syrupy sauce, and crunchy topping.
- Top with ice cream. A scoop of vanilla bean ice cream is the classic pairing. The cold creaminess against the warm cake is pure comfort. For a twist, try a scoop of salted caramel or cinnamon ice cream.
- Add a dollop of whipped cream. If you want something lighter, a generous dollop of freshly whipped cream (slightly sweetened) works beautifully.
- Pair with drinks. This cake is fantastic with a hot cup of coffee, a chai latte, or even a glass of cold milk. For a grown-up gathering, a small glass of bourbon or a spiced rum cocktail complements the apple cinnamon flavors perfectly.
Storage: If you have leftovers (which is rare in my house), cover the dish tightly with plastic wrap or transfer the cake to an airtight container. It will keep in the refrigerator for up to 4 days. The topping will soften slightly, but the flavor actually gets better as the spices meld.
Reheating: The best way to reheat is in the oven at 350°F for about 10 to 15 minutes, or until warmed through. You can also use the microwave, but the topping won’t be as crisp. If you’re in a hurry, a 30-second zap in the microwave works fine.
Freezing: This cake freezes surprisingly well. Let it cool completely, then wrap the entire dish (or individual portions) tightly in plastic wrap and then foil. Freeze for up to 3 months. Thaw in the refrigerator overnight and reheat in the oven.
Nutritional Information & Benefits
Let’s be real—this is a dessert, and it’s meant to be enjoyed. But here’s the good news: it’s not as heavy as a traditional apple crisp or pie. A typical serving (about 1/9th of the cake) contains roughly:
- Calories: 380-420
- Fat: 18g
- Carbohydrates: 55g
- Fiber: 3g
- Sugar: 38g
- Protein: 3g
The apples themselves provide a good dose of fiber and vitamin C, and cinnamon is known for its anti-inflammatory properties. The butter and cake mix are what bump up the calories and sugar, but that’s what makes it taste so good. I like to think of it as a treat that also sneaks in a bit of fruit.
If you’re watching your sugar intake, you can reduce the sugar in the apple layer to ¼ cup or use a sugar substitute like monk fruit. The cake mix will still have sugar, but it cuts down the overall amount. For a dairy-free version, use a plant-based butter substitute (I’ve had good luck with Miyoko’s).
This recipe contains gluten (from the cake mix), dairy (from the butter), and tree nuts (if you add the optional pecans). Adjust accordingly for your guests’ needs.
Conclusion
This Overnight Apple Cinnamon Dump Cake is the kind of recipe that makes you look like you put in way more effort than you actually did. It’s the dessert equivalent of a warm hug—simple, comforting, and always appreciated. Whether you’re hosting a big holiday dinner, bringing something to a potluck, or just want a cozy treat on a chilly evening, this cake delivers every single time.
I love it because it reminds me that cooking doesn’t have to be complicated to be memorable. Sometimes the best dishes come from a moment of panic and a box of cake mix. So go ahead, give it a try. Customize it with your favorite nuts or spices. Serve it with a scoop of ice cream and watch your guests’ faces light up. And when they ask for the recipe, you can smile and tell them the secret: it only took ten minutes.
I’d love to hear how it turns out for you! Drop a comment below and let me know what variations you tried, or tag me in your photos on social media. Happy baking, friend!
Frequently Asked Questions
Can I use a different flavor of cake mix?
Absolutely. A spice cake mix is a fantastic alternative that adds even more warm flavor. A white or butter cake mix would also work, though the flavor will be milder.
Do I have to peel the apples?
I recommend it for the best texture. The peels can become tough and chewy during baking. If you’re in a huge rush, you can leave them on, but the result won’t be as pleasant.
Can I make this in a slow cooker?
Yes! You can assemble it in a slow cooker and cook on low for 2-3 hours or on high for 1.5-2 hours. The top won’t get as golden and crisp, but it will still be delicious. Prop the lid open slightly with a wooden spoon to let steam escape.
Why is my cake topping soggy?
This usually happens if the butter wasn’t distributed evenly, or if the cake sat in the refrigerator too long before baking. Make sure your butter pats cover the entire surface. Also, if you’re making it overnight, don’t let it sit in the fridge for more than 24 hours before baking.
Can I double this recipe for a larger crowd?
Yes, just double all the ingredients and use a larger baking dish (like a 12×17-inch half-sheet pan). You may need to increase the baking time by 10-15 minutes. Keep an eye on it and test the apples for tenderness.
Pin This Recipe!
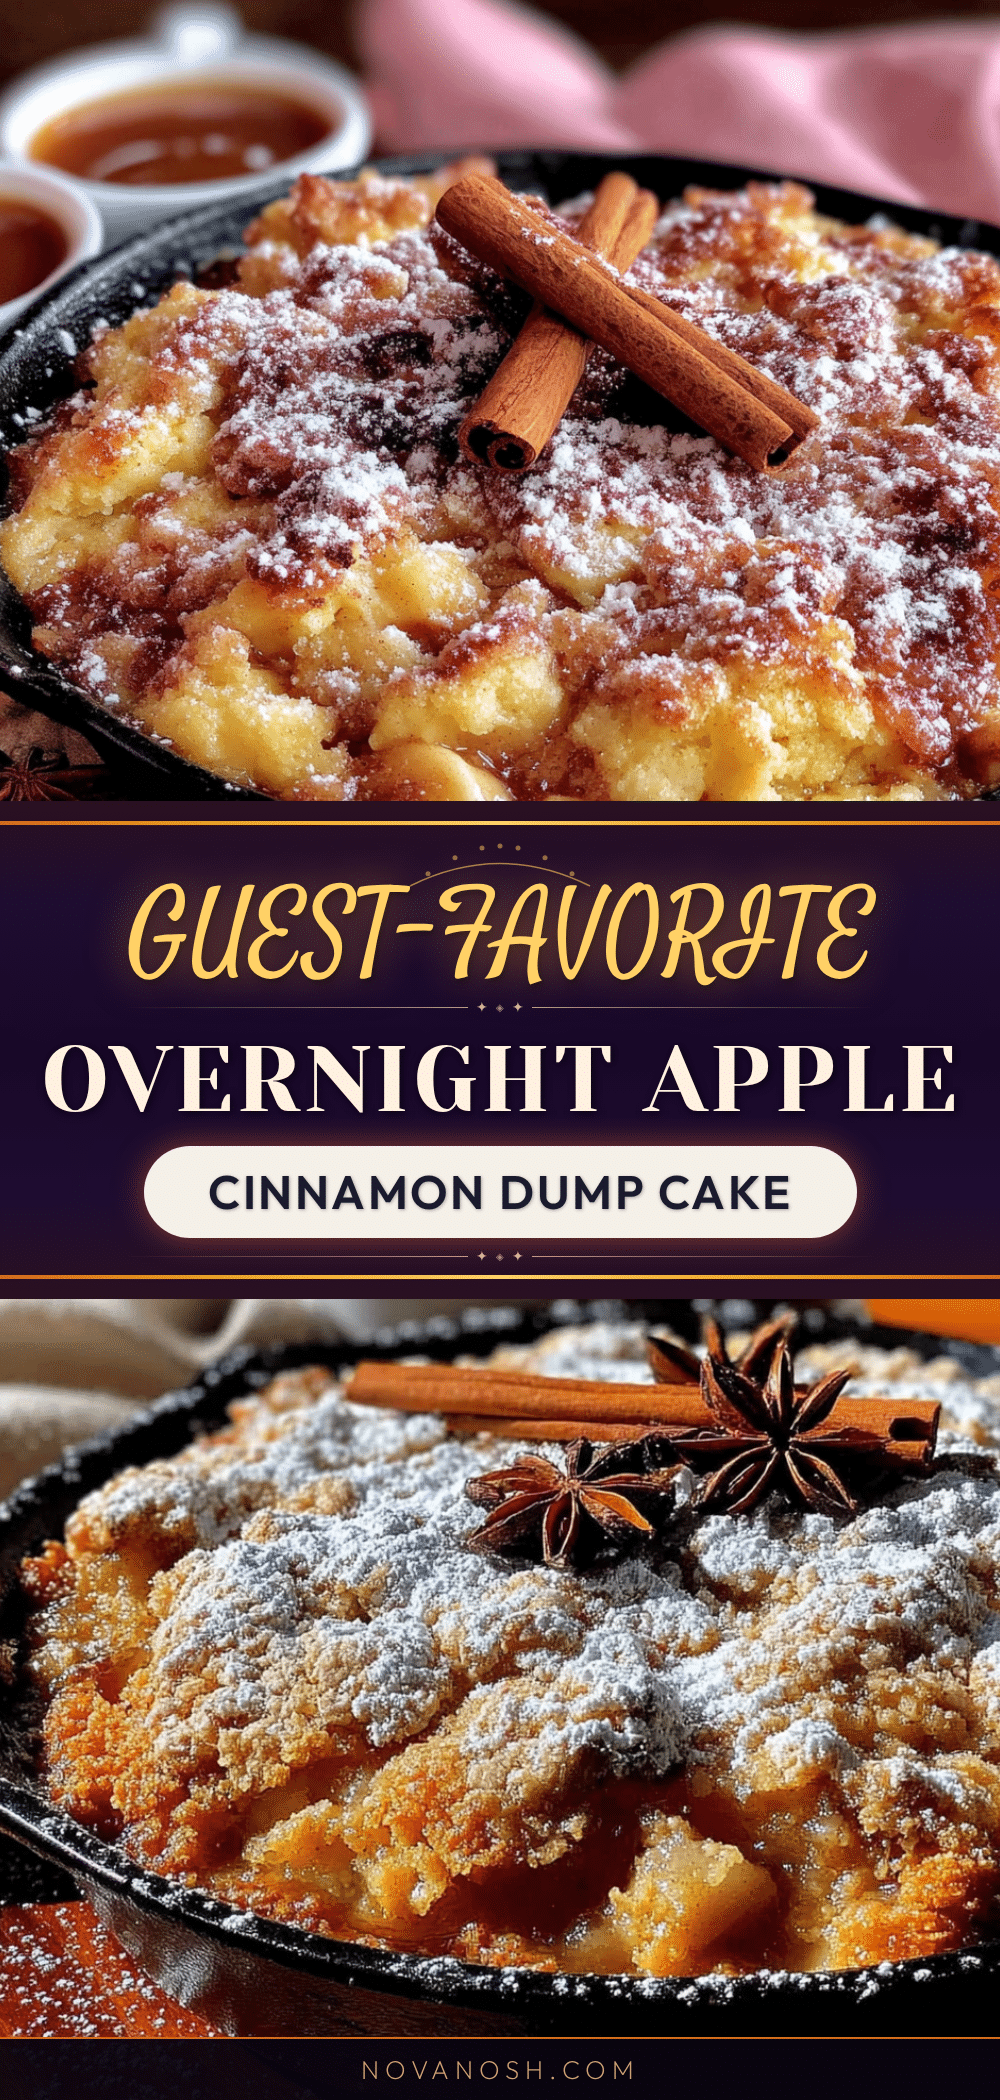
Overnight Apple Cinnamon Dump Cake

An incredibly easy, crowd-pleasing dessert made with simple ingredients like apples, butter, and a boxed yellow cake mix. Perfect for hosting, it can be assembled the night before and baked to golden, bubbly perfection.
- Prep Time: 15 minutes
- Cook Time: 45 minutes
- Total Time: 1 hour
- Yield: 9 servings 1x
- Category: Dessert
- Cuisine: American
Ingredients
- 4 to 5 medium apples (mix of Granny Smith and Honeycrisp), peeled, cored, and sliced into ¼-inch wedges
- ½ cup granulated sugar
- 2 teaspoons ground cinnamon
- 1 tablespoon lemon juice
- 1 box (15.25 ounces) yellow cake mix
- ¾ cup (1.5 sticks) unsalted butter, cold and cut into thin pats
- Optional: ½ cup chopped pecans or walnuts
- Optional: 1 tablespoon coarse sugar (like turbinado) for topping
Instructions
- Preheat your oven to 350°F (175°C). If making overnight, skip this step until ready to bake; let the assembled dish sit at room temperature for 20 minutes before baking.
- Peel, core, and slice apples into thin wedges (about ¼-inch thick). Place in a mixing bowl.
- Add ½ cup granulated sugar, 2 teaspoons cinnamon, and 1 tablespoon lemon juice to the apples. Stir until evenly coated. Let sit for 5 minutes to release juices.
- Spread the seasoned apple slices evenly in a single layer in a 9×13-inch baking dish. Do not pour the leftover juices yet.
- Pour the remaining sugary-cinnamon liquid from the bowl evenly over the apples.
- Sprinkle the dry yellow cake mix evenly over the apples. Do not stir.
- Arrange the cold butter pats evenly over the entire surface of the dry cake mix, covering as much as possible.
- Bake for 40 to 45 minutes, until the top is deep golden brown and the edges are bubbly. If the top browns too quickly, tent loosely with foil for the last 10 minutes.
- Let the cake cool on a wire rack for 15 to 20 minutes before serving to allow the syrupy layer to thicken.
Notes
Don’t overmix the topping; let the butter melt on top for a crunchy texture. Use cold butter cut into thin pats. For a crispier top, sprinkle coarse sugar over the butter before baking. If making overnight, cover and refrigerate the unbaked dish for up to 24 hours; add 5-10 minutes to baking time. For a gluten-free version, use a gluten-free yellow cake mix of the same size.
Nutrition
- Serving Size: 1/9 of cake
- Calories: 400
- Sugar: 38
- Sodium: 320
- Fat: 18
- Saturated Fat: 11
- Carbohydrates: 55
- Fiber: 3
- Protein: 3
Keywords: apple cinnamon dump cake, easy dump cake, overnight dump cake, apple dessert, crowd-pleaser dessert


