Love this? Save it for later!
Share the inspiration with your friends
I was standing in the baking aisle of my local grocery store last Tuesday when a woman walked past me, and the air shifted. It was the faint, warm scent of vanilla and brown sugar clinging to her sweater—she must have been baking earlier that day. And suddenly I was seven years old, sitting cross-legged on the cool linoleum floor of my Aunt Louise’s tiny apartment, watching her bare feet shuffle back and forth from the counter to the oven. She’d let me lick the spatula, and I remember thinking the dough was the best part of the whole process. She died three years ago, and I haven’t thought about those afternoons in a long time. But that accidental whiff of sugar in aisle four hit me like a wave, and I knew I had to try and get that feeling back—not just the cookie, but the whole quiet, cozy ritual of making them with someone who had all the time in the world just for you.
So I went home and started testing. I wanted a small batch of chocolate chip cookies—not a dozen, not two dozen, just enough to fill the house with that smell and maybe satisfy a craving without having a mountain of leftovers staring at me from the counter. Honestly, I messed up the first two batches. Too flat, then too cakey. But the third time? That was it. The edges were golden and crisp, the centers were soft and chewy, and the chocolate was still slightly melted in places. I grabbed one straight off the tray and burned my tongue, and I didn’t even care. Maybe you’ve been there—chasing a taste from your past that you can’t quite describe but you’d know the second it hit your mouth. That’s what these cookies are for me now. They’re my little time machine, and fall feels like the perfect season to climb inside it.
Why You’ll Love This Recipe
Let me tell you why this small batch of chocolate chip cookies has become my go-to for cozy fall afternoons. I’ve tested this recipe more times than I care to admit, and I can say with confidence that it delivers everything you want from a cookie without the fuss of a full-sized batch.
- Quick & Easy: From start to finish, you’re looking at about 25 minutes. No chilling required, which is a game-changer when you get a sudden cookie craving on a chilly Tuesday evening.
- Simple Ingredients: You probably have everything in your pantry right now. Butter, sugar, an egg, flour, chocolate chips—nothing fancy, nothing that requires a special trip to the store.
- Perfect for Fall Baking: These cookies are made for those crisp afternoons when you want to warm up the kitchen without spending hours doing it. They’re great for a quiet afternoon treat or when you have one friend coming over for coffee.
- Crowd-Pleaser: I brought a batch to my book club last week, and they were gone before we even finished discussing chapter three. People kept asking for the recipe, and I loved telling them how simple it was.
- Unbelievably Delicious: The texture here is what gets me every time. The edges have that slight crunch, the middle stays soft and tender, and the chocolate distributes perfectly in every bite.
What makes this version different from the hundreds of other chocolate chip cookie recipes out there? It’s the technique of browning the butter. I know, it sounds like an extra step, but trust me—it adds this nutty, caramel-like depth that makes the cookies taste like you spent way more effort than you actually did. Plus, using a mix of white and brown sugar gives you that perfect balance of sweetness and chewiness. This isn’t just another cookie recipe; it’s the one that makes you close your eyes after the first bite and remember why fall baking feels so good.
What Ingredients You Will Need
This small batch chocolate chip cookie recipe uses simple, wholesome ingredients to deliver that bakery-quality taste without the fuss. Most of these are pantry staples, which means you can whip up a batch whenever the mood strikes.
For the Cookie Dough
- Unsalted butter, 5 tablespoons (70g) – I use unsalted so I can control the salt level. You’ll be browning this, so don’t skip that step—it’s where the magic happens.
- Granulated sugar, 3 tablespoons (40g) – Adds sweetness and helps with that slight crispiness on the edges.
- Light brown sugar, 3 tablespoons (45g), packed – This is what gives the cookies their chewy texture and that deep, molasses-like flavor. I prefer Domino brand for consistent results.
- Large egg yolk, 1 – Using just the yolk instead of the whole egg makes the cookies richer and more tender. Save the white for scrambled eggs tomorrow.
- Vanilla extract, 1 teaspoon – Pure vanilla makes a difference here. I like Nielsen-Massey, but any good quality extract works.
- All-purpose flour, ½ cup plus 2 tablespoons (80g) – Spoon and level your flour—don’t scoop straight from the bag or you’ll end up with dry cookies.
- Baking soda, ¼ teaspoon – Helps the cookies spread just enough without getting too flat.
- Salt, ¼ teaspoon – Balances the sweetness and brings out the chocolate flavor. I use fine sea salt.
- Semi-sweet chocolate chips, ½ cup (90g) – You can use milk chocolate or dark chocolate if you prefer. I’ve also used chopped chocolate bars for those melty pools of chocolate—highly recommend.
Optional Add-Ins
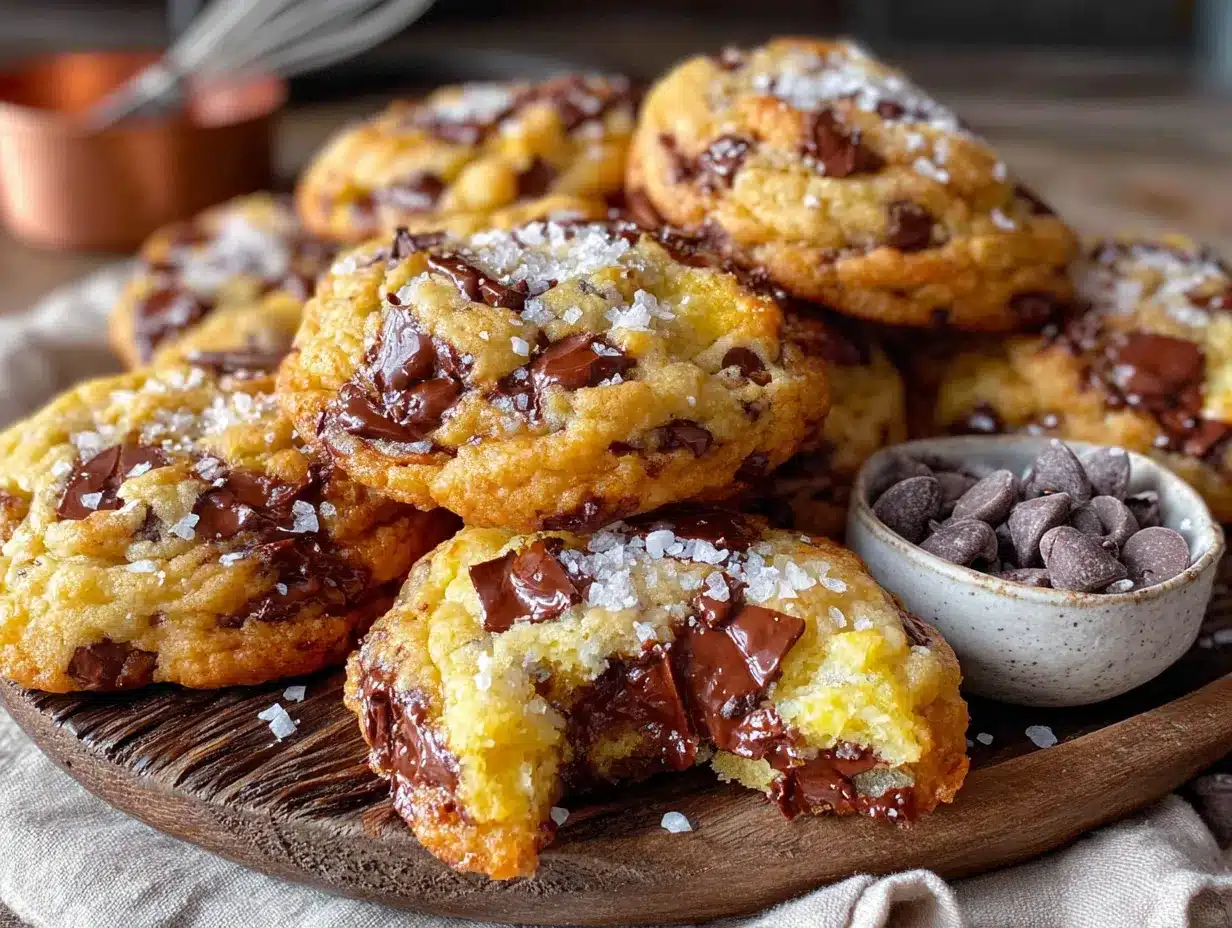
- Flaky sea salt, for sprinkling – A pinch on top right when they come out of the oven takes these cookies to another level. Trust me on this one.
- Chopped pecans or walnuts, ¼ cup – Fall vibes, right? Toast them lightly first for extra flavor.
For the chocolate, I’ve tested this with Ghirardelli semi-sweet chips and with a chopped 70% dark chocolate bar. Both work great, but the chopped bar gives you those uneven, melty pockets that feel extra luxurious. If you’re using a dairy-free chocolate, make sure it’s a brand you trust for melting—some don’t hold up as well in baking.
Equipment Needed
You don’t need much for these small batch chocolate chip cookies, which is part of the beauty. Here’s what I use:
- Small saucepan – For browning the butter. A light-colored pan helps you see when the butter turns that golden amber color.
- Mixing bowls – One medium bowl for the dry ingredients and one larger bowl for the wet ingredients. I use glass bowls because they’re easy to clean and don’t hold odors.
- Whisk – For combining the dry ingredients and for mixing the wet ingredients smoothly.
- Rubber spatula – For folding in the chocolate chips and scraping every last bit of dough from the bowl.
- Baking sheet – A standard half-sheet pan works perfectly. I like the ones from Nordic Ware because they don’t warp in the oven.
- Parchment paper or silicone baking mat – Parchment paper is my go-to because it makes cleanup a breeze and prevents sticking without adding extra grease.
- Cookie scoop or tablespoon – A 1.5-tablespoon scoop gives you evenly sized cookies. If you don’t have one, just use a regular tablespoon and shape them by hand.
- Cooling rack – Lets the cookies cool evenly so the bottoms don’t get soggy.
If you don’t have a small saucepan, you can brown the butter in any small skillet—just watch it carefully because it can go from brown to burnt fast. And if you don’t have a cooling rack, a clean kitchen towel works in a pinch, though the bottoms might not be as crisp.
Preparation Method
Alright, let’s make these cookies. I’ll walk you through each step so you get that perfect result every time.
- Brown the butter. Place the 5 tablespoons of butter in a small saucepan over medium heat. Let it melt completely, then continue cooking, swirling the pan occasionally. You’ll see it foam up, then subside, then start to turn golden. This takes about 4-5 minutes. Watch for little brown specks forming at the bottom and a nutty aroma—that’s your cue. Immediately remove it from the heat and pour it into a heat-safe bowl to stop the cooking. Let it cool for 5 minutes. Don’t skip the cooling step, or the heat will cook the egg yolk when you add it.
- Mix the sugars and butter. Add the granulated sugar and packed brown sugar to the warm browned butter. Whisk until everything is combined and looks like wet sand. The mixture should be smooth and slightly glossy. If you see any lumps, keep whisking.
- Add the egg yolk and vanilla. Drop in the egg yolk and the teaspoon of vanilla extract. Whisk vigorously for about 30 seconds until the mixture becomes thick, smooth, and slightly lighter in color. This is where the emulsion happens—you want it to look like caramel sauce.
- Combine the dry ingredients. In a separate small bowl, whisk together the ½ cup plus 2 tablespoons of flour, ¼ teaspoon baking soda, and ¼ teaspoon salt. Make sure there are no clumps of baking soda—those can leave a metallic taste in your cookies.
- Add dry ingredients to wet. Pour the flour mixture into the butter mixture. Use your rubber spatula to fold everything together gently. Stir just until you no longer see streaks of flour—overmixing will make the cookies tough. The dough will be thick and slightly sticky, which is exactly what you want.
- Fold in the chocolate chips. Add the ½ cup of chocolate chips (and nuts if you’re using them). Fold them in with the spatula until they’re evenly distributed. Don’t overmix here either—just a few folds should do it.
- Portion the dough. Use your cookie scoop or a tablespoon to scoop out 6 equal portions of dough. Each portion should be about 2 tablespoons. Place them on a parchment-lined baking sheet, spacing them about 2 inches apart. These cookies spread a little, so give them room.
- Bake. Place the baking sheet in the preheated 350°F (175°C) oven. Bake for 10-12 minutes. At 10 minutes, the edges should be golden brown and the centers should still look slightly underdone and puffy. That’s perfect—they’ll continue to set as they cool. If you like crispier cookies, go to 12 minutes.
- Cool on the baking sheet. Let the cookies rest on the hot baking sheet for 5 minutes. This is crucial—if you try to move them right away, they’ll fall apart. During this time, you can sprinkle a pinch of flaky sea salt on top if you want that sweet-salty combo.
- Transfer to a cooling rack. After 5 minutes, use a spatula to move the cookies to a wire rack to cool completely. Or, let’s be honest, eat one while it’s still warm. I always do.
The dough will be sticky, so if you’re having trouble scooping it, wet your hands slightly or chill the dough for 10 minutes. I’ve made this mistake before—trying to scoop with dry hands—and it’s a mess. Learn from me.
Cooking Tips & Techniques
I’ve made a lot of mistakes with small batch chocolate chip cookies so you don’t have to. Here are the lessons I learned the hard way.
Don’t skip browning the butter. I know it seems like an extra step, but it’s what gives these cookies their deep, toffee-like flavor. The first time I tried this recipe, I was in a hurry and used melted butter instead. The cookies were fine, but they were just regular cookies. The browned butter version? That’s the one people ask for. Just watch it carefully—once it starts turning amber, it can burn in seconds. I ruined a batch last fall because I looked away to answer a text. Not worth it.
Measure your flour correctly. This is the most common mistake I see people make. If you scoop your measuring cup directly into the flour bag, you’ll pack in way too much, and your cookies will be dry and cakey. Instead, fluff the flour with a spoon, then spoon it into the measuring cup and level it off with a knife. It takes an extra 10 seconds, and it makes a huge difference.
Let the cookies rest on the pan. I know it’s tempting to grab them right away, but those 5 minutes on the hot baking sheet are essential. The cookies continue to cook from the residual heat, setting the centers without over-baking the edges. I learned this after a batch of cookies that looked perfect in the oven but turned into a crumbly mess when I tried to move them too soon. Patience pays off here.
Use room temperature egg yolk. If your egg is straight from the fridge, the cold yolk can seize the browned butter and make the dough hard to mix. Let the egg sit out for 15 minutes, or place it in a bowl of warm water for 5 minutes. Small detail, but it helps everything come together smoothly.
Variations & Adaptations
One of the best things about this small batch chocolate chip cookie recipe is how easy it is to change up. Here are some of my favorite variations.
Gluten-Free Version: Substitute the all-purpose flour with a good quality 1-to-1 gluten-free flour blend. I’ve had great results with Bob’s Red Mill. The cookies will be slightly more delicate, so let them cool completely on the pan before moving them.
Vegan Adaptation: Use vegan butter (I like Miyoko’s) and replace the egg yolk with 1 tablespoon of aquafaba (the liquid from a can of chickpeas) mixed with 1 teaspoon of cornstarch. The texture won’t be exactly the same—slightly less chewy—but they’re still delicious. I tested this version for a friend with dairy and egg allergies, and she said they were the best vegan cookies she’d ever had.
Fall Spice Twist: Add ½ teaspoon of cinnamon and ¼ teaspoon of nutmeg to the dry ingredients. This gives the cookies a warm, spiced flavor that’s perfect for autumn. I made these for a Halloween party last year, and they disappeared faster than the candy.
Double Chocolate: Replace 1 tablespoon of the flour with 1 tablespoon of unsweetened cocoa powder. Use white chocolate chips instead of semi-sweet for a fun contrast. These feel extra indulgent and are great for chocolate lovers.
Bigger Batch: If you want more than 6 cookies, simply double all the ingredients. The baking time stays the same—just make sure you don’t overcrowd the baking sheet. I do this when I’m bringing cookies to a gathering.
Serving & Storage Suggestions
These small batch chocolate chip cookies are best served warm, right after they’ve cooled for about 10 minutes. The chocolate is still soft, the edges are crisp, and the center is perfectly chewy. I like to serve them with a cold glass of milk or, for a fall twist, a warm mug of spiced apple cider. They’re also amazing crumbled over vanilla ice cream for a quick dessert.
For storage, keep the cookies in an airtight container at room temperature. They’ll stay fresh for up to 3 days, though honestly, they never last that long in my house. If you want to keep them longer, you can freeze the baked cookies for up to 2 months. Just place them in a freezer-safe bag with parchment paper between layers. Thaw at room temperature for about 15 minutes, then warm them in a 300°F oven for 5 minutes to refresh the texture.
You can also freeze the raw dough. Scoop it into portions, place them on a baking sheet, and freeze until solid. Then transfer the dough balls to a freezer bag. When you’re ready to bake, just add 2-3 minutes to the baking time—no need to thaw. This is my secret weapon for last-minute cookie emergencies.
One thing I’ve noticed: the cookies actually taste even better the next day. The flavors meld together, and the texture softens slightly. So if you can resist eating them all on day one, you’re in for a treat on day two.
Nutritional Information & Benefits
Here’s the approximate nutritional breakdown for one cookie (based on 6 cookies per batch):
- Calories: 215
- Fat: 13g
- Carbohydrates: 24g
- Protein: 3g
- Sugar: 15g
- Sodium: 135mg
While these aren’t health food, there are some bright spots. The brown butter adds a small amount of vitamin A, and the dark chocolate provides antioxidants and a little bit of iron. Using a high-quality chocolate with at least 60% cocoa gives you more flavonoids, which are good for heart health.
If you’re watching your sugar intake, you can reduce the granulated sugar to 2 tablespoons, but the texture will be slightly less crisp. For a lower-fat option, you can substitute 2 tablespoons of the butter with applesauce, though the cookies will be more cake-like. This recipe is vegetarian and can be made gluten-free or vegan with the substitutions mentioned earlier. It contains dairy, eggs, and gluten in its standard form.
I believe in balance—these cookies are a treat, and there’s nothing wrong with enjoying them mindfully. Pair one with a piece of fruit or a handful of nuts for a more balanced snack.
Frequently Asked Questions
Can I make these cookies without browning the butter?
Yes, you can use 5 tablespoons of melted butter instead. The cookies will still taste good, but you’ll miss out on that nutty, caramel-like depth that makes these cookies special. If you’re short on time, it’s fine, but I really recommend trying the browned butter version at least once.
Why did my cookies turn out flat?
Flat cookies usually mean the butter was too warm when you mixed the dough, or you used too much sugar. Make sure your browned butter has cooled for at least 5 minutes before adding the egg yolk. Also, check that your baking soda is fresh—old baking soda loses its leavening power.
Can I use salted butter instead of unsalted?
You can, but reduce the added salt to a pinch or omit it entirely. Salted butter has varying amounts of salt depending on the brand, so it’s harder to control the final flavor. I prefer unsalted for consistency, but if salted is all you have, go for it.
How do I get perfectly round cookies?
Right after the cookies come out of the oven, use a round cookie cutter or a glass that’s slightly larger than the cookies to gently scoot them into a perfect circle. This works best while the cookies are still hot and soft. I do this with a 3-inch round cutter, and it gives them that bakery look.
Can I double this recipe?
Absolutely. Just double every ingredient. The baking time stays the same, but you may need to bake in batches depending on the size of your oven and baking sheets. This is my go-to when I need cookies for a party or a bake sale.
Conclusion
These perfect small batch chocolate chip cookies have become my favorite fall tradition—a little taste of comfort that brings back good memories without requiring a whole afternoon in the kitchen. They’re simple enough for a Tuesday night, special enough to share, and they fill your home with that warm, cozy smell that makes autumn feel like home. I love that I can make just six cookies when I want that nostalgic feeling without having a week’s worth of temptation sitting on my counter. That first bite, with the slightly crisp edge and the soft, chocolate-studded center, always makes me smile—and I hope it does the same for you.
I’d love to hear how these turn out for you. Did you add any fun mix-ins? Did you try the flaky salt on top? Drop a comment below and let me know—I read every single one, and your ideas often inspire my next batch. And if you’re looking for more cozy fall baking ideas, you might enjoy my pumpkin spice muffins or this apple cider donuts recipe. Happy baking, friends!
Pin This Recipe!
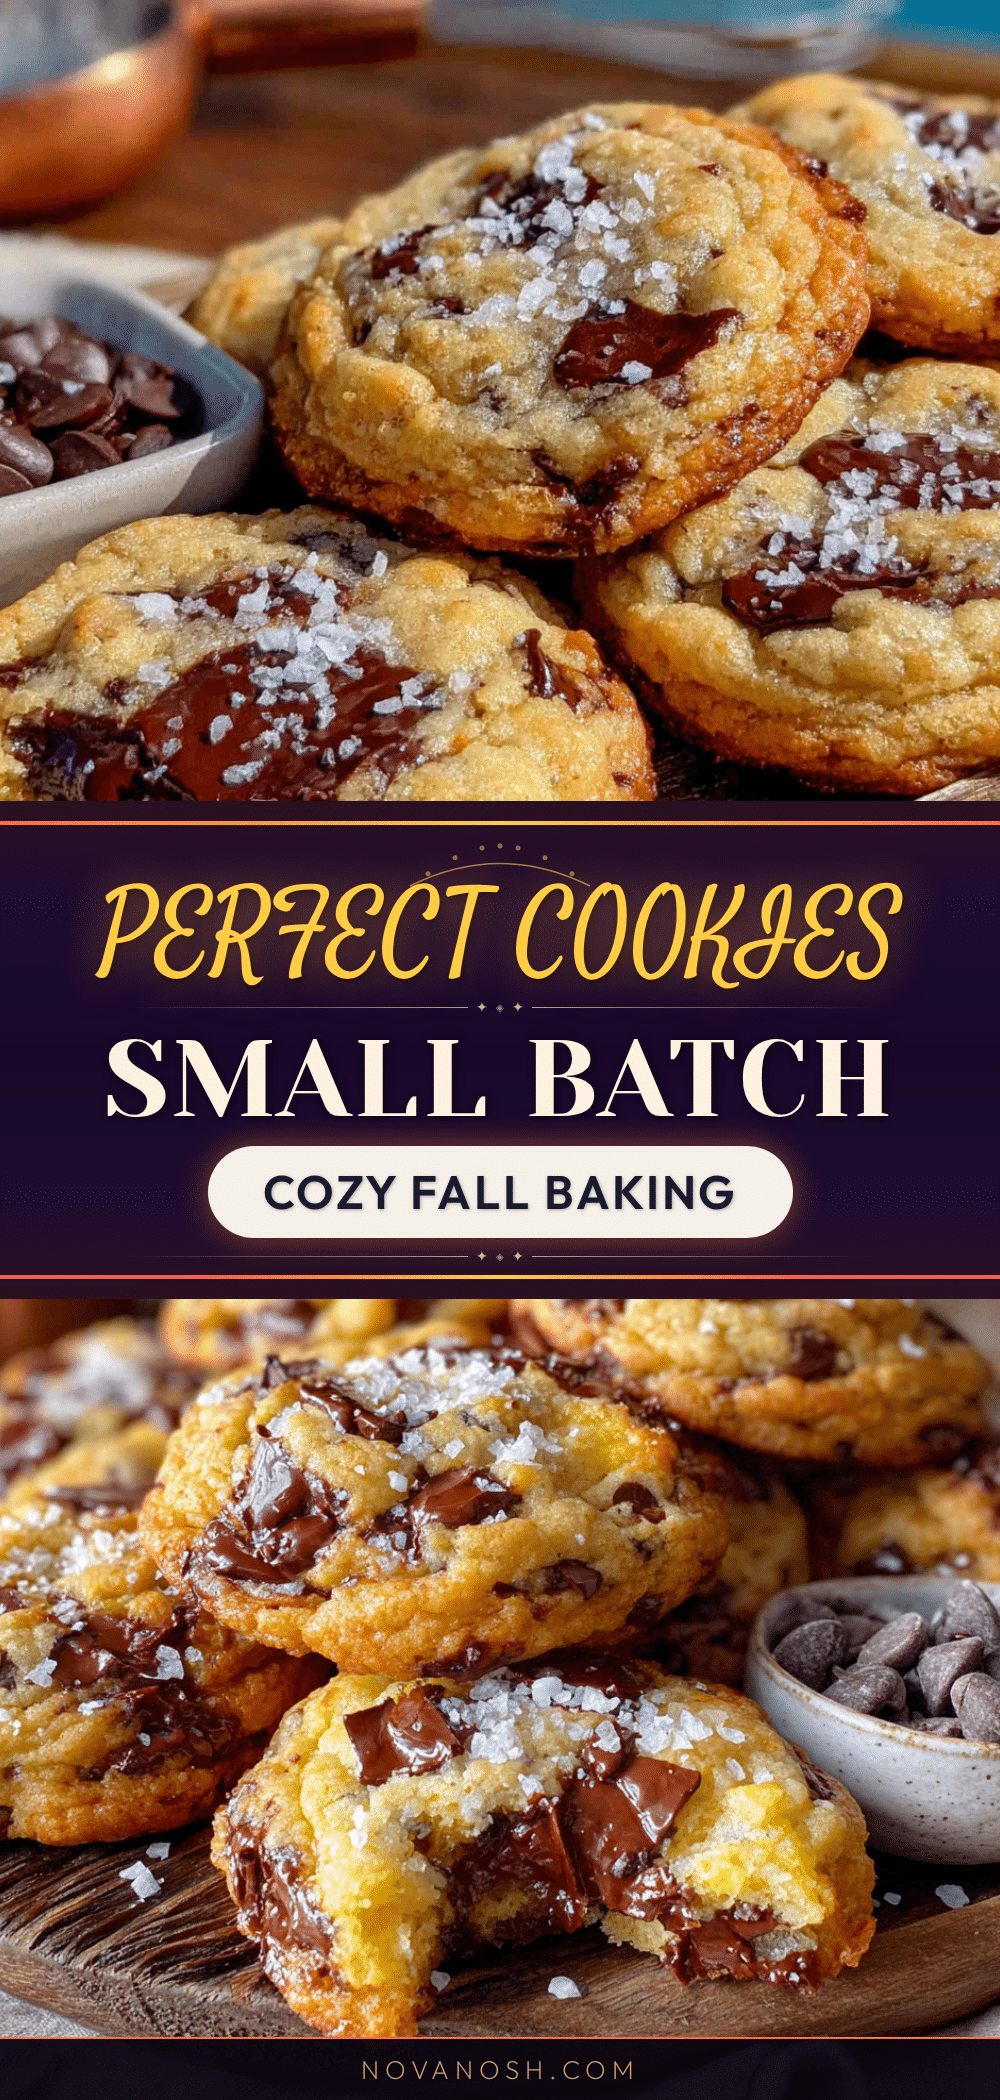
Perfect Small Batch Chocolate Chip Cookies for Fall Baking
These small batch chocolate chip cookies deliver perfectly crisp edges, soft and chewy centers, and melted chocolate in every bite. Made with browned butter for a nutty, caramel-like depth, this quick and easy recipe yields just six cookies—perfect for a cozy fall afternoon treat.
- Prep Time: 15 minutes
- Cook Time: 10-12 minutes
- Total Time: 25-27 minutes
- Yield: 6 cookies 1x
- Category: Dessert
- Cuisine: American
Ingredients
- 5 tablespoons (70g) unsalted butter
- 3 tablespoons (40g) granulated sugar
- 3 tablespoons (45g) light brown sugar, packed
- 1 large egg yolk
- 1 teaspoon vanilla extract
- ½ cup plus 2 tablespoons (80g) all-purpose flour
- ¼ teaspoon baking soda
- ¼ teaspoon salt
- ½ cup (90g) semi-sweet chocolate chips
- Flaky sea salt, for sprinkling (optional)
- ¼ cup chopped pecans or walnuts (optional)
Instructions
- Brown the butter: Place 5 tablespoons of butter in a small saucepan over medium heat. Melt completely, then continue cooking, swirling occasionally, until it foams, subsides, and turns golden with brown specks and a nutty aroma (about 4-5 minutes). Immediately remove from heat and pour into a heat-safe bowl. Let cool for 5 minutes.
- Mix the sugars and butter: Add granulated sugar and packed brown sugar to the warm browned butter. Whisk until combined and smooth, like wet sand.
- Add the egg yolk and vanilla: Add egg yolk and vanilla extract. Whisk vigorously for about 30 seconds until thick, smooth, and slightly lighter in color (like caramel sauce).
- Combine dry ingredients: In a separate small bowl, whisk together flour, baking soda, and salt until no clumps remain.
- Add dry ingredients to wet: Pour flour mixture into butter mixture. Fold gently with a rubber spatula just until no streaks of flour remain. Dough will be thick and slightly sticky.
- Fold in chocolate chips: Add chocolate chips (and nuts if using). Fold until evenly distributed, being careful not to overmix.
- Portion the dough: Using a cookie scoop or tablespoon, scoop 6 equal portions (about 2 tablespoons each) onto a parchment-lined baking sheet, spacing 2 inches apart.
- Bake: Place in a preheated 350°F (175°C) oven. Bake for 10-12 minutes. At 10 minutes, edges should be golden brown and centers slightly underdone and puffy.
- Cool on baking sheet: Let cookies rest on the hot baking sheet for 5 minutes. Sprinkle with flaky sea salt if desired.
- Transfer to cooling rack: After 5 minutes, move cookies to a wire rack to cool completely. Enjoy one warm!
Notes
Don’t skip browning the butter—it adds a nutty, caramel-like depth. Measure flour correctly by spooning and leveling to avoid dry cookies. Let cookies rest on the pan for 5 minutes to set properly. Use room temperature egg yolk for best results. Cookies taste even better the next day.
Nutrition
- Serving Size: 1 cookie
- Calories: 215
- Sugar: 15
- Sodium: 135
- Fat: 13
- Saturated Fat: 8
- Carbohydrates: 24
- Fiber: 1
- Protein: 3
Keywords: small batch chocolate chip cookies, fall baking, browned butter cookies, easy cookie recipe, 6 cookies


