Love this? Save it for later!
Share the inspiration with your friends
I was standing in line at the post office last November, clutching a box of holiday cards and trying not to drop my keys, when the woman behind me—a retired schoolteacher named Margaret with the kindest eyes—started talking about her annual Friendsgiving tradition. I wasn’t expecting cooking advice from a stranger in line, but there I was, shifting my weight from one foot to the other, listening to her describe exactly how she built a fruit charcuterie board that nobody could stop talking about. She called it her “no-stress centerpiece,” and honestly, the way she described it—crisp apple slices, juicy pears, a drizzle of honey, and a scattering of nuts—sounded like the exact thing I’d been craving for my own Friendsgiving gathering. I scribbled her tips on the back of an envelope, and let me tell you, that scribbled envelope changed my hosting game forever.
Margaret’s secret was simple: forget the heavy cheeses and cured meats for once. Go light, go fresh, and let the fruit do the heavy lifting. The result was this Light & Easy Friendsgiving Fall Fruit Charcuterie Board, a spread that feels festive without the food coma. I’ve made it every year since, tweaking it just a little, and it always gets the same reaction—people hovering around the table, grabbing another slice of pear, asking for the recipe. Maybe you’ve been there, staring down a grocery list that feels endless before a holiday meal. This board is the opposite of that. It’s the thing you put together in twenty minutes that somehow looks like you spent all afternoon.
That first time I made it, I forgot the honey. Ran back to the kitchen mid-gathering, drizzled it right in front of everyone, and called it a “live garnish moment.” Nobody cared. They were too busy reaching for another cinnamon-dusted apple wedge. That’s the kind of recipe this is—forgiving, flexible, and genuinely good. It stayed with me because it made hosting feel easy again. And honestly, isn’t that what we all want?
Why You’ll Love This Recipe
This isn’t your typical charcuterie board loaded with heavy meats and triple-cream cheeses. It’s a lighter, fresher take that still feels special—perfect for Friendsgiving when you want to graze without overdoing it. I’ve tested this board at multiple gatherings, from casual weeknight dinners to full-blown holiday parties, and it never fails to draw a crowd. Here’s why it works so well:
- Quick & Easy : Comes together in under 20 minutes, which is a lifesaver when you’re juggling a dozen other dishes. Just wash, slice, and arrange.
- Simple Ingredients : No fancy grocery trips needed. You can find everything at your local market—apples, pears, grapes, nuts, and a few seasonal extras. Most of it you might already have.
- Perfect for Friendsgiving : It’s the ideal appetizer or dessert spread for a casual gathering with friends. Light enough to enjoy alongside other dishes, but substantial enough to stand on its own.
- Crowd-Pleaser : Gluten-free, dairy-free, and naturally sweet—this board works for almost every dietary need. I’ve watched kids and adults alike fight over the last honey-drizzled fig.
- Unbelievably Delicious : The combo of crisp apples, juicy pears, tart cranberries, and creamy nut butter is next-level comfort food. It’s sweet, tangy, and satisfying all at once.
What makes this different from every other fruit board out there? It’s all about the balance. Instead of just throwing fruit on a platter, I layer textures and flavors—crunchy nuts against soft cheese, tart pomegranate seeds against sweet honey. The cinnamon dusting is my secret weapon. It ties everything together and makes the whole board smell like fall. This isn’t just another version of a fruit platter. It’s the best version—tested, tweaked, and loved by everyone who tries it.
This recipe is the kind that makes you close your eyes after the first bite. It’s comfort food reimagined—lighter, fresher, but with the same soul-soothing satisfaction. Perfect for impressing your friends without the stress, or turning a simple fall gathering into something memorable.
What Ingredients You Will Need
This recipe uses simple, wholesome ingredients to deliver bold flavor and satisfying texture without the fuss. Most are pantry staples or easy to find at any grocery store during fall. Here’s what you’ll need to build the perfect Light & Easy Friendsgiving Fall Fruit Charcuterie Board:
For the Fruit Base
- 2 large Honeycrisp apples, thinly sliced (I recommend Honeycrisp for their sweet-tart balance and crunch; Fuji or Gala work too)
- 2 ripe Bartlett or Bosc pears, thinly sliced (look for pears that yield slightly to pressure at the stem for peak ripeness)
- 1 cup red seedless grapes, washed and left in small clusters
- 1 cup green seedless grapes, washed and left in small clusters
- 1 cup fresh figs, halved (if in season; otherwise, dried Mission figs work beautifully)
- 1/2 cup fresh cranberries (adds a pop of tart color and texture)
- 1/2 cup pomegranate arils (fresh or refrigerated packs—both work great)
For the Accompaniments
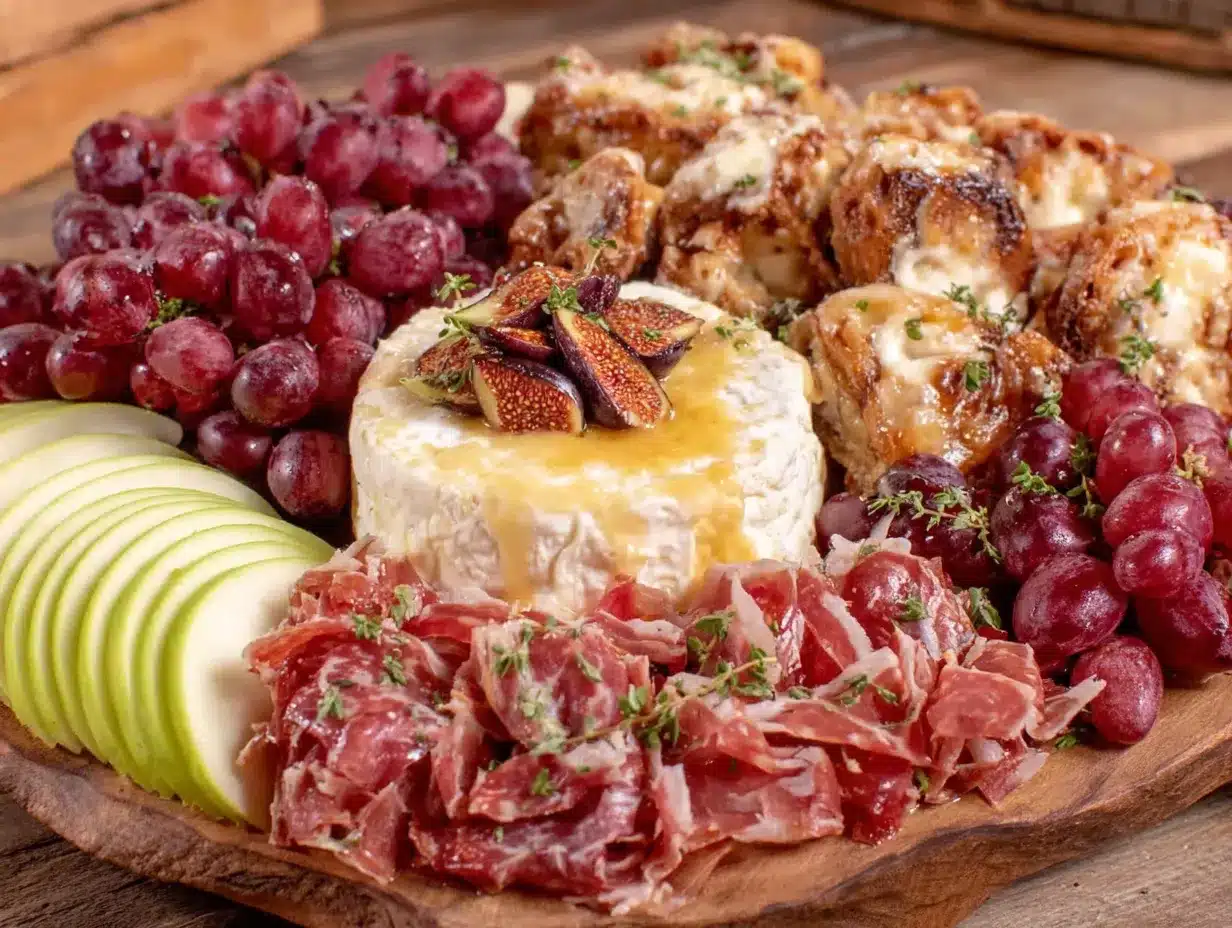
- 1/2 cup raw almonds (toasted lightly for extra crunch)
- 1/2 cup pecans (halved or whole)
- 1/4 cup pumpkin seeds (pepitas)
- 4 oz sharp cheddar cheese, sliced into thin wedges (optional, for a savory balance—I like Cabot or Tillamook)
- 4 oz goat cheese, softened (creamy and tangy, pairs beautifully with the fruit)
- 2 tablespoons honey (local honey adds a lovely floral note)
- 1 tablespoon balsamic glaze (optional, for drizzling over cheese or fruit)
For the Garnish & Flavor
- 1 teaspoon ground cinnamon (for dusting over apples and pears)
- Fresh mint leaves (a handful, for garnish)
- Edible flowers (optional, for a pretty presentation—nasturtiums or pansies work well)
Substitution Guidance: For a nut-free version, swap almonds and pecans with roasted chickpeas or sunflower seeds. Use dairy-free cheese alternatives or skip the cheese entirely for a vegan board. If fresh figs aren’t available, dried figs or sliced dates are excellent substitutes. For a lower-sugar option, reduce the honey drizzle or skip it—the fruit is naturally sweet enough.
Sourcing Tip: I prefer buying apples and pears from local farmers’ markets in the fall—they’re often picked at peak ripeness and have way more flavor than grocery store varieties. But honestly, whatever you find at the store works just fine.
Equipment Needed
You don’t need fancy equipment to build this board. Here’s what I use and what you can substitute:
- A large wooden cutting board or serving platter (at least 12×18 inches—I use a reclaimed wood board from a local craftsman, but any large platter works)
- A sharp chef’s knife (for slicing apples and pears; a serrated knife works well for figs)
- Small bowls or ramekins (for honey, balsamic glaze, and nuts—I use 4-ounce ceramic dishes)
- Cheese knife or spreader (for the goat cheese)
- A small fine-mesh strainer (for dusting cinnamon evenly, though a spoon works in a pinch)
- Kitchen tongs (for arranging fruit without smudging—optional but helpful)
Budget-Friendly Tip: Don’t own a wooden board? A large baking sheet lined with parchment paper works beautifully. I’ve done it more times than I can count, and nobody notices the difference once the food is on it.
Preparation Method
Follow these steps to build a board that looks like it took hours—but really only took 20 minutes.
- Wash and dry all fruit thoroughly. This is key—wet fruit makes the board soggy and dilutes flavors. Pat everything dry with a clean kitchen towel.
- Slice the apples and pears. Cut them into thin wedges, about 1/4-inch thick. Remove the cores and seeds. To prevent browning, toss them in a bowl with a squeeze of fresh lemon juice (about 1 tablespoon). Let me tell you, this step is a lifesaver if you’re making the board ahead of time.
- Arrange the cheese first. Place the goat cheese in a small bowl or directly on the board in a soft mound. Fan the cheddar slices in a row along one edge of the board. This creates anchor points for the rest of the arrangement.
- Add the fruit in clusters. Group the apple slices together in one area, pears in another. Place grape clusters in two or three spots around the board. Scatter the fig halves and cranberries in small piles. Think of it like creating little islands of color—it looks more intentional that way.
- Fill in the gaps with nuts and seeds. Sprinkle almonds, pecans, and pumpkin seeds in the empty spaces between fruit clusters. This keeps everything looking full and abundant.
- Drizzle honey and balsamic glaze. Drizzle honey over the goat cheese and some of the fruit. Add a light drizzle of balsamic glaze over the cheddar or apple slices if using. Go easy—you can always add more.
- Dust with cinnamon. Use a fine-mesh strainer or a small spoon to lightly dust cinnamon over the apples and pears. This adds warmth and makes the whole board smell incredible.
- Garnish with mint and edible flowers. Tuck fresh mint leaves and edible flowers around the board for a pop of green and a professional finish.
- Serve immediately or refrigerate. If serving later, cover the board loosely with plastic wrap and refrigerate for up to 2 hours. Add the honey drizzle and cinnamon dusting just before serving to keep everything fresh.
Troubleshooting Tip: If your apples start browning, you didn’t use enough lemon juice. Give them another quick toss. If the board looks sparse, add more nuts or a second type of cheese—it fills visual space fast.
Cooking Tips & Techniques
Over the years, I’ve learned a few things the hard way so you don’t have to. Here are my best tips for building a fruit board that wows:
- Slice fruit just before serving. Apples and pears oxidize quickly. Slice them right before you arrange the board, and toss them in lemon juice immediately. I once forgot the lemon juice and ended up with brown apples within 30 minutes—lesson learned.
- Use a mix of textures. The best boards have crunchy nuts, creamy cheese, juicy fruit, and chewy dried elements. Variety keeps people coming back for more.
- Don’t overcrowd the board. Leave a little space between clusters so guests can easily grab what they want without knocking everything over. Trust me, a crowded board is a messy board.
- Let cheese come to room temperature. Goat cheese and cheddar taste way better at room temp. Take them out of the fridge 20 minutes before serving.
- Prep components ahead. Wash and dry fruit, portion nuts, and slice cheese the night before. Assemble the board in 10 minutes flat right before guests arrive. This is my go-to strategy for stress-free hosting.
- Use small bowls for sticky items. Honey and balsamic glaze belong in ramekins, not directly on the board. Otherwise, everything gets sticky and messy.
Variations & Adaptations
This board is endlessly adaptable. Here are some of my favorite twists:
- Vegan Version: Skip the cheeses entirely and add more nuts, seeds, and dried fruit. Drizzle with maple syrup instead of honey. I’ve made this for vegan friends and they always ask for the recipe.
- Fall Spice Board: Add a small bowl of warm spiced apple cider dip (just apple cider simmered with cinnamon sticks and cloves). It’s a game-changer for dipping apple slices.
- Savory Twist: Include thin slices of prosciutto or salami for a more traditional charcuterie feel. The salty meat balances the sweet fruit beautifully.
- Low-Sugar Option: Skip the honey and balsamic glaze. Use extra tart cranberries and green apples to keep the sweetness in check.
- Seasonal Swap: In early fall, use fresh figs and plums. Late fall, swap in persimmons and pomegranates. The board changes with the season, which keeps it exciting.
- Individual Servings: Make mini boards on small plates for each guest. It’s perfect for a socially distanced gathering or a more formal sit-down dinner.
Serving & Storage Suggestions
This board is best served at room temperature, which means you can assemble it ahead and let it sit out for about 30 minutes before guests arrive. The flavors actually meld together beautifully after a short rest.
What to serve alongside: This board pairs wonderfully with a crisp white wine like Sauvignon Blanc or a sparkling cider for a non-alcoholic option. Add a side of warm crusty bread or crackers if you want something more substantial. I also love serving it alongside a light fall salad with a tangy vinaigrette.
Storage Instructions: If you have leftovers (unlikely, but possible), separate the fruit from the cheese and nuts. Store fruit in an airtight container in the fridge for up to 2 days. Cheese and nuts can be stored separately at room temperature for a day or in the fridge for up to a week. The honey and balsamic glaze keep indefinitely at room temperature.
Reheating Tips: This board is served cold or at room temperature, so no reheating needed. If the cheese has been refrigerated, let it sit out for 15 minutes before serving again to soften.
Flavor Development: Honestly, the fruit board is best the day it’s made. The apples and pears lose their crunch after a day in the fridge. But the nuts and cheese? They taste even better the next day, especially if the honey has had time to soak in.
Nutritional Information & Benefits
This board is naturally packed with nutrients, making it a guilt-free addition to any gathering. Here’s an approximate breakdown per serving (assuming 8 servings):
- Calories: 220-280 per serving (varies based on cheese and nuts)
- Protein: 6-8g
- Fiber: 5-7g
- Healthy Fats: 12-15g (from nuts and cheese)
- Vitamin C: 15% DV (from apples and pears)
- Antioxidants: High (from pomegranate arils, cranberries, and figs)
Health Benefits: Apples and pears are rich in fiber and vitamin C, supporting digestion and immunity. Nuts provide healthy fats and protein for sustained energy. Pomegranate arils are packed with antioxidants that fight inflammation. This board is naturally gluten-free and can easily be made dairy-free or vegan.
Dietary Considerations: Contains tree nuts (almonds, pecans). For nut-free, see substitutions above. Cheese contains dairy—skip or use plant-based alternatives for a dairy-free version. This board is low in added sugar, relying on the natural sweetness of fruit.
Conclusion
This Light & Easy Friendsgiving Fall Fruit Charcuterie Board is proof that you don’t need to spend hours in the kitchen to create something beautiful and delicious. It’s the kind of recipe that makes hosting feel fun again—no stress, no fuss, just good food shared with the people you love. I’ve made it for cozy Friendsgiving dinners, casual brunches, and even solo movie nights (don’t judge), and it never gets old.
I encourage you to make this board your own. Swap in your favorite fruits, try different cheeses, or skip the cheese entirely. The beauty of a fruit board is its flexibility. It’s a canvas, not a rigid recipe. So go ahead—play with it. And when you do, I’d love to hear about it. Leave a comment below with your favorite variation, or tag me in your photos on social media. Nothing makes me happier than seeing someone else fall in love with a recipe that started on the back of an envelope in a post office line.
Happy Friendsgiving, friends. Here’s to light, easy, and absolutely delicious gatherings.
Frequently Asked Questions
Can I make this fruit board a day ahead?
You can prep all the components a day ahead—wash and dry fruit, slice cheese, portion nuts—but assemble the board the day of for the freshest presentation. Apples and pears will brown if sliced too far in advance, even with lemon juice.
What if I can’t find fresh figs?
No problem at all. Dried Mission figs, sliced dates, or even dried apricots work beautifully as substitutes. They add a chewy texture that contrasts nicely with the fresh fruit.
How do I keep the apples from browning?
Toss apple slices in a mixture of 1 tablespoon lemon juice and 1 tablespoon water immediately after slicing. This slows oxidation significantly. You can also use a commercial product like Fruit-Fresh, but lemon juice works perfectly and adds a subtle brightness.
Is this board suitable for a crowd with food allergies?
Yes, with a few tweaks. It’s naturally gluten-free. For nut allergies, swap almonds and pecans with roasted chickpeas or sunflower seeds. For dairy allergies, skip the cheese or use plant-based alternatives. Always label your board clearly if serving guests with allergies.
Can I serve this as a dessert instead of an appetizer?
Absolutely. For a dessert version, add dark chocolate shavings, a drizzle of melted dark chocolate, or a bowl of chocolate hummus for dipping. It’s a lighter, healthier alternative to traditional desserts that still feels indulgent.
Pin This Recipe!
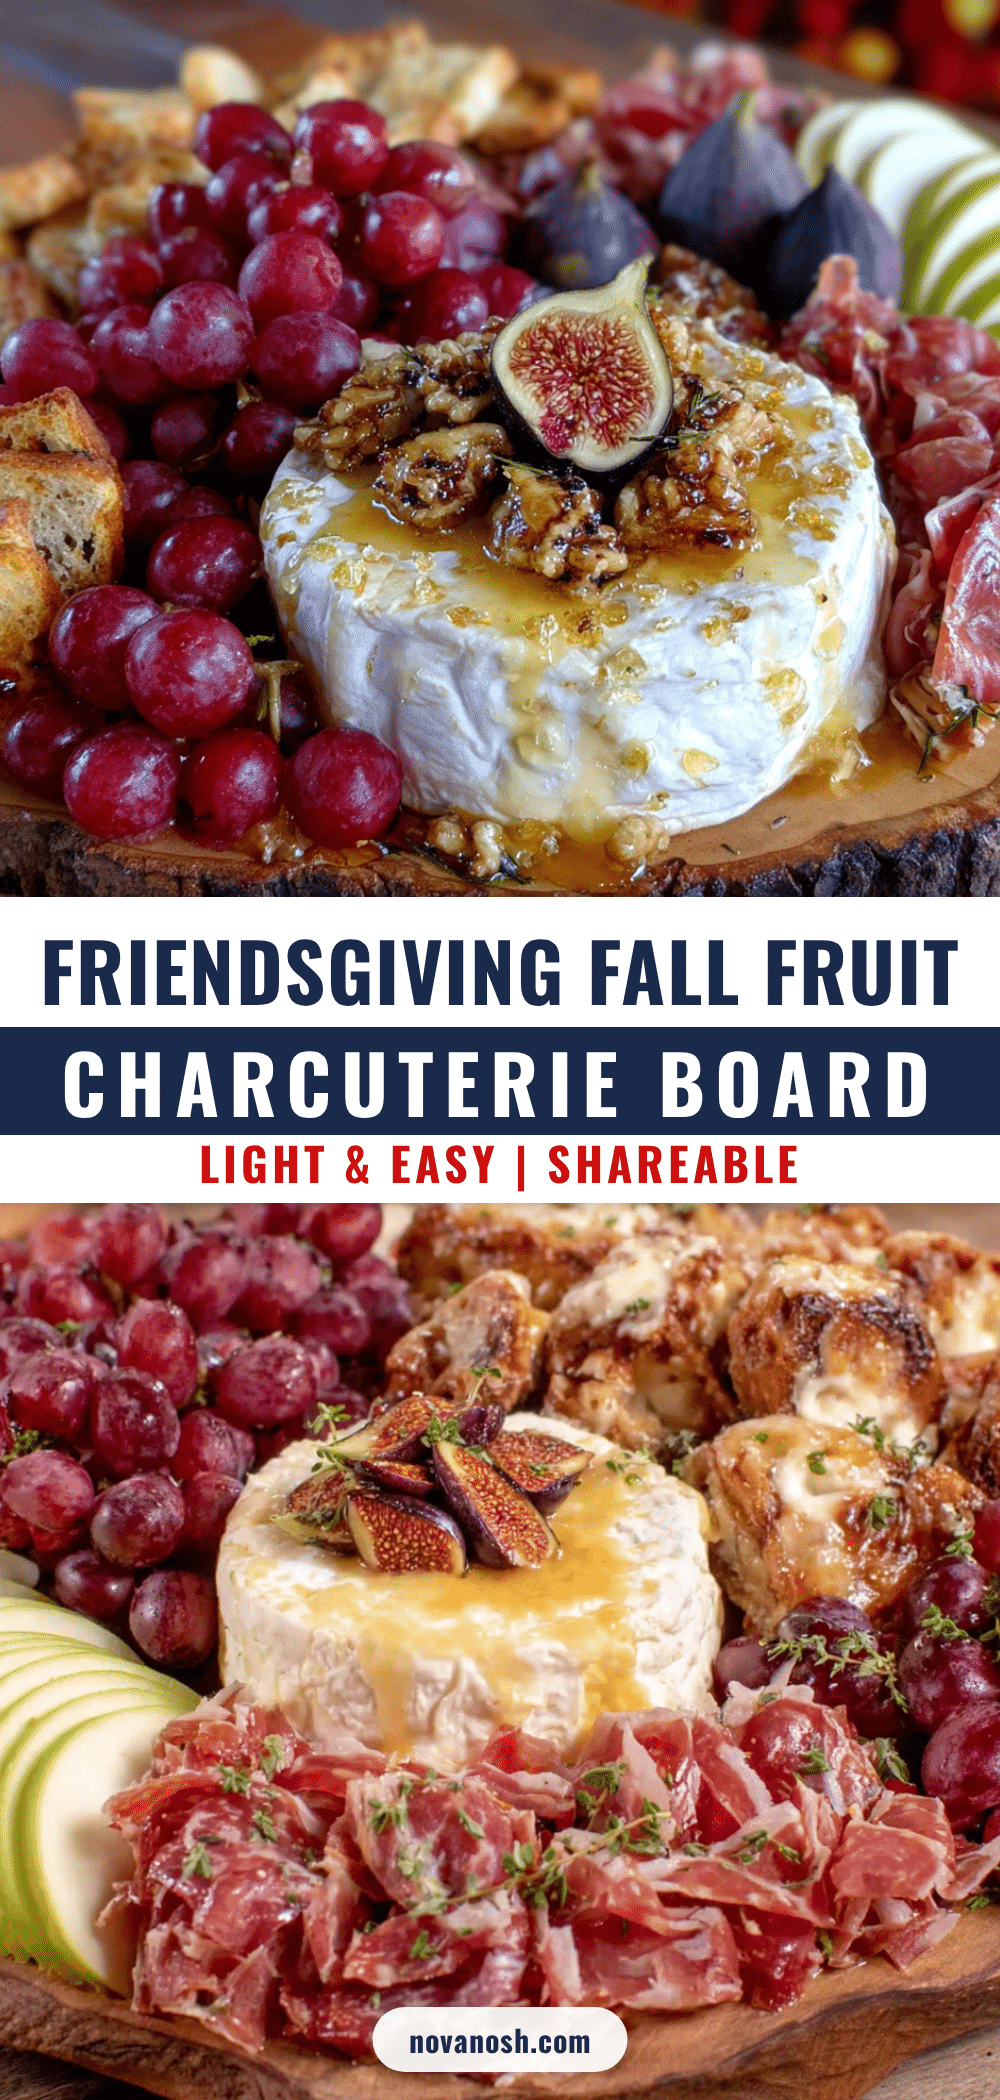
Light & Easy Friendsgiving Fall Fruit Charcuterie Board
A lighter, fresher take on a charcuterie board featuring crisp apples, juicy pears, grapes, figs, nuts, and cheese, perfect for Friendsgiving gatherings. Comes together in under 20 minutes and is naturally gluten-free and dairy-free adaptable.
- Prep Time: 20 minutes
- Cook Time: 0 minutes
- Total Time: 20 minutes
- Yield: 8 servings 1x
- Category: Appetizer
- Cuisine: American
Ingredients
- 2 large Honeycrisp apples, thinly sliced
- 2 ripe Bartlett or Bosc pears, thinly sliced
- 1 cup red seedless grapes, washed and left in small clusters
- 1 cup green seedless grapes, washed and left in small clusters
- 1 cup fresh figs, halved
- 1/2 cup fresh cranberries
- 1/2 cup pomegranate arils
- 1/2 cup raw almonds, toasted lightly
- 1/2 cup pecans, halved or whole
- 1/4 cup pumpkin seeds (pepitas)
- 4 oz sharp cheddar cheese, sliced into thin wedges
- 4 oz goat cheese, softened
- 2 tablespoons honey
- 1 tablespoon balsamic glaze (optional)
- 1 teaspoon ground cinnamon
- Fresh mint leaves, for garnish
- Edible flowers (optional, for garnish)
Instructions
- Wash and dry all fruit thoroughly. Pat everything dry with a clean kitchen towel.
- Slice the apples and pears into thin wedges, about 1/4-inch thick. Remove cores and seeds. Toss in a bowl with a squeeze of fresh lemon juice (about 1 tablespoon) to prevent browning.
- Arrange the cheese first. Place the goat cheese in a small bowl or directly on the board in a soft mound. Fan the cheddar slices in a row along one edge of the board.
- Add the fruit in clusters. Group apple slices together in one area, pears in another. Place grape clusters in two or three spots around the board. Scatter fig halves and cranberries in small piles.
- Fill in the gaps with nuts and seeds. Sprinkle almonds, pecans, and pumpkin seeds in the empty spaces between fruit clusters.
- Drizzle honey over the goat cheese and some of the fruit. Add a light drizzle of balsamic glaze over the cheddar or apple slices if using.
- Use a fine-mesh strainer or a small spoon to lightly dust cinnamon over the apples and pears.
- Garnish with fresh mint leaves and edible flowers around the board.
- Serve immediately or refrigerate. If serving later, cover loosely with plastic wrap and refrigerate for up to 2 hours. Add honey drizzle and cinnamon dusting just before serving.
Notes
Slice fruit just before serving to prevent browning. Let cheese come to room temperature for best flavor. Prep components ahead (wash fruit, portion nuts, slice cheese) to assemble in 10 minutes. For a nut-free version, swap almonds and pecans with roasted chickpeas or sunflower seeds. For a vegan board, skip cheese and use maple syrup instead of honey.
Nutrition
- Serving Size: 1 serving (about 1/8
- Calories: 250
- Sugar: 18
- Sodium: 120
- Fat: 14
- Saturated Fat: 4
- Carbohydrates: 28
- Fiber: 6
- Protein: 7
Keywords: fruit charcuterie board, Friendsgiving, fall fruit board, easy appetizer, gluten-free, dairy-free, vegetarian, healthy snack