Love this? Save it for later!
Share the inspiration with your friends
My brother-in-law, Mark, had claimed for years that chili was a “casserole in a bowl”—too many ingredients, no clear identity, a muddy mess. For a solid decade, he’d wave it away at every family gathering. Then, last Super Bowl Sunday, I made a batch of this Best No-Bean Texas Chili for a Crowd, set it on the counter, and walked away to grab the sour cream. When I came back, there he was, standing over the pot with a spoon, not even bothering with a bowl. He didn’t say a word. He just looked at me, spoon halfway to his mouth, caught red-handed in the act of proving himself wrong. I didn’t say anything either. I just smiled. That’s the power of a proper Texas chili—it doesn’t argue with you. It just sits there, rich and smoky, and lets you come to your senses on your own time. This recipe is the result of years of tweaking, testing on skeptical crowds, and finally landing on a version that makes believers out of everyone. No beans, no tomatoes in chunks, no nonsense. Just deep, beefy, slow-simmered perfection that turns a pot of chili into the star of the party. Honestly, it’s the kind of dish that makes you look like a hero without breaking a sweat—and that’s exactly what you need when you’re hosting.
Why You’ll Love This Recipe
Let me tell you, after making this chili for every Super Bowl, birthday, and “just because” gathering for the last five years, I’ve learned a thing or two about what makes a crowd-pleaser. This isn’t just another chili recipe. It’s the one that disappears first at potlucks, the one people ask for by name, and the one you’ll find yourself making even when no one’s coming over.
- Built for a Crowd: This recipe scales beautifully. I’ve made it for 4 people and for 40, and it holds up every single time. The flavors only get better as the batch gets bigger.
- No-Bean Authenticity: Real Texas chili purists will tell you—beans have no place in a proper bowl of red. This version respects that tradition while still being incredibly satisfying and hearty.
- Deep, Complex Flavor with Minimal Fuss: We’re talking about a chili that tastes like it simmered all day, but the active prep time is under 30 minutes. The secret is in the technique, not the clock.
- Stress-Free Hosting: This chili practically makes itself. You can prep it entirely before guests arrive, and it just sits on the stove, getting better and better. No last-minute panic, no complicated plating.
- Guaranteed Crowd-Pleaser: I’ve served this to kids, grandparents, picky eaters, and self-proclaimed chili snobs. It gets the same reaction every time: silence, then a second bowl.
What sets this recipe apart is the combination of a deeply seared chuck roast (not just ground beef) and a custom blend of dried chiles that I toast and grind myself. It’s a small extra step that makes a world of difference—the chili ends up with a smoky, almost sweet depth that you just can’t get from chili powder out of a jar. This isn’t just another version of chili. It’s the version that makes you close your eyes after the first bite, because it tastes like something you’d get at a Texas roadhouse, but better. And when you’re hosting, that’s exactly the kind of magic you want to pull off without breaking a sweat.
What Ingredients You Will Need
This recipe uses a handful of high-quality ingredients to deliver that deep, authentic Texas chili flavor. Don’t let the list of dried chiles intimidate you—they’re the secret weapon here, and you can find them in most grocery stores or online.
- For the Chili Base:
- 4 lbs beef chuck roast, cut into 1-inch cubes (look for well-marbled meat; it renders down and stays tender)
- 2 tablespoons vegetable oil (or any neutral oil with a high smoke point)
- 2 large yellow onions, diced (about 3 cups)
- 8 cloves garlic, minced (I use a microplane for a fine paste)
- For the Chile Paste (The Heart of the Recipe):
- 6 dried ancho chiles, stems and seeds removed (these are mild and sweet, the backbone of the chili)
- 4 dried guajillo chiles, stems and seeds removed (adds a fruity, slightly tangy kick)
- 2 dried chipotle chiles, stems and seeds removed (brings the smoky heat—use fewer if you’re sensitive)
- 4 cups beef broth, divided (use a good quality broth, not the watery stuff)
- For the Seasoning & Thickening:
- 2 tablespoons ground cumin (toast whole cumin seeds and grind them fresh if you can)
- 1 tablespoon smoked paprika (adds another layer of smokiness)
- 2 teaspoons dried oregano (Mexican oregano is best, but regular works fine)
- 2 teaspoons kosher salt, plus more to taste
- 1 teaspoon black pepper
- 3 tablespoons masa harina (corn flour) mixed with 1/3 cup warm water (this is the traditional thickener)
- For Serving (Optional but Highly Recommended):
- Shredded sharp cheddar cheese
- Diced white onion
- Fresh cilantro
- Sour cream
- Warm cornbread or saltine crackers
- Lime wedges
I personally recommend using whole dried chiles from a brand like Penzeys or Guerra’s—they’re consistently fresh and flavorful. If you can’t find dried chiles, you can substitute 1/2 cup of a high-quality ancho chili powder, but the flavor won’t be quite as deep. For the beef, don’t skimp on quality. A chuck roast that’s on sale is perfect; the long simmering time will break down the connective tissue and make it melt-in-your-mouth tender. And if you’re cooking for someone who’s gluten-free, rest assured this recipe is naturally gluten-free as long as you check your broth and masa harina labels.
Equipment Needed
You don’t need a fancy kitchen to pull this off, but a few key tools will make your life a lot easier.
- Large Heavy-Bottomed Pot or Dutch Oven: A 7- to 8-quart capacity is ideal. I use my trusty Le Creuset, but any heavy pot with a tight-fitting lid works. A cheap stockpot will work, but you’ll get better browning and heat retention from something heavier.
- Sharp Chef’s Knife: You’ll be cubing 4 pounds of beef, so a sharp knife is non-negotiable. A dull knife is dangerous and frustrating.
- Cutting Board: A large, sturdy one.
- Slotted Spoon or Spider: For removing the beef from the pot after searing.
- Wooden Spoon or Spatula: For scraping up the browned bits (fond) from the bottom of the pot—that’s pure flavor.
- Blender or Immersion Blender: For pureeing the rehydrated chiles into a smooth paste. An immersion blender is easier to clean, but a regular blender works perfectly.
- Small Bowl: For making the masa harina slurry.
- Measuring Cups and Spoons: Standard set.
If you don’t have a Dutch oven, a large, deep skillet or a slow cooker can work for the simmering stage, but you’ll need to do the initial browning in a separate pan. Honestly, a Dutch oven is one of the best investments you can make for a kitchen—it’s my go-to for everything from chili to braised short ribs to no-knead bread.
Preparation Method
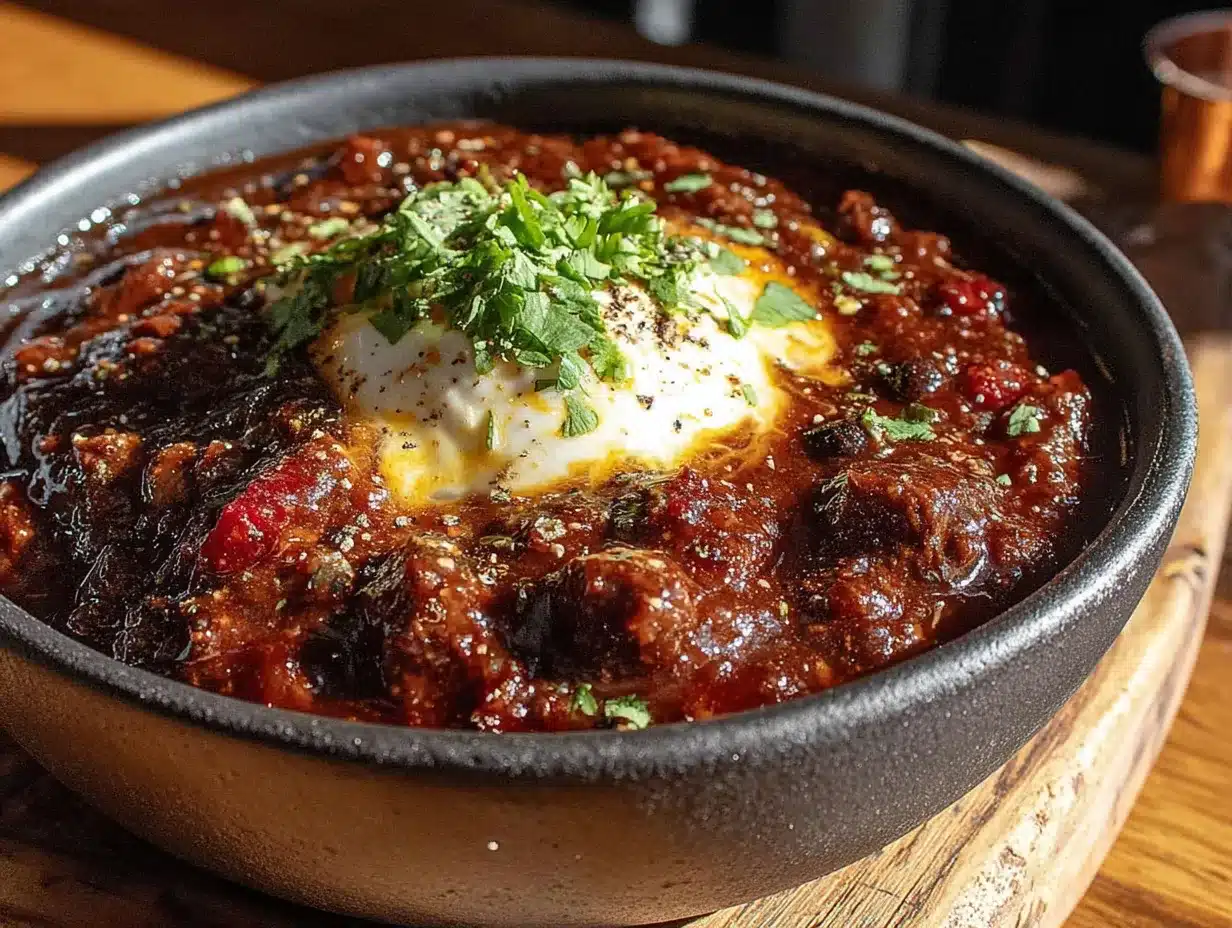
This is where the magic happens. Follow these steps, and you’ll have a pot of chili that tastes like it’s been simmering for days.
- Prepare the Dried Chiles (15 minutes): Place the stemmed and seeded dried ancho, guajillo, and chipotle chiles in a dry skillet over medium heat. Toast them for about 30-60 seconds per side, until they become fragrant and slightly puffy. Don’t walk away—they burn quickly and turn bitter. Transfer the toasted chiles to a bowl and cover with 2 cups of hot beef broth. Let them soak for 15-20 minutes until softened.
- Make the Chile Paste (5 minutes): Transfer the softened chiles and the soaking liquid to a blender. Blend on high until completely smooth, about 1-2 minutes. Set aside. This paste is your flavor foundation.
- Brown the Beef (20 minutes): Pat the beef cubes dry with paper towels (this is crucial for good browning). Season generously with salt and pepper. Heat 1 tablespoon of oil in your large pot over medium-high heat. Working in batches (don’t crowd the pot!), sear the beef cubes on all sides until deeply browned, about 3-4 minutes per batch. Use your slotted spoon to transfer the browned beef to a plate. I know it’s tedious, but this step is non-negotiable for deep flavor.
- Sauté the Aromatics (8 minutes): Reduce the heat to medium. Add the remaining 1 tablespoon of oil to the pot. Add the diced onions and cook, stirring occasionally, until softened and translucent, about 5-7 minutes. Add the minced garlic and cook for another minute until fragrant. Scrape up any browned bits from the bottom of the pot with your wooden spoon.
- Bloom the Spices (2 minutes): Add the ground cumin, smoked paprika, and dried oregano to the pot. Stir constantly for about 1 minute until the spices are fragrant. This step wakes up the flavors and makes them more pronounced.
- Combine Everything (5 minutes): Return the browned beef to the pot. Pour in the chile paste and the remaining 2 cups of beef broth. Stir everything together, making sure the beef is mostly submerged. Bring the chili to a gentle boil, then reduce the heat to low.
- Simmer Low and Slow (2-3 hours): Cover the pot with the lid slightly ajar to allow steam to escape. Let the chili simmer gently for 2 to 3 hours, stirring occasionally. The beef should be fork-tender and the liquid should have thickened. If it looks too thick, add a splash more broth or water. If it’s too thin, let it simmer uncovered for the last 30 minutes.
- Thicken with Masa Harina (10 minutes): In a small bowl, whisk together the masa harina and warm water until smooth. Stir this slurry into the chili. Let it simmer for another 10 minutes, stirring gently. The chili will thicken nicely and take on a slightly earthy, corn-like flavor.
- Final Seasoning & Rest (10 minutes): Taste the chili and adjust the seasoning with more salt, pepper, or a pinch of cayenne if you want more heat. Remove the pot from the heat and let it rest for 10 minutes before serving. This resting time allows the flavors to meld together beautifully.
Cooking Tips & Techniques
After making this chili more times than I can count, I’ve picked up a few tricks that make a real difference.
- Don’t Skip the Toast: I once tried to skip the toasting step for the chiles because I was in a hurry. The chili came out flat and one-dimensional. Toasting them is a 2-minute step that adds 50% more flavor. Trust me on this.
- Pat the Beef Dry: Wet beef won’t brown. It’ll steam instead. And steaming means no fond on the bottom of the pot, which means less flavor. Use paper towels and be thorough.
- Low and Slow is Non-Negotiable: I’ve made the mistake of cranking up the heat to speed up the simmer. The beef turned tough, and the liquid reduced too fast, leaving me with a burnt-flavored mess. Patience is your friend here. A gentle simmer is key.
- Taste as You Go: The flavor of the chili changes dramatically over the cooking time. What tastes perfect at hour one might need more salt or acid at hour three. I always taste and adjust at the 2-hour mark and again before serving.
- Make It Ahead: This chili is actually better the next day. The flavors meld and deepen overnight. If you’re hosting, make it a day ahead, refrigerate it, and then gently reheat it on the stove before your guests arrive. It’s a game-changer for stress-free hosting.
- My Biggest Failure: I once forgot to remove the seeds from a few of the chiles before blending. The chili was so spicy it was almost inedible. I had to make a second batch to dilute it. Always, always double-check your chiles for stray seeds.
Variations & Adaptations
This recipe is a fantastic base, and it’s easy to adapt to different tastes and dietary needs.
- Meat Lover’s Variation: Swap half the chuck roast for cubed pork shoulder or even diced brisket. The combination of meats adds incredible depth. I tried this once for a tailgate, and it was gone in 20 minutes.
- Vegetarian Version: Replace the beef with 3 cans of black beans (I know, I know—heresy in Texas chili, but it works) and 2 cups of diced portobello mushrooms. Use vegetable broth instead of beef broth. The chile paste and spices still carry the flavor beautifully.
- Extra Smoky: Add 2-3 slices of cooked, crumbled bacon to the pot when you add the beef. Or, use a smoked beef chuck roast if you can find one. The smokiness pairs perfectly with the chipotle chiles.
- Milder Version: Omit the chipotle chiles entirely and use only ancho and guajillo chiles. The chili will still be rich and flavorful, but with very little heat. This is perfect for kids or spice-sensitive guests.
- Spicier Version: Add 1-2 dried árbol chiles to the mix when you’re toasting the other chiles. Or, stir in a teaspoon of cayenne pepper at the blooming stage. Just be careful—you can always add heat, but you can’t take it away.
- Slow Cooker Adaptation: After browning the beef and sautéing the aromatics, transfer everything (including the chile paste and broth) to a slow cooker. Cook on low for 6-8 hours or on high for 3-4 hours. Add the masa harina slurry in the last 30 minutes of cooking. It’s a great hands-off option for a busy day.
Serving & Storage Suggestions
This chili is a showstopper on its own, but the right accompaniments can take it to the next level.
- Serving Temperature: Serve the chili piping hot, straight from the pot. I like to ladle it into deep bowls so it stays warm longer.
- Presentation Tips for a Crowd: Set up a chili bar with all the toppings in small bowls. Let your guests customize their bowls with shredded cheese, diced onion, cilantro, sour cream, and lime wedges. It’s interactive and always a hit. I also like to serve it with a side of warm, buttery cornbread or a pile of saltine crackers.
- What to Serve Alongside: A simple green salad with a tangy vinaigrette cuts through the richness of the chili. For a heartier meal, serve it over rice or with a baked potato. And for drinks, a cold beer (a lager or a stout) or a spicy margarita pairs perfectly.
- Storage Instructions: Let the chili cool completely, then transfer it to an airtight container. It will keep in the refrigerator for up to 5 days. The flavors actually get better after a day or two in the fridge.
- Freezing Instructions: This chili freezes beautifully. Portion it into freezer-safe bags or containers, leaving a little headroom for expansion. It will keep for up to 3 months. Thaw overnight in the refrigerator before reheating.
- Reheating Tips: Reheat the chili gently on the stovetop over medium-low heat, stirring occasionally. Add a splash of beef broth or water if it has thickened too much. You can also reheat individual portions in the microwave, but the stovetop method gives the best texture.
Nutritional Information & Benefits
While this isn’t a health food, it’s a hearty, protein-packed meal that can fit into a balanced diet.
- Estimated Nutritional Values (per serving, based on 8 servings):
- Calories: 485
- Protein: 45g
- Fat: 28g (10g saturated)
- Carbohydrates: 15g
- Fiber: 5g
- Sugar: 6g
- Sodium: 890mg
- Health Benefits: Beef is an excellent source of high-quality protein, iron, and B vitamins, which are essential for energy and red blood cell production. The dried chiles are rich in antioxidants, particularly vitamin C and capsaicin, which has anti-inflammatory properties. The onions and garlic provide prebiotic fiber that supports gut health.
- Dietary Considerations: This recipe is naturally gluten-free (check your broth and masa harina labels). It’s also low-carb and keto-friendly if you skip the cornbread and crackers. For a lower-sodium version, use low-sodium beef broth and reduce the added salt.
- Potential Allergens: This recipe is free from the top 8 allergens (dairy, eggs, peanuts, tree nuts, soy, wheat, fish, and shellfish) as written. However, many store-bought beef broths contain soy or wheat derivatives, so always read labels if you’re cooking for someone with allergies. The toppings (cheese, sour cream) can be omitted or substituted.
Conclusion
Look, I’m not going to tell you this is the only chili recipe you’ll ever need—but I will tell you it’s the one I reach for every single time I need to feed a crowd and want to hear someone say, “Wow, this is the best chili I’ve ever had.” And I’ve heard that a lot. This Best No-Bean Texas Chili for a Crowd is more than just a recipe; it’s a reliable, delicious, and deeply satisfying dish that makes you look like a rockstar host with minimal effort. It’s the kind of meal that brings people together, sparks conversation, and leaves everyone asking for the recipe. So go ahead, make a big pot, set out the toppings, and watch your guests go back for seconds. And when they do, just smile and tell them it’s a family secret. If you make this, I’d love to hear about it. Drop a comment below and let me know how it turned out, or tag me in your photos on social media. Happy cooking, friends!
Frequently Asked Questions
Can I use ground beef instead of chuck roast?
You can, but the texture won’t be the same. Chuck roast provides those big, tender chunks that are the hallmark of a great Texas chili. Ground beef will work in a pinch, but you’ll lose some of the heartiness. If you use ground beef, brown it well and break it into large pieces, not fine crumbles.
How can I make this chili less spicy?
Easily. Omit the chipotle chiles entirely and use only the mild ancho and guajillo chiles. You can also remove the seeds from the guajillo chiles for a milder flavor. If you’re still worried, serve it with a dollop of sour cream, which helps cool down the heat.
Can I make this in an Instant Pot?
Absolutely. Use the sauté function to brown the beef and cook the aromatics. Then add the chile paste, broth, and seasonings. Pressure cook on high for 45 minutes with a natural release. Stir in the masa harina slurry and let it simmer on the sauté function for 10 minutes to thicken.
Why do I need to use masa harina?
Masa harina is a traditional thickener in Texas chili. It adds a subtle, earthy corn flavor and gives the chili a silky, slightly thick texture that flour or cornstarch just can’t replicate. It’s the secret to an authentic bowl of red. Don’t skip it!
How far ahead can I make this chili?
You can make it up to 3 days in advance. In fact, I recommend it. The flavors meld and deepen overnight, making it even more delicious. Just cool it completely, refrigerate it in an airtight container, and reheat it gently on the stovetop before serving. It’s a lifesaver for busy hosts.
Pin This Recipe!
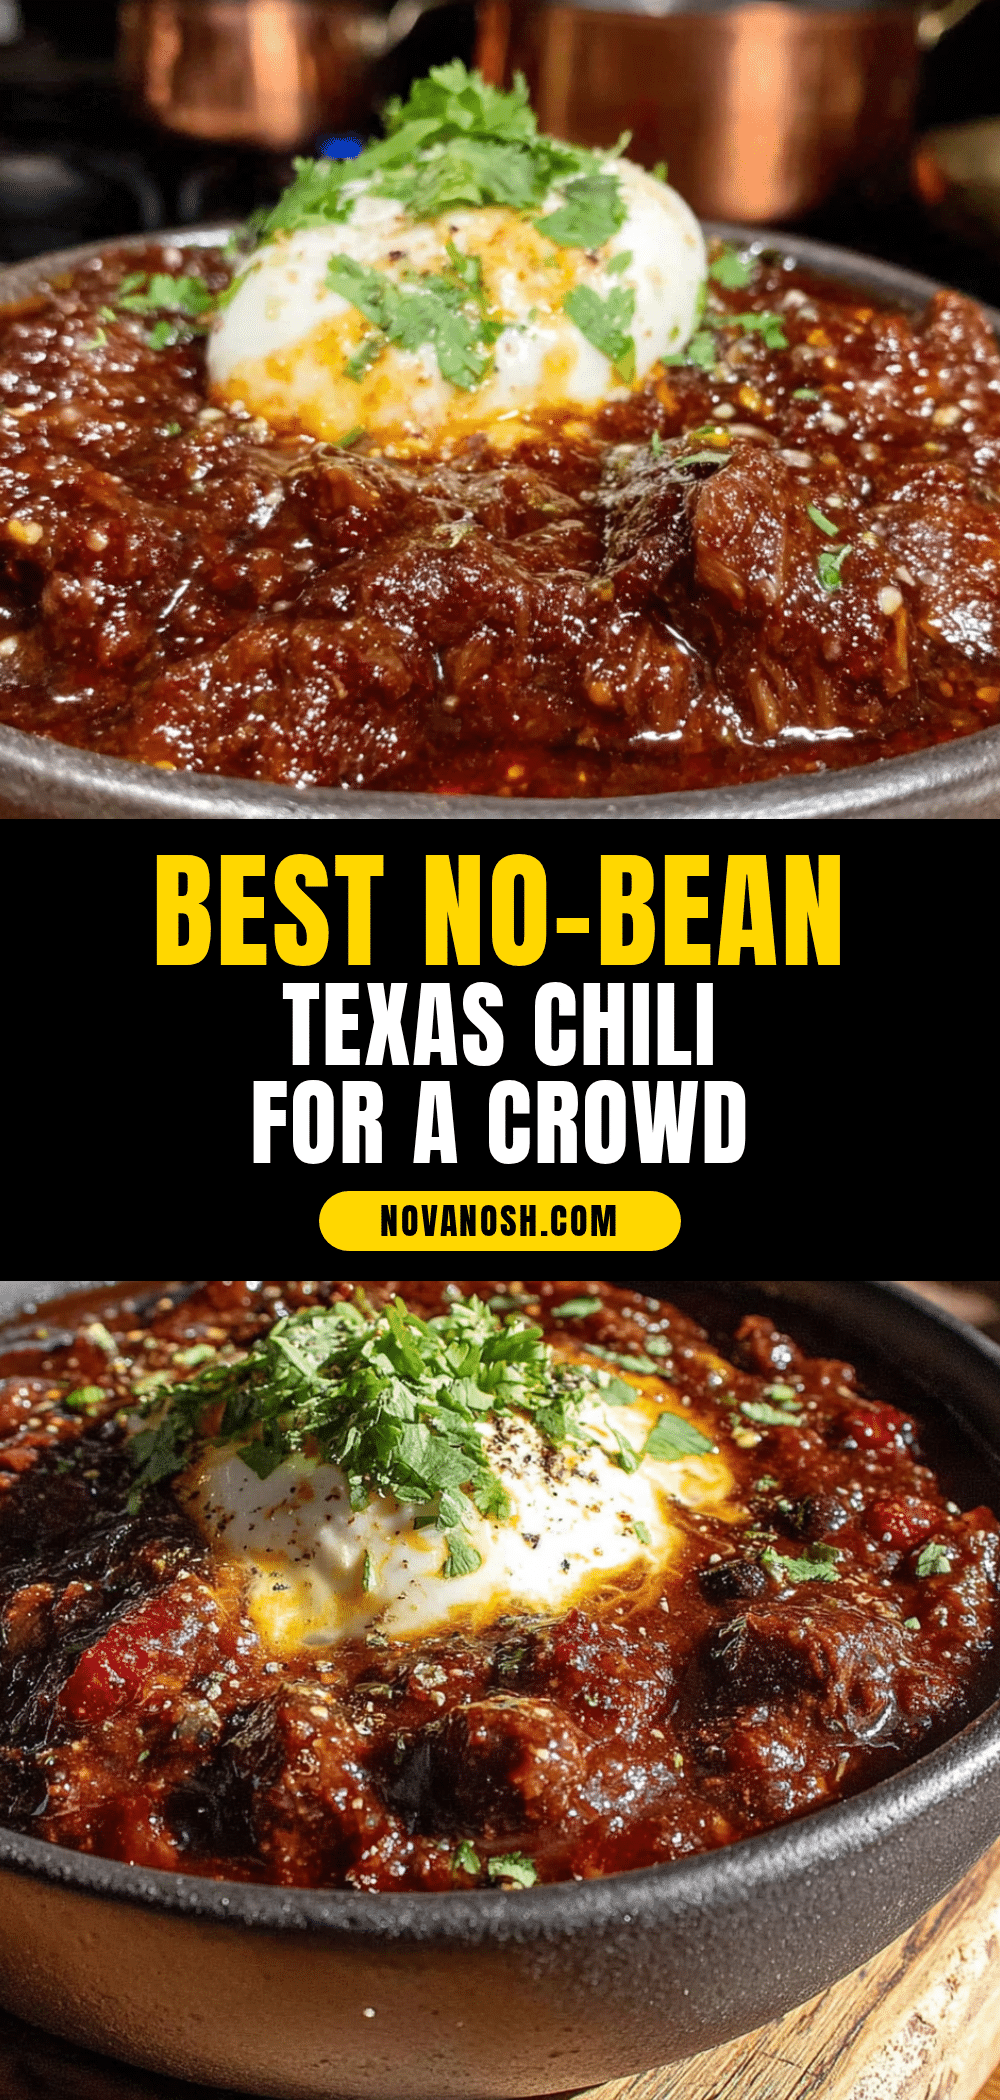
Best No-Bean Texas Chili For a Crowd (Easy Recipe)
This no-bean Texas chili is rich, smoky, and deeply beefy, made with a chuck roast and a custom blend of dried chiles. It’s a crowd-pleasing, stress-free dish that tastes even better the next day.
- Prep Time: 30 minutes
- Cook Time: 2 hours 30 minutes
- Total Time: 3 hours
- Yield: 8 servings 1x
- Category: Main Course
- Cuisine: American (Texas)
Ingredients
- 4 lbs beef chuck roast, cut into 1-inch cubes
- 2 tablespoons vegetable oil
- 2 large yellow onions, diced (about 3 cups)
- 8 cloves garlic, minced
- 6 dried ancho chiles, stems and seeds removed
- 4 dried guajillo chiles, stems and seeds removed
- 2 dried chipotle chiles, stems and seeds removed
- 4 cups beef broth, divided
- 2 tablespoons ground cumin
- 1 tablespoon smoked paprika
- 2 teaspoons dried oregano
- 2 teaspoons kosher salt, plus more to taste
- 1 teaspoon black pepper
- 3 tablespoons masa harina mixed with 1/3 cup warm water
- Shredded sharp cheddar cheese (for serving)
- Diced white onion (for serving)
- Fresh cilantro (for serving)
- Sour cream (for serving)
- Warm cornbread or saltine crackers (for serving)
- Lime wedges (for serving)
Instructions
- Prepare the Dried Chiles: Place the stemmed and seeded dried ancho, guajillo, and chipotle chiles in a dry skillet over medium heat. Toast them for about 30-60 seconds per side, until fragrant and slightly puffy. Transfer to a bowl and cover with 2 cups of hot beef broth. Let soak for 15-20 minutes until softened.
- Make the Chile Paste: Transfer the softened chiles and soaking liquid to a blender. Blend on high until completely smooth, about 1-2 minutes. Set aside.
- Brown the Beef: Pat the beef cubes dry with paper towels. Season generously with salt and pepper. Heat 1 tablespoon of oil in a large pot over medium-high heat. Working in batches, sear the beef cubes on all sides until deeply browned, about 3-4 minutes per batch. Transfer browned beef to a plate.
- Sauté the Aromatics: Reduce heat to medium. Add remaining 1 tablespoon of oil to the pot. Add diced onions and cook until softened, about 5-7 minutes. Add minced garlic and cook for 1 minute until fragrant. Scrape up any browned bits from the bottom of the pot.
- Bloom the Spices: Add ground cumin, smoked paprika, and dried oregano to the pot. Stir constantly for about 1 minute until fragrant.
- Combine Everything: Return the browned beef to the pot. Pour in the chile paste and remaining 2 cups of beef broth. Stir to combine. Bring to a gentle boil, then reduce heat to low.
- Simmer Low and Slow: Cover the pot with the lid slightly ajar. Let simmer gently for 2 to 3 hours, stirring occasionally, until beef is fork-tender and liquid has thickened.
- Thicken with Masa Harina: In a small bowl, whisk together masa harina and warm water until smooth. Stir this slurry into the chili. Let simmer for another 10 minutes, stirring gently.
- Final Seasoning & Rest: Taste and adjust seasoning with more salt, pepper, or cayenne if desired. Remove from heat and let rest for 10 minutes before serving.
Notes
For best flavor, toast the dried chiles and pat the beef dry before browning. The chili tastes even better the next day—make it ahead for stress-free hosting. Always check chiles for stray seeds to avoid excessive heat. Use low-sodium beef broth for a lower-sodium version.
Nutrition
- Serving Size: 1 bowl (about 1.5 cu
- Calories: 485
- Sugar: 6
- Sodium: 890
- Fat: 28
- Saturated Fat: 10
- Carbohydrates: 15
- Fiber: 5
- Protein: 45
Keywords: Texas chili, no-bean chili, beef chili, crowd-pleasing chili, easy chili recipe, Super Bowl chili, gluten-free chili, low-carb chili


