Love this? Save it for later!
Share the inspiration with your friends
“I wasn’t expecting dessert inspiration from my local library’s summer reading event, but there I was, flipping through a dog-eared cookbook someone had left behind. Tucked between the pages was a scribbled note about a no-bake flag cheesecake with fresh berry layers. Honestly, I thought, ‘No way can something this simple look that stunning!’ But then, last Fourth of July, I gave it a shot.
The kitchen was buzzing with the usual holiday chaos—kids running around, the grill smoking outside, and me scrambling to find a dessert that wouldn’t need the oven. Midway, I accidentally dropped the mixing bowl, cracking it just a bit, and I thought, well, that’s the day ruined. But somehow, this creamy no-bake flag cheesecake pulled through, looking like a red, white, and blue masterpiece that stole the spotlight from the fireworks.
Maybe you’ve been there—wanting a festive dessert that’s fuss-free yet impressive. This recipe stuck with me because it’s exactly that: easy to make, visually striking, and packed with fresh berry goodness. Let me tell you, the layers of creamy cheesecake and vibrant berries still get me every time.
Why You’ll Love This Recipe
- Quick & Easy: Comes together in under 30 minutes, perfect for those last-minute holiday celebrations or summer picnics.
- Simple Ingredients: No fancy or hard-to-find items required—you likely have most in your pantry or fridge already.
- Perfect for Holidays & Gatherings: The patriotic flag design makes it a hit for Independence Day, Memorial Day, or any occasion that calls for a pop of color.
- Crowd-Pleaser: The creamy texture paired with fresh berries gets rave reviews from kids and adults alike—trust me, no one can resist.
- Unbelievably Delicious: The tangy cream cheese layer balances beautifully with the sweet-tart berries, delivering that classic cheesecake satisfaction without the oven heat.
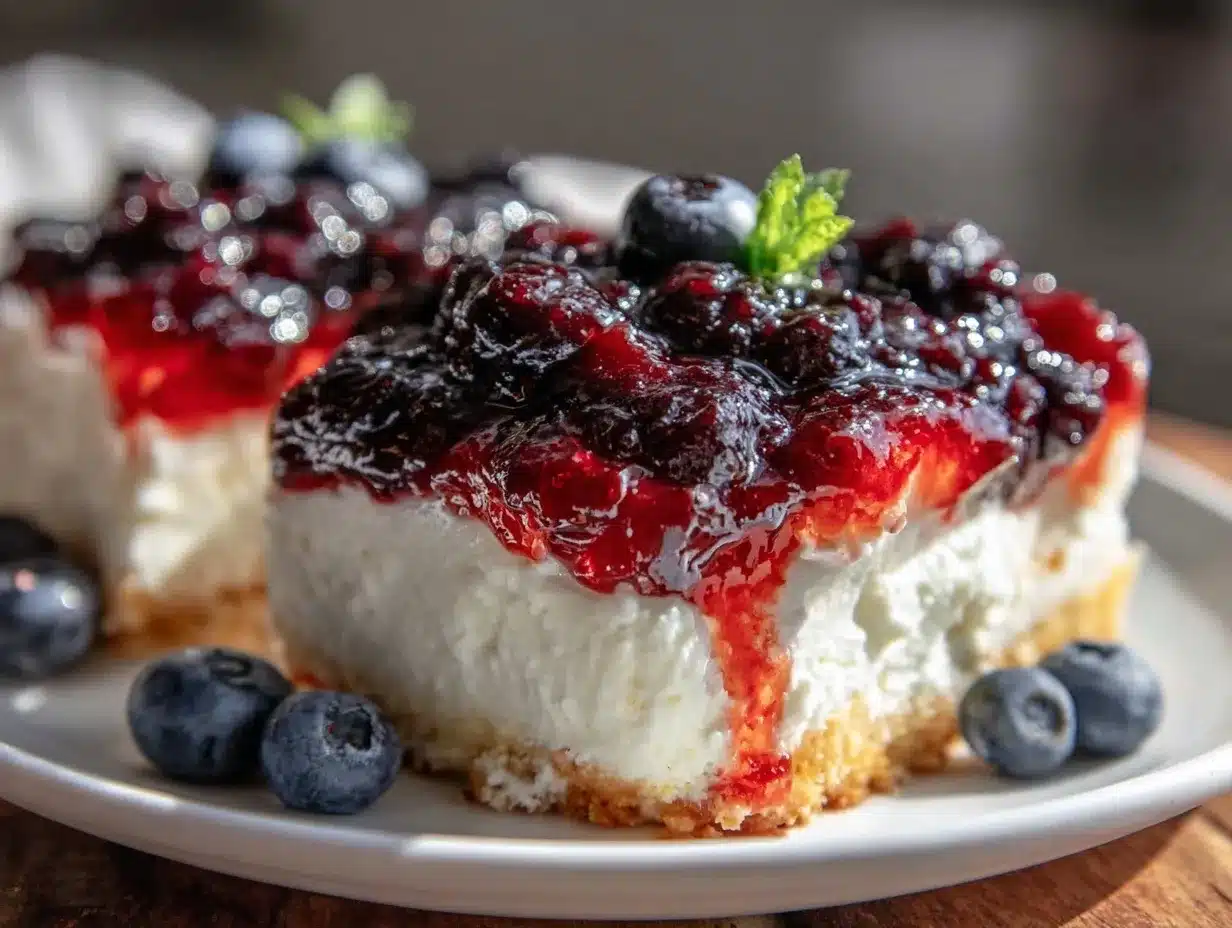
This isn’t just any no-bake cheesecake. The trick is in whipping the cream cheese just right for a silky smooth base and layering the berries thoughtfully to create that eye-catching flag effect. Plus, the crust has just the right crunch to hold everything together without overpowering the delicate filling.
Honestly, this recipe feels like comfort food with a fresh twist—perfect for impressing guests without breaking a sweat. Whether you’re serving it at a backyard barbecue or a casual weekend brunch, it’s guaranteed to bring smiles and maybe even a few “wow” moments.
What Ingredients You Will Need
This creamy no-bake flag cheesecake recipe uses simple, wholesome ingredients to deliver bold flavor and a satisfying texture without any fuss. Most of these are pantry staples or fresh produce you can find year-round.
- For the Crust:
- 1 ½ cups (150g) graham cracker crumbs (I prefer Honey Maid for a classic flavor)
- 5 tablespoons (70g) unsalted butter, melted (adds richness and helps bind the crust)
- 2 tablespoons (25g) granulated sugar
- For the Cheesecake Filling:
- 16 oz (450g) cream cheese, softened (Philadelphia brand works great for smoothness)
- 1 cup (240ml) heavy whipping cream, cold (for that fluffy, creamy texture)
- ¾ cup (90g) powdered sugar, sifted (adjust to taste for sweetness)
- 1 teaspoon pure vanilla extract
- 1 tablespoon fresh lemon juice (adds a subtle brightness)
- For the Berry Layers:
- 1 ½ cups fresh strawberries, sliced (for the red stripes)
- 1 ½ cups fresh blueberries (for the blue corner)
- 1 ½ cups fresh raspberries, halved (for additional red stripes)
- Optional: 1 tablespoon granulated sugar to macerate berries if desired
If you’re shopping in summer, go for ripe, juicy berries—they make all the difference. Frozen won’t give the same fresh look or texture here. If you want to switch things up, almond flour crust works well for a gluten-free option, and coconut cream can replace heavy cream for a dairy-free twist.
Equipment Needed
- 9-inch (23cm) springform pan – makes assembling and removing the cheesecake layers a breeze. If you don’t have one, a regular round cake pan lined with parchment works too, just be careful when unmolding.
- Electric mixer or stand mixer – for whipping the cream and cream cheese smoothly. Hand mixers can work but might take a bit longer.
- Mixing bowls – at least two: one for the crust and one for the cheesecake filling.
- Spatula – flexible silicone spatulas are great for folding and scraping down the bowl.
- Measuring cups and spoons – precise measuring helps keep the texture just right.
Personally, I swear by my KitchenAid stand mixer for the filling—it whips the cream to perfect peaks every time without overheating. But a budget-friendly hand mixer can handle this recipe just fine. Just be sure to keep your cream cold for best results.
Preparation Method
- Prepare the Crust (10 minutes):
- In a medium bowl, combine 1 ½ cups graham cracker crumbs, 5 tablespoons melted unsalted butter, and 2 tablespoons sugar.
- Mix until the crumbs are evenly coated and resemble wet sand.
- Press the mixture firmly into the bottom of your 9-inch springform pan, making sure to create an even layer.
- Place the pan in the refrigerator while you prepare the filling to let the crust set.
- Make the Cheesecake Filling (15 minutes):
- In a large bowl, beat 16 oz softened cream cheese with ¾ cup powdered sugar until smooth and creamy—avoid overbeating as it can make the filling too soft.
- Add 1 teaspoon vanilla extract and 1 tablespoon fresh lemon juice, mixing just until combined.
- In a separate chilled bowl, whip 1 cup heavy cream until stiff peaks form.
- Gently fold the whipped cream into the cream cheese mixture in two additions, preserving the airy texture.
- Assemble the Flag Layers (10-15 minutes):
- Remove the crust from the fridge and spread about half of the cheesecake filling evenly over it.
- Arrange sliced strawberries and halved raspberries in red stripes across the surface, leaving space for the white filling stripes in between.
- Carefully spoon the remaining cheesecake filling over the berries to create the white stripes—use a spatula to smooth gently.
- In one corner, pile the fresh blueberries to mimic the blue field of the flag.
- Chill the cheesecake in the refrigerator for at least 4 hours or overnight to set properly.
- Serving:
- Run a warm knife around the edges before releasing the springform pan to get clean slices.
- Serve chilled and watch the smiles appear!
If your berries release too much juice, blot gently with paper towels before layering to avoid a soggy crust. Also, be patient with chilling—it’s key for that perfect slice.
Cooking Tips & Techniques
- Softening Cream Cheese: Let it sit at room temperature for about 30 minutes before mixing to avoid lumps.
- Whipping the Cream: Keep your bowl and beaters cold for fluffier peaks; a quick chill in the freezer does wonders.
- Folding Technique: Use a gentle folding motion to keep the air in the whipped cream, giving the cheesecake its light texture.
- Crust Pressing: Use the bottom of a flat glass or measuring cup to press the crust evenly, which helps prevent crumbling.
- Preventing Soggy Crusts: If you notice wet spots from berry juices, try a thin layer of melted white chocolate or cream cheese spread on the crust before adding filling next time.
- Layering Berries: Arrange berries tightly to keep the flag pattern sharp and visually appealing.
- Multi-tasking Tip: While the cheesecake chills, use the time to prepare a fresh mojito or iced tea to complement the dessert perfectly.
Variations & Adaptations
- Dietary Swap: Use dairy-free cream cheese and coconut cream for a vegan-friendly version that still tastes indulgent.
- Seasonal Twist: In late summer, substitute the berries with peaches and blackberries for a different fruit flag look.
- Flavor Boost: Add a teaspoon of almond extract to the filling for a subtle nutty note.
- Crust Changes: Swap the graham cracker crust for crushed gingersnaps or gluten-free cookies to suit dietary needs.
- Personal Favorite: I once tried adding a thin layer of blueberry jam under the blueberries for a sweeter punch—it was a hit but a little messier to slice.
Serving & Storage Suggestions
This cheesecake is best served chilled, straight from the fridge, so the creamy layers stay firm and the berries fresh.
For a festive presentation, serve it on a white or clear glass platter to showcase the vibrant red, white, and blue layers. It pairs beautifully with a light sparkling rosé or a homemade lemonade for summer gatherings.
Store leftovers covered tightly in the refrigerator for up to 3 days. The flavors actually deepen with a day or two of chilling, though the berries may release a little more juice—nothing a paper towel and a gentle dab can’t fix.
If you want to freeze it, wrap it well in plastic wrap and foil; thaw overnight in the fridge before serving. Just be aware the texture of fresh berries may soften slightly after freezing.
Nutritional Information & Benefits
Each slice (based on 12 servings) contains roughly 320 calories, 22g fat, 28g carbohydrates, and 4g protein. The fresh berries provide a boost of vitamin C, fiber, and antioxidants, making this dessert a more wholesome choice compared to heavier baked cheesecakes.
Using real cream cheese and heavy cream keeps the texture indulgent but also rich in calcium. For those watching carbs, you can reduce sugar or swap crust ingredients to fit lower-carb diets.
Just a heads-up: this recipe contains dairy and gluten (from the crust), so it’s not suitable for those with allergies unless you adapt accordingly.
Conclusion
This creamy no-bake flag cheesecake with fresh berry layers is one of those recipes that’s as fun to make as it is to eat. It combines simplicity with show-stopping presentation, making it a go-to for summer celebrations or whenever you want a dessert that’s cool, creamy, and bursting with fresh flavor.
Honestly, I love how customizable it is—whether you want to swap berries, try a different crust, or make it vegan-friendly, it’s forgiving and always delicious. I hope you’ll give it a try and maybe tweak it to fit your own style. Let me know how it turns out or if you put your own spin on it!
Go on, bring a little festive magic to your table and enjoy every creamy, fruity bite.
FAQs
Can I make this cheesecake ahead of time?
Yes! It actually tastes better after chilling overnight, giving the flavors time to meld and the filling to firm up nicely.
What can I use instead of graham cracker crumbs for the crust?
Crushed digestive biscuits, gingersnaps, or gluten-free cookies all work well. Just press them firmly with melted butter for the best texture.
How do I prevent the berries from making the crust soggy?
Blot excess juice from the berries before layering, or add a thin spread of cream cheese or melted white chocolate on the crust as a moisture barrier.
Can I use frozen berries instead of fresh?
Fresh berries are best for this recipe because frozen ones release more juice and can make the layers watery.
Is it okay to use low-fat cream cheese and cream?
For best texture and flavor, full-fat is recommended, but you can try reduced-fat versions; just expect a slightly less creamy result.
Pin This Recipe!
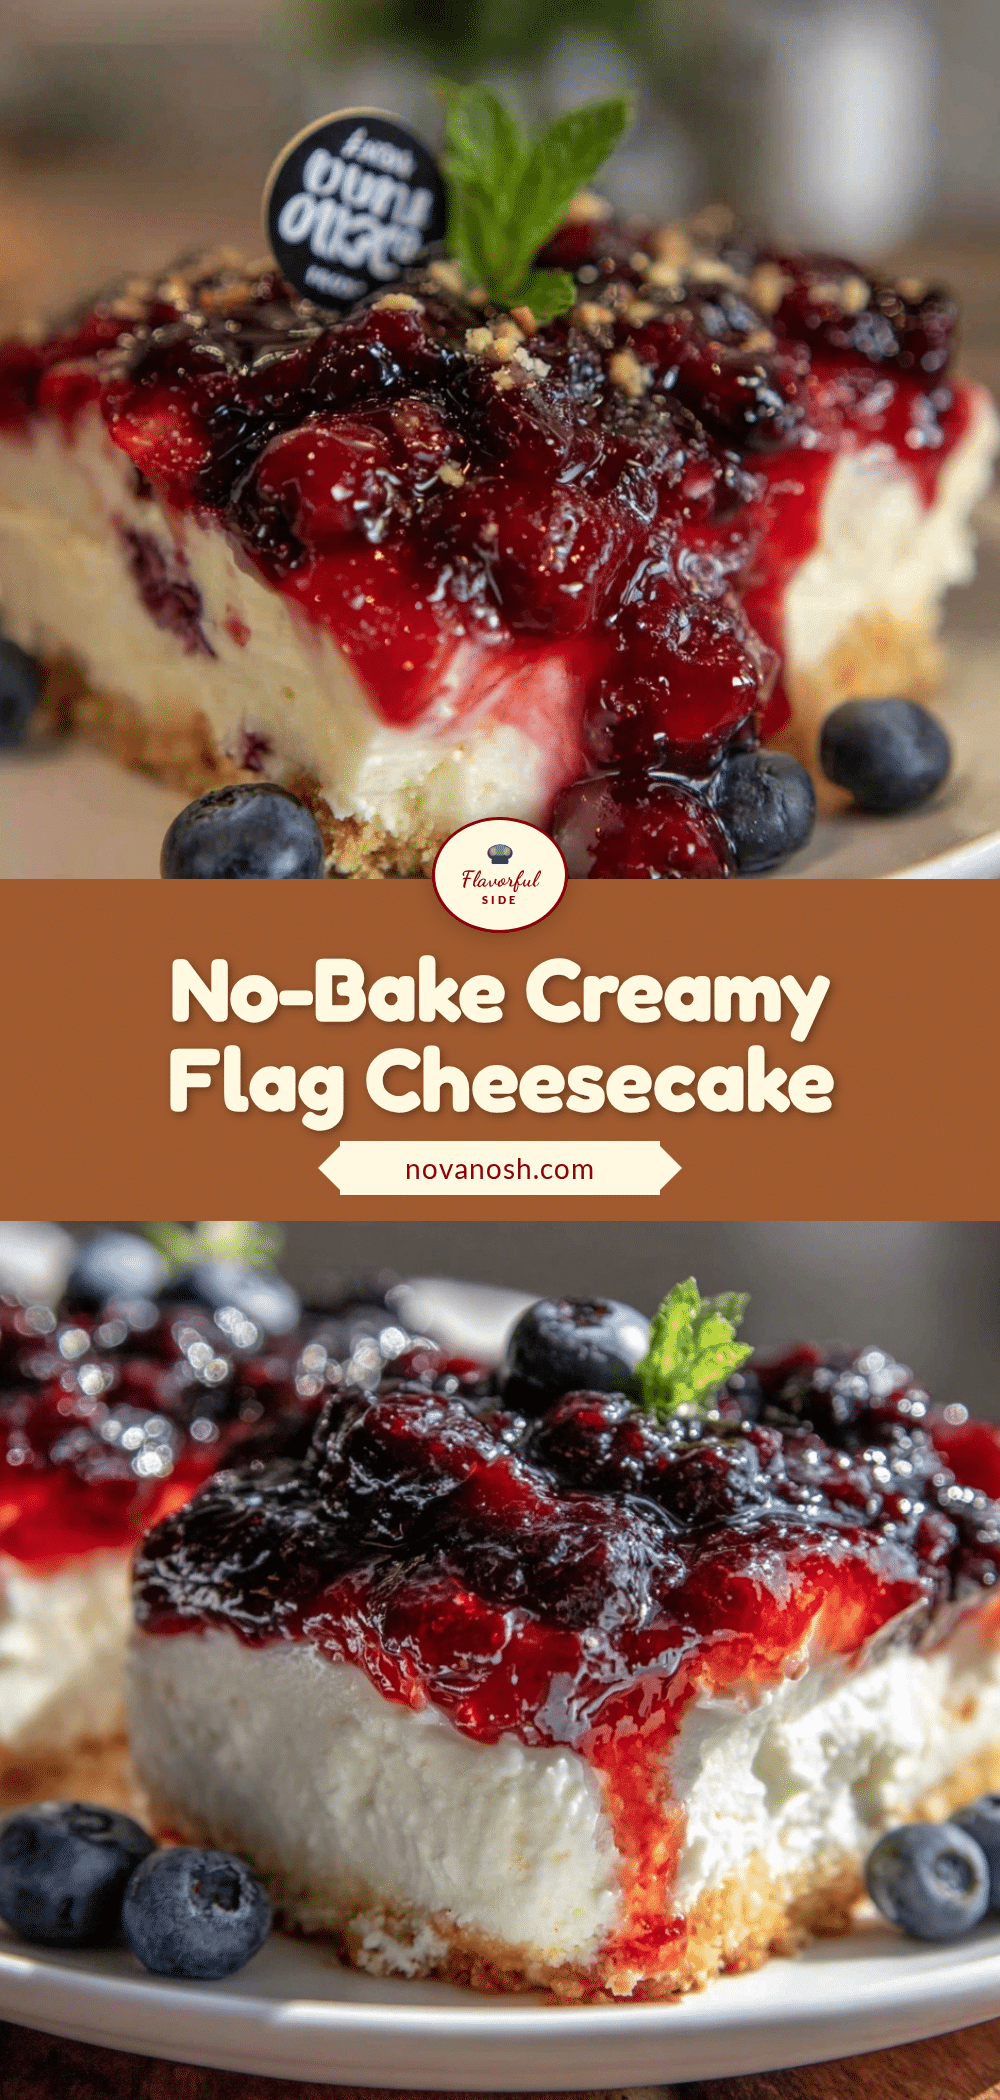
Creamy No-Bake Flag Cheesecake Recipe with Fresh Berry Layers

An easy, visually striking no-bake cheesecake featuring creamy layers and fresh berries arranged in a patriotic flag design, perfect for summer celebrations and holidays.
- Prep Time: 25 minutes
- Cook Time: 0 minutes
- Total Time: 4 hours 25 minutes
- Yield: 12 servings 1x
- Category: Dessert
- Cuisine: American
Ingredients
- 1 ½ cups (150g) graham cracker crumbs
- 5 tablespoons (70g) unsalted butter, melted
- 2 tablespoons (25g) granulated sugar
- 16 oz (450g) cream cheese, softened
- 1 cup (240ml) heavy whipping cream, cold
- ¾ cup (90g) powdered sugar, sifted
- 1 teaspoon pure vanilla extract
- 1 tablespoon fresh lemon juice
- 1 ½ cups fresh strawberries, sliced
- 1 ½ cups fresh blueberries
- 1 ½ cups fresh raspberries, halved
- Optional: 1 tablespoon granulated sugar to macerate berries
Instructions
- Prepare the Crust (10 minutes): In a medium bowl, combine graham cracker crumbs, melted unsalted butter, and granulated sugar. Mix until crumbs are evenly coated and resemble wet sand. Press mixture firmly into the bottom of a 9-inch springform pan to create an even layer. Refrigerate while preparing filling.
- Make the Cheesecake Filling (15 minutes): Beat softened cream cheese with powdered sugar until smooth and creamy. Add vanilla extract and lemon juice, mixing until combined. In a separate chilled bowl, whip heavy cream until stiff peaks form. Gently fold whipped cream into cream cheese mixture in two additions, preserving airy texture.
- Assemble the Flag Layers (10-15 minutes): Remove crust from fridge and spread half of cheesecake filling evenly over it. Arrange sliced strawberries and halved raspberries in red stripes, leaving space for white filling stripes. Spoon remaining cheesecake filling over berries to create white stripes, smoothing gently. Pile fresh blueberries in one corner to mimic blue field of flag. Chill cheesecake in refrigerator for at least 4 hours or overnight.
- Serving: Run a warm knife around edges before releasing springform pan for clean slices. Serve chilled.
Notes
Let cream cheese soften at room temperature for 30 minutes before mixing. Keep bowl and beaters cold when whipping cream for fluffier peaks. Use gentle folding to maintain airiness. Press crust evenly with flat glass or measuring cup. Blot excess berry juice to prevent soggy crust. Chill cheesecake at least 4 hours or overnight for best results. For moisture barrier, spread thin layer of melted white chocolate or cream cheese on crust before filling.
Nutrition
- Serving Size: 1 slice (1/12th of c
- Calories: 320
- Fat: 22
- Carbohydrates: 28
- Protein: 4
Keywords: no-bake cheesecake, flag cheesecake, patriotic dessert, fresh berries, summer dessert, easy cheesecake, holiday dessert