Love this? Save it for later!
Share the inspiration with your friends
It was 10:47 PM on a random Tuesday, and I was staring into the pantry like it held the secrets to the universe. A very specific craving had hit—something sweet, something chocolatey, something with that salty peanut butter kick—but I was absolutely not about to preheat the oven. I didn’t have the energy for a full baking project, but I had a jar of peanut butter that was almost empty, a half-opened bag of chocolate chips, and this vague memory of a protein ball recipe I’d seen somewhere online. Honestly, the idea that arrived was less of a recipe and more of a desperate hope.
I grabbed the peanut butter, tossed in some oats because they were there, and threw in a scoop of chocolate protein powder that had been collecting dust in the back of the cabinet. I mixed it with my hands—because who wants to wash a spatula at 11 PM?—and it came together in this weird, sticky, beautiful mess. I rolled it into balls, popped one in my mouth, and let me tell you, I actually said “oh” out loud to my empty kitchen. It was that good. Maybe you’ve been there—that moment when a pantry raid turns into something genuinely worth remembering.
These quick no-bake chocolate peanut butter protein balls were born from pure laziness and a late-night sugar fix, and now I keep making them because they solve every snack emergency I’ve ever had. They’re the kind of recipe that makes you feel like you actually have your life together, even when you’re eating one at 10 AM standing in front of the fridge. And honestly, that’s the best kind of recipe to keep around.
Why You’ll Love This Recipe
Let’s be real for a second—there are a million protein ball recipes out there, and I’ve tried more than my fair share. Some are dry and crumbly, some taste like cardboard disguised as health food, and some just fall apart the second you look at them. These quick no-bake chocolate peanut butter protein balls are none of those things. They’re the Goldilocks of snack recipes—just right in every way.
- Quick & Easy: From pantry to plate in under 15 minutes. No oven, no mixer, no complicated techniques. Just a bowl, a spoon, and your hands.
- Simple Ingredients: You probably have everything in your kitchen right now. Oats, peanut butter, chocolate chips, protein powder, honey—that’s it. No fancy grocery store trips required.
- Perfect for Snack Emergencies: Post-workout fuel, afternoon slump buster, late-night craving killer—these balls do it all. They’re the snack that saves you from vending machine regrets.
- Crowd-Pleaser: I’ve brought these to potlucks, kids’ soccer games, and office meetings. They disappear faster than I can make them. Even my picky-eating nephew asked for the recipe.
- Unbelievably Delicious: The texture is this perfect balance of chewy and soft, with little pockets of melted chocolate in every bite. It’s comfort food that happens to have protein in it, not the other way around.
What makes these different from every other protein ball recipe? It’s the ratio. I tested this about seven times—yes, seven—to get the texture just right. Too much peanut butter and they’re greasy. Too much protein powder and they’re chalky. But this version? It’s the one where I finally stopped tweaking and started eating. The chocolate chips aren’t just an afterthought—they’re folded in generously so every ball has that chocolate hit in every bite. And the honey? It’s the secret to keeping them soft without making them sticky.
These are the kind of protein balls that make you close your eyes after the first bite. They’re no-bake chocolate peanut butter protein balls that actually taste like a treat, not a compromise. Perfect for busy mornings when you need breakfast in your hand, or for that 3 PM slump when you’re ready to nap on your keyboard.
What Ingredients You Will Need
This recipe uses simple, wholesome ingredients that come together to deliver bold chocolate-peanut butter flavor without any fuss. Most of these are pantry staples, and the ones that aren’t are easy to find at any grocery store.
- Rolled Oats – 1 cup (90g). Use old-fashioned rolled oats for the best texture. Quick oats work too but will give a finer, softer texture. Avoid steel-cut oats—they’re too hard and won’t blend well. I prefer Bob’s Red Mill for consistent quality.
- Creamy Peanut Butter – ½ cup (130g). Use natural peanut butter with no added sugar or oil for the best texture. If your peanut butter is too runny, the balls won’t hold together. Look for one that’s thick and spreadable. Skippy natural works great here.
- Chocolate Protein Powder – ¼ cup (30g). I recommend Orgain chocolate protein powder or Garden of Life—they blend smoothly without that chalky aftertaste. Use any chocolate flavor you like, but avoid plant-based blends with strong grassy notes.
- Honey – 3 tablespoons (60ml). Maple syrup works as a vegan substitute, but honey gives the best stickiness. If your honey is crystallized, warm it gently in the microwave for 10 seconds.
- Mini Chocolate Chips – ¼ cup (45g). Semi-sweet or dark chocolate chips work best. Mini chips distribute more evenly, but regular chips are fine too. I use Enjoy Life brand for dairy-free option.
- Pinch of Salt – Just a pinch (about ⅛ teaspoon). This balances the sweetness and enhances the chocolate flavor. If your peanut butter is salted, you can skip this.
- Optional: Chia Seeds or Flax Seeds – 1 tablespoon. Adds extra fiber and omega-3s. Totally optional but nice for a nutritional boost.
- Optional: Vanilla Extract – ½ teaspoon. Adds warmth and depth to the flavor profile. Not necessary but highly recommended.
Substitution Guidance: For a gluten-free version, use certified gluten-free oats. For a vegan version, swap honey with maple syrup or agave nectar. If you don’t have chocolate protein powder, you can use vanilla protein powder plus an extra tablespoon of cocoa powder. Just note that vanilla protein will give a milder chocolate flavor. For nut-free option, use sunflower seed butter (like SunButter) instead of peanut butter—just reduce the honey by 1 tablespoon since sunflower butter is naturally sweeter.
Equipment Needed
The beauty of this recipe is that you don’t need much. Here’s what I use every single time:
- Large Mixing Bowl – Any medium-to-large bowl works. I use a glass Pyrex bowl because it’s easy to clean and doesn’t absorb odors.
- Wooden Spoon or Silicone Spatula – For initial mixing. A spatula is better for scraping the sides.
- Measuring Cups and Spoons – Standard set for dry and wet ingredients. I recommend stainless steel ones—they last forever.
- Cookie Scoop or Tablespoon – For portioning evenly. A 1.5-inch scoop makes perfect bite-sized balls. If you don’t have one, a regular tablespoon works fine.
- Parchment Paper or Wax Paper – For lining the baking sheet. This prevents sticking and makes cleanup a breeze.
- Baking Sheet or Large Plate – For holding the balls while they chill. Any flat surface that fits in your fridge works.
- Optional: Food Processor – If you want a smoother texture, pulse the oats first. I actually prefer the texture of whole oats, but you do you.
Budget-Friendly Tip: Don’t have a cookie scoop? Use your hands—just wet them slightly with water to prevent sticking. And if you don’t have parchment paper, a clean plate works just fine. I’ve made these in a college dorm with a plastic bowl and a fork, and they still came out perfect.
Preparation Method
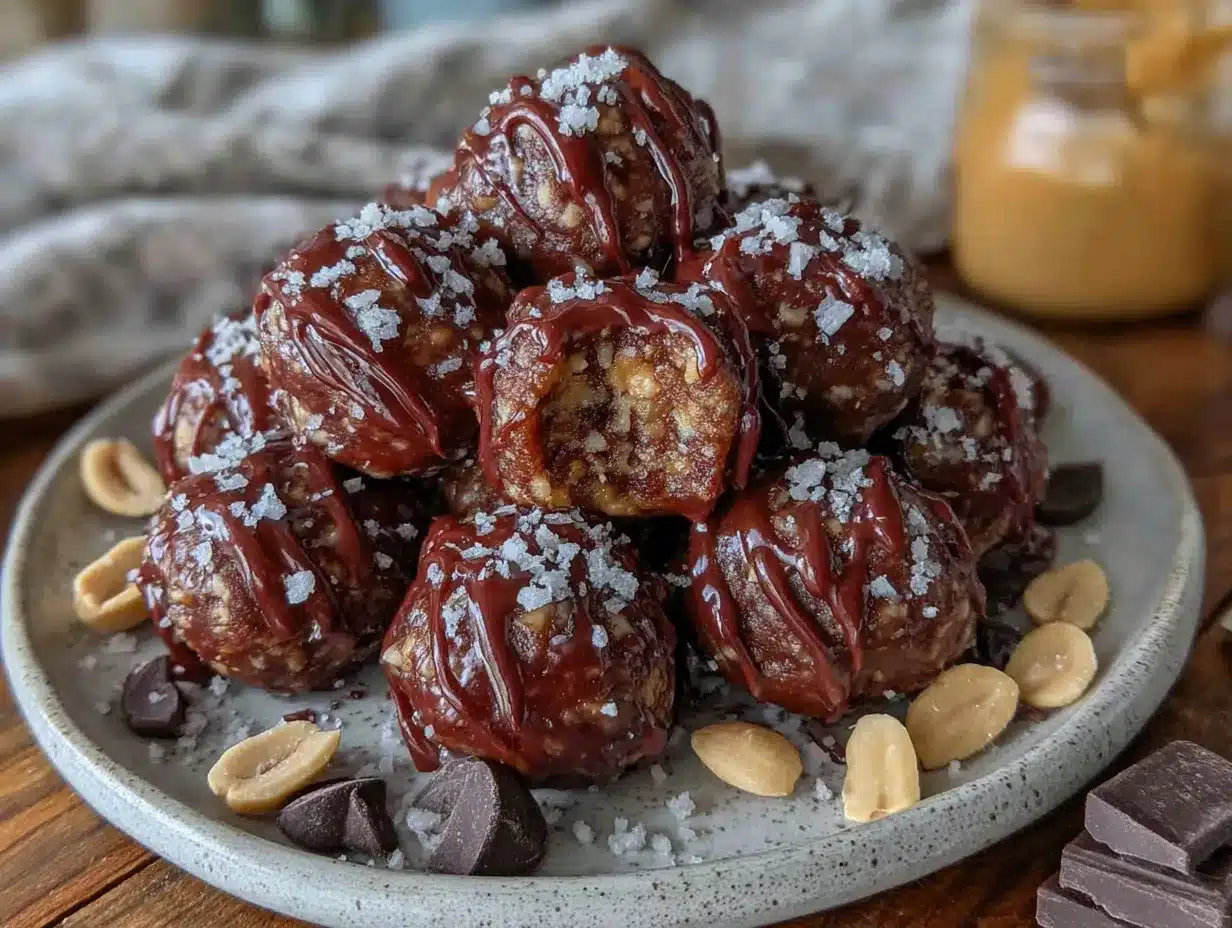
Alright, let’s make these quick no-bake chocolate peanut butter protein balls. I’ve broken this down into simple steps with all the little details I wish someone had told me the first time.
- Prep your workspace. Line a baking sheet or large plate with parchment paper. Set it aside—you’ll need it soon. Clear your counter so you have room to work. Trust me, sticky hands and cluttered counters don’t mix.
- Mix the dry ingredients. In your large mixing bowl, combine 1 cup rolled oats, ¼ cup chocolate protein powder, and a pinch of salt. Whisk them together with a fork or your fingers. This ensures the protein powder is evenly distributed—nobody wants a chalky pocket in their protein ball.
- Add the wet ingredients. Add ½ cup creamy peanut butter and 3 tablespoons honey to the bowl. If you’re using vanilla extract, add it now. Don’t mix yet—just plop everything on top of the dry ingredients.
- Mix it all together. Start stirring with your spatula or wooden spoon. At first it’ll look like a crumbly mess—that’s normal. Keep mixing, pressing the mixture against the sides of the bowl. After about 30 seconds, it’ll start coming together. When it gets too hard to stir with the spatula, use your hands. Yes, get in there. Squeeze and press the mixture together. It should feel like a thick, slightly sticky dough that holds its shape when you squeeze it. If it’s too dry, add 1 teaspoon of honey or water. If it’s too wet, add 1 tablespoon of oats.
- Fold in the chocolate chips. Add ¼ cup mini chocolate chips to the bowl. Fold them in gently with your hands or spatula. Make sure they’re evenly distributed—you want chocolate in every single bite. This is the step where I always sneak a few extra chocolate chips because, well, why not?
- Chill the mixture (optional but recommended). Pop the bowl in the fridge for 10-15 minutes. This firms up the mixture and makes rolling much easier. If you’re in a hurry, you can skip this step—just wet your hands slightly before rolling to prevent sticking.
- Roll the balls. Scoop out about 1 tablespoon of the mixture (or use your cookie scoop). Roll it between your palms to form a smooth ball. Place it on the parchment-lined baking sheet. Repeat until all the mixture is used. You should get about 14-16 balls, depending on how generous you are with your scooping.
- Chill to set. Place the baking sheet in the refrigerator for at least 30 minutes. This allows the balls to firm up and the flavors to meld together. The texture will be perfect—firm but not hard, chewy but not sticky.
- Enjoy! Once chilled, these quick no-bake chocolate peanut butter protein balls are ready to eat. I always eat one immediately—it’s my reward for not eating the dough straight from the bowl.
Sensory Cues: The mixture should feel like a thick, slightly sticky cookie dough. When you roll it, it should hold its shape without cracking. If it cracks, it’s too dry—add a tiny bit of honey. If it’s too sticky to roll, chill it longer or wet your hands. The finished balls should be firm but yield slightly when pressed.
Cooking Tips & Techniques
I’ve made these quick no-bake chocolate peanut butter protein balls about forty times now, and I’ve learned a few things the hard way. Let me save you the trouble.
Temperature matters. If your peanut butter is straight from the fridge, it’ll be too hard to mix. Let it sit at room temperature for 15 minutes first. Same goes for honey—if it’s crystallized, warm it gently. Cold ingredients make the mixture harder to combine and result in uneven texture.
Don’t overmix. Once everything comes together, stop. Overmixing can make the oats release their starches and turn the mixture gummy. You want distinct oat pieces for that nice chewy texture.
Wet hands are your friend. If the mixture sticks to your hands while rolling, just wet your palms with a little water. It creates a barrier that prevents sticking without adding extra moisture to the balls. I learned this after my first batch looked like little fuzzy monsters because they picked up oat crumbs from my dry hands.
Size consistency matters. Use a cookie scoop or measure your first ball, then use it as a visual guide for the rest. Evenly sized balls chill at the same rate and look more professional. Plus, it helps with portion control—or at least that’s what I tell myself.
Taste as you go. Before you roll all the balls, taste one small piece of the mixture. Is it sweet enough? Does it need more salt? Adjust before you commit. I once made a batch that was way too salty because I forgot my peanut butter was salted. A quick taste test would have saved me.
One mistake I’ll never make again: Using natural peanut butter that had separated. I didn’t stir it well, and the balls were greasy and fell apart. Always stir your natural peanut butter thoroughly before measuring. The oil needs to be fully incorporated for the right texture.
Variations & Adaptations
One of the best things about this recipe is how adaptable it is. Here are some variations I’ve tried and loved:
Vegan Version
Swap the honey for maple syrup or agave nectar. Use dairy-free chocolate chips (Enjoy Life brand is my go-to). The texture will be slightly softer because maple syrup is thinner than honey, so add an extra tablespoon of oats to compensate. I made these for a vegan friend’s birthday and she ate six in one sitting.
Peanut-Free Version
Use sunflower seed butter (SunButter) instead of peanut butter. The flavor is different—more earthy—but still delicious. Reduce the honey by 1 tablespoon because sunflower butter is naturally sweeter. These have a slightly green tint from the sunflower seeds, so don’t be alarmed. I brought these to a nut-free school event and they were a hit.
Double Chocolate Version
Add 1 tablespoon of unsweetened cocoa powder to the dry ingredients. Use white chocolate chips instead of semi-sweet for a fun contrast. This version is dangerously good—I once ate five in a row and had zero regrets.
Cookie Dough Inspired Version
Use vanilla protein powder instead of chocolate. Add ¼ cup of mini chocolate chips and 2 tablespoons of sprinkles (optional, but fun). This tastes exactly like cookie dough but with protein. Perfect for when you want dessert for breakfast.
Spiced Chai Version
Add ½ teaspoon of cinnamon, ¼ teaspoon of ginger, and a pinch of cardamom to the dry ingredients. Use vanilla protein powder and white chocolate chips. The warm spices pair beautifully with the peanut butter. This is my favorite fall variation.
My personal favorite: The double chocolate version with a sprinkle of flaky sea salt on top before chilling. The salt cuts through the sweetness and makes the chocolate taste even richer. It’s the little details that make a recipe yours.
Serving & Storage Suggestions
These quick no-bake chocolate peanut butter protein balls are best served chilled, straight from the fridge. The texture is perfect—firm but chewy, with the chocolate chips providing little bursts of sweetness. I like to eat them as a mid-morning snack with a cup of coffee, or as a post-workout treat when I need something satisfying but not heavy.
For serving: Arrange them on a small plate or in a bowl. They look beautiful dusted with a little cocoa powder or topped with a pinch of flaky sea salt. If you’re serving them at a party, stick a toothpick in each one for easy grabbing. I’ve also crumbled them over Greek yogurt for a high-protein breakfast bowl—highly recommend.
Complementary pairings: These protein balls go wonderfully with a glass of cold almond milk, a hot cup of coffee, or a smoothie. For a dessert plate, pair them with fresh strawberries or banana slices. The chocolate-peanut butter combo is classic for a reason.
Storage instructions: Store the protein balls in an airtight container in the refrigerator. They’ll stay fresh for up to 2 weeks—though in my house, they rarely last that long. For longer storage, freeze them. Place the balls in a single layer on a baking sheet and freeze for 1 hour, then transfer to a freezer-safe bag or container. They’ll keep for up to 3 months.
Reheating tips: These are meant to be eaten cold or at room temperature, but if you want a softer texture, let them sit at room temperature for 5-10 minutes before eating. For a warm treat, microwave one ball for 10-15 seconds—the chocolate chips will melt slightly, and it’s like having a warm cookie. Just don’t overdo it, or they’ll fall apart.
Flavor development: The flavors actually get better after a day or two in the fridge. The oats absorb moisture from the peanut butter and honey, making the texture more uniform and the flavors more melded. So if you can resist eating them all on day one, you’re in for a treat on day two.
Nutritional Information & Benefits
These quick no-bake chocolate peanut butter protein balls are not just delicious—they’re packed with nutrition that actually supports your day. Here’s the breakdown per ball (based on 15 balls):
| Nutrient | Amount per ball |
|---|---|
| Calories | 145 |
| Protein | 7g |
| Carbohydrates | 16g |
| Fiber | 3g |
| Sugar | 8g |
| Fat | 7g |
| Saturated Fat | 2g |
| Sodium | 65mg |
Health benefits: The rolled oats provide slow-release carbohydrates for sustained energy, plus beta-glucan fiber that supports heart health. Peanut butter offers healthy monounsaturated fats and plant-based protein that keeps you full. The chocolate protein powder adds an extra protein boost, making these an excellent post-workout snack. Chocolate chips (especially dark chocolate) contain antioxidants called flavonoids that support brain health. And the honey provides natural sweetness along with trace amounts of vitamins and minerals.
Dietary considerations: This recipe is naturally vegetarian. For gluten-free, use certified gluten-free oats. For vegan, swap honey for maple syrup. For nut-free, use sunflower seed butter. These protein balls are also egg-free and dairy-free if you use dairy-free chocolate chips.
Potential allergens: Peanuts (from peanut butter), oats (contain gluten unless certified gluten-free), and chocolate (may contain dairy). Always check labels if you’re serving someone with allergies.
I personally love that these protein balls give me energy without the crash. They’re my go-to for long work days when I need something that actually sustains me, not just a sugar spike that leaves me sleepy an hour later. It’s real food that happens to taste like a treat—and that’s the sweet spot.
Conclusion
These quick no-bake chocolate peanut butter protein balls have become a staple in my kitchen for one simple reason: they actually work. They’re fast enough for a weekday morning, satisfying enough for a post-workout snack, and delicious enough that I don’t feel like I’m eating “health food.” They’ve saved me from countless vending machine visits and hangry episodes, and they’ve become the recipe I share with anyone who asks, “What do you eat when you’re busy?”
What I love most about this recipe is how forgiving it is. You can tweak the ratios, swap ingredients, add your favorite mix-ins, and it still turns out great. That’s the mark of a good recipe—one that invites you to make it your own. So go ahead, add some shredded coconut, throw in some dried cranberries, or drizzle a little extra honey on top. Make it yours.
I’d love to hear how your batch turns out! Drop a comment below and let me know what variations you tried, or tag me in your photos on social media. Did you add something unexpected? Did you eat three before they even made it to the fridge? (No judgment here—I’ve been there.) And if you’re looking for more quick snack ideas, check out my peanut butter energy bites or these chocolate almond butter balls for another no-bake favorite.
Happy snacking, friend. You deserve something delicious that’s also good for you—and now you’ve got it.
Frequently Asked Questions
Can I use quick oats instead of rolled oats?
Yes, you can! Quick oats will give a finer, softer texture that’s more like a truffle. The balls will hold together just as well. I prefer rolled oats for more chew, but quick oats work perfectly fine.
Why are my protein balls too dry?
This usually happens if your peanut butter is too thick or if you added too much protein powder. Fix it by adding 1 teaspoon of honey or a splash of milk (dairy or plant-based) at a time until the mixture comes together. Also, make sure your peanut butter is well-stirred and at room temperature.
How long do these protein balls last at room temperature?
They can sit out for up to 2 hours safely, but they’re best kept refrigerated. The texture softens at room temperature, and the chocolate chips may melt if it’s warm. For picnics or lunchboxes, pack them with an ice pack.
Can I make these without protein powder?
Absolutely! Omit the protein powder and add an extra ¼ cup of oats plus 1 tablespoon of cocoa powder for the chocolate flavor. The balls will be slightly less firm but still delicious. You can also add 2 tablespoons of chia seeds or flax seeds for extra nutrition.
Can I double this recipe?
Yes, this recipe doubles beautifully. Just make sure your bowl is big enough to mix everything thoroughly. I often make a double batch on Sunday and have snacks for the whole week. They freeze well too, so don’t be shy about making extra.
Pin This Recipe!
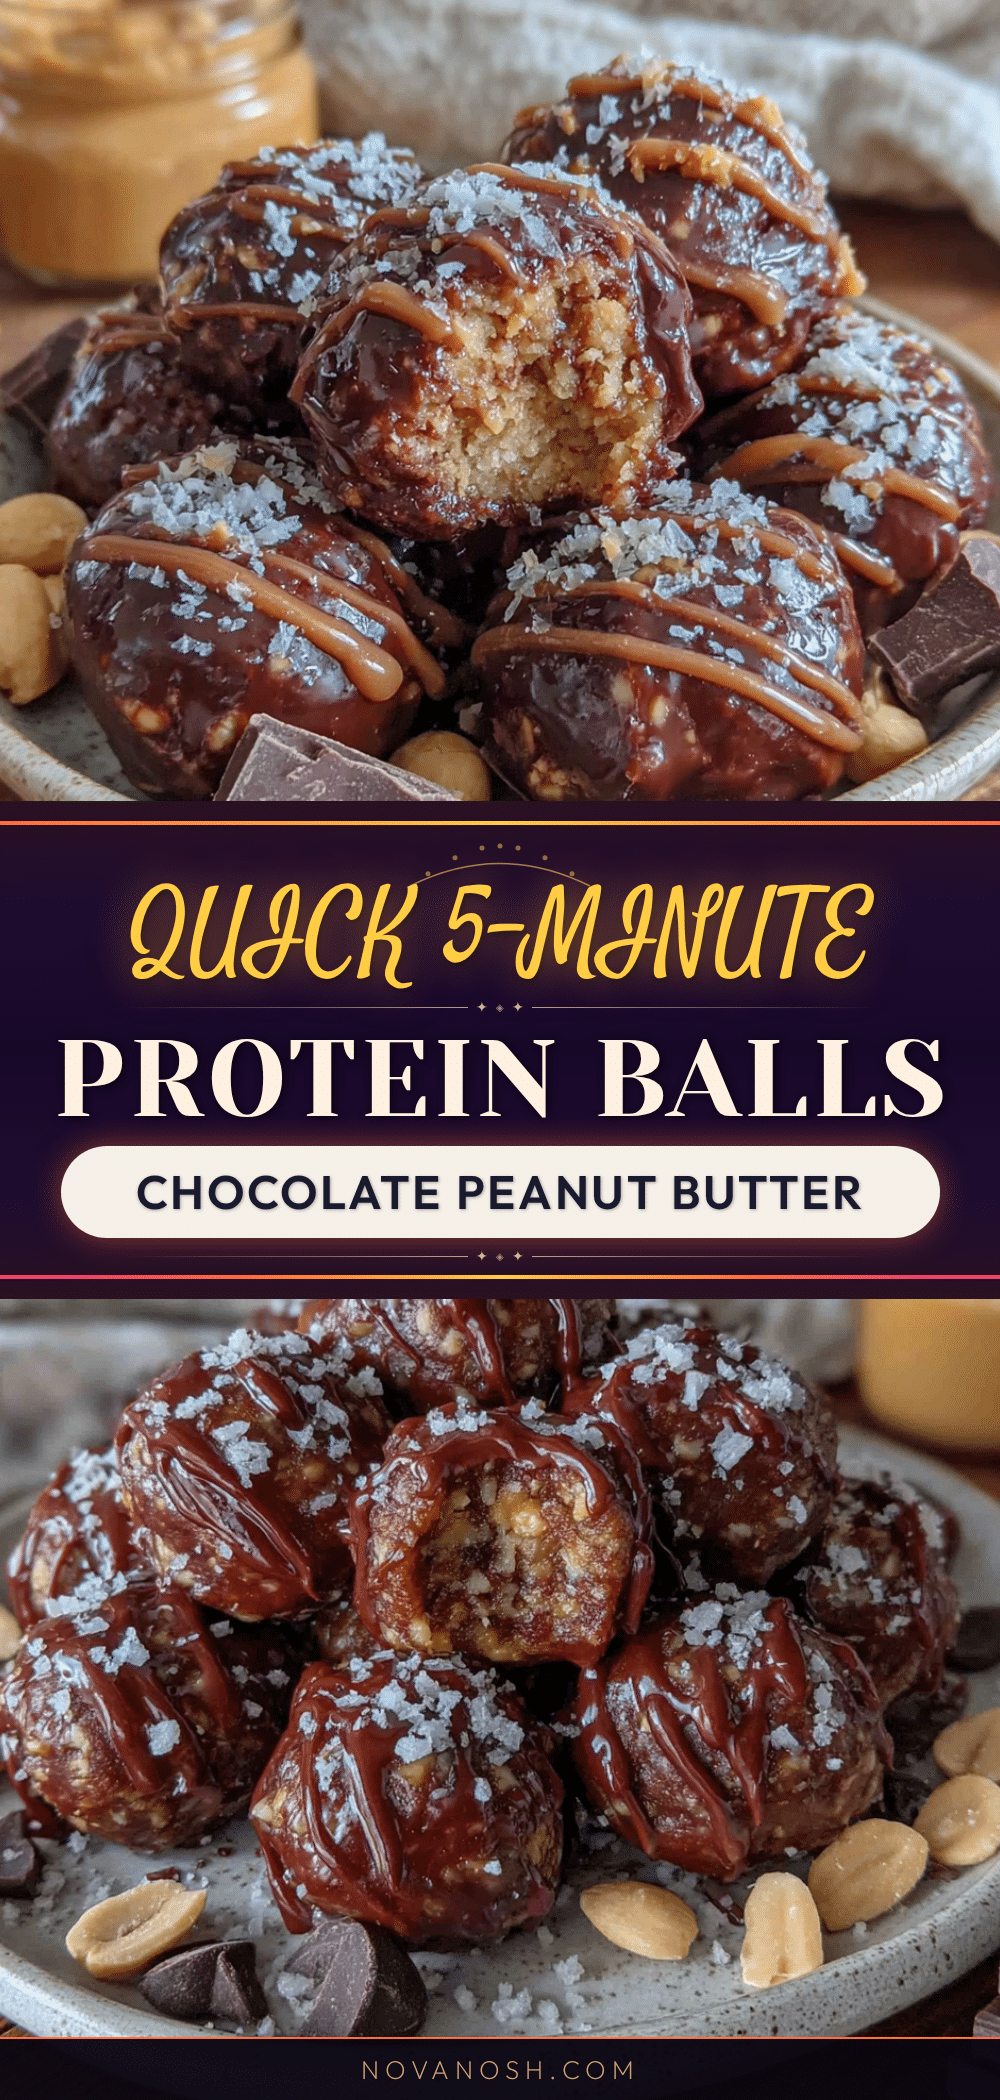
Easy No-Bake Chocolate Peanut Butter Protein Balls

Quick and easy no-bake chocolate peanut butter protein balls made with simple pantry ingredients. Perfect for a healthy snack, post-workout fuel, or a late-night treat.
- Prep Time: 15 minutes
- Cook Time: 0 minutes
- Total Time: 45 minutes
- Yield: 15 servings 1x
- Category: Snack
- Cuisine: American
Ingredients
- 1 cup (90g) rolled oats
- ½ cup (130g) creamy peanut butter
- ¼ cup (30g) chocolate protein powder
- 3 tablespoons (60ml) honey
- ¼ cup (45g) mini chocolate chips
- Pinch of salt (about ⅛ teaspoon)
- 1 tablespoon chia seeds or flax seeds (optional)
- ½ teaspoon vanilla extract (optional)
Instructions
- Line a baking sheet or large plate with parchment paper.
- In a large mixing bowl, combine 1 cup rolled oats, ¼ cup chocolate protein powder, and a pinch of salt. Whisk together.
- Add ½ cup creamy peanut butter and 3 tablespoons honey to the bowl. If using vanilla extract, add it now.
- Mix with a spatula or wooden spoon until crumbly, then use your hands to squeeze and press the mixture together until it forms a thick, slightly sticky dough. If too dry, add 1 teaspoon honey or water; if too wet, add 1 tablespoon oats.
- Fold in ¼ cup mini chocolate chips until evenly distributed.
- Optional: Chill the mixture in the fridge for 10-15 minutes to make rolling easier.
- Scoop about 1 tablespoon of mixture and roll into smooth balls. Place on prepared baking sheet. Repeat until all mixture is used (about 14-16 balls).
- Refrigerate for at least 30 minutes to set.
- Enjoy chilled or at room temperature.
Notes
For best texture, use natural peanut butter that is thick and well-stirred. If mixture is too sticky, chill longer or wet hands slightly before rolling. Flavors improve after a day in the fridge. Store in an airtight container in the refrigerator for up to 2 weeks, or freeze for up to 3 months.
Nutrition
- Serving Size: 1 ball
- Calories: 145
- Sugar: 8
- Sodium: 65
- Fat: 7
- Saturated Fat: 2
- Carbohydrates: 16
- Fiber: 3
- Protein: 7
Keywords: no-bake, protein balls, chocolate peanut butter, healthy snack, easy recipe, gluten-free option, vegan option


