Love this? Save it for later!
Share the inspiration with your friends
Introduction
“I wasn’t planning on making pumpkin puree that day,” I confessed to my friend while wiping pumpkin seeds off the counter. It was the last Saturday of October, and the farmer’s market was buzzing with autumn colors when I spotted the most perfect, round pumpkins stacked high. Honestly, I had just wanted a cute pumpkin for my porch. But one thing led to another, and before I knew it, I was elbow-deep in pumpkin guts, the kitchen smelling like a cozy fall dream.
It wasn’t the neatest process—there was some splattering, a bit of pumpkin juice on my shirt, and yes, a cracked bowl I knocked over while juggling the steaming pumpkins. Yet, the outcome? Pure magic. This easy homemade pumpkin puree from scratch wasn’t just a simple ingredient; it was a little jar of autumn nostalgia, ready to transform any recipe.
Maybe you’ve been there too—standing in the grocery aisle, staring at a can of pumpkin puree, wondering if homemade would be worth the effort. Let me tell you, it absolutely is. This recipe stays with me because it captures that authentic pumpkin flavor you just can’t fake, and it’s surprisingly straightforward. Plus, it’s a fantastic way to use fresh, whole pumpkins when they’re at their seasonal peak.
Why You’ll Love This Recipe
- Quick & Easy: Ready in about 1 hour, including roasting time—perfect for getting ahead on your fall baking or meal prep.
- Simple Ingredients: Only fresh pumpkin and a little time needed—no preservatives or extra additives.
- Perfect for Fall Recipes: Ideal for pies, soups, pancakes, or even your morning latte flavor boost.
- Crowd-Pleaser: Homemade flavor always impresses guests and family alike, with none of the canned aftertaste.
- Unbelievably Delicious: The natural sweetness and texture shine through, making every bite a cozy hug.
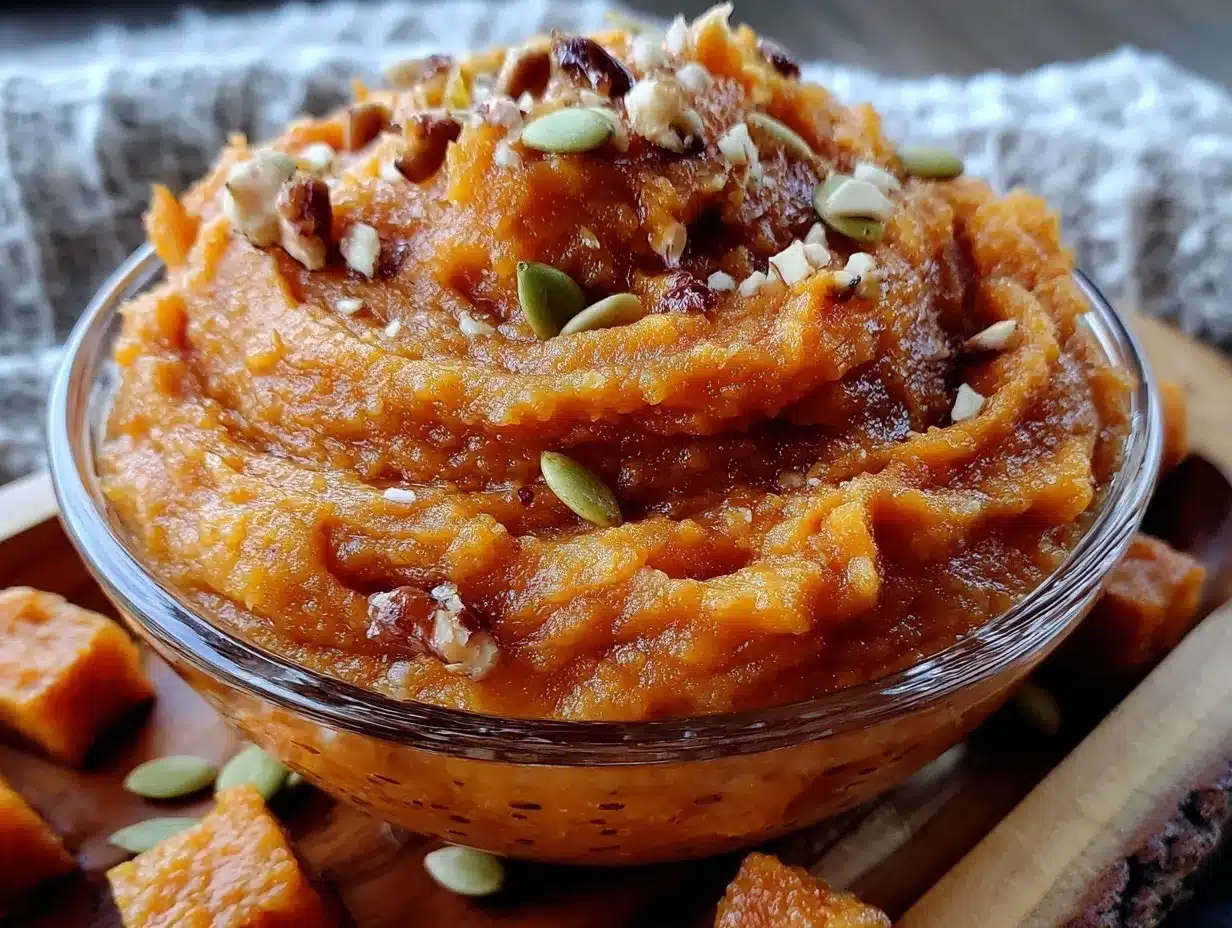
This isn’t just another pumpkin puree recipe—it’s my tested way to get that silky, vibrant texture without any fuss. Roasting the pumpkin caramelizes the sugars, giving it a deeper flavor than boiling or steaming. Plus, peeling the pumpkin is way easier once roasted, trust me on this one. I remember the first time I tried peeling raw pumpkin—let’s just say it wasn’t pretty.
For those who want to make pumpkin bread or pumpkin soup with a real-deal taste, this recipe will become your go-to. It’s the kind of homemade touch that makes all the difference, whether you’re a seasoned cook or just getting your feet wet with fall flavors.
What Ingredients You Will Need
This recipe uses simple, wholesome ingredients to deliver bold flavor and satisfying texture without the fuss. Pumpkin is the star here, and choosing the right type can make a big difference. Sugar pumpkins or pie pumpkins are best—they’re smaller, sweeter, and less watery than carving pumpkins.
- 1 medium sugar pumpkin (about 3-4 pounds / 1.4-1.8 kg): Look for firm skin without soft spots. I recommend checking your local farmer’s market for the freshest picks.
- Optional: A pinch of salt (enhances natural sweetness but not necessary if you want pure pumpkin flavor)
That’s it! No water, oil, or spices needed here—pure pumpkin goodness. If you want to experiment, you can add a touch of cinnamon or nutmeg later in your recipes, but keep the puree itself simple.
Equipment Needed
- Sharp chef’s knife (to cut through the pumpkin safely)
- Baking sheet (a rimmed one to catch any drips)
- Parchment paper or silicone baking mat (for easy cleanup)
- Spoon or ice cream scoop (to remove seeds and stringy pulp)
- Food processor or high-speed blender (for smooth, creamy puree)
- Large bowl (to collect the pumpkin flesh)
- Oven mitts (for handling hot pumpkins)
If you don’t have a food processor, a sturdy blender works well, though you might need to puree in batches. For a chunkier texture, a potato masher can do the trick if you prefer a rustic feel. I once tried using a hand mixer—it was messy and less effective, so I wouldn’t recommend that route.
Preparation Method
- Preheat your oven to 400°F (200°C). This temperature helps caramelize the sugars in the pumpkin for a richer flavor.
- Wash the pumpkin thoroughly. Remove any dirt or residues to avoid baking unwanted flavors into the puree.
- Cut the pumpkin in half. Be careful—pumpkins can be tough! Use a sharp knife and work on a sturdy surface.
- Remove the seeds and stringy pulp. Use a spoon or ice cream scoop to scrape it all out. Don’t toss the seeds—they make a great snack if roasted!
- Place the pumpkin halves cut-side down on a baking sheet lined with parchment paper. This helps the pumpkin steam and roast evenly.
- Roast for 45-60 minutes. Check at 45 minutes by poking the flesh with a fork—it should be very tender and easily pierced.
- Remove the pumpkin from the oven and let it cool slightly. Don’t rush this part; the pumpkin needs to cool enough to handle safely.
- Scoop the pumpkin flesh from the skin. It should come away easily with a spoon. Discard the skins.
- Puree the flesh. Place it in a food processor or blender and blend until smooth. If the puree feels too thick, add a tablespoon of water to adjust consistency.
- Optional: Add a pinch of salt. This step enhances the natural sweetness but is entirely up to your taste.
- Store the pumpkin puree. Transfer it to an airtight container and refrigerate if using within a few days, or freeze for longer storage.
Pro tip: If your pumpkin doesn’t roast evenly, rotate the baking sheet halfway through cooking. Also, don’t skip cooling—it helps the puree thicken and develop flavor.
Cooking Tips & Techniques
Roasting the pumpkin is the key technique here. It softens the flesh and deepens the flavor without adding any extra moisture. I learned early on that boiling pumpkin results in a watery puree that just doesn’t have the same punch.
Be patient while peeling—roasted pumpkin skin peels off like magic, but if it’s still stubborn, give it a few more minutes in the oven. Also, for the smoothest puree, process in batches if your food processor is small.
Don’t discard the seeds! Toss them with olive oil, salt, and a sprinkle of smoked paprika for a crunchy snack that pairs perfectly with fall movie nights.
When making multiple jars, I label them with the date—they keep well frozen for up to 3 months. Thaw in the fridge overnight before using.
Variations & Adaptations
- Vegan & Dairy-Free: This puree is naturally vegan and dairy-free, making it a perfect base for soups or desserts tailored to any diet.
- Spiced Pumpkin Puree: Add cinnamon, nutmeg, or ginger during pureeing for a flavored twist, great for pumpkin lattes or pie.
- Low-Carb Option: Use in savory dishes like pumpkin curry or roasted pumpkin mash—skip any added sugars or sweet spices.
I once tried roasting a blue pumpkin, which gave a slightly nuttier flavor and deeper color. It was a fun variation that surprised my dinner guests!
Serving & Storage Suggestions
Serve your homemade pumpkin puree warm or chilled, depending on your recipe. It pairs beautifully with cinnamon-spiced dishes or as a creamy addition to pasta sauces and soups.
Store in airtight containers in the refrigerator for up to 5 days. For longer storage, freeze in portion-sized containers or ice cube trays—perfect for dropping into recipes as needed.
To reheat, warm gently on the stovetop or microwave, stirring occasionally to keep the texture smooth.
The flavor actually deepens after a day or two in the fridge, so I sometimes prepare it ahead of time to let it mellow—worth the wait!
Nutritional Information & Benefits
This easy homemade pumpkin puree is low in calories and packed with fiber, making it a nutritious addition to your meals. Rich in vitamin A and antioxidants, pumpkin supports eye health and immune function.
It’s naturally gluten-free and suitable for paleo and keto diets when used without added sugars. Just be mindful of any allergen cross-contamination if you’re processing in shared kitchen equipment.
From a wellness perspective, pumpkin’s fiber helps digestion, and its natural sweetness means you can reduce refined sugars in your baking.
Conclusion
Making your own pumpkin puree from scratch is easier than you think and totally worth the little mess. It brings an authentic, fresh pumpkin flavor to your fall recipes that canned simply can’t match. Plus, it’s a satisfying way to connect with seasonal ingredients and enjoy a little kitchen magic.
Feel free to tweak the texture or add your favorite spices, but trust me—starting with this pure, homemade base will change how you cook pumpkin forever. I love coming back to this recipe every autumn; it’s a simple ritual that fills my kitchen with warmth and comfort.
Give it a try, and don’t hesitate to share your own pumpkin puree stories or adaptations in the comments. Let’s celebrate real, homemade flavor together!
FAQs
What type of pumpkin is best for making homemade pumpkin puree?
Use sugar pumpkins or pie pumpkins—they’re smaller, sweeter, and less watery than carving pumpkins, which makes for a better puree.
Can I use canned pumpkin instead of making it from scratch?
You can, but homemade pumpkin puree has a fresher, more vibrant flavor without the preservatives and sometimes metallic taste found in cans.
How long does homemade pumpkin puree keep in the fridge?
Store it in an airtight container for up to 5 days in the refrigerator. For longer storage, freeze it for up to 3 months.
Is it necessary to roast the pumpkin instead of boiling it?
Roasting caramelizes the pumpkin’s natural sugars and reduces moisture, resulting in a richer flavor and smoother texture compared to boiling.
Can I freeze pumpkin puree in small portions?
Absolutely! Freezing in ice cube trays or small containers makes it easy to thaw just what you need for recipes.
For those interested in more from-scratch seasonal recipes, you might enjoy my homemade apple sauce or my favorite classic butternut squash soup, both perfect cozy companions to pumpkin puree creations.
Pin This Recipe!
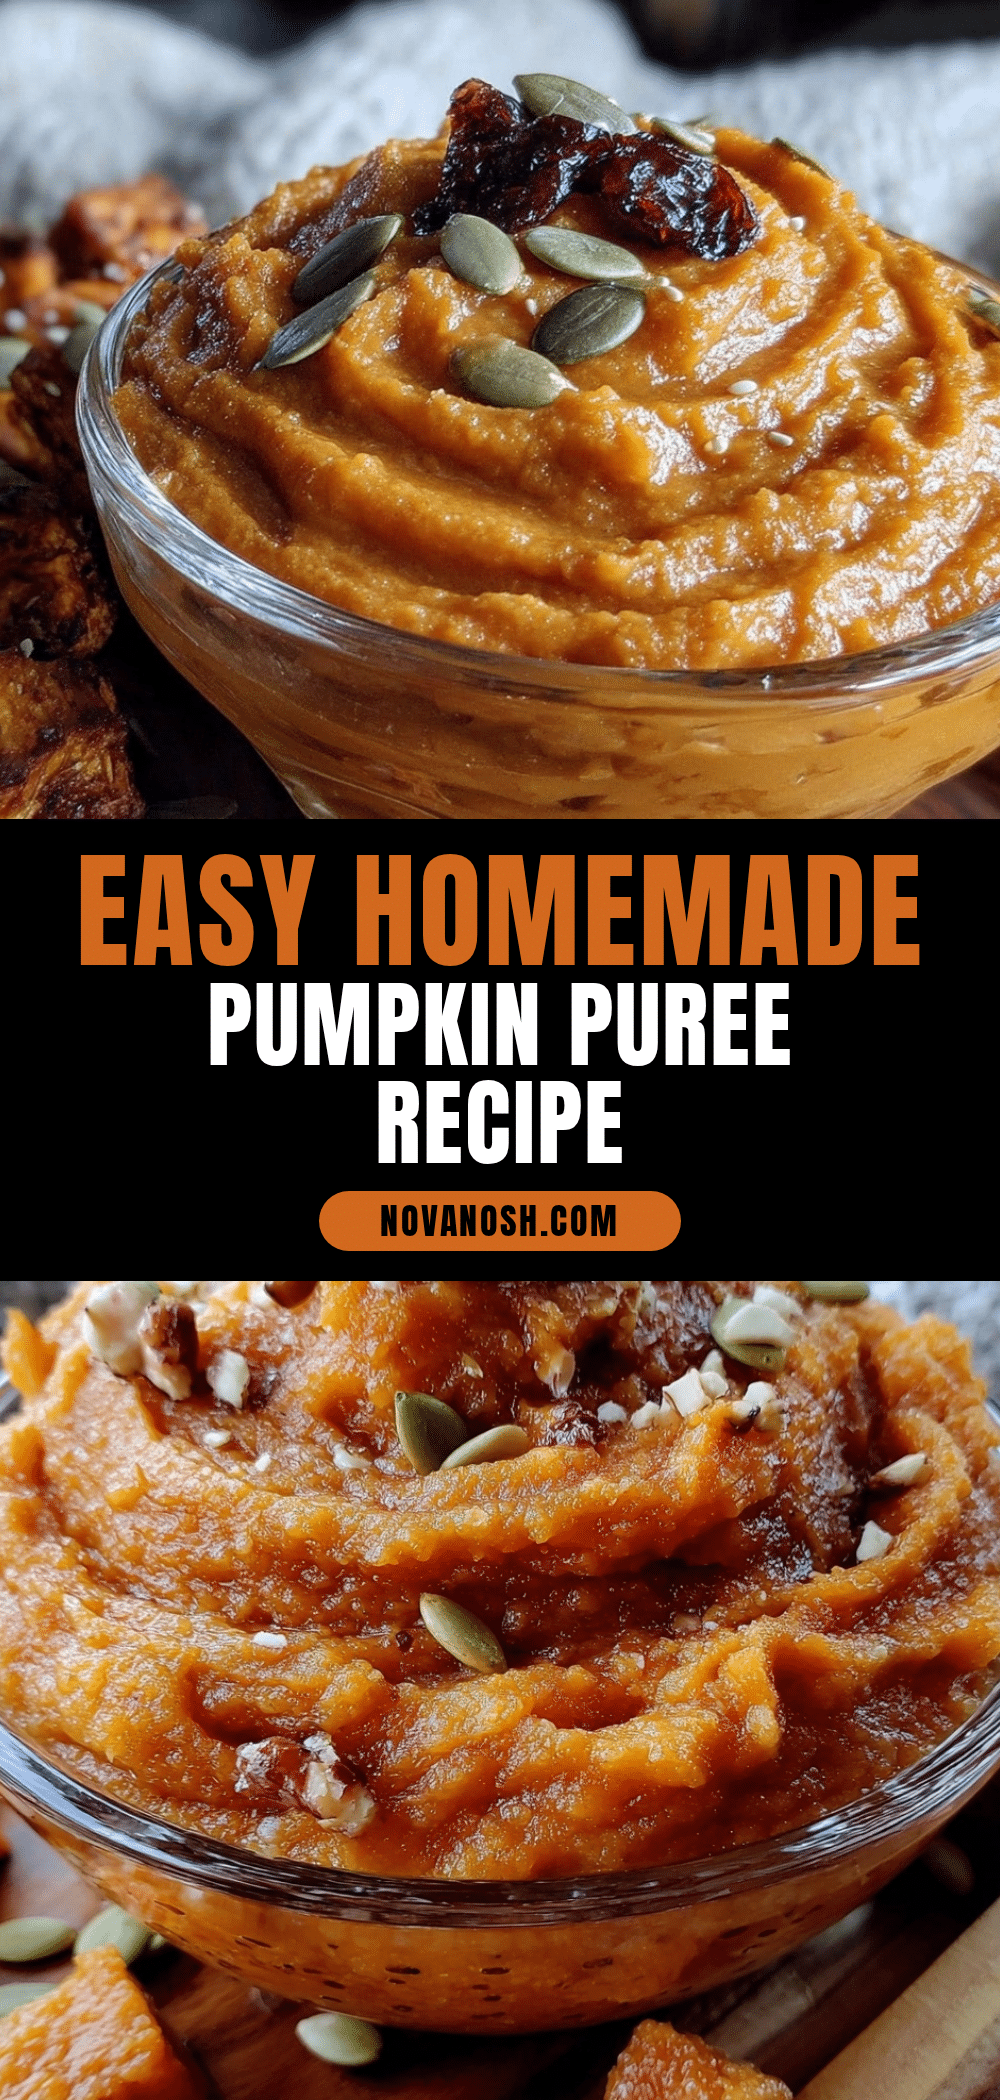
Easy Homemade Pumpkin Puree Recipe from Scratch Perfect for Fall Recipes
This easy homemade pumpkin puree captures authentic pumpkin flavor with a silky, vibrant texture. Perfect for fall recipes like pies, soups, and lattes, it uses simple ingredients and roasting for deep flavor.
- Prep Time: 10 minutes
- Cook Time: 45-60 minutes
- Total Time: 55-70 minutes
- Yield: About 2 to 3 cups of pumpkin puree 1x
- Category: Ingredient Preparation
- Cuisine: American
Ingredients
- 1 medium sugar pumpkin (about 3–4 pounds / 1.4–1.8 kg)
- Optional: A pinch of salt
Instructions
- Preheat your oven to 400°F (200°C).
- Wash the pumpkin thoroughly to remove any dirt or residues.
- Cut the pumpkin in half using a sharp knife on a sturdy surface.
- Remove the seeds and stringy pulp with a spoon or ice cream scoop.
- Place the pumpkin halves cut-side down on a baking sheet lined with parchment paper.
- Roast for 45-60 minutes, checking at 45 minutes by poking the flesh with a fork until tender.
- Remove the pumpkin from the oven and let it cool slightly.
- Scoop the pumpkin flesh from the skin and discard the skins.
- Puree the flesh in a food processor or blender until smooth, adding a tablespoon of water if too thick.
- Optional: Add a pinch of salt to enhance natural sweetness.
- Store the pumpkin puree in an airtight container; refrigerate if using within a few days or freeze for longer storage.
Notes
Rotate the baking sheet halfway through roasting for even cooking. Let the pumpkin cool before scooping to make peeling easier. Process puree in batches if needed for smooth texture. Save and roast seeds for a crunchy snack. Store puree in airtight containers; freezes well up to 3 months.
Nutrition
- Serving Size: Approximately 1/2 cu
- Calories: 40
- Sugar: 4
- Sodium: 2
- Fat: 0.1
- Carbohydrates: 10
- Fiber: 3
- Protein: 1
Keywords: pumpkin puree, homemade pumpkin puree, fall recipes, pumpkin recipe, roasting pumpkin, sugar pumpkin, pumpkin puree from scratch