Love this? Save it for later!
Share the inspiration with your friends
I was supposed to be making banana pancakes. That was the plan, anyway. I had three sad, spotty bananas on the counter, a grumbling stomach, and a very specific vision of a lazy Sunday breakfast. I grabbed my largest mixing bowl, cracked in an egg, and poured in what I thought was buttermilk. It was not buttermilk. It was the last of the heavy cream I’d bought for a pasta recipe days before. I realized this right as the thick, rich liquid swirled into the bowl. I stood there, spatula in hand, staring at the mess. The pancakes were off the table. I was too hungry to start over, and honestly, too stubborn to waste the cream.
So I did what any reasonable person would do. I added flour. I added sugar. I threw in a handful of walnuts because they were sitting on the counter, and I figured, why not? The batter was thick and smelled like a bakery. I poured it into a loaf pan, crossed my fingers, and shoved it in the oven. Twenty minutes later, my kitchen smelled like the best kind of accident. When I pulled that loaf out, golden and cracked on top, I knew I had stumbled onto something. It was tender, rich, and not too sweet. The walnuts added this little crunch that made every bite interesting.
That loaf of easy one-bowl banana bread with walnuts became my go-to. I mean, I make it at least twice a month now. Maybe you have been there—staring at overripe bananas, wondering what to do, and not wanting to deal with a complicated recipe. This one fixes that. It all comes together in one bowl, no mixer required, and it turns out perfect every single time. Honestly, the heavy cream accident was the best thing that ever happened to my banana bread.
Why You’ll Love This Recipe
This isn’t just another banana bread recipe. I have tested this version more times than I can count, tweaking the ratios and the baking time until it was exactly right. It is the kind of recipe I give to friends who claim they can’t bake, and they always text me back with photos of a perfect loaf.
- Quick & Easy: From start to oven in under 10 minutes. No mixer, no sifting, no fuss. This is the definition of a one-bowl wonder.
- Simple Ingredients: You probably have everything in your kitchen right now. Bananas, flour, sugar, eggs, butter or oil, and walnuts. That is it.
- Perfect for Busy Mornings: Bake it on a Sunday, and you have breakfast or a snack ready for the whole week. It also freezes beautifully.
- Crowd-Pleaser: I have brought this to potlucks, office parties, and family dinners. It disappears fast. Kids love it, and adults always ask for the recipe.
- Unbelievably Delicious: The texture is where this bread shines. It is moist and tender from the bananas, with a slight richness from the butter, and the walnuts add that satisfying crunch. It is next-level comfort food.
What makes this recipe different? It is the method. Using melted butter instead of creaming it with sugar saves time and creates a denser, more tender crumb. And the walnuts are toasted right in the batter as the bread bakes, which brings out their nutty flavor without an extra step. This isn t just another version of banana bread. It is the best version.
What Ingredients You Will Need
This recipe relies on simple, wholesome ingredients that work together to create a moist, flavorful loaf. Most of these are pantry staples, so you can whip this up whenever those bananas start to turn.
- Ripe Bananas (3 medium, about 1 ½ cups mashed): The riper, the better. Look for bananas with lots of brown spots. They are sweeter and easier to mash. If your bananas are not quite ripe enough, you can speed things up by baking them at 300°F for 15 minutes.
- Melted Unsalted Butter (½ cup, 1 stick): This adds richness and moisture. I prefer unsalted so I can control the salt level. You can substitute melted coconut oil or a neutral vegetable oil if you prefer.
- Granulated Sugar (¾ cup): This gives the bread sweetness and helps create a tender crumb. You can reduce it to ½ cup if your bananas are very sweet, or swap in coconut sugar for a deeper flavor.
- Large Egg (1): The egg binds everything together and adds structure. Make sure it is at room temperature so it mixes in smoothly. If you are out of eggs, you can use a flax egg (1 tablespoon flaxseed meal + 3 tablespoons water).
- Vanilla Extract (1 teaspoon): Pure vanilla extract adds warmth and depth. Imitation vanilla works in a pinch, but the real stuff makes a difference here.
- All-Purpose Flour (1 ½ cups): This is the base of the bread. For a lighter texture, you can substitute up to half of the flour with whole wheat pastry flour. For a gluten-free option, use a good 1-to-1 gluten-free baking flour blend.
- Baking Soda (1 teaspoon): This is the leavening agent. It reacts with the acidity of the bananas to help the bread rise. Make sure your baking soda is fresh for the best results.
- Salt (½ teaspoon): Salt balances the sweetness and enhances the overall flavor. I use fine sea salt.
- Chopped Walnuts (¾ cup): Walnuts add a wonderful crunch and a slightly earthy flavor that pairs perfectly with sweet banana. I recommend toasting them lightly before adding them to the batter for extra depth. You can substitute pecans or leave them out entirely for a nut-free version.
Equipment Needed
You do not need any fancy gadgets for this recipe. That is the beauty of it. Here is what you will need:
- Large Mixing Bowl: A standard 4-quart bowl works perfectly. You want enough room to mash the bananas and mix everything without splashing.
- Wooden Spoon or Rubber Spatula: A sturdy spoon or spatula is all you need for mixing. No electric mixer required.
- Fork or Potato Masher: For mashing the bananas. A fork works fine, but a potato masher makes it even quicker.
- 9×5-inch Loaf Pan: This is the standard size for banana bread. If you use a different size, you will need to adjust the baking time. An 8×4-inch pan will work, but the bread will take a few minutes longer to bake.
- Parchment Paper or Non-Stick Spray: Lining the pan with parchment paper makes it easy to lift the bread out after baking. Non-stick spray works too, but parchment is foolproof.
- Cooling Rack: A wire rack allows air to circulate around the bread so it cools evenly and does not get soggy on the bottom.
- Measuring Cups and Spoons: For accurate measurements. I cannot stress this enough—baking is a science, and precise measurements matter.
I have made this recipe with a cheap dollar-store loaf pan and a fancy ceramic one. Both worked fine. The key is to not overthink the equipment. If you have a bowl and an oven, you are good to go.
Preparation Method
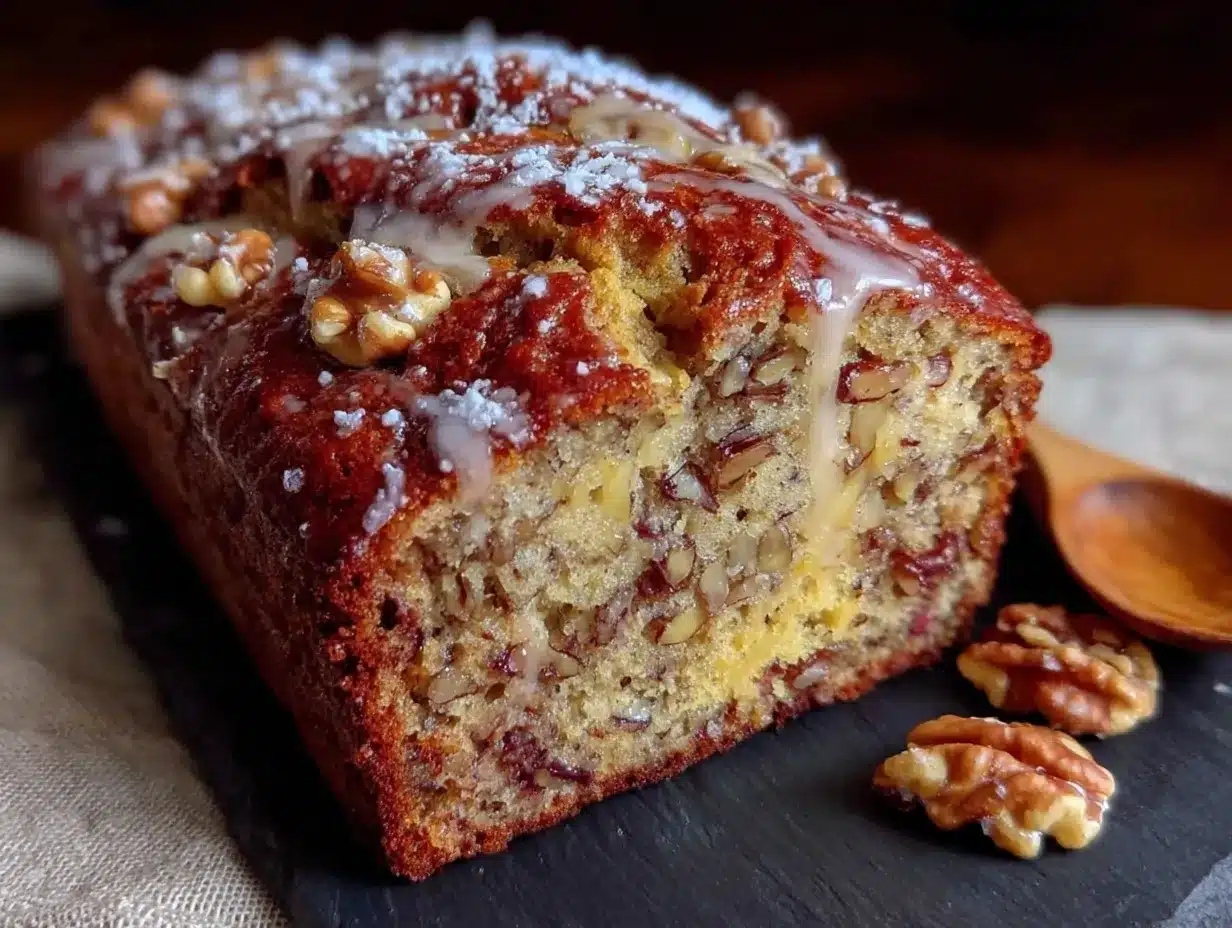
Follow these steps carefully, and you will have a perfect loaf of banana bread every single time.
- Preheat the oven to 350°F (175°C). Position the rack in the center of the oven. Grease your 9×5-inch loaf pan with non-stick spray or line it with parchment paper, leaving a little overhang on the long sides so you can lift the bread out easily.
- Mash the bananas. In your large mixing bowl, mash the three ripe bananas with a fork or potato masher until they are mostly smooth. A few small lumps are fine—they add texture. You should have about 1 ½ cups of mashed banana.
- Add the wet ingredients. Pour the ½ cup of melted butter into the bowl with the bananas. Add the ¾ cup of granulated sugar, 1 large egg, and 1 teaspoon of vanilla extract. Stir everything together with your wooden spoon or spatula until it is well combined. The mixture should look a little glossy and smell amazing.
- Add the dry ingredients. Sprinkle the 1 ½ cups of all-purpose flour, 1 teaspoon of baking soda, and ½ teaspoon of salt over the wet mixture. Stir gently until just combined. Do not overmix! A few streaks of flour are okay. Overmixing will make the bread tough.
- Fold in the walnuts. Add the ¾ cup of chopped walnuts to the batter. Fold them in with a few gentle strokes. Make sure they are evenly distributed throughout the batter.
- Pour the batter into the prepared pan. Use your spatula to scrape every last bit of batter into the loaf pan. Spread it out evenly. Tap the pan gently on the counter a couple of times to release any air bubbles.
- Bake for 55 to 65 minutes. The bread is done when a toothpick inserted into the center comes out clean or with just a few moist crumbs. If the top is browning too quickly, tent the pan loosely with aluminum foil after about 40 minutes.
- Cool in the pan. Place the pan on a wire rack and let it cool for 15 minutes. Then, use the parchment paper overhang to lift the bread out of the pan. Transfer it to the wire rack to cool completely before slicing. This is important—slicing it while it is warm will make it crumble.
One thing I learned the hard way: do not skip the cooling step. I was impatient once and cut into the bread after only 10 minutes. It was a delicious, buttery mess. The texture was gummy because the steam had not finished escaping. Patience pays off here.
Cooking Tips & Techniques
Over the years, I have made every mistake you can imagine with banana bread. Here is what I have learned so you do not have to repeat my failures.
Use very ripe bananas. This is the number one tip. Green or barely yellow bananas will not give you enough sweetness or moisture. You want them so spotty they look almost black. If your bananas are not there yet, place them on a baking sheet and roast them at 300°F for 15 to 20 minutes until they are soft and the skins have darkened. Let them cool before mashing.
Measure your flour correctly. Scooping flour directly from the bag with your measuring cup can pack it down, leading to too much flour and a dry, dense loaf. Instead, fluff the flour with a spoon, then spoon it into your measuring cup and level it off with a knife. This is called the spoon-and-level method, and it makes a real difference.
Do not overmix the batter. I cannot say this enough. Mix until the flour is just incorporated. Overmixing develops the gluten in the flour, which makes the bread tough and rubbery. A few lumps are your friend.
Check for doneness early. Every oven runs a little differently. Start checking your bread at the 50-minute mark. Insert a toothpick into the center. If it comes out clean or with just a few moist crumbs, it is done. If it has wet batter on it, give it another 5 minutes and check again.
Let it cool completely. I know it is tempting to dig in right away, but letting the bread cool on a wire rack for at least an hour allows the crumb to set. The flavor also deepens as it cools. If you can wait until the next day, the bread is even better.
Variations & Adaptations
This recipe is incredibly versatile. Here are a few ways I have customized it over the years.
- Chocolate Chip Banana Bread: Fold in ½ cup of semi-sweet or dark chocolate chips along with the walnuts. The combination of chocolate and banana is a classic for a reason.
- Vegan Banana Bread: Substitute the melted butter with melted coconut oil or a neutral vegetable oil. Use a flax egg (1 tablespoon flaxseed meal mixed with 3 tablespoons water, let sit for 5 minutes) instead of the regular egg. The texture will be slightly denser but still delicious.
- Gluten-Free Banana Bread: Swap the all-purpose flour with a high-quality 1-to-1 gluten-free baking blend that contains xanthan gum. I have had good results with Bob’s Red Mill brand. Do not overmix the batter, as gluten-free flours can get gummy.
- Spiced Banana Bread: Add 1 teaspoon of ground cinnamon and ¼ teaspoon of ground nutmeg to the dry ingredients. A pinch of ground cloves or allspice also works beautifully for a warmer, cozier flavor.
- Nut-Free Option: Simply omit the walnuts. You can replace them with an equal amount of chocolate chips, dried cranberries, or even shredded coconut for texture.
I once made a version with chopped dark chocolate and a sprinkle of flaky sea salt on top before baking. It was incredible. The salt balanced the sweetness perfectly. Do not be afraid to experiment—this recipe is forgiving.
Serving & Storage Suggestions
This banana bread is wonderful on its own, but a few simple additions can make it feel extra special.
Serving: Serve slices at room temperature. For a treat, toast a slice lightly and spread it with a pat of butter or a drizzle of honey. It is also fantastic with a smear of cream cheese or a dollop of Greek yogurt. I love it with a hot cup of coffee or a glass of cold milk.
Storage: Wrap the cooled loaf tightly in plastic wrap or aluminum foil. Store it at room temperature for up to 4 days. The flavor actually improves after a day or two as the ingredients meld together.
Freezing: This bread freezes beautifully. Wrap the whole loaf or individual slices tightly in plastic wrap, then place them in a freezer-safe zip-top bag. It will keep for up to 3 months. To thaw, leave it on the counter for a few hours or pop a slice in the toaster directly from the freezer.
Reheating: To revive a slice, microwave it for 10 to 15 seconds, or toast it in a toaster oven for a few minutes. The toaster method gives the edges a slight crispness that is really lovely.
Nutritional Information & Benefits
Please note that these values are estimates and will vary based on specific ingredients and portion sizes.
| Nutrient | Per Slice (1/10 of loaf) |
|---|---|
| Calories | 285 |
| Fat | 14g |
| Saturated Fat | 6g |
| Carbohydrates | 37g |
| Fiber | 2g |
| Sugar | 18g |
| Protein | 4g |
Bananas are a great source of potassium and vitamin B6, which support heart health and energy metabolism. Walnuts are rich in omega-3 fatty acids and antioxidants, which are beneficial for brain health. This bread is a satisfying snack that provides a good balance of carbohydrates, healthy fats, and a little protein. If you are watching your sugar intake, you can reduce the sugar to ½ cup without drastically affecting the texture.
Conclusion
This easy one-bowl banana bread with walnuts is proof that the best recipes often come from happy accidents. It is simple, reliable, and deeply satisfying. Whether you are a seasoned baker or someone who rarely steps foot in the kitchen, this recipe will work for you. It takes almost no effort, uses ingredients you already have, and fills your home with the most comforting aroma.
I love this recipe because it reminds me that perfection is overrated. The cracked top, the tender crumb, the crunch of walnuts—it is all a little imperfect and completely wonderful. I hope you give it a try and make it your own. Maybe add chocolate chips. Maybe swap in pecans. Maybe eat a slice for breakfast and call it self-care.
If you make this easy one-bowl banana bread with walnuts, I would love to hear about it. Leave a comment below and let me know how it turned out. Did you add any twists? Did it disappear as fast as mine always does? Share your photos and tag me so I can see your beautiful loaf. Happy baking!
Frequently Asked Questions
Can I use frozen bananas for this recipe?
Absolutely. Thaw the bananas completely, then drain off any excess liquid before mashing. Frozen bananas are actually sweeter and easier to mash, so they work great.
Why did my banana bread sink in the middle?
This usually happens if the bread is underbaked or if you opened the oven door too often during baking. Make sure you check for doneness with a toothpick, and resist the urge to peek until the last 10 minutes of baking.
Can I make this recipe without walnuts?
Yes, just leave them out. The bread will still be delicious. You can replace them with chocolate chips, dried fruit, or simply leave the batter plain.
How do I know when my bananas are ripe enough?
Look for bananas with lots of brown spots or even fully black skins. They should be soft to the touch and smell very sweet. If they are still firm or yellow, they are not ready.
Can I double this recipe?
Yes, you can easily double the ingredients. Use two loaf pans and bake them side by side. The baking time may increase by 5 to 10 minutes, so check for doneness with a toothpick.
Pin This Recipe!
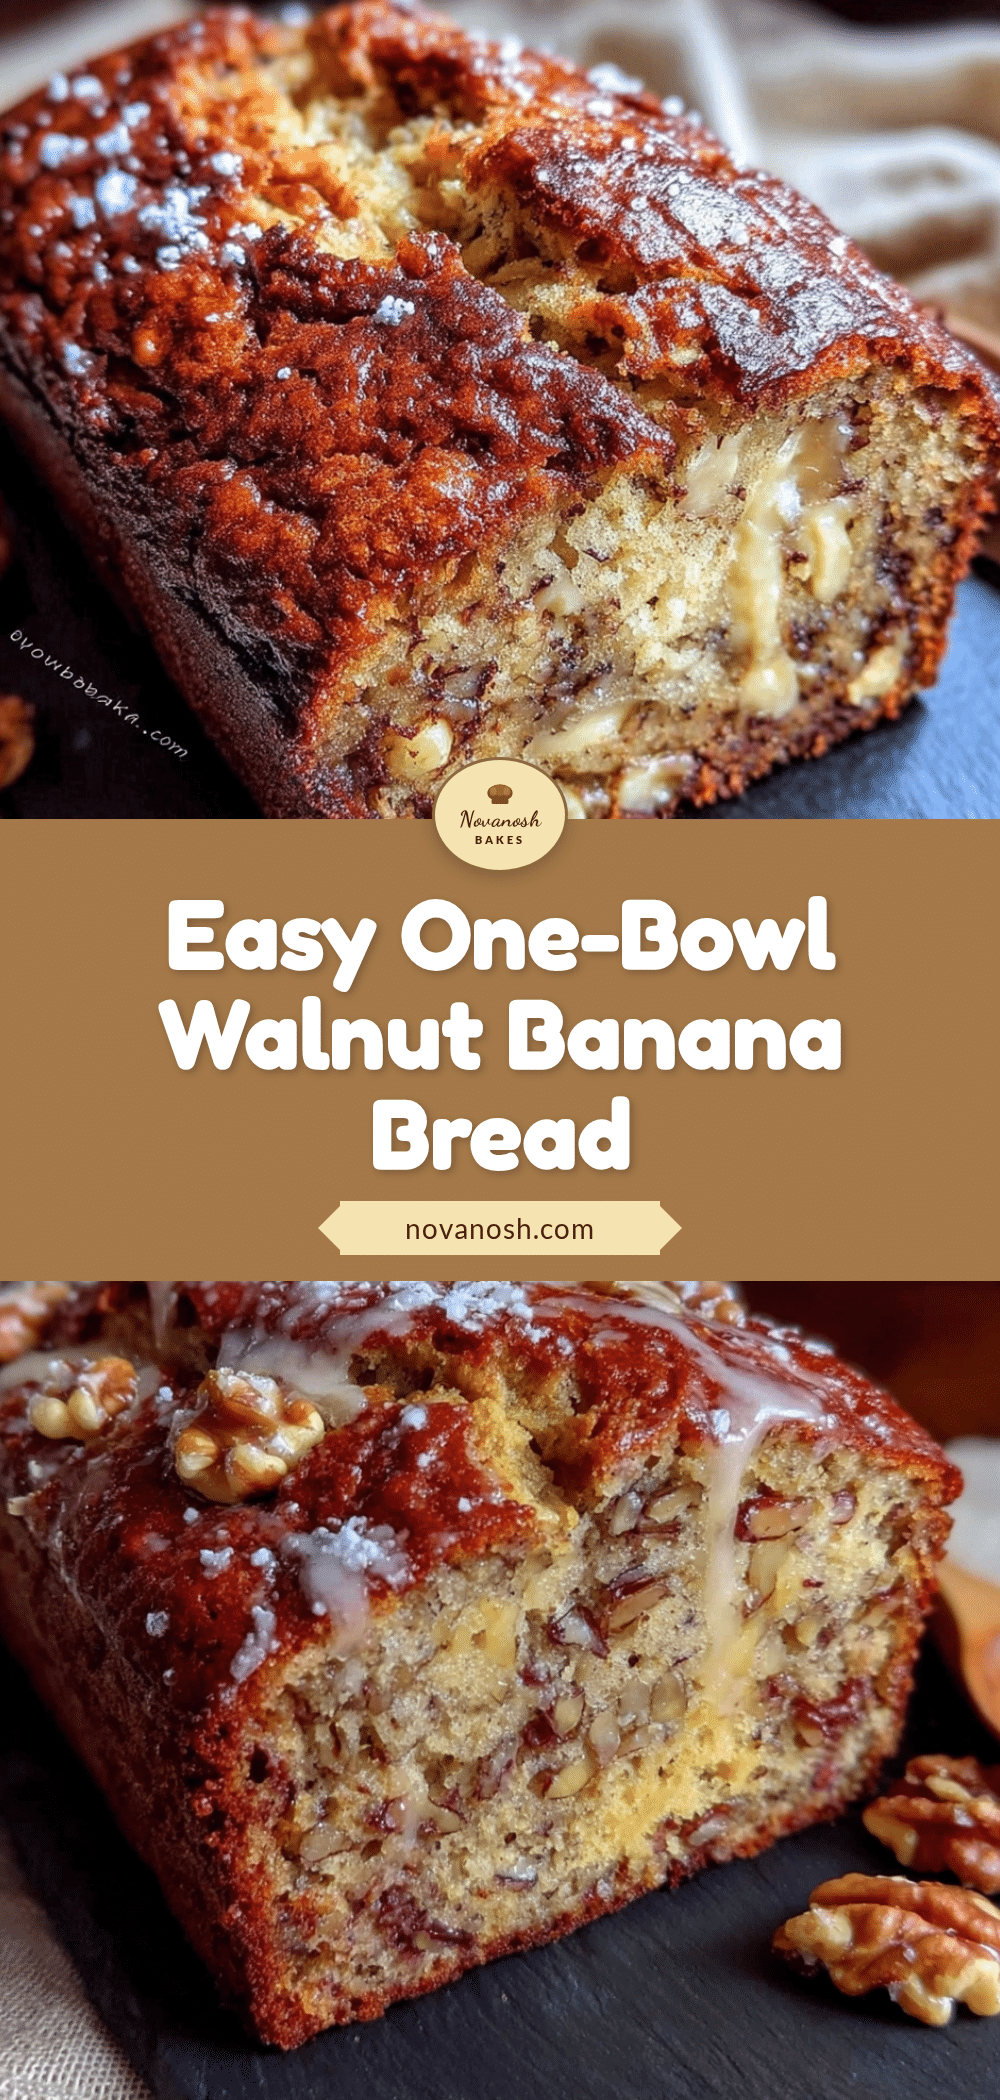
Easy One-Bowl Banana Bread with Walnuts (Best Recipe)
This easy one-bowl banana bread with walnuts is a moist, tender, and not-too-sweet loaf that comes together in minutes. It’s the perfect way to use up overripe bananas and makes a delicious breakfast or snack.
- Prep Time: 10 minutes
- Cook Time: 55 minutes
- Total Time: 1 hour 5 minutes
- Yield: 10 servings 1x
- Category: Dessert
- Cuisine: American
Ingredients
- 3 medium ripe bananas (about 1 ½ cups mashed)
- ½ cup (1 stick) unsalted butter, melted
- ¾ cup granulated sugar
- 1 large egg, at room temperature
- 1 teaspoon vanilla extract
- 1 ½ cups all-purpose flour
- 1 teaspoon baking soda
- ½ teaspoon salt
- ¾ cup chopped walnuts
Instructions
- Preheat the oven to 350°F (175°C). Grease a 9×5-inch loaf pan with non-stick spray or line with parchment paper, leaving overhang on the long sides.
- In a large mixing bowl, mash the bananas with a fork or potato masher until mostly smooth (a few lumps are fine).
- Add the melted butter, sugar, egg, and vanilla extract to the bananas. Stir until well combined.
- Sprinkle the flour, baking soda, and salt over the wet mixture. Stir gently until just combined; do not overmix.
- Fold in the chopped walnuts with a few gentle strokes.
- Pour the batter into the prepared loaf pan and spread evenly. Tap the pan gently on the counter to release air bubbles.
- Bake for 55 to 65 minutes, until a toothpick inserted into the center comes out clean or with a few moist crumbs. If the top browns too quickly, tent with foil after 40 minutes.
- Cool in the pan on a wire rack for 15 minutes, then lift the bread out using the parchment paper and cool completely on the rack before slicing.
Notes
Use very ripe bananas with brown spots for best sweetness and moisture. Do not overmix the batter to avoid a tough loaf. Let the bread cool completely before slicing to prevent crumbling. The flavor improves after a day.
Nutrition
- Serving Size: 1 slice (1/10 of loa
- Calories: 285
- Sugar: 18
- Sodium: 220
- Fat: 14
- Saturated Fat: 6
- Carbohydrates: 37
- Fiber: 2
- Protein: 4
Keywords: banana bread, easy banana bread, one-bowl banana bread, walnut banana bread, moist banana bread, quick bread


