Love this? Save it for later!
Share the inspiration with your friends
I was standing in the checkout line at the grocery store last October when a bag of candy corn caught the fluorescent light just right — and suddenly I was seven years old, sitting cross-legged on my Aunt Carol’s linoleum kitchen floor. She was dumping pretzels and cereal into a giant bowl with both hands, and I remember thinking she must be making the biggest snack in the world. The smell of butter and brown sugar filled her tiny apartment, and I sat there, knees tucked, watching her stir like she was performing some kind of magic. She passed me a warm handful, and I burned my tongue but didn’t even care.
Aunt Carol passed away a few years ago, and I haven’t thought about that afternoon in forever. But standing there in the checkout line, surrounded by Halloween candy displays and moms with tired eyes, that memory hit me like a wave. I bought the candy corn. I bought the pretzels. I drove home and started digging through my cabinets, trying to recreate a feeling I couldn’t quite name.
That first batch was a disaster, honestly. Too much butter, not enough salt, and the chocolate melted into a sticky mess. But I kept at it — because that’s what you do when a memory grabs you by the collar. This Easy Halloween Snack Mix is the result of those experiments, and let me tell you, it’s better than I remembered. It’s crunchy, sweet, salty, and just a little bit spooky. The kind of snack mix that disappears before the first movie ends.
Maybe you’ve been there — chasing a taste from your past, trying to pin down something that feels just out of reach. This recipe is my way of holding onto that moment on Aunt Carol’s floor. And honestly? It’s become the life of every Halloween party I’ve brought it to since.
Why You’ll Love This Recipe
This isn’t just another snack mix recipe that promises big flavor and delivers bland. I tested this one six times before I got it right — burned two batches, oversalted one, and accidentally made a version so sticky it could have doubled as glue. But that’s how you learn, right? Through the mess.
- Quick & Easy: You can throw this together in under 15 minutes. Seriously. No baking, no complicated steps, no waiting around. Just mix, microwave, and serve.
- Simple Ingredients: Everything on the list is something you can find at any grocery store. No specialty shops, no weird health food aisles. Pretzels, cereal, candy corn, chocolate — the usual suspects.
- Perfect for Halloween Parties: This is the snack mix that shows up in a big bowl and steals the show. Guests crowd around it. Kids grab handfuls. Adults pretend they’re only having “a little bit” and then go back for thirds.
- Crowd-Pleaser: I’ve brought this to potlucks, office parties, and neighborhood gatherings. Every single time, someone asks for the recipe. It’s one of those rare snacks that hits both the sweet and salty cravings at once.
- Unbelievably Delicious: The texture is what gets you — crunchy pretzels, crispy cereal, chewy candy corn, and smooth chocolate all in one bite. It’s comfort food with a Halloween twist.
What makes this recipe different from all the other Halloween snack mixes out there? It’s the balance. Most recipes go too heavy on the candy or too light on the salt. This one walks the line perfectly. Plus, I’ve added a secret trick — a tiny pinch of cinnamon — that makes the whole thing taste like autumn in a bowl. You won’t even notice it’s there, but you’ll miss it if it’s gone.
This is the kind of snack that makes you close your eyes after the first bite. It’s Halloween fun without the fuss. Perfect for impressing guests without breaking a sweat, or turning a casual movie night into something memorable.
What Ingredients You Will Need
This recipe uses simple, pantry-friendly ingredients to deliver that perfect sweet-and-salty crunch. Everything is easy to find and easy to customize, so don’t stress if you need to swap something out.
For the Snack Mix Base
- 3 cups pretzel twists (I prefer Snyder’s for that sturdy crunch — they hold up better than thin pretzels)
- 3 cups crispy rice cereal squares (like Chex — the generic brand works fine here, honestly)
- 2 cups mini pretzel sticks (adds extra crunch and fits in little hands)
- 1 cup candy corn (the classic Halloween staple — look for fresh bags, not the ones that have been sitting since September)
- 1 cup candy pumpkins (Autumn Mix or just the pumpkins — your call)
- 1 cup salted roasted peanuts (optional, but adds a nice savory pop — leave out if you’re cooking for a nut-free crowd)
For the Coating
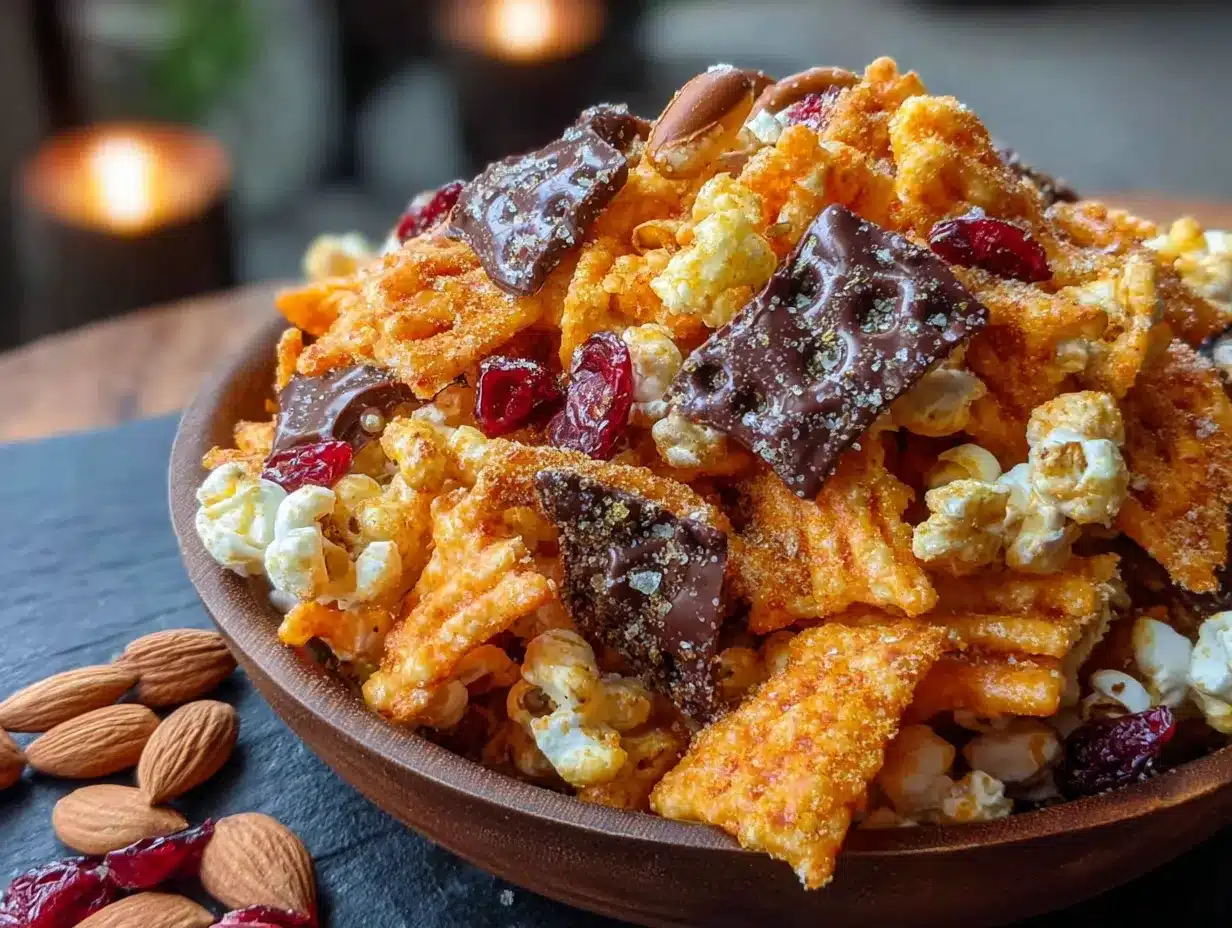
- ½ cup unsalted butter (I use Land O’Lakes — salted butter works too, just skip the added salt later)
- ½ cup light brown sugar, packed (dark brown sugar gives a deeper molasses flavor if that’s your thing)
- 2 tablespoons light corn syrup (helps the coating stick and gives that glossy finish)
- 1 teaspoon vanilla extract (pure vanilla, not imitation — trust me on this one)
- ¼ teaspoon salt (skip this if you’re using salted butter)
- ⅛ teaspoon ground cinnamon (the secret ingredient — just a whisper, nothing loud)
- ½ teaspoon baking soda (this is what makes the coating get that light, crispy texture instead of being heavy and greasy)
For the Chocolate Drizzle (Optional but Highly Recommended)
- ½ cup semisweet chocolate chips (I like Ghirardelli for melting — they’re smooth and don’t seize up easily)
- 1 teaspoon coconut oil or vegetable shortening (helps the chocolate thin out for drizzling)
That’s it. Twelve ingredients, most of which you probably already have in your pantry if you’re anything like me. The candy corn and pumpkins are the only “special” items, and those show up in every grocery store starting in September. If you’re making this for a crowd that includes folks with nut allergies, just skip the peanuts — the mix is still fantastic without them. And if you’re dairy-free, swap the butter for a plant-based alternative like Miyoko’s. I’ve tested it and it works beautifully.
Equipment Needed
You don’t need a professional kitchen to pull this off. Here’s what you’ll need:
- Large microwave-safe bowl (at least 4-quart capacity — you’ll be mixing everything together)
- Measuring cups and spoons (standard set — nothing fancy)
- Spatula or wooden spoon (for stirring the hot coating)
- Parchment paper or silicone baking mat (for spreading the mix to cool — wax paper works in a pinch but can stick)
- Large baking sheet (to hold the spread-out mix)
- Small microwave-safe bowl (for melting the chocolate drizzle)
- Fork or small whisk (for drizzling the chocolate)
- Airtight container (for storage — a big mason jar or Tupperware works great)
If you don’t have a microwave, you can make the coating on the stovetop in a small saucepan. Just heat the butter, brown sugar, and corn syrup over medium heat, stirring constantly, until bubbly. Then add the vanilla, salt, cinnamon, and baking soda, and pour it over the mix. Honestly, I’ve done it both ways and the stovetop version actually gives you a little more control. But the microwave is faster and involves fewer dishes, so that’s usually my move on a busy weeknight.
One tip: don’t skip the parchment paper. I learned that the hard way when my first batch stuck to the baking sheet like concrete. Spend the extra thirty seconds lining the pan — your future self will thank you.
Preparation Method
Okay, let’s get to the fun part. Here’s how to make this Easy Halloween Snack Mix step by step. I’ll include all the little details I wish someone had told me the first time.
- Combine the dry ingredients. In your large microwave-safe bowl, toss together the pretzel twists, crispy rice cereal squares, mini pretzel sticks, candy corn, candy pumpkins, and peanuts (if using). Give it a good stir with your hands or a spatula so everything is evenly distributed. Set aside.
- Make the coating. In a separate small microwave-safe bowl, melt the butter in the microwave — about 45 seconds on high should do it. Stir in the brown sugar and corn syrup until smooth. Microwave for another 30 seconds, then stir again. The mixture should be bubbling and well combined. (If you’re using the stovetop method, heat these three ingredients in a small saucepan over medium heat, stirring constantly, until the sugar dissolves and the mixture is smooth — about 3 minutes.)
- Add the flavorings. Stir in the vanilla extract, salt, and cinnamon. Then quickly whisk in the baking soda. The mixture will foam up and turn lighter in color — that’s exactly what you want. The baking soda creates tiny air bubbles that make the coating light and crispy instead of dense and sticky. Work fast here, because the baking soda activates immediately.
- Pour and toss. Immediately pour the hot coating over the dry ingredients in the large bowl. Use your spatula to fold everything together gently but thoroughly. I like to use a folding motion — lift the bottom ingredients up and over — until every piece looks lightly coated. Don’t stir too aggressively or you’ll break the pretzels. It should take about 2 minutes of gentle folding.
- Spread to cool. Line your large baking sheet with parchment paper. Pour the coated mixture onto the sheet and spread it into an even layer. Use the spatula to separate any clumps that formed during mixing. Let it cool completely at room temperature — about 20 to 30 minutes. Don’t rush this step. If you put it in the fridge, the coating can get weirdly hard instead of staying crisp.
- Make the chocolate drizzle (optional). While the mix cools, place the chocolate chips and coconut oil in a small microwave-safe bowl. Microwave in 20-second bursts, stirring after each, until the chocolate is completely smooth and glossy. This usually takes about 60 to 90 seconds total. Be careful not to overheat it — burnt chocolate is sad chocolate.
- Drizzle and set. Once the snack mix has cooled completely, use a fork to drizzle the melted chocolate over the top. I like to hold the fork about 6 inches above the mix and wave it back and forth. You can also use a small piping bag or just drizzle with a spoon — whatever works. Let the chocolate set for about 15 minutes at room temperature, or pop the tray in the fridge for 10 minutes if you’re in a hurry.
- Break apart and serve. Once the chocolate is firm, break the snack mix into bite-sized pieces. Transfer to a serving bowl and watch it disappear.
One thing I’ll note: the candy corn and pumpkins can get a little soft when they’re coated in the warm mixture. That’s totally normal and actually kind of nice — they become chewy in a gummy-candy way. If you want them to stay firmer, you can add them after the mix has cooled, but then they won’t have the coating on them. I prefer them coated, but it’s your call.
Cooking Tips & Techniques
I’ve made this snack mix more times than I can count, and I’ve made every mistake in the book. Here’s what I’ve learned so you don’t have to repeat my errors.
Don’t overmix the coating. When you add the baking soda, the mixture foams up fast. If you stir it too long, you’ll deflate all those tiny air bubbles, and the coating will turn out heavy and greasy instead of light and crisp. Stir just until combined, then pour it over the dry ingredients immediately.
Work in batches if you’re doubling the recipe. This mix is popular at parties, so you might be tempted to make a double batch. Don’t try to coat it all in one bowl — the coating won’t distribute evenly and you’ll end up with some pieces drowning in syrup while others stay dry. Make two separate batches instead. It takes an extra 10 minutes, but the results are worth it.
Watch the chocolate like a hawk. Chocolate burns easily in the microwave. I learned this the hard way when I walked away to answer a text and came back to a bowl of grainy, scorched chips. Stand there and watch it. Stir after every 20-second burst. Your patience will be rewarded with silky, beautiful chocolate.
Let it cool completely before storing. If you pack this mix away while it’s still warm, the steam will make everything soggy. I’m not exaggerating — I ruined an entire batch this way once. Spread it out, walk away, and come back when it’s fully cool to the touch.
Timing is everything when you’re hosting. If you’re making this for a party, here’s my strategy: make the mix the morning of the event. Let it cool and set completely, then store it in an airtight container until guests arrive. It stays perfectly crisp for at least 24 hours. Don’t make it more than two days ahead, though — the candy corn starts to dry out and get hard after that.
Variations & Adaptations
One of the best things about this recipe is how easy it is to tweak. Here are some variations I’ve tried and loved.
Spicy-Sweet Version: Add ½ teaspoon of cayenne pepper and ¼ teaspoon of smoked paprika to the coating mixture. The heat sneaks up on you after a few bites, and it pairs surprisingly well with the chocolate. I brought this version to a Halloween party last year and it was gone in 20 minutes. People kept asking, “What’s in this? It’s addicting!”
Nut-Free Option: Skip the peanuts entirely and add an extra cup of mini pretzel sticks or crispy rice cereal. The texture stays crunchy, and no one will miss the nuts. If you’re serving this at a school party or a nut-free event, this is the way to go.
Dark Chocolate Lover’s Version: Swap the semisweet chocolate chips for dark chocolate (70% cacao or higher) in the drizzle. The bitterness of the dark chocolate balances the sweetness of the candy corn beautifully. I use Ghirardelli 60% cacao chips for this — they melt smoothly and have a rich, complex flavor.
Fall Harvest Twist: Replace the candy corn and pumpkins with dried cranberries, chopped dried apples, and a handful of roasted pumpkin seeds. This version is less sweet and more autumnal — perfect for Thanksgiving or a fall bonfire. I made this for a Friendsgiving last year and it was a hit with the adults.
Gluten-Free Adaptation: Use gluten-free pretzels (I like the Glutino brand) and a gluten-free crispy rice cereal like Nature’s Path. Everything else in the recipe is naturally gluten-free. Just double-check your chocolate chips — some brands use wheat-based additives.
My personal favorite variation is the spicy-sweet one. I was skeptical the first time I tried it, but that little kick of heat makes the mix completely irresistible. Just don’t go overboard on the cayenne — a little goes a long way, and you want the heat to be a surprise, not a punishment.
Serving & Storage Suggestions
This snack mix is incredibly versatile when it comes to serving. Here’s how I like to do it.
Serving Temperature: Room temperature is best. The coating stays crisp, the chocolate stays firm, and the candy corn stays chewy. If you’ve refrigerated it, let it sit out for about 15 minutes before serving.
Presentation: I serve this in a large, shallow bowl — something wide enough that guests can easily grab handfuls without digging. For Halloween parties, I’ll line the bowl with a few fake spider webs or scatter some plastic spiders around the base. It’s a small touch, but people notice and it adds to the fun.
What to Serve Alongside: This mix pairs beautifully with apple cider, pumpkin spice lattes, or even a cold beer if you’re hosting adults. For a full Halloween snack table, I’ll set it out next to a bowl of popcorn balls and some caramel apples. The mix of textures and flavors keeps people coming back.
Storage Instructions: Store leftovers in an airtight container at room temperature for up to 5 days. I use a large mason jar or a Tupperware container with a tight seal. Don’t store it in the fridge — the moisture will make the pretzels soft and the chocolate can develop a white bloom (that’s called “fat bloom” and it’s harmless but doesn’t look pretty).
Freezer Instructions: You can freeze this snack mix for up to 3 months. Place it in a freezer-safe bag or container, squeeze out as much air as possible, and seal it tight. When you’re ready to serve, let it thaw at room temperature for about 30 minutes. The texture might be slightly less crisp, but it’s still delicious.
Flavor Development: Honestly, this mix tastes even better the next day. The flavors meld together overnight — the coating soaks into the pretzels just a little, and the chocolate sets perfectly. If you can resist eating it all on day one, you’re in for a treat on day two.
Nutritional Information & Benefits
Let’s be real — this is a treat, not a health food. But here’s the estimated nutritional breakdown per serving (about ½ cup):
- Calories: 280
- Total Fat: 14g
- Saturated Fat: 7g
- Carbohydrates: 38g
- Sugar: 22g
- Protein: 4g
- Sodium: 320mg
- Fiber: 2g
Now, let’s talk about the silver linings. The peanuts (if you use them) add protein and healthy fats that help keep you full longer. The pretzels provide a little iron and B vitamins from the enriched flour. And the dark chocolate drizzle (if you go that route) contains antioxidants called flavonoids that are good for heart health. So it’s not all bad news.
Dietary Considerations: This recipe can be made gluten-free (see variations), nut-free (skip the peanuts), and dairy-free (use plant-based butter and dairy-free chocolate). It’s not suitable for vegan diets as written because of the butter and chocolate, but you can easily adapt it. It’s also not low-carb or keto-friendly — the candy corn and pretzels are pretty carb-heavy.
Potential Allergens: This recipe contains wheat (pretzels), dairy (butter, chocolate), and peanuts (if used). If you’re serving a crowd with allergies, make sure to label the bowl clearly or set out a separate allergen-free version.
My personal take? This is a once-in-a-while treat, not an everyday snack. But when you’re hosting a Halloween party or just want to make a Tuesday night feel special, it’s absolutely worth the calories. Life’s too short to skip the good stuff.
Conclusion
This Easy Halloween Snack Mix is more than just a recipe — it’s a little piece of my childhood that I get to share with the people I love. Every time I make it, I think about Aunt Carol’s linoleum floor and the way she laughed when I burned my tongue. And every time I bring it to a party, I watch it disappear and think, “Yeah, this is what Halloween should taste like.”
I hope you’ll make this your own. Maybe you’ll add extra chocolate, or skip the peanuts, or throw in some spicy heat. That’s the beauty of a recipe like this — it’s a starting point, not a rulebook. The best version is the one that makes you smile when you take that first bite.
If you try this recipe, I’d love to hear about it. Leave a comment below and let me know how it turned out — did you add any twists? Did your guests fight over the last handful? Share your photos on Pinterest and tag me so I can see your spooky creations. And if you’re looking for more Halloween party ideas, check out my spider web dip and pumpkin-shaped cookies — they make the perfect trio for any gathering.
Happy Halloween, friends. Go make some memories.
Frequently Asked Questions
Can I make this Halloween snack mix ahead of time?
Absolutely. This mix stays fresh for up to 5 days in an airtight container at room temperature. In fact, it tastes even better on day two because the flavors have time to meld together. Just make sure it’s completely cool before you store it, or you’ll end up with a soggy mess.
Can I bake this snack mix instead of using the microwave?
Yes, you can! If you prefer a crunchier texture, spread the coated mix on a baking sheet and bake at 250°F for about 45 minutes, stirring every 15 minutes. Let it cool completely before adding the chocolate drizzle. The baked version is a little more time-consuming, but some people prefer the extra crunch.
Why did my coating turn out grainy?
Grainy coating usually means the sugar didn’t dissolve completely. Make sure you’re microwaving the butter, brown sugar, and corn syrup long enough — until the mixture is bubbling and smooth. If you’re using the stovetop method, stir constantly and don’t rush the process. Also, make sure your brown sugar isn’t hard or clumpy before you start.
Can I use white chocolate instead of semisweet?
Definitely. White chocolate adds a sweeter, creamier drizzle that looks especially festive against the orange and yellow candy corn. Just be extra careful when melting it — white chocolate burns more easily than dark or semisweet. Use low power in the microwave and stir frequently.
How do I keep the snack mix from getting sticky?
Stickiness usually means too much moisture. Make sure you’re letting the mix cool completely before storing it, and don’t seal the container while it’s still warm. Also, try adding an extra ¼ cup of crispy rice cereal to absorb excess coating. If you live in a humid climate, store the mix with a silica gel packet (the kind that comes in shoe boxes) to keep it crisp.
Pin This Recipe!
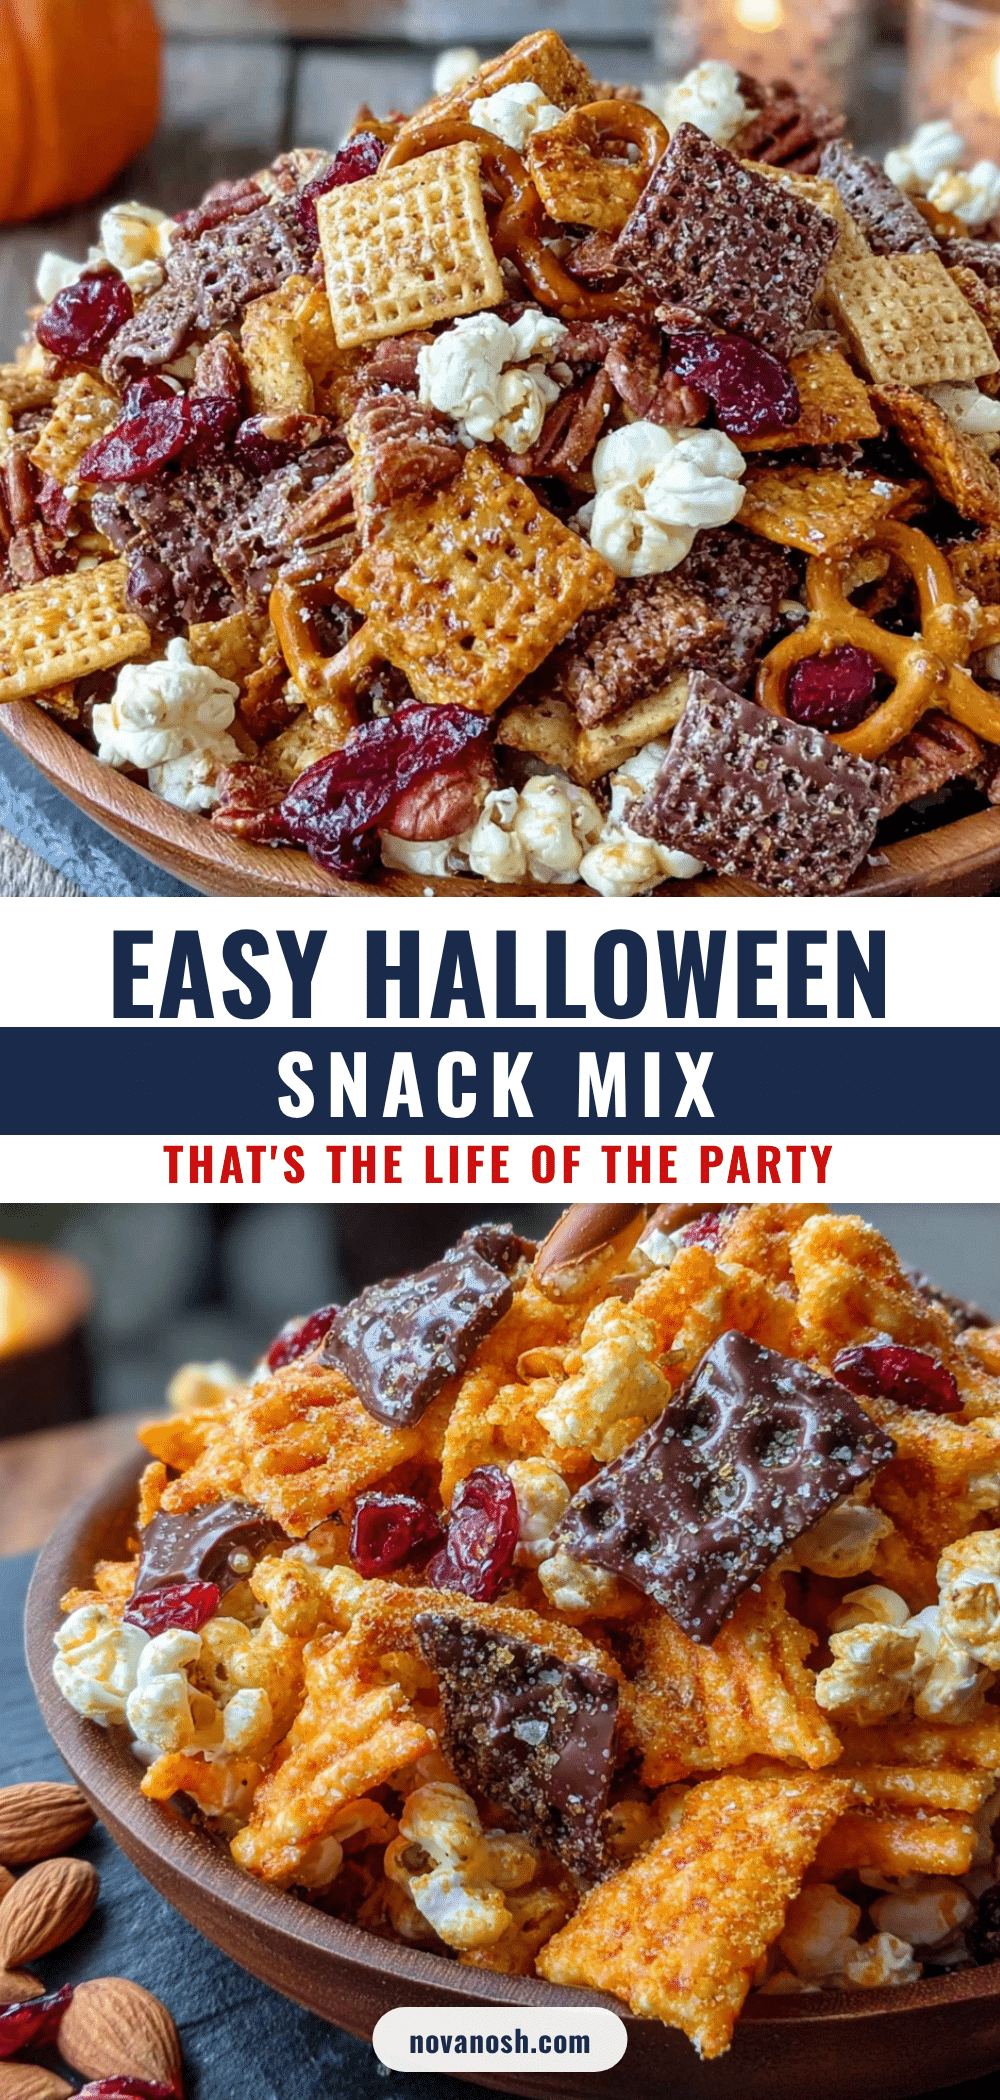
Easy Halloween Snack Mix: The Best Party Recipe
A crunchy, sweet, and salty Halloween snack mix with pretzels, cereal, candy corn, and a buttery brown sugar coating, finished with a chocolate drizzle. Perfect for parties and movie nights.
- Prep Time: 15 minutes
- Cook Time: 5 minutes
- Total Time: 45 minutes
- Yield: 12 servings 1x
- Category: Snack
- Cuisine: American
Ingredients
- 3 cups pretzel twists
- 3 cups crispy rice cereal squares
- 2 cups mini pretzel sticks
- 1 cup candy corn
- 1 cup candy pumpkins
- 1 cup salted roasted peanuts (optional)
- 1/2 cup unsalted butter
- 1/2 cup light brown sugar, packed
- 2 tablespoons light corn syrup
- 1 teaspoon vanilla extract
- 1/4 teaspoon salt
- 1/8 teaspoon ground cinnamon
- 1/2 teaspoon baking soda
- 1/2 cup semisweet chocolate chips
- 1 teaspoon coconut oil or vegetable shortening
Instructions
- Combine the dry ingredients: In a large microwave-safe bowl, toss together pretzel twists, crispy rice cereal squares, mini pretzel sticks, candy corn, candy pumpkins, and peanuts (if using). Set aside.
- Make the coating: In a separate small microwave-safe bowl, melt the butter in the microwave for about 45 seconds on high. Stir in the brown sugar and corn syrup until smooth. Microwave for another 30 seconds, then stir again until bubbling and well combined.
- Add the flavorings: Stir in the vanilla extract, salt, and cinnamon. Quickly whisk in the baking soda until the mixture foams and lightens in color.
- Pour and toss: Immediately pour the hot coating over the dry ingredients. Fold gently with a spatula until every piece is lightly coated, about 2 minutes.
- Spread to cool: Line a large baking sheet with parchment paper. Pour the coated mixture onto the sheet and spread into an even layer. Let cool completely at room temperature, about 20 to 30 minutes.
- Make the chocolate drizzle: Place chocolate chips and coconut oil in a small microwave-safe bowl. Microwave in 20-second bursts, stirring after each, until smooth and glossy (about 60 to 90 seconds total).
- Drizzle and set: Once the snack mix has cooled completely, use a fork to drizzle the melted chocolate over the top. Let the chocolate set for about 15 minutes at room temperature, or refrigerate for 10 minutes if in a hurry.
- Break apart and serve: Once the chocolate is firm, break the snack mix into bite-sized pieces. Transfer to a serving bowl and serve.
Notes
For a crunchier texture, bake the coated mix at 250°F for 45 minutes, stirring every 15 minutes, then cool before adding chocolate. Add candy corn and pumpkins after cooling if you prefer them firmer. The mix tastes even better the next day. Store in an airtight container at room temperature for up to 5 days.
Nutrition
- Serving Size: 1/2 cup
- Calories: 280
- Sugar: 22
- Sodium: 320
- Fat: 14
- Saturated Fat: 7
- Carbohydrates: 38
- Fiber: 2
- Protein: 4
Keywords: Halloween snack mix, easy snack mix, sweet and salty snack, party snack, Halloween recipe, candy corn snack, pretzel snack mix


