Love this? Save it for later!
Share the inspiration with your friends
“I wasn’t planning on making ice cream that night,” I remember saying to myself as I rummaged through the freezer at 11 PM. The power had flickered a couple of times, and my brain was foggy from a long day. Honestly, I just wanted something sweet and cold, but the ice cream maker was packed away in the back of the closet, and I wasn’t in the mood to pull it out—plus, who has the patience at that hour?
So there I was, staring at a nearly empty carton of heavy cream and a lonely can of sweetened condensed milk. I thought, “What if I just whipped these up and froze the mixture without all that churning business?” I grabbed my trusty hand mixer, a mixing bowl that had seen better days (there was a tiny chip on the rim, but hey, it still worked), and got to work.
The texture was rich, the vanilla kicked in just right, and the whole thing was done in about five minutes flat before I popped it into the freezer. The next morning, I was skeptical when I scooped out my creation—would it be icy or creamy? To my surprise, it was unbelievably smooth, almost like the kind you’d pay a premium for at a fancy gelato shop. Maybe you’ve been there, craving something indulgent but not wanting to spend hours fussing in the kitchen or waiting forever for it to set.
This creamy no-churn vanilla ice cream recipe has stuck with me ever since. It’s honest, fast, and perfect for any time that late-night craving hits—or really anytime you want a little homemade joy without the usual hassle. Let me tell you, it’s become my go-to treat, especially when friends drop by unexpectedly or when I need a quick dessert fix after a busy day.
Why You’ll Love This Creamy No-Churn Vanilla Ice Cream Recipe
If you’re anything like me, simplicity and deliciousness are top priorities in the kitchen. Over the years, I’ve tested countless ice cream recipes, and this one stands out because it’s:
- Quick & Easy: Whip it up in just 5 minutes—no machine, no fuss. Perfect for last-minute cravings or busy weeknights.
- Simple Ingredients: Just a few pantry staples that you probably already have: heavy cream, sweetened condensed milk, and pure vanilla extract.
- Perfect for Any Occasion: Whether it’s a cozy night in, a potluck, or a summer BBQ, this ice cream fits right in.
- Crowd-Pleaser: Kids and adults alike can’t get enough of the creamy texture and pure vanilla flavor.
- Unbelievably Delicious: The smooth, rich mouthfeel is next-level comfort food without the long wait.
What really sets this recipe apart is the magic of whipped cream combined with sweetened condensed milk—this combo creates a luscious, airy base that freezes beautifully without turning icy or hard. No churning means less equipment, less cleanup, and honestly, less stress. I’ve even experimented with different vanilla extracts and got rave reviews from friends when I used a Madagascar bourbon vanilla bean paste.
This recipe isn’t just any vanilla ice cream—it’s the kind that makes you pause, close your eyes, and savor that first creamy bite. It’s reliable, fast, and so satisfying that I often find myself making it on a whim. And hey, if you want to get fancy, it’s the perfect canvas for all sorts of mix-ins or drizzles!
What Ingredients You Will Need for Creamy No-Churn Vanilla Ice Cream
This recipe uses simple, wholesome ingredients to deliver bold flavor and satisfying texture without the fuss. Plus, these are mostly pantry staples, so you can whip it up anytime without a special grocery run.
- Heavy cream (1 cup / 240 ml): Chilled. This is the secret to that creamy, fluffy texture. I prefer organic heavy cream for a richer taste.
- Sweetened condensed milk (14 oz / 396 g can): The sweetener and stabilizer. I like the Eagle Brand for consistency, but any quality brand works.
- Pure vanilla extract (1 ½ teaspoons): Adds that classic vanilla aroma and flavor. Use real vanilla extract or vanilla bean paste for a more intense taste.
Optional add-ins:
- Pinch of salt (balances sweetness, optional but recommended)
- Mix-ins like chocolate chips, crushed cookies, or fresh berries (add after whipping the cream)
If you want a dairy-free twist, you can swap heavy cream for full-fat coconut cream and sweetened condensed milk with a coconut condensed milk alternative. Just know the flavor and texture will shift a bit, but it’s still pretty darn good.
Equipment Needed
- Mixing bowl: A medium to large bowl, chilled if possible to help the cream whip better.
- Electric hand mixer or stand mixer: Whipping cream by hand is possible but will take a good amount of elbow grease. I’ve found the KitchenAid stand mixer to be a trusty companion for this recipe.
- Spatula: Useful for folding the condensed milk into the whipped cream gently.
- Loaf pan or airtight container: For freezing your ice cream. A metal pan helps it freeze faster, but any freezer-safe container works.
No ice cream maker needed here, which is honestly a huge relief for those of us who don’t want to haul out bulky appliances. If you don’t have an electric mixer, a whisk and some patience will do in a pinch.
Preparation Method for Creamy No-Churn Vanilla Ice Cream
- Chill your equipment: Pop your mixing bowl and beaters into the fridge for about 15 minutes. Cold tools help the cream whip up faster and fluffier.
- Whip the heavy cream: Pour 1 cup (240 ml) of chilled heavy cream into the bowl. Beat on medium-high speed until soft peaks form—about 2 to 3 minutes. You want it fluffy but not over-whipped to the point of turning buttery.
- Combine the condensed milk and vanilla: In a separate bowl, mix 14 oz (396 g) sweetened condensed milk with 1½ teaspoons of pure vanilla extract and a pinch of salt if using.
- Fold gently: Using a spatula, fold the condensed milk mixture into the whipped cream. Do this carefully to keep as much air in the mixture as possible, which makes the ice cream light and creamy.
- Add any mix-ins: If you want chocolate chips, crushed cookies, or berries, fold them in now.
- Transfer to container: Pour the mixture into a loaf pan or airtight container. Smooth the top with your spatula for an even freeze.
- Freeze: Place the container in the freezer for at least 4 hours, ideally overnight. The ice cream will firm up to a scoopable consistency.
Pro tip: If you forget the chilling step, the cream can still whip, but it might take longer and be less stable. Also, don’t rush folding; too rough, and you’ll lose that lovely airy texture.
Cooking Tips & Techniques for Perfect No-Churn Vanilla Ice Cream
Honestly, the key to this recipe’s success is in the whipping and folding. Here’s what I’ve learned after a few trials (and a couple of frosty mishaps):
- Cold is your friend: Chilling your bowl and utensils helps the cream whip up faster and hold its shape better. I once tried this with room temp equipment and ended up with a sad, runny mess.
- Soft peaks only: Stop whipping when the cream forms soft peaks—stiff peaks can turn grainy once frozen.
- Gentle folding: Fold the sweetened condensed milk in carefully to keep all that air. Use a light hand and a spatula, not a spoon or fork.
- Flavor balance: Pure vanilla extract is crucial here. I recommend tasting the mix before freezing to adjust sweetness or vanilla strength.
- Freezing time: Resist the urge to dig in too soon. The texture improves the longer it freezes, but 4 hours is usually enough for a scoopable treat.
Also, multitasking helps. While the ice cream sets, I like to prep a quick topping or make a batch of crispy garlic chicken for dinner so the whole meal feels special.
Variations & Adaptations for Your Ice Cream Adventures
This creamy no-churn vanilla ice cream is a great base that you can customize in all sorts of ways:
- Chocolate Swirl: Fold in some melted dark chocolate or chocolate syrup before freezing for a marbled effect.
- Berry Blast: Add fresh or frozen berries like raspberries or blueberries for a fruity twist—perfect in summer.
- Dairy-Free Version: Use chilled coconut cream instead of heavy cream and a dairy-free sweetened condensed milk alternative. It’s a bit different but still creamy and delicious.
- Nutty Delight: Stir in toasted chopped nuts like pecans or almonds for crunch and flavor contrast.
- Spiced Up: Add a pinch of cinnamon or cardamom for a warm, cozy touch—great for fall vibes.
One time, I tried folding in some espresso powder and chocolate chips, and it turned into a mocha lover’s dream. Experiment and make it your own!
Serving & Storage Suggestions
This ice cream is best served straight from the freezer after about 5 minutes at room temperature—just enough to soften it slightly for easy scooping. I like to serve it in classic bowls with a drizzle of homemade caramel sauce or alongside a warm dessert like apple crisp.
Store leftovers in an airtight container to prevent ice crystals. It keeps well for up to two weeks in the freezer. When reheating, let it sit out for a few minutes to regain that creamy texture.
Interestingly, the flavors tend to meld and deepen after a day or two frozen, so sometimes I make it a day ahead just to let the vanilla flavor settle in fully.
Nutritional Information & Benefits
Per serving (about ½ cup / 120 g): Approximately 250 calories, 15 g fat, 25 g carbohydrates, and 3 g protein.
The key ingredients bring some perks: heavy cream provides a good dose of calcium and fat-soluble vitamins, while the sweetened condensed milk adds sweetness and creaminess without needing extra sugar. This recipe is gluten-free naturally and can be adapted for dairy-free diets.
From a wellness perspective, it’s a treat that feels indulgent but doesn’t require complicated ingredients or additives. I enjoy it as a special dessert that satisfies cravings without overcomplicating things.
Conclusion
This creamy no-churn vanilla ice cream recipe is truly a keeper. It’s fast, fuss-free, and delivers that dreamy, rich texture I crave without the usual wait or equipment hassle. I encourage you to play around with your favorite add-ins or keep it classic for a pure vanilla experience.
Personally, it’s the recipe I turn to when I want to impress without stress or when late-night cravings sneak up on me. If you try it, please share how you made it your own—I love hearing your twists and tips!
So go ahead, treat yourself to this easy homemade delight and enjoy every creamy spoonful. I promise it’ll become one of your favorite quick desserts too.
FAQs About Creamy No-Churn Vanilla Ice Cream
Can I make this recipe without an electric mixer?
Yes, you can whip the cream by hand with a whisk, but it will take more time and effort. Make sure to chill your bowl and whisk to help the cream whip up better.
How long can I store this ice cream in the freezer?
Store it in an airtight container for up to two weeks. For best texture, consume within that time frame to avoid ice crystals forming.
Can I add fruit or chocolate chips?
Absolutely! Fold in your favorite mix-ins gently after whipping the cream and before freezing for extra flavor and texture.
What if I don’t have sweetened condensed milk?
You can make your own by simmering milk and sugar until thickened, but it’s easier to buy a can. Using unsweetened condensed milk won’t work well as it lacks sugar and thickness.
Is this recipe dairy-free or vegan?
The classic recipe is dairy-based, but you can swap heavy cream with coconut cream and use dairy-free sweetened condensed milk alternatives to make it vegan-friendly.
Pin This Recipe!
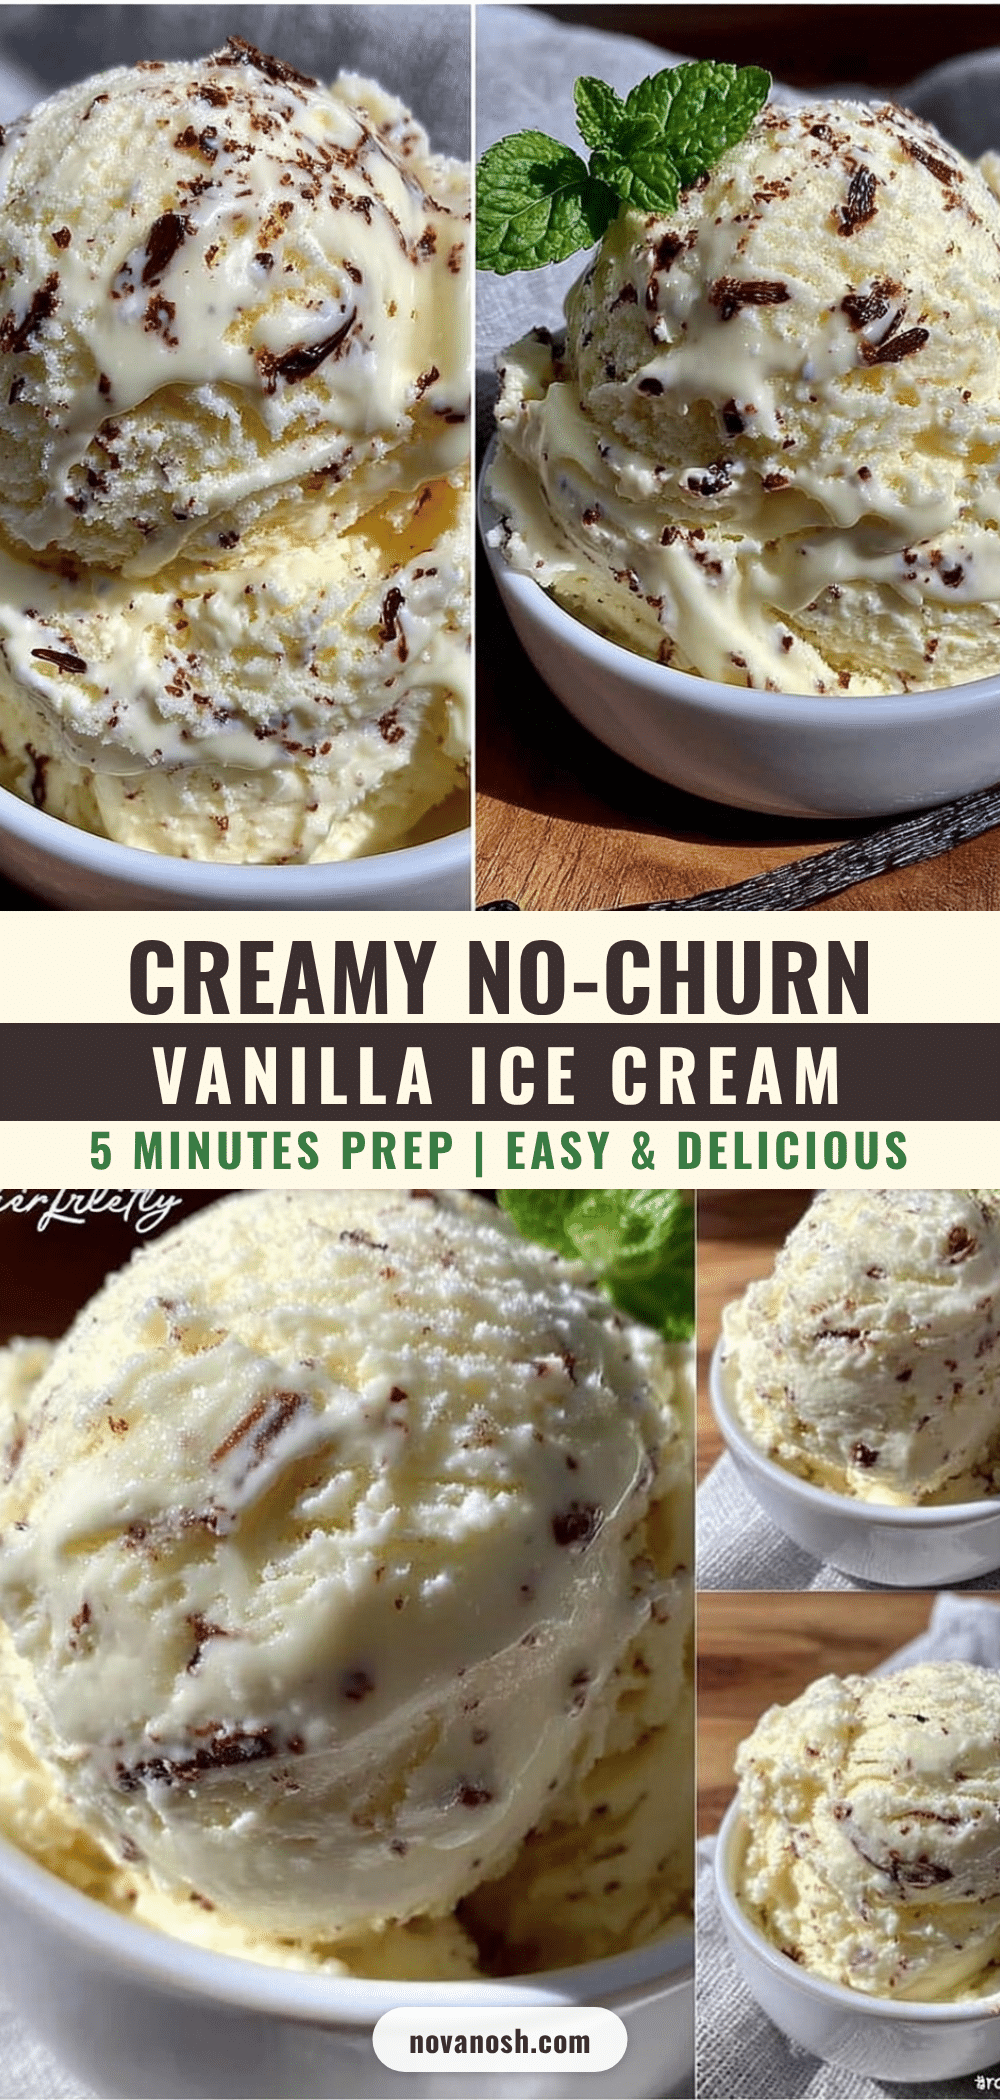
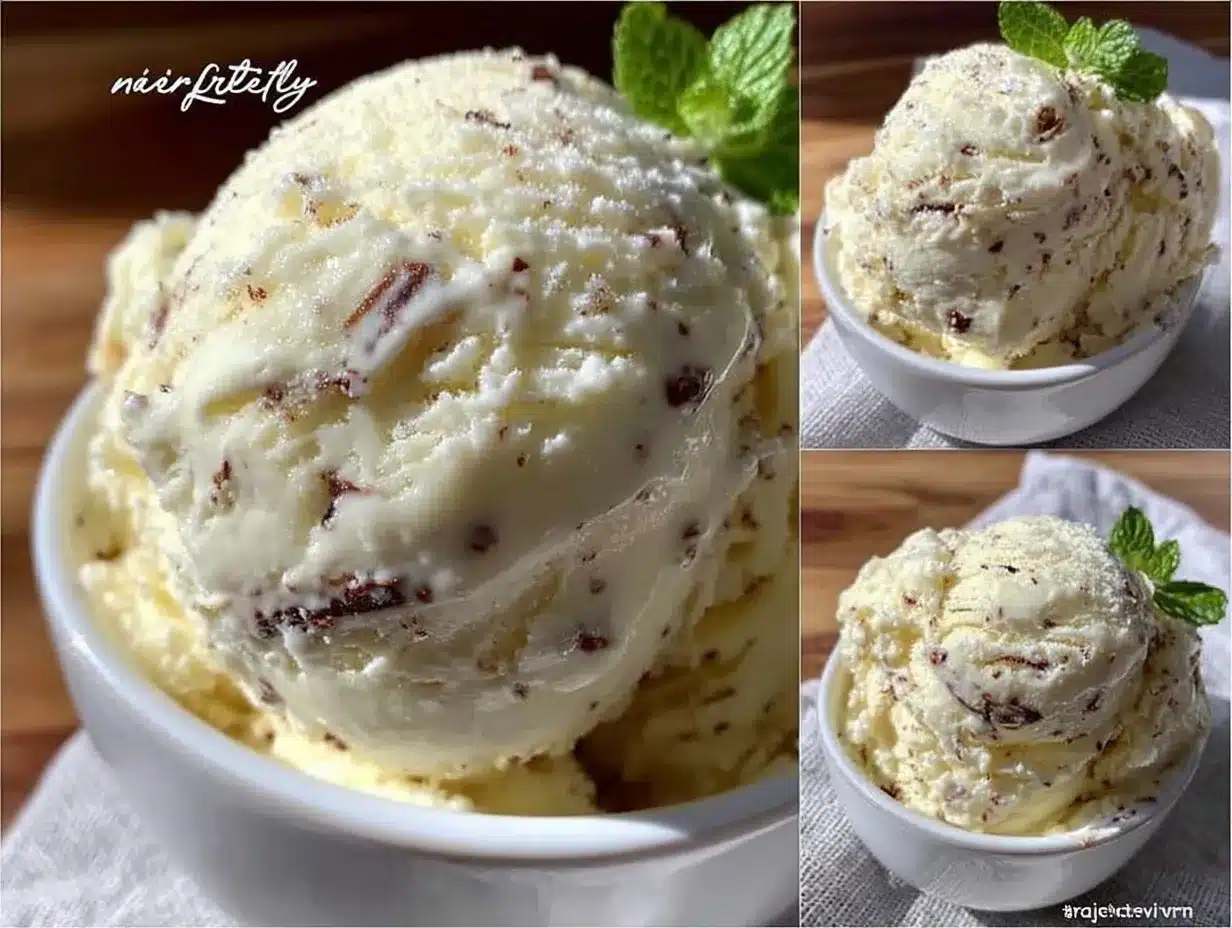
Creamy No-Churn Vanilla Ice Cream

A quick and easy homemade vanilla ice cream recipe that requires no ice cream maker and can be whipped up in just 5 minutes. Perfect for satisfying late-night cravings or any time you want a creamy, delicious treat.
- Prep Time: 15 minutes
- Cook Time: 0 minutes
- Total Time: 4 hours 15 minutes
- Yield: 6 servings 1x
- Category: Dessert
- Cuisine: American
Ingredients
- 1 cup (240 ml) heavy cream, chilled
- 14 oz (396 g) sweetened condensed milk
- 1 ½ teaspoons pure vanilla extract
- Pinch of salt (optional)
- Optional mix-ins: chocolate chips, crushed cookies, fresh berries
Instructions
- Chill your mixing bowl and beaters in the fridge for about 15 minutes.
- Pour 1 cup (240 ml) of chilled heavy cream into the bowl. Beat on medium-high speed until soft peaks form, about 2 to 3 minutes.
- In a separate bowl, mix 14 oz (396 g) sweetened condensed milk with 1 ½ teaspoons pure vanilla extract and a pinch of salt if using.
- Using a spatula, fold the condensed milk mixture gently into the whipped cream to keep as much air as possible.
- Fold in any desired mix-ins like chocolate chips, crushed cookies, or berries.
- Pour the mixture into a loaf pan or airtight container and smooth the top.
- Freeze for at least 4 hours or ideally overnight until firm and scoopable.
Notes
Chilling the bowl and beaters helps the cream whip faster and hold shape better. Stop whipping at soft peaks to avoid grainy texture. Fold gently to keep the mixture airy. Freeze for at least 4 hours for best texture. Can be customized with mix-ins or made dairy-free by substituting coconut cream and dairy-free condensed milk.
Nutrition
- Serving Size: ½ cup (120 g)
- Calories: 250
- Fat: 15
- Carbohydrates: 25
- Protein: 3
Keywords: no churn ice cream, vanilla ice cream, easy homemade ice cream, quick dessert, no ice cream maker, creamy ice cream