Love this? Save it for later!
Share the inspiration with your friends
Introduction
It was 11:43 PM on a random Wednesday, and the craving hit me like a lightning bolt: pickles. Not just any pickles—the kind that snap loudly when you bite in, with that unmistakable tang of dill. Problem was, I didn’t have time to wait days or weeks for the usual fermentation magic. I didn’t have the luxury of fancy pickling equipment, either—just a cracked mason jar and whatever was lurking in the fridge. So, I got a little wild and tried this quick recipe for crispy dill refrigerator pickles ready in 24 hours. Honestly? It felt like breaking all the pickling rules, but that’s the best part about late-night kitchen experiments—when the world’s asleep, you can get a bit impulsive.
Maybe you’ve been there, too: staring into the fridge, willing something crunchy and satisfying to appear. The next morning, the pickles were ready—crisp, tangy, and surprisingly fresh. They saved my snack game and earned a permanent spot in my fridge. Let me tell you, this recipe isn’t just a quick fix—it’s my go-to when I want that perfect pickle punch without the wait.
Why You’ll Love This Recipe
This recipe isn’t just a quick pickle hack; it’s a tested, trusty standby that I keep coming back to. Here’s why it’s such a winner:
- Quick & Easy: Ready in just 24 hours, perfect for last-minute pickle cravings or weekend meal prep.
- Simple Ingredients: No need for exotic spices or hard-to-find jars; just pantry staples and fresh cucumbers.
- Perfect for Snack Time: Ideal for sandwiches, burgers, or just munching straight from the jar.
- Crowd-Pleaser: Family and friends always ask for this recipe, especially at barbecues or casual get-togethers.
- Unbelievably Delicious: The balance of tangy vinegar and fresh dill delivers that classic pickle flavor with a crisp bite.
What sets this recipe apart? It’s the way the pickles stay crunchy without soaking in a heavy brine for days. That’s thanks to a mix of pickling salt and a quick refrigerating method that keeps everything fresh. Plus, I like to add a little garlic punch to the mix—it makes all the difference. Honestly, these pickles are proof that you don’t need to wait forever for great flavor. They’re comfort food meets convenience, and if you’re anything like me, you’ll appreciate having a jar ready to pop open anytime.
What Ingredients You Will Need
This recipe uses straightforward, wholesome ingredients that come together to create that perfect crispy dill refrigerator pickle bite. You probably have most of these in your kitchen already, and any substitutions are easy to make.
- Fresh cucumbers: 4 medium Kirby cucumbers, sliced into spears or rounds (Kirbys are best for crunch)
- Garlic cloves: 3, peeled and smashed (adds a sharp, savory note)
- Fresh dill sprigs: 4 to 5, for that signature flavor
- White vinegar: 1 1/2 cups (use distilled for a clean taste; you can swap with apple cider vinegar for a slightly sweeter note)
- Water: 1 1/2 cups, filtered if possible
- Pickling salt: 2 tablespoons (kosher salt or sea salt without additives works best to keep pickles crisp)
- Granulated sugar: 1 tablespoon (balances the acidity)
- Black peppercorns: 1 teaspoon (whole, for subtle spice)
- Red pepper flakes (optional): 1/2 teaspoon for a touch of heat
For best results, I recommend using a trusted brand like Diamond Crystal for pickling salt—it dissolves nicely and doesn’t cloud the brine. If you want your pickles a little less tangy, reduce the vinegar by 2 tablespoons and add more water. Also, fresh dill is a must; dried dill just can’t replicate that fresh, herbal brightness. In the summer, when cucumbers are at their peak, this recipe really sings.
Equipment Needed
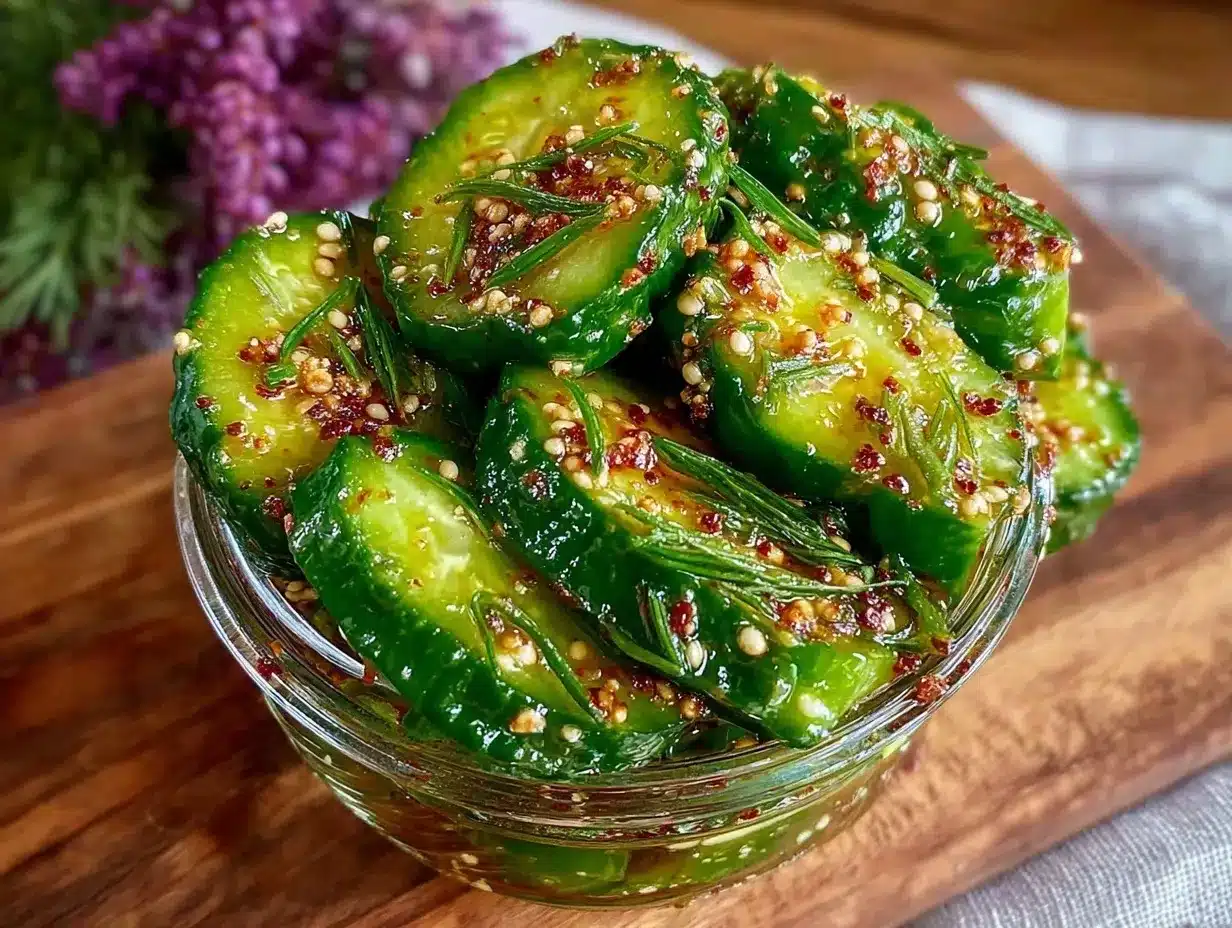
- Mason jars or airtight glass containers: Two quart-sized jars work wonderfully. I use old pickle jars cleaned thoroughly, but fresh jars are great too.
- Mixing bowl: For combining the brine ingredients.
- Measuring cups and spoons: To get the brine just right.
- Knife and cutting board: For slicing cucumbers and prepping garlic.
- Optional: Jar lifter or tongs: Makes handling jars easier, especially if hot brine is involved.
Honestly, you don’t need specialized tools here. A good sharp knife and any clean jar will do the trick. I keep a set of reusable silicone jar caps on hand, which help keep the refrigerator smell at bay and make opening jars easier. For anyone new to pickling, start with simple glass jars—cheap, easy to clean, and safer for acidic liquids.
Preparation Method
- Prepare the cucumbers: Wash the cucumbers thoroughly to remove any dirt or wax. Slice them into spears about 3 to 4 inches long or rounds roughly 1/4 inch thick, depending on your preference. This step should take about 10 minutes. Pro tip: if your cucumbers aren’t especially fresh, soak them in ice water for 30 minutes beforehand to boost crunch.
- Make the brine: In a mixing bowl, combine 1 1/2 cups white vinegar, 1 1/2 cups water, 2 tablespoons pickling salt, and 1 tablespoon sugar. Stir until the salt and sugar have fully dissolved—this usually takes about 3 minutes. The brine should taste tangy but balanced. If it’s too sharp, add a splash more water.
- Pack the jars: Place the garlic cloves, fresh dill sprigs, black peppercorns, and red pepper flakes (if using) into the bottom of each jar. Then, tightly pack the cucumber slices or spears into the jars. Fill the jars as much as possible without crushing the cucumbers.
- Pour the brine: Carefully pour the brine over the cucumbers until they are fully submerged. Leave about 1/2 inch of headspace at the top of the jar. If any cucumbers float, press them down gently with a clean utensil to keep them under the brine.
- Seal and refrigerate: Screw on the lids tightly and place the jars in the refrigerator. Let them chill for at least 24 hours before tasting. The longer they sit, the more the flavors develop—though they’re perfectly crunchy and flavorful by day one.
- Enjoy: After 24 hours, try a pickle! The skin should snap when you bite, and the brine will have a bright, garlicky dill flavor. Keep refrigerated for up to 3 weeks.
When I first tried this, I forgot to add the sugar—big mistake! The pickles were a bit too sharp. So don’t skip it unless you’re into that serious vinegar punch. Also, using pickling salt instead of table salt is key for crispness; table salt can make pickles mushy over time.
Cooking Tips & Techniques
Getting crispy pickles isn’t magic—it’s about a few careful steps I’ve learned over many late-night pickle experiments:
- Choose the right cucumber: Kirby cucumbers or pickling cucumbers are firm and have fewer seeds, perfect for crispness.
- Use pickling salt: Regular table salt contains additives that can cloud your brine and soften cucumbers.
- Keep them cold: This is a refrigerator pickle recipe, so the cold slows down the softening process and keeps the texture just right.
- Don’t rush the soak: While 24 hours is minimum, waiting 2–3 days boosts flavor without losing crunch.
- Watch the garlic: Fresh smashed garlic offers the best zing; pre-minced jars just don’t compare.
One time, I left my jar out on the counter overnight by accident (don’t ask). The pickles were still good but lost some crunch. So, lesson learned: keep these babies chilled! Also, stirring the brine until fully dissolved helps prevent grainy salt bits clinging to your pickles.
Variations & Adaptations
Want to switch things up? Here are a few ways I’ve played with this recipe and what you might like to try:
- Spicy Dill Pickles: Add extra red pepper flakes or a sliced jalapeño to the jar for a fiery kick.
- Low-Sodium Version: Cut the salt by half and add a splash of lemon juice to keep brightness without overpowering saltiness.
- Garlic-Free: Substitute garlic with a few slices of fresh ginger for a different aroma and zing.
- Quick Bread-and-Butter Pickles: Add a tablespoon of mustard seeds and swap half the vinegar for apple cider vinegar plus some brown sugar for sweetness.
- Different Veggies: I’ve also pickled green beans and baby carrots using the same brine, which works surprisingly well.
One of my favorite tweaks is tossing in a few sliced onions for a sweet-savory combo. It’s a quick way to make a more complex pickle without extra fuss. If you need gluten-free or vegan options, this recipe is naturally both, so no worries there.
Serving & Storage Suggestions
These crispy dill refrigerator pickles are best served cold straight from the jar. They make a fantastic crunchy side for sandwiches, burgers, or charcuterie boards. I love pairing them with a sharp cheddar sandwich or alongside a hearty crispy garlic chicken dinner for that extra tang.
Store your pickles in the refrigerator in airtight glass jars for up to three weeks. The flavors deepen over time, so if you can wait a few days, do. When reheating isn’t really a thing here, just grab and go! If you want to use leftover pickle brine, it’s great as a salad dressing base or marinade.
Pro tip: Drain some brine and toss it with your next batch of potato salad or coleslaw for a zesty twist. It might just become your secret weapon for quick flavor boosts.
Nutritional Information & Benefits
Per serving (about 3 spears), these pickles pack roughly:
| Calories | 10 |
|---|---|
| Fat | 0g |
| Carbohydrates | 2g |
| Sodium | 400mg |
| Fiber | 1g |
| Protein | 0g |
These pickles are low in calories and fat but high in flavor. The vinegar offers probiotic potential when fermented, but since this is a quick refrigerator pickle, the probiotic benefits are minimal. Still, cucumbers provide hydration and a small fiber boost, while fresh dill adds antioxidants and nutrients like vitamin C.
Be mindful of the sodium content if you are watching salt intake, but you can always adjust the brine recipe to suit your diet. From a wellness perspective, these pickles make a flavorful, low-calorie snack that satisfies cravings without guilt.
Conclusion
If you’re after a quick, reliable way to make crunchy, tangy dill pickles without the wait, this crispy dill refrigerator pickles recipe ready in 24 hours is the answer. It’s simple, uses ingredients you probably have, and lets you enjoy fresh pickles whenever that craving hits.
Feel free to tweak the spice levels or try my garlic-free or spicy variations to make it your own. Honestly, this recipe has saved me more than once on busy days or when I just wanted that satisfying crunch without fuss. I’d love to hear how your pickles turn out—drop a comment or share your favorite twists!
Happy pickling (even if it’s at midnight), and may your crunch always be loud and your flavors bold.
Frequently Asked Questions
How long do these refrigerator pickles last?
They keep well in the refrigerator for up to 3 weeks. Always use clean utensils when taking pickles from the jar to avoid contamination.
Can I use other types of cucumbers?
Yes, but Kirby or pickling cucumbers are best for crunch. Regular slicing cucumbers have more water and seeds, which can make pickles softer.
Do I have to use fresh dill?
Fresh dill gives the best flavor and aroma. Dried dill can be used in a pinch but won’t deliver the same brightness.
Can I make this recipe vegan and gluten-free?
Absolutely! This recipe is naturally vegan and gluten-free as it uses simple plant-based ingredients.
What’s the difference between refrigerator pickles and traditional pickles?
Refrigerator pickles are quick, no-cook pickles stored in the fridge and ready in about a day. Traditional pickles often involve fermentation or boiling and can take weeks to develop full flavor.
Pin This Recipe!
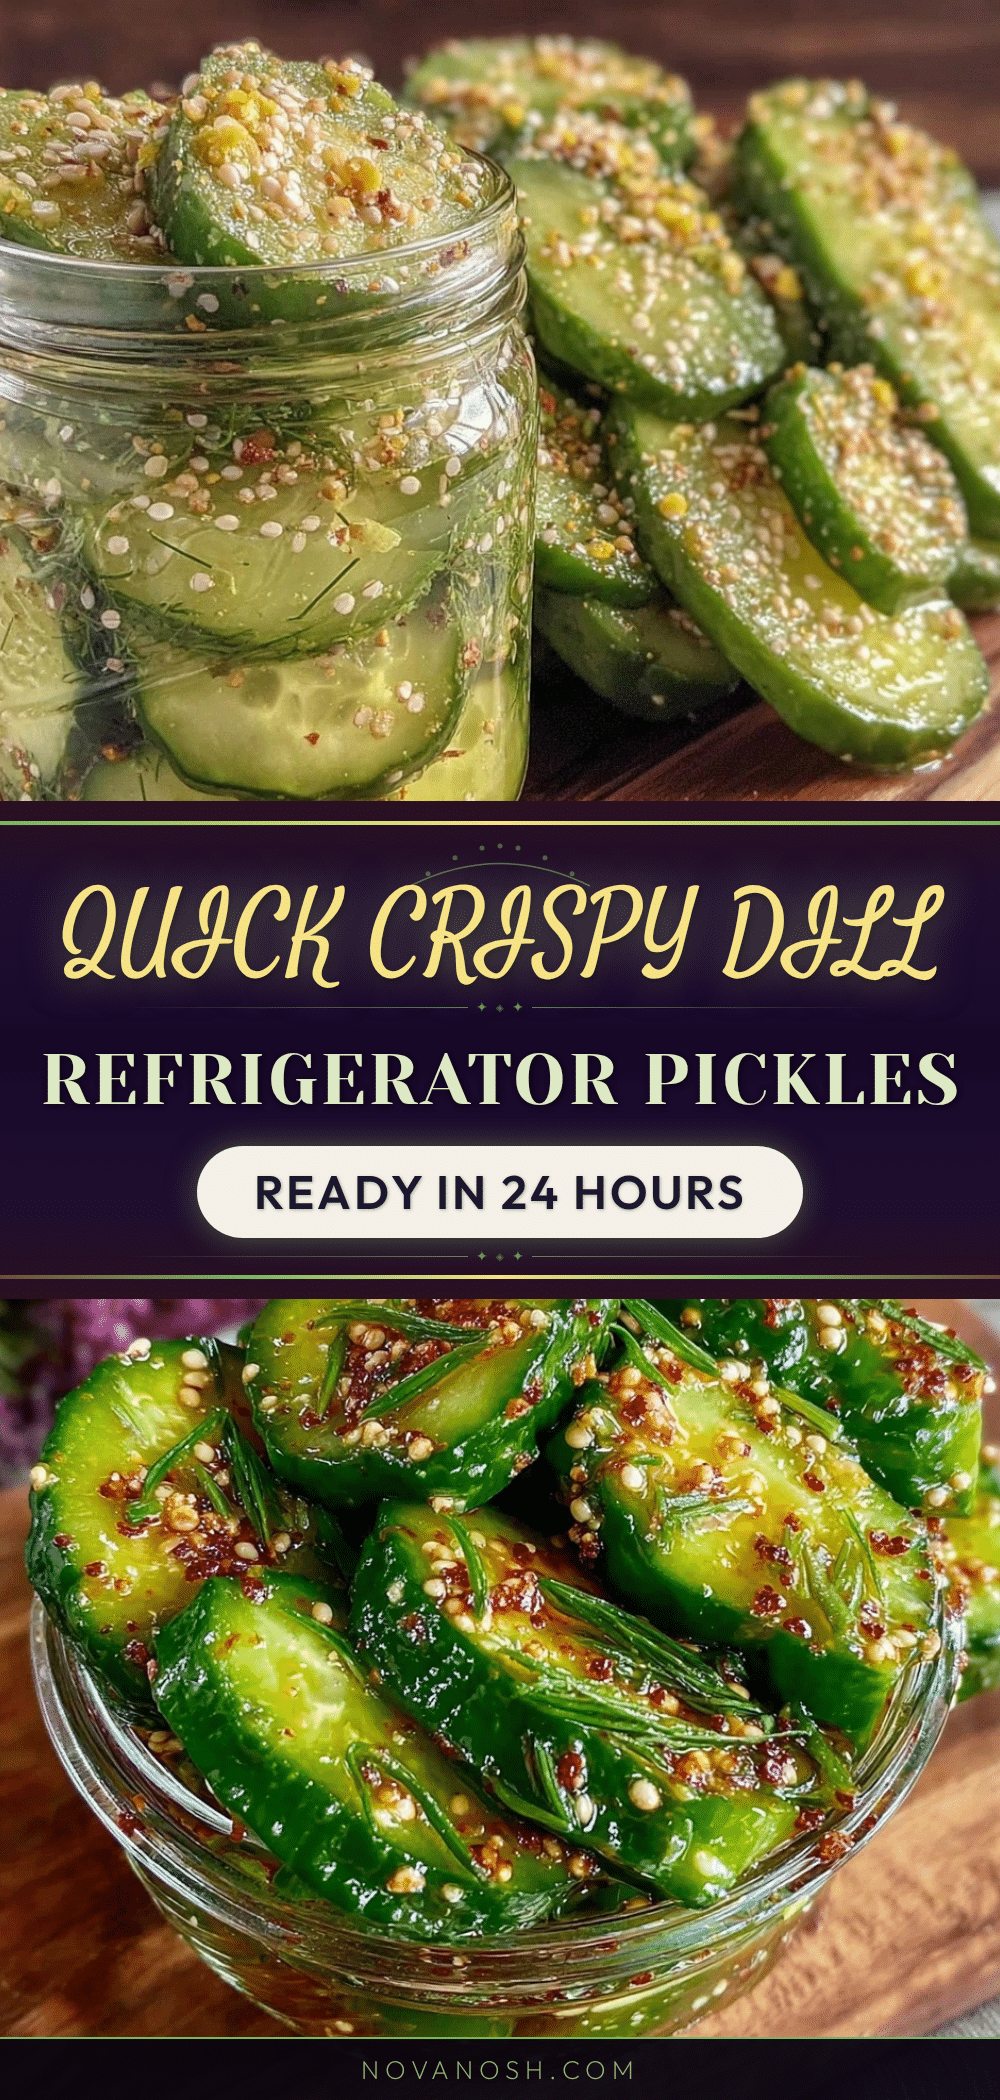
Crispy Dill Refrigerator Pickles
A quick and easy recipe for crunchy, tangy dill pickles ready in 24 hours using simple ingredients and a refrigerator pickling method.
- Prep Time: 15 minutes
- Cook Time: 0 minutes
- Total Time: 24 hours
- Yield: 4 servings 1x
- Category: Snack
- Cuisine: American
Ingredients
- 4 medium Kirby cucumbers, sliced into spears or rounds
- 3 garlic cloves, peeled and smashed
- 4 to 5 fresh dill sprigs
- 1 1/2 cups white vinegar (distilled or apple cider vinegar)
- 1 1/2 cups water, filtered if possible
- 2 tablespoons pickling salt (kosher salt or sea salt without additives)
- 1 tablespoon granulated sugar
- 1 teaspoon whole black peppercorns
- 1/2 teaspoon red pepper flakes (optional)
Instructions
- Wash the cucumbers thoroughly to remove any dirt or wax. Slice into spears about 3 to 4 inches long or rounds roughly 1/4 inch thick. (Optional: soak cucumbers in ice water for 30 minutes beforehand to boost crunch.)
- In a mixing bowl, combine 1 1/2 cups white vinegar, 1 1/2 cups water, 2 tablespoons pickling salt, and 1 tablespoon sugar. Stir until salt and sugar dissolve, about 3 minutes. Adjust water if brine is too sharp.
- Place garlic cloves, fresh dill sprigs, black peppercorns, and red pepper flakes (if using) into the bottom of each jar. Pack cucumber slices or spears tightly into jars without crushing.
- Pour the brine over cucumbers until fully submerged, leaving about 1/2 inch headspace. Press down any floating cucumbers gently.
- Seal jars tightly and refrigerate for at least 24 hours before tasting. Flavors develop more with longer refrigeration.
- Enjoy pickles cold. Keep refrigerated for up to 3 weeks.
Notes
Use Kirby cucumbers for best crunch. Pickling salt is preferred over table salt to keep pickles crisp and avoid cloudy brine. Fresh dill is essential for bright flavor. Refrigerate pickles to maintain texture and flavor. Sugar balances acidity; do not skip unless a very sharp vinegar flavor is desired. Variations include adding jalapeño for spice or substituting garlic with fresh ginger.
Nutrition
- Serving Size: About 3 pickle spear
- Calories: 10
- Sodium: 400
- Carbohydrates: 2
- Fiber: 1
Keywords: refrigerator pickles, dill pickles, quick pickles, crispy pickles, easy pickles, homemade pickles, pickle recipe