Love this? Save it for later!
Share the inspiration with your friends
The fall bake sale was in six hours and I’d completely forgotten. My daughter had reminded me three times, but somewhere between the school drop-off and a work deadline, it slipped my mind completely. Everyone else would be bringing those Pinterest-perfect caramel apples and elaborate pumpkin pies with lattice crusts. I had a half-empty bag of coffee grounds, some milk that was still good, and a can of pumpkin puree I’d stashed for a rainy day.
Honestly, I almost gave up and bought a box of donuts from the gas station. But then I remembered that Starbucks copycat pumpkin cold foam coffee I’d been tinkering with at home. It wasn’t a bake sale item, but it was something. I whipped up a batch of cold brew, blended the pumpkin cold foam, and poured it into a big thermos with some cups and ice. I figured it’d be a nice backup for the parents who needed caffeine more than sugar.
You know that feeling when you show up to something expecting to be the underdog, and then your thing just works? The pumpkin cold foam coffee was gone in twenty minutes. Parents kept coming back for refills. Someone asked if I could make it for their book club. The bake sale organizers asked for the recipe. I stood there with my gas-station-donut backup plan still in the trunk, feeling like I’d accidentally stumbled onto gold. And honestly, that’s how this recipe became my fall secret weapon.
It’s just so simple. You don’t need a fancy espresso machine or specialty ingredients. The pumpkin cold foam comes together in a blender with cream, milk, pumpkin puree, and a few spices. It sits on top of your coffee like a fluffy, spiced cloud. And the best part? It tastes exactly like the Starbucks version, maybe even better because you can control the sweetness. This isn’t just another copycat recipe. It’s the one that made me stop spending five dollars on coffee every morning.
Why You’ll Love This Recipe
I’ve tested this pumpkin cold foam coffee more times than I care to admit. There were batches that were too thin, too thick, not sweet enough, or just plain weird. But this version? It’s the one that finally worked. Here’s why this Starbucks copycat deserves a spot in your fall routine.
- Quick & Easy: From start to finish, you’re looking at about five minutes. Seriously. The cold foam takes two minutes in a blender, and you can use store-bought cold brew or your own homemade batch. It’s perfect for those mornings when you need coffee now.
- Simple Ingredients: You probably have most of this in your kitchen already. Heavy cream, milk, pumpkin puree, maple syrup (or sugar), vanilla, and pumpkin pie spice. No weird additives or preservatives. No trips to a specialty store.
- Perfect for Fall Mornings: This isn’t just a drink. It’s an experience. The smell of pumpkin spice, the creamy texture, the way it makes your kitchen feel cozy even on a rainy Tuesday. It’s basically autumn in a cup.
- Budget-Friendly: A Starbucks pumpkin cold foam cold brew costs around five bucks. This recipe makes multiple servings for less than a dollar each. Your wallet will thank you.
- Crowd-Pleaser: I’ve served this at brunches, book clubs, and even that bake sale. Every single time, people ask for the recipe. It’s one of those things that feels fancy but is secretly simple.
What makes this different from other copycat recipes? It’s the texture. Most pumpkin cold foam recipes end up too watery or separate after five minutes. This one stays thick and fluffy because of the ratio of cream to milk and the way you blend it. It’s not just another version. It’s the version I keep coming back to.
There’s something about that first sip. The cold brew hits your tongue, strong and smooth, and then the pumpkin cold foam melts into it. It’s sweet but not cloying, spiced but not overwhelming. It’s the kind of drink that makes you close your eyes for a second and just enjoy the moment.
What Ingredients You Will Need
This recipe uses simple, everyday ingredients to create that signature Starbucks pumpkin cold foam. No fancy syrups or chemical stabilizers. Just real food that tastes incredible together.
For the Pumpkin Cold Foam
- Heavy cream, 2 tablespoons (30 ml) – This gives the foam its structure and richness. Don’t substitute with half-and-half or milk alone; it won’t foam properly. I prefer organic heavy cream for the best flavor.
- Whole milk, 2 tablespoons (30 ml) – Helps thin the cream just enough to create a pourable foam. You can use 2% milk if that’s what you have, but whole milk gives a creamier result.
- Pumpkin puree, 1 tablespoon (15 ml) – Not pumpkin pie filling. Make sure it’s 100% pumpkin puree. I like Libby’s for consistency, but any brand works. If you’re feeling ambitious, you can make your own.
- Maple syrup, 1 tablespoon (15 ml) – Adds natural sweetness and a subtle warmth that pairs beautifully with pumpkin. You can substitute with brown sugar or regular sugar, but maple syrup gives it that cozy fall vibe.
- Vanilla extract, 1/2 teaspoon (2.5 ml) – Enhances the sweetness and rounds out the pumpkin flavor. Pure vanilla extract is best, but imitation works in a pinch.
- Pumpkin pie spice, 1/4 teaspoon (1.25 ml) – This is the magic ingredient. If you don’t have pumpkin pie spice, mix cinnamon, nutmeg, ginger, and a pinch of cloves. I usually make my own blend because I like extra cinnamon.
For the Coffee Base
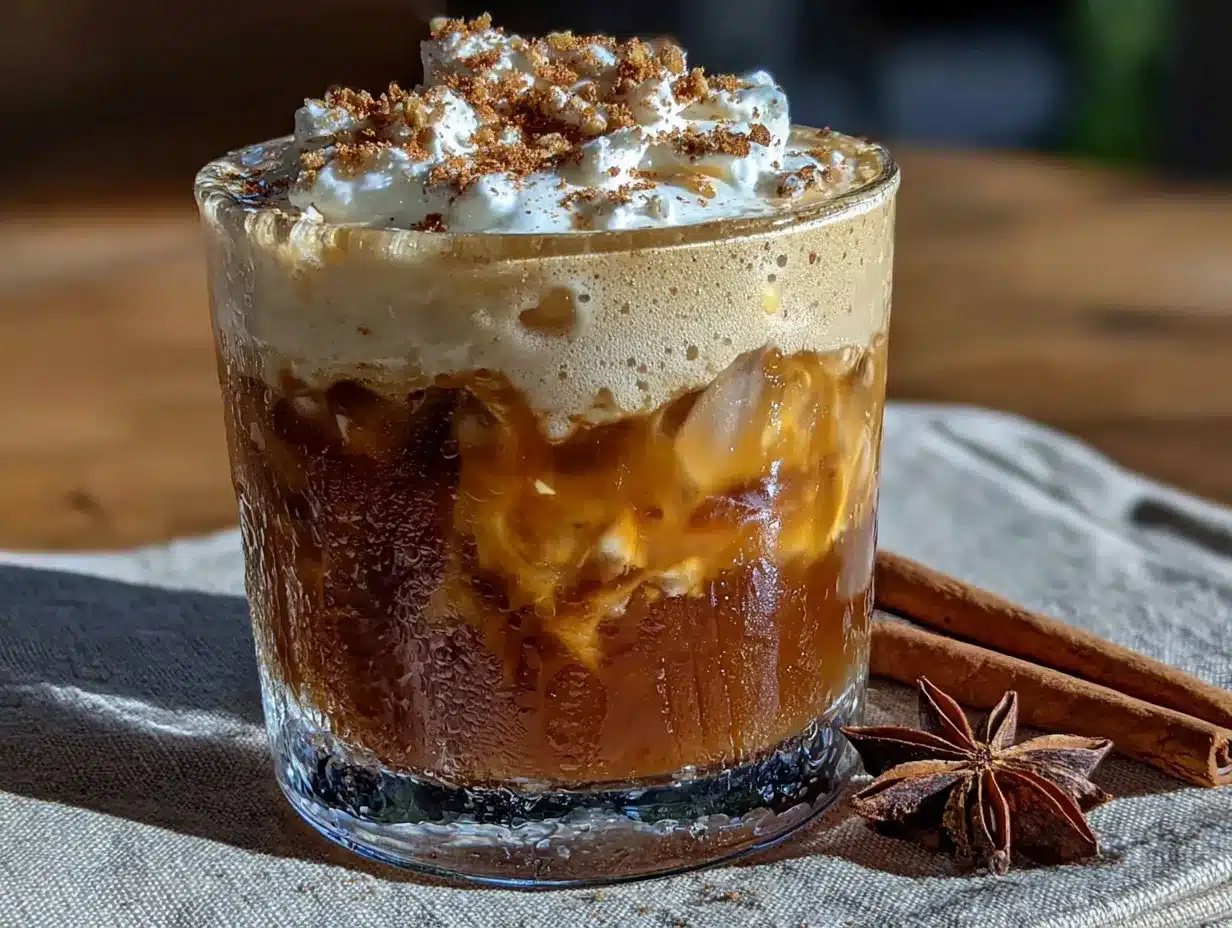
- Cold brew coffee, 1 cup (240 ml) – Starbucks uses cold brew, but you can use any strong coffee. I recommend brewing your own cold brew for the smoothest flavor. If you’re in a hurry, store-bought cold brew works great.
- Ice, as needed – Plenty of ice. This drink is meant to be served cold.
- Optional: Milk or cream, if you want a creamier coffee base. I usually skip it because the cold foam adds enough richness.
Ingredient Selection Tips
For the best results, use cold ingredients. Cold cream and milk whip up into a thicker foam. If your cream is room temperature, pop it in the freezer for five minutes before blending. I learned this the hard way after a few watery batches.
When it comes to pumpkin puree, look for cans that say “100% pumpkin” on the label. Some brands add spices or sugar, which can throw off the flavor balance. If all you have is pumpkin pie filling, reduce the maple syrup and spices to compensate.
For a dairy-free version, use full-fat coconut cream instead of heavy cream and oat milk instead of whole milk. The texture won’t be identical, but it’s still delicious. I’ve tested it with oat milk and it foams surprisingly well.
Equipment Needed
You don’t need a fancy espresso machine or a milk frother for this recipe. The equipment is minimal and probably already in your kitchen.
- Blender – A standard countertop blender works best. I use a NutriBullet for small batches. It creates that thick, velvety foam in about 30 seconds. If you don’t have a blender, a milk frother with a whisk attachment can work, but the texture won’t be as thick.
- Measuring spoons – For precise measurements. I know some people eyeball it, but with cold foam, the ratios matter. Too much cream and it’s too thick to pour. Too much milk and it’s watery.
- Glass or cup – A clear glass is nice for showing off the layers, but any cup works. I like using a tall glass so the foam has room to sit on top.
- Straw – Optional, but it makes sipping the cold foam easier. Starbucks uses those big green straws, but any straw will do.
- Jar or pitcher – For making cold brew if you’re going the homemade route. A mason jar works perfectly.
If you don’t have a blender, you can shake the cold foam ingredients in a jar with a tight lid. It takes longer and requires some elbow grease, but it works. I’ve done it when traveling and it’s better than nothing.
Preparation Method
This recipe comes together fast, but there are a few tricks to getting that perfect Starbucks-style cold foam. Follow these steps and you’ll be sipping your homemade version in no time.
- Make your cold brew (or grab store-bought). If you’re making your own, combine 1 cup of coarsely ground coffee with 4 cups of cold water in a jar. Let it steep in the fridge for 12-24 hours. Strain through a fine-mesh sieve or coffee filter. Store in the fridge for up to a week. If you’re using store-bought, skip this step and move on.
- Chill your ingredients. Cold cream and milk foam better. If you forgot to chill them, no worries. Just put the cream and milk in the freezer for 5 minutes before blending. I’ve done this many times and it works.
- Combine cold foam ingredients. In your blender, add 2 tablespoons heavy cream, 2 tablespoons whole milk, 1 tablespoon pumpkin puree, 1 tablespoon maple syrup, 1/2 teaspoon vanilla extract, and 1/4 teaspoon pumpkin pie spice. Don’t overthink it. Just dump it all in.
- Blend until thick and frothy. Start on low speed and gradually increase to high. Blend for about 30-45 seconds. You’re looking for a texture similar to melted ice cream. It should be thick enough to hold its shape when you drizzle it, but still pourable. If it’s too thin, blend for another 10 seconds. If it’s too thick, add a splash of milk.
- Fill your glass with ice. Use plenty of ice. This drink is meant to be cold, and the ice helps the cold foam stay on top. I usually fill my glass to the top.
- Pour the cold brew over the ice. Fill the glass about 3/4 full, leaving room for the cold foam. If you want a creamier coffee base, add a splash of milk before the cold foam.
- Spoon the cold foam on top. Pour it gently over the back of a spoon to create a layered effect. The foam should sit on top of the coffee like a fluffy cloud. Don’t stir it in yet. That’s the whole point.
- Optional: Sprinkle extra pumpkin pie spice on top. This makes it look fancy and adds a little extra flavor. I always do this because it reminds me of the Starbucks version.
- Serve immediately. Cold foam doesn’t hold up well over time. It will start to separate after about 10 minutes. Drink it right away for the best texture.
Here’s a tip I learned after a few failed attempts: don’t over-blend the cold foam. If you blend it too long, it turns into butter. Seriously. I made that mistake once and ended up with pumpkin-flavored butter floating in my coffee. It wasn’t great. Blend just until it’s thick and creamy, then stop.
Another thing: the cold foam should be poured, not scooped. If it’s too thick to pour, add a tiny splash of milk and blend again for a few seconds. The goal is a pourable foam that settles on top of the coffee, not a stiff meringue.
Cooking Tips & Techniques
I’ve made this pumpkin cold foam coffee dozens of times, and I’ve learned a few things along the way. Some of these tips came from trial and error. Others came from a particularly sad morning when my cold foam turned into a watery mess.
The temperature matters. Cold ingredients are non-negotiable. If your cream is even slightly warm, it won’t foam properly. I keep my cream and milk in the coldest part of the fridge. If I’m in a hurry, I put them in the freezer for exactly 5 minutes. Any longer and they start to freeze, which messes up the texture.
Don’t skip the vanilla. It might seem like a small detail, but vanilla extract rounds out the pumpkin flavor and makes it taste more like the Starbucks version. Without it, the cold foam can taste a little flat. I’ve tested it both ways and the vanilla version wins every time.
Adjust the sweetness to your taste. Starbucks pumpkin cold foam is pretty sweet. If you prefer less sugar, start with 1/2 tablespoon of maple syrup and add more if needed. You can also use a sugar-free syrup if you’re watching your sugar intake. I’ve tried it with monk fruit sweetener and it works fine.
Make a big batch of cold foam. If you’re serving a crowd, you can multiply the cold foam ingredients and blend them all at once. Just store the extra in the fridge for up to 2 days. Give it a quick blend before using, as it will separate slightly. I’ve done this for brunches and it saves so much time.
One mistake I still make: using too much pumpkin puree. I know, more pumpkin sounds better, but it actually thins out the foam and makes it watery. Stick to 1 tablespoon. The flavor is still there, I promise.
Timing is everything. Make the cold foam right before you’re ready to serve. It doesn’t hold up well over time. If you’re making multiple drinks, blend each batch of cold foam separately. It only takes 30 seconds, so it’s not a big deal.
Variations & Adaptations
This recipe is a great starting point, but feel free to make it your own. Here are some variations I’ve tried and loved.
Dairy-Free Pumpkin Cold Foam: Replace the heavy cream with full-fat coconut cream and the whole milk with oat milk. Coconut cream is thick and creamy, so it foams beautifully. Oat milk adds a subtle sweetness that pairs well with pumpkin. I’ve served this to dairy-free friends and they couldn’t tell the difference.
Extra Spiced Version: Add an extra 1/4 teaspoon of pumpkin pie spice and a pinch of cayenne pepper for a spicy kick. The cayenne doesn’t make it spicy, just warm. It’s like a pumpkin chai latte but better. My husband loves this version.
Pumpkin Protein Coffee: Add a scoop of vanilla or pumpkin spice protein powder to the cold foam ingredients before blending. It makes the foam a little thicker and turns your coffee into a post-workout treat. I use collagen powder and it blends in seamlessly.
Iced Pumpkin Latte Version: Instead of cold brew, use 1 cup of strong hot coffee. Pour it over ice, then top with the cold foam. The hot coffee melts the ice slightly, creating a latte-like texture. It’s perfect for when you want something warmer but still iced.
Sugar-Free Version: Replace the maple syrup with a sugar-free syrup like monk fruit or stevia. I’ve tested this with a vanilla-flavored sugar-free syrup and it worked great. The texture stays the same because the syrup is liquid.
Pumpkin Cream Cold Brew (Starbucks Style): If you want the exact Starbucks experience, use vanilla syrup in your cold brew instead of plain cold brew. Starbucks sweetens their cold brew with vanilla syrup before adding the pumpkin cold foam. Just add 1-2 tablespoons of vanilla syrup to your cold brew before pouring it over ice.
Serving & Storage Suggestions
This pumpkin cold foam coffee is best enjoyed immediately, but there are a few ways to prep ahead or store leftovers.
Serving Temperature: Serve it cold. That’s the whole point. The cold foam sits on top of the cold brew, creating a temperature contrast that’s incredibly satisfying. If you’re making it for a party, keep the cold brew in a pitcher in the fridge and blend the cold foam right before serving.
Presentation Tips: Use a clear glass to show off the layers. Fill the glass with ice, pour in the cold brew, and spoon the cold foam on top. Sprinkle a little pumpkin pie spice on top for a finishing touch. It looks like something from a fancy coffee shop.
Storage Instructions: The cold foam doesn’t store well. It will separate and lose its texture within 10-15 minutes. If you have leftover cold foam, store it in an airtight container in the fridge for up to 2 days. Give it a quick blend before using. The cold brew can be stored in the fridge for up to a week.
Reheating: This is a cold drink, so reheating isn’t really a thing. But if you want a hot version, skip the ice and pour the cold foam over hot coffee. The foam will melt slightly, creating a creamy pumpkin latte. I’ve done this on chilly mornings and it’s lovely.
How Flavors Develop: The pumpkin cold foam is best fresh, but the cold brew actually tastes better after a day or two in the fridge. The flavors meld together and the bitterness mellows out. If you’re planning ahead, make the cold brew a day in advance.
Nutritional Information & Benefits
This homemade pumpkin cold foam coffee is a treat, but it’s not as indulgent as you might think. Here’s a rough breakdown per serving (using the recipe as written).
| Nutrient | Amount |
|---|---|
| Calories | 120-150 |
| Total Fat | 9-11g |
| Saturated Fat | 5-7g |
| Carbohydrates | 10-12g |
| Sugar | 8-10g |
| Protein | 2-3g |
Health Benefits of Key Ingredients: Pumpkin puree is packed with vitamin A and fiber. It’s also low in calories, so you’re getting some nutrients with your caffeine. The spices (cinnamon, nutmeg, ginger) have anti-inflammatory properties. And coffee, of course, is full of antioxidants. It’s not a health drink, but it’s not terrible for you either.
Dietary Considerations: This recipe is vegetarian and can be made dairy-free and sugar-free with simple substitutions. It contains dairy in the original version, so it’s not vegan-friendly as written. If you have a nut allergy, the original recipe is nut-free, but check your pumpkin pie spice blend for any added nuts.
Allergen Notes: Contains dairy. If you’re lactose intolerant, use lactose-free milk and cream, or try the dairy-free version with coconut cream and oat milk.
From a wellness perspective, I see this as a treat that doesn’t require guilt. It’s made with real ingredients, you control the sweetness, and it’s way cheaper than the Starbucks version. If you’re watching your sugar intake, just reduce the maple syrup. It’s flexible that way.
Conclusion
This homemade pumpkin cold foam coffee is one of those recipes that feels like a secret. It’s simple enough for a weekday morning, but impressive enough for guests. The pumpkin cold foam is creamy, spiced, and sits on top of your coffee like a fluffy cloud. It tastes exactly like the Starbucks version, maybe even better because you made it yourself.
I love this recipe because it makes me feel like I’m treating myself without actually spending much time or money. It’s my little morning ritual during fall, and it never gets old. The smell of pumpkin spice, the first sip of cold brew, the way the foam melts into the coffee. It’s pure comfort in a glass.
I’d love to hear how yours turns out. Did you try a variation? Add extra spice? Make it dairy-free? Drop a comment below and share your version. And if you’re looking for more fall recipes, check out my pumpkin spice latte recipe or my easy cold brew coffee guide. They pair perfectly with this pumpkin cold foam.
Go ahead, treat yourself. You deserve it.
Frequently Asked Questions
Can I use regular coffee instead of cold brew?
Yes, you can. Brew a strong cup of coffee and let it cool down, or pour it over ice. The flavor won’t be as smooth as cold brew, but it still works. I’ve done this in a pinch and it’s fine.
Why is my cold foam watery?
This usually happens when the cream isn’t cold enough or you used too much milk. Make sure your cream and milk are straight from the fridge. If it’s still watery, add a little more cream and blend again.
Can I make this without a blender?
Yes, but it takes more effort. Put all the cold foam ingredients in a jar with a tight lid and shake vigorously for 1-2 minutes. The texture won’t be as thick, but it’s still good.
How long does the cold foam last?
Not long. It starts to separate after about 10-15 minutes. Make it fresh for each serving. If you have leftovers, store them in the fridge and re-blend before using.
Can I use pumpkin pie filling instead of pumpkin puree?
You can, but it will be sweeter and more spiced. Reduce the maple syrup to 1/2 tablespoon and skip the pumpkin pie spice. The texture might be slightly different because pumpkin pie filling has added sugar and thickeners.
Pin This Recipe!
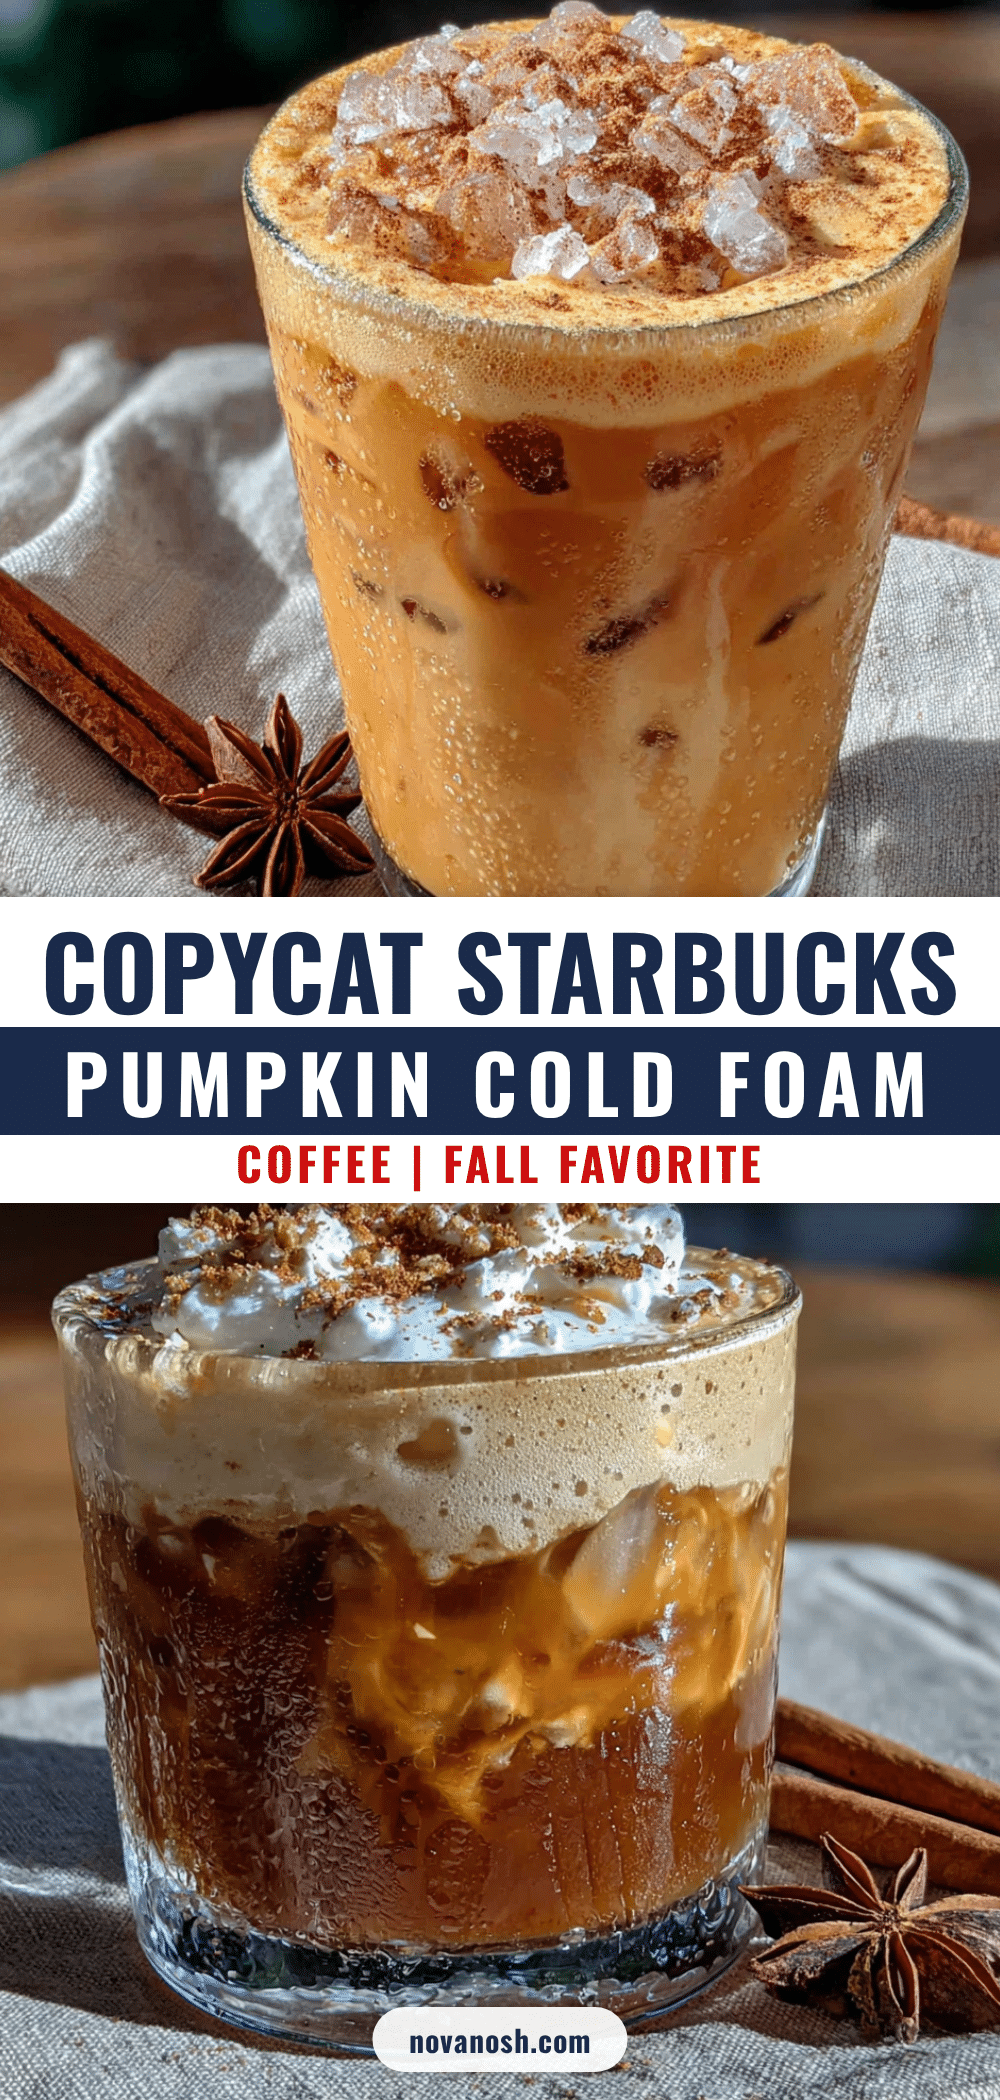
Easy Homemade Pumpkin Cold Foam Coffee Copycat

This homemade pumpkin cold foam coffee is a quick and easy Starbucks copycat that uses simple ingredients like heavy cream, pumpkin puree, and maple syrup. It’s creamy, spiced, and perfect for fall mornings.
- Prep Time: 5 minutes
- Cook Time: 0 minutes
- Total Time: 5 minutes
- Yield: 1 serving 1x
- Category: Beverage
- Cuisine: American
Ingredients
- 2 tablespoons (30 ml) heavy cream
- 2 tablespoons (30 ml) whole milk
- 1 tablespoon (15 ml) pumpkin puree (100% pumpkin)
- 1 tablespoon (15 ml) maple syrup
- 1/2 teaspoon (2.5 ml) vanilla extract
- 1/4 teaspoon (1.25 ml) pumpkin pie spice
- 1 cup (240 ml) cold brew coffee
- Ice as needed
- Optional: milk or cream for coffee base
Instructions
- Make your cold brew (or grab store-bought). If making your own, combine 1 cup coarsely ground coffee with 4 cups cold water in a jar. Steep in the fridge for 12-24 hours. Strain through a fine-mesh sieve or coffee filter. Store in the fridge for up to a week.
- Chill your ingredients. Cold cream and milk foam better. If forgotten, put cream and milk in the freezer for 5 minutes before blending.
- Combine cold foam ingredients in a blender: 2 tablespoons heavy cream, 2 tablespoons whole milk, 1 tablespoon pumpkin puree, 1 tablespoon maple syrup, 1/2 teaspoon vanilla extract, and 1/4 teaspoon pumpkin pie spice.
- Blend until thick and frothy. Start on low speed and gradually increase to high. Blend for about 30-45 seconds until texture is similar to melted ice cream. If too thin, blend another 10 seconds. If too thick, add a splash of milk.
- Fill your glass with plenty of ice.
- Pour the cold brew over the ice, filling the glass about 3/4 full. Add a splash of milk if desired.
- Spoon the cold foam on top of the coffee, pouring gently over the back of a spoon to create layers.
- Optional: Sprinkle extra pumpkin pie spice on top.
- Serve immediately. Cold foam starts to separate after about 10 minutes.
Notes
Use cold ingredients for best foam. Don’t over-blend or it turns into butter. Cold foam is best fresh; store leftovers in fridge for up to 2 days and re-blend before using. For dairy-free, use full-fat coconut cream and oat milk.
Nutrition
- Serving Size: 1 serving
- Calories: 120150
- Sugar: 810
- Fat: 911
- Saturated Fat: 57
- Carbohydrates: 1012
- Protein: 23
Keywords: pumpkin cold foam, Starbucks copycat, pumpkin coffee, fall coffee, cold brew, pumpkin spice


