Love this? Save it for later!
Share the inspiration with your friends
“Why not just use bagels instead of regular bread?” my friend asked one Saturday afternoon as we were brainstorming quick snacks for a movie night. I started to explain why that wouldn’t work — then stopped. Honestly, I didn’t expect mini bagels to hold up under all that saucy, cheesy goodness without turning into a soggy mess. But you know what? They nailed it. The crunch of the toasted edges mixed with the melty cheese and tangy tomato sauce was a total win.
That day, while juggling too many tasks and almost messing up the sauce (I forgot to stir it once), I got schooled by my friend’s simple idea. It turns out, easy mini pizza bagels are not just a lazy snack; they’re a legit crowd-pleaser that you can prep ahead and freeze for whenever hunger strikes. Maybe you’ve been there—scrambling for something quick but satisfying, and these bagels come through every single time. Honestly, I keep making them because they’re just that reliable and comforting, and I love that I can stash them in the freezer and pull them out on a whim.
Why You’ll Love This Recipe
Making easy mini pizza bagels has become one of my go-to solutions when I want something fast but still feel like I’m treating myself. After testing different toppings and baking times, this version landed perfectly—crispy edges, gooey cheese, and just the right amount of sauce.
- Quick & Easy: Ready in under 30 minutes, which is perfect for busy evenings or unexpected guests.
- Simple Ingredients: No need for fancy items—just mini bagels, pizza sauce, cheese, and your favorite toppings.
- Perfect for Snack Time: Ideal for kids’ lunches, after-school snacks, or game-day munchies.
- Make-Ahead & Freezer Friendly: Prepare a batch, freeze them, and bake fresh whenever you want.
- Crowd-Pleaser: Kids, teens, and adults love them equally, plus they’re customizable.
This recipe stands out because the mini bagels hold their texture, unlike other bread bases that can get soggy. Plus, using a blend of mozzarella and a hint of Parmesan gives the cheese topping a richer flavor. My personal twist? Adding a sprinkle of Italian seasoning to the sauce for that extra depth without complicating things.
Honestly, these mini pizza bagels aren’t just snacks—they’re little bites of comfort food that remind me why simple ideas sometimes turn out better than the fancy ones.
What Ingredients You Will Need
This recipe uses straightforward pantry staples and fresh ingredients that come together to create a delicious, fuss-free snack. Most of these you likely have on hand, and there’s room to swap things around depending on what’s in your fridge.
- Mini Bagels: Plain or everything-flavored work well; I prefer plain for a classic pizza taste.
- Pizza Sauce: About 1 cup (240 ml) of your favorite marinara or pizza sauce. I usually grab Rao’s for its rich flavor, but any good-quality jarred sauce will do.
- Shredded Mozzarella Cheese: 2 cups (200 g) for that melty, stretchy texture.
- Grated Parmesan Cheese: ¼ cup (25 g), adds a sharp, nutty kick.
- Italian Seasoning: 1 teaspoon, optional but highly recommended for flavor depth.
- Mini Pepperoni Slices: About 30 slices or to taste; you can swap these for cooked sausage or veggies.
- Olive Oil: 1 tablespoon for brushing the bagels before baking (adds crispiness).
- Optional Toppings: Sliced black olives, diced bell peppers, or mushrooms for variety.
If you’re looking for dietary swaps, almond flour bagels can work for gluten-free, and vegan cheese options are great for dairy-free versions. Just keep in mind the melting properties might differ slightly.
Equipment Needed
- Baking Sheet: A rimmed baking sheet works best to keep everything contained.
- Parchment Paper or Silicone Baking Mat: To prevent sticking and make cleanup a breeze.
- Small Mixing Bowl: For mixing the cheese and seasoning.
- Spoon or Small Spatula: To spread sauce evenly over the bagels.
- Oven or Toaster Oven: Essential for baking; toaster ovens work well if you’re making a small batch.
For budget-friendly baking sheets, I’ve had great luck with simple aluminum pans from the supermarket that hold heat evenly. If you don’t have parchment paper, lightly greasing the sheet works too, but things might stick a bit more.
Preparation Method
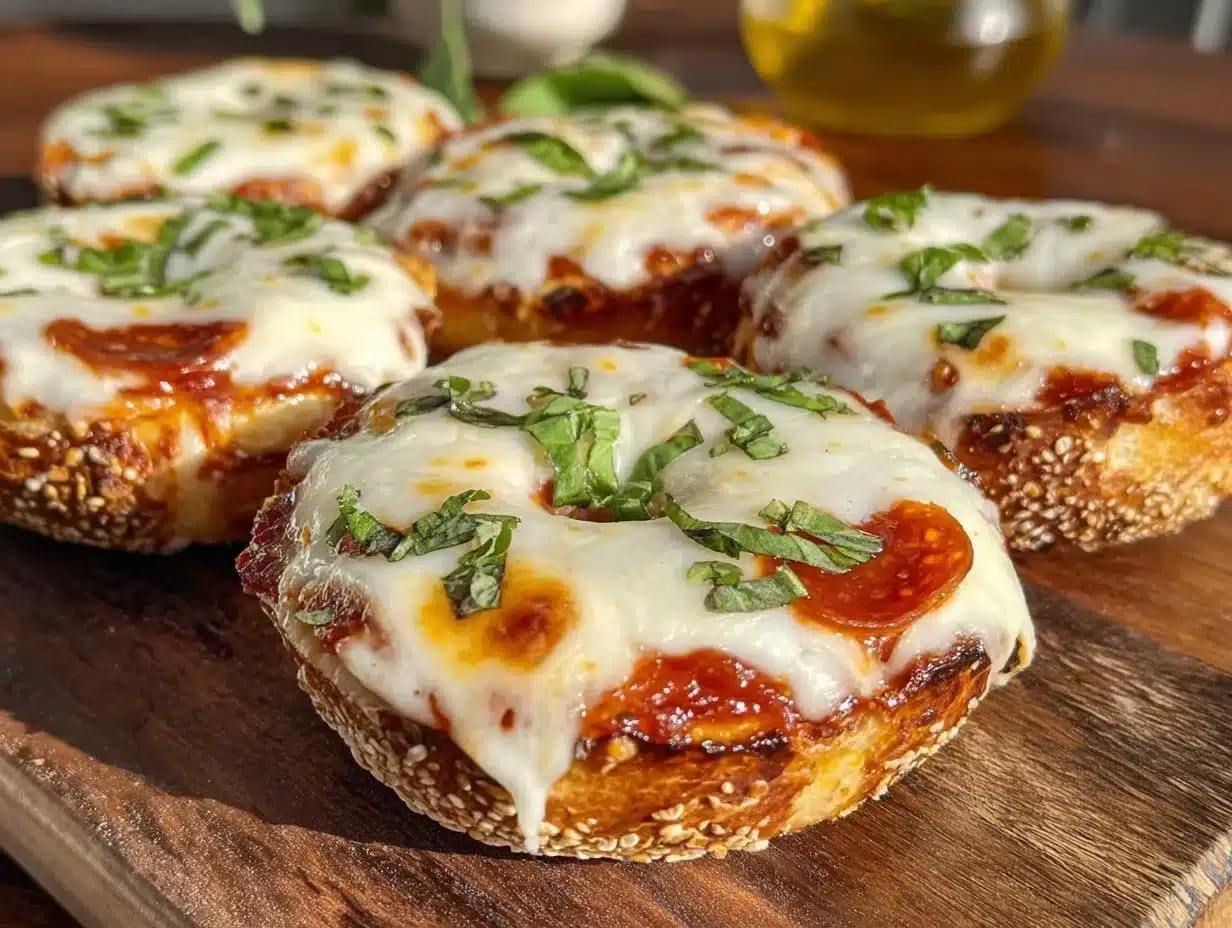
- Preheat your oven to 400°F (200°C). Line your baking sheet with parchment paper or a silicone mat to prevent sticking. This step usually takes about 10 minutes, which is perfect for prepping ingredients.
- Slice the mini bagels in half horizontally and place them cut side up on the baking sheet. Brush each half lightly with olive oil—this helps create a crispy base and keeps the bagels from getting soggy. This step takes roughly 5 minutes.
- Spread about 1 tablespoon (15 ml) of pizza sauce evenly over each bagel half. Don’t overload the sauce; too much can make the bagels soggy. A thin, even layer is key here. This takes about 5 minutes.
- Mix shredded mozzarella, Parmesan, and Italian seasoning in a small bowl. Then sprinkle a generous amount—about 2 tablespoons (20 g)—over the sauce-covered bagels. The cheese layer should be thick enough to melt nicely but not spill over the edges. This step takes 3 minutes.
- Add your toppings. Place a few mini pepperoni slices or other toppings on each bagel. Don’t crowd them; you want the cheese to melt around the toppings. This step takes around 5 minutes.
- Bake in the preheated oven for 10-12 minutes or until the cheese is bubbly and golden brown at the edges. Keep an eye on them—ovens vary and you want that perfect balance of melty and crispy.
- Remove from the oven and let cool for a couple of minutes. This makes handling easier and helps set the cheese slightly.
- For make-ahead freezing: Let the mini pizza bagels cool completely on the baking sheet. Then transfer them to a baking tray in a single layer and freeze for about an hour. Once firm, move them into a freezer-safe bag or container. To bake from frozen, add a few extra minutes to the bake time, and no need to thaw.
Pro tip: If your cheese starts to brown too quickly, loosely tent the baking sheet with aluminum foil to prevent burning while still allowing the cheese to melt properly.
Cooking Tips & Techniques
Getting those mini pizza bagels just right is all about balance and timing. Here are some pointers I’ve picked up:
- Don’t overload the sauce. Too much moisture can make the bagels soggy—spread a thin, even layer and trust the cheese to carry the flavor.
- Brush the bagels with oil. This little step adds a crispy crunch and keeps the bread from getting soggy underneath.
- Use a cheese blend. Mozzarella gives the classic stretch, while Parmesan adds a punch of flavor. I’ve tried just mozzarella before, but the Parmesan really rounds it out.
- Watch the baking time closely. Ovens vary a lot. Start checking at 10 minutes to avoid overcooking, especially if you’re using a toaster oven.
- For freezing, cool completely. This prevents condensation and sogginess when you reheat.
- Multitasking tip: While the bagels bake, clean up the prep area or prep toppings for another batch. This keeps the workflow smooth and kitchen mess minimal.
One time, I left the oven door open a bit too long to grab toppings, and the cheese hardened before melting properly—lesson learned!
Variations & Adaptations
You can easily customize these mini pizza bagels to suit your tastes or dietary needs:
- Vegetarian: Swap pepperoni for sliced mushrooms, bell peppers, or olives. Adding fresh spinach after baking is a nice touch too.
- Gluten-Free: Use gluten-free mini bagels or bagel thins. Keep in mind they might be slightly less chewy but still tasty.
- Dairy-Free: Choose your favorite vegan cheese shreds. Nutritional yeast sprinkled on top before baking adds a cheesy flavor boost.
- Spicy Kick: Add red pepper flakes or a drizzle of hot sauce before baking for a little heat.
- Breakfast Style: Add cooked crumbled sausage and a sprinkle of cheddar cheese for a morning treat.
I once tried swapping pizza sauce for pesto and it was surprisingly good—a fresh, herby twist that works great for a change of pace.
Serving & Storage Suggestions
These mini pizza bagels are best served warm, straight from the oven, when the cheese is still gooey and melty. They make a fun finger food for parties or a quick lunch paired with a crisp green salad.
Store leftovers in an airtight container in the refrigerator for up to 3 days. When you want to reheat, pop them in a toaster oven or regular oven at 350°F (175°C) for about 5-7 minutes to revive that crispy crust and melty cheese.
If frozen, bake directly from the freezer, adding about 5 extra minutes to the bake time. Flavors actually deepen a bit after freezing, so they taste just as good later on.
Pair these snacks with a simple side like carrot sticks or a light fruit salad to balance the richness. For drinks, a cold glass of milk or sparkling water with lemon goes nicely.
Nutritional Information & Benefits
Each mini pizza bagel contains approximately 150-180 calories depending on toppings, making them a satisfying snack without going overboard. The mozzarella provides a good source of protein and calcium, while the tomato sauce offers vitamin C and antioxidants.
Using whole grain mini bagels can add fiber, helping keep you fuller longer. Plus, you can control the salt and sugar content by choosing your sauce and cheese wisely.
This recipe is adaptable for gluten-free and dairy-free diets and can be made vegetarian, which is great for accommodating different needs without sacrificing flavor.
From a wellness angle, being able to prepare these make-ahead snacks means less temptation for processed options and more control over what goes into your food.
Conclusion
Easy mini pizza bagels are a simple, tasty, and practical snack that fits into busy lives without fuss. Whether you’re feeding kids after school or need a quick bite during a hectic day, these bagels deliver that perfect combo of crunch, cheese, and sauce every time.
Feel free to tweak the toppings, swap in gluten-free or dairy-free options, or try out my pesto variation to make this recipe truly your own. Honestly, I love these because they remind me that sometimes the best recipes come from just being open to a good idea—no matter how simple it sounds.
I’d love to hear how you make these yours—drop a comment below or share your favorite topping combos. Let’s keep the easy, delicious snack ideas flowing!
FAQs
Can I use regular-sized bagels instead of mini bagels?
You can, but regular bagels will take longer to bake and might be messier to eat. Mini bagels are perfect for portion control and quick baking.
How long can I freeze mini pizza bagels?
They keep well in the freezer for up to 2 months. Just make sure they’re stored in an airtight container or freezer bag to prevent freezer burn.
Can I prepare these without pepperoni?
Absolutely! They’re great with just cheese and sauce or any other toppings you prefer, like veggies or cooked sausage.
What’s the best way to reheat frozen mini pizza bagels?
Bake them directly from frozen in a preheated oven at 350°F (175°C) for about 12-15 minutes until hot and bubbly.
Are these mini pizza bagels kid-friendly?
Definitely! Kids love the bite-sized portions and familiar flavors. You can customize toppings to suit their preferences too.
Pin This Recipe!
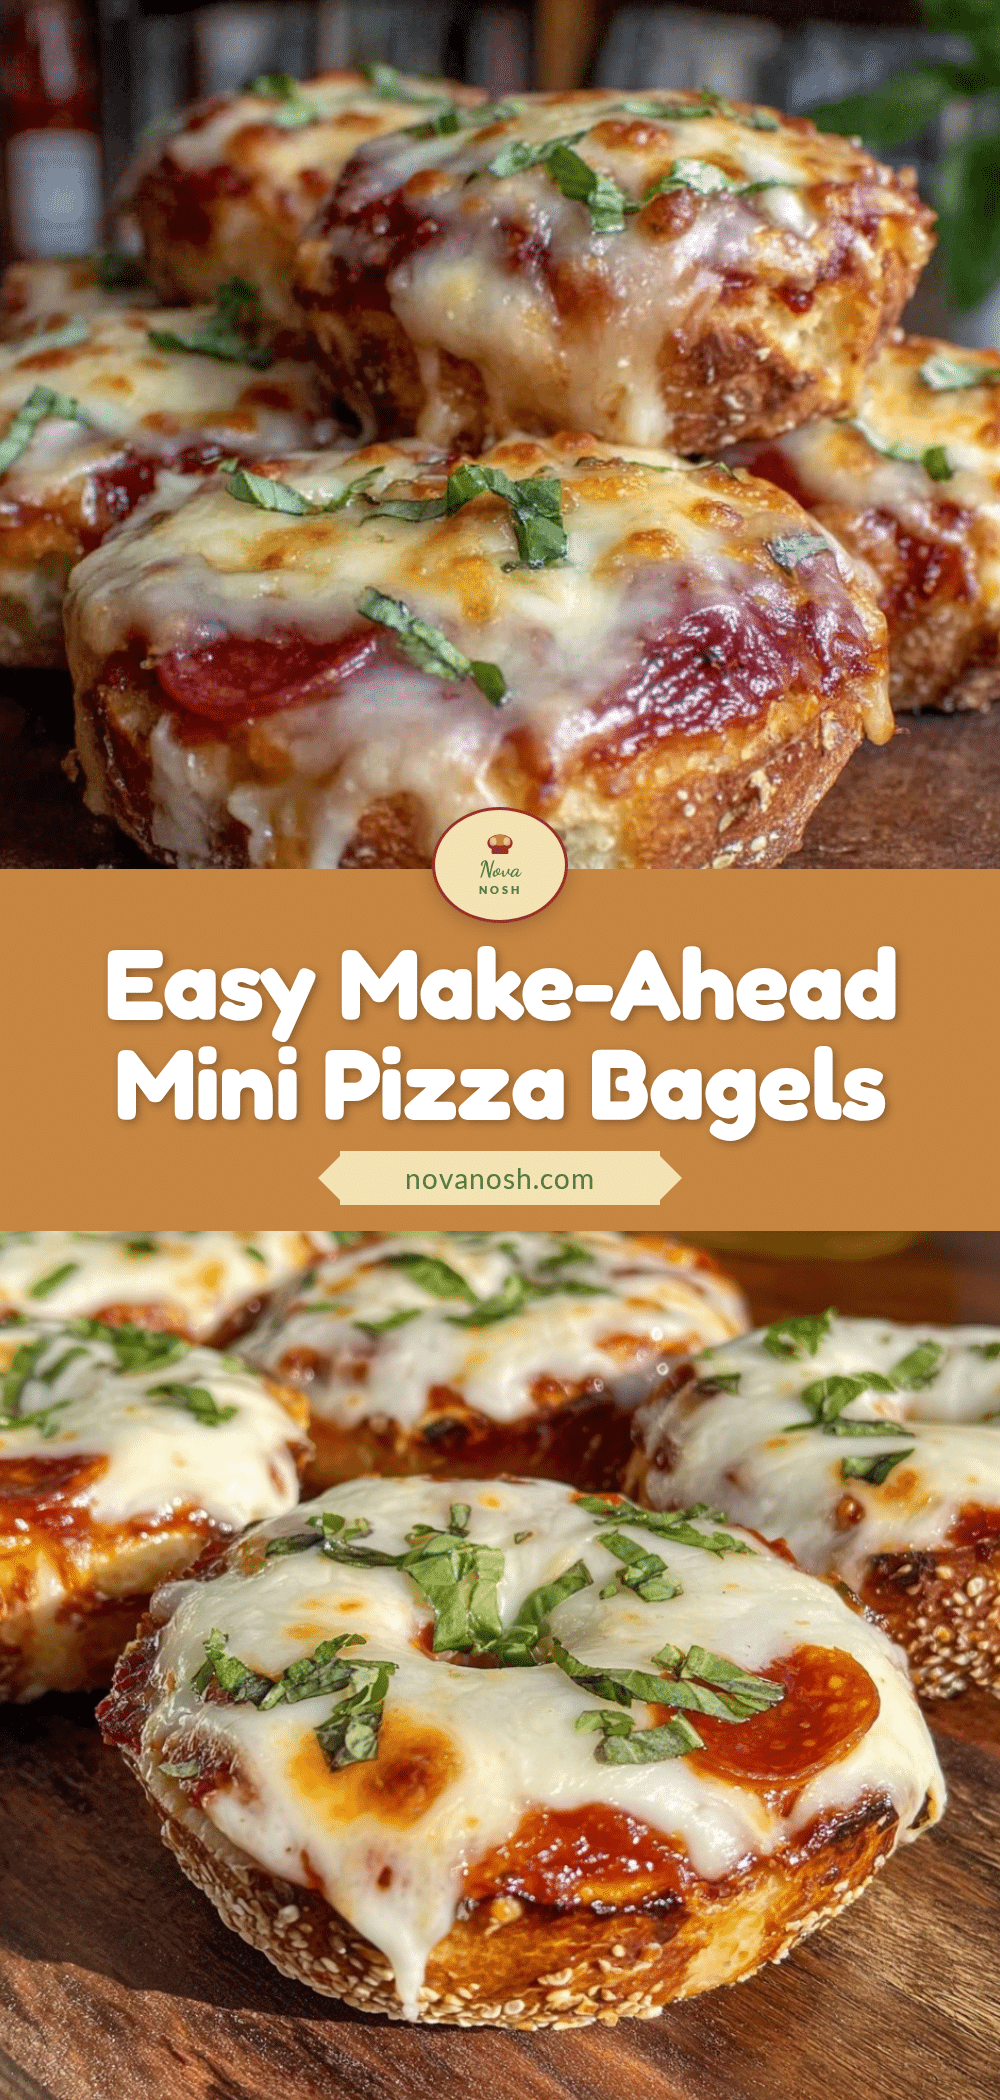
Easy Mini Pizza Bagels Recipe Perfect Make-Ahead Freezer Snack

These easy mini pizza bagels are a quick, crowd-pleasing snack with crispy edges, gooey cheese, and tangy tomato sauce. Perfect for make-ahead freezer storage and customizable for various dietary needs.
- Prep Time: 15 minutes
- Cook Time: 12 minutes
- Total Time: 27 minutes
- Yield: 12 mini pizza bagel halves 1x
- Category: Snack
- Cuisine: American
Ingredients
- Mini bagels (plain or everything-flavored, about 12 halves)
- 1 cup (240 ml) pizza sauce (marinara or pizza sauce)
- 2 cups (200 g) shredded mozzarella cheese
- ¼ cup (25 g) grated Parmesan cheese
- 1 teaspoon Italian seasoning (optional)
- About 30 mini pepperoni slices (or cooked sausage, veggies)
- 1 tablespoon olive oil (for brushing)
- Optional toppings: sliced black olives, diced bell peppers, mushrooms
Instructions
- Preheat your oven to 400°F (200°C). Line a baking sheet with parchment paper or a silicone mat.
- Slice the mini bagels in half horizontally and place them cut side up on the baking sheet. Brush each half lightly with olive oil.
- Spread about 1 tablespoon (15 ml) of pizza sauce evenly over each bagel half.
- Mix shredded mozzarella, Parmesan, and Italian seasoning in a small bowl. Sprinkle about 2 tablespoons (20 g) of the cheese mixture over the sauce-covered bagels.
- Add your toppings such as mini pepperoni slices or other desired toppings.
- Bake in the preheated oven for 10-12 minutes or until the cheese is bubbly and golden brown at the edges.
- Remove from the oven and let cool for a couple of minutes before serving.
- For make-ahead freezing: let the mini pizza bagels cool completely on the baking sheet, then freeze in a single layer for about an hour. Transfer to a freezer-safe bag or container. To bake from frozen, add a few extra minutes to the bake time without thawing.
Notes
Do not overload the sauce to avoid soggy bagels. Brush bagels with olive oil for a crispy base. Watch baking time closely to prevent overcooking. For freezing, cool completely before freezing to prevent condensation. Tent with foil if cheese browns too quickly.
Nutrition
- Serving Size: 1 mini pizza bagel h
- Calories: 150180
- Sugar: 3
- Sodium: 350
- Fat: 7
- Saturated Fat: 3.5
- Carbohydrates: 18
- Fiber: 1
- Protein: 8
Keywords: mini pizza bagels, easy snack, make-ahead, freezer friendly, kid-friendly, quick snack, pizza bagels


