Love this? Save it for later!
Share the inspiration with your friends
This was supposed to be a layered chocolate mousse cake. The kind that requires separating eggs, whipping cream to stiff peaks, and folding everything together with the kind of gentle hand that I apparently do not possess. It was a Tuesday. I had three ripe avocados on the counter (don’t ask), a block of cream cheese that needed using up, and a serious case of overconfidence. The mousse? It deflated. The whole thing looked like a sad, chocolate soup with chunks of something I couldn’t identify. I was already running late for a potluck at my neighbor Maria’s house, and the power was about to go out — literally, a storm was rolling in. I stood there, staring at my failed dessert, and just grabbed a package of Oreos from the pantry. I stacked, I spread, I layered. No baking, no fuss. What came out was nothing like the plan — and better. Honestly, I think the kitchen gods were protecting me from my own ambition that day. This easy no-bake Oreo icebox cake for a crowd has since become the thing I bring to every gathering. It’s the recipe that taught me to stop panicking when things go wrong. Maybe you’ve been there — standing over a ruined dish, ready to toss the whole thing. Don’t. Just grab some cookies and cream. You’ll thank me later.
Why You’ll Love This Recipe
Let me tell you, I have tested this easy no-bake Oreo icebox cake for a crowd more times than I can count. I’ve made it for birthday parties, summer barbecues, and even a sad little Wednesday when I needed dessert therapy. It never fails. Here is why this one is different from every other recipe you’ll find online.
- No Oven Required: Perfect for those hot summer days when turning on the oven feels like a personal attack. Or when your power goes out. Trust me.
- Simple Ingredients: You only need a handful of things — Oreos, heavy cream, cream cheese, powdered sugar, and vanilla. That’s it. No fancy grocery trips.
- Perfect for a Crowd: This recipe makes a generous 9×13-inch cake that serves 12 to 16 people. It’s the ultimate potluck hero.
- Make-Ahead Magic: You can assemble it the day before and just pull it out when you’re ready. The flavors actually get better overnight.
- Crowd-Pleaser: Kids devour it. Adults sneak extra slices. I once watched a grown man go back for thirds at a picnic.
What makes this easy no-bake Oreo icebox cake for a crowd truly special is the texture. The cookies soften just enough to become cake-like, but they still have that slight bite. The filling is light, creamy, and not too sweet — a perfect balance. I use a trick of whipping the cream separately before folding it into the cream cheese mixture. It makes the whole thing airy and luxurious, like a cloud made of cookies. This isn’t just another version of an icebox cake. It is the version you will come back to again and again. The one that makes you close your eyes after the first bite and forget about that failed mousse cake from years ago.
What Ingredients You Will Need
This recipe uses simple, humble ingredients to create something that tastes like you spent hours in the kitchen. The beauty of this easy no-bake Oreo icebox cake for a crowd is that you probably already have most of these items at home. Let’s break them down.
- Oreo Cookies (2 family-size packages, about 36-40 cookies): You will use whole cookies for the layers. Do not crush them. I recommend using the classic Oreo, but Double Stuf also works if you want extra creaminess. For a fun twist, try the Golden Oreos — they make a vanilla version that is surprisingly good.
- Heavy Whipping Cream (2 cups, or 480 ml): This is the secret to the light, fluffy texture. Make sure it is cold straight from the fridge. I prefer using heavy cream with at least 36% milk fat for the best stability. Do not use half-and-half or milk — it won’t whip properly.
- Cream Cheese (8 ounces, or 226 grams, softened): Full-fat cream cheese gives the best flavor and texture. Let it sit on the counter for about 30 minutes before you start. If you are in a hurry, microwave it for 10 seconds on low power. I have used Philadelphia brand for years, and it never lets me down.
- Powdered Sugar (1 cup, or 120 grams): This sweetens the filling without making it grainy. Sift it if you have the patience — it prevents lumps. But honestly, I skip that step most of the time and just mix well.
- Vanilla Extract (1 teaspoon): Pure vanilla extract adds warmth and depth. Imitation vanilla works in a pinch, but the real stuff makes a difference here. I always keep a bottle in my pantry.
- Optional Toppings: Crushed Oreos for the top, chocolate shavings, or a drizzle of melted chocolate. I sometimes add a sprinkle of flaky sea salt because sweet and salty is my weakness.
For substitutions, you can use dairy-free cream cheese and coconut cream (chilled and whipped) to make this dairy-free. I have tested it, and while the texture is slightly different, it is still delicious. Just make sure the coconut cream is solid — you want the thick part from the top of the can.
Equipment Needed
You do not need a fancy kitchen to pull off this easy no-bake Oreo icebox cake for a crowd. Here is what you will need.
- 9×13-inch Baking Dish: This is the perfect size for feeding a crowd. Glass or ceramic works best because it holds the cold well. I have an old Pyrex dish that has seen better days, but it still does the job beautifully.
- Electric Mixer (Hand or Stand): Whipping cream by hand is a workout. I learned that the hard way. Use a hand mixer or stand mixer with the whisk attachment. It takes about 3-4 minutes on medium-high speed.
- Large Mixing Bowls: You will need one for the cream cheese mixture and one for the whipped cream. I recommend stainless steel or glass.
- Spatula: A rubber spatula is essential for folding the whipped cream into the cream cheese mixture without deflating it. Get a good one — it makes a difference.
- Plastic Wrap or Foil: You need to cover the cake tightly while it chills. Plastic wrap works best because it creates a seal.
If you do not have a 9×13-inch dish, you can use a large loaf pan or even a round springform pan. Just adjust the layers accordingly. I once made this in a disposable aluminum pan for a camping trip, and it worked perfectly. Budget-friendly options are totally fine here.
Preparation Method
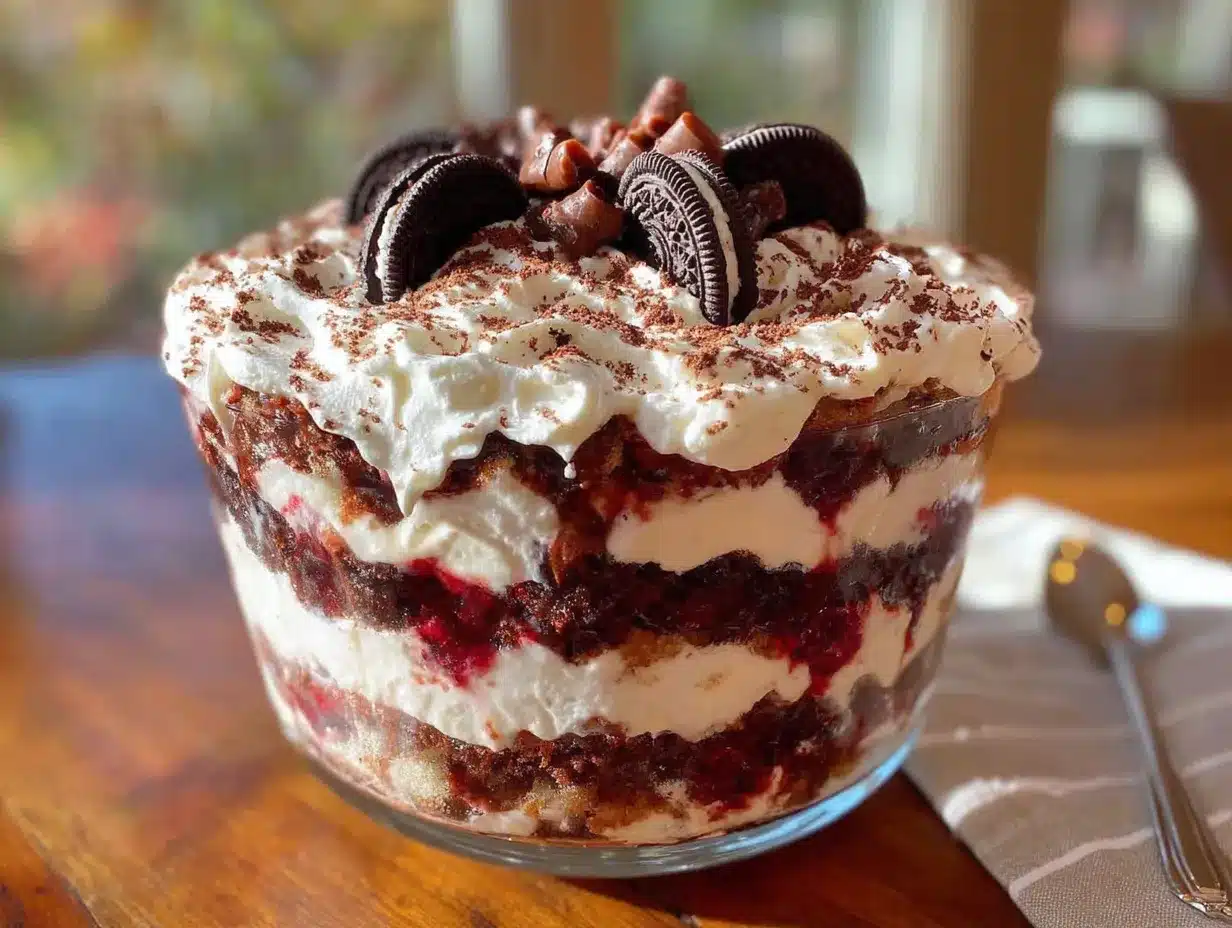
Making this easy no-bake Oreo icebox cake for a crowd is almost too simple. But follow these steps, and you will get perfect results every time.
- Whip the Cream: Pour 2 cups of cold heavy whipping cream into a large mixing bowl. Using an electric mixer on medium-high speed, whip the cream until stiff peaks form. This takes about 3 to 4 minutes. You will know it is ready when you lift the beaters and the cream stands up in peaks that hold their shape. Be careful not to overwhip — it can turn into butter. I have done that before, and it is a sad day. Set the whipped cream aside in the refrigerator.
- Make the Cream Cheese Base: In another large bowl, beat 8 ounces of softened cream cheese with an electric mixer on medium speed until smooth and creamy. This takes about 2 minutes. Scrape down the sides of the bowl with a spatula. Add 1 cup of powdered sugar and 1 teaspoon of vanilla extract. Beat on low speed until combined, then increase to medium and beat for another minute until the mixture is light and fluffy.
- Fold It Together: Take the whipped cream out of the fridge. Add about one-third of it to the cream cheese mixture. Gently fold it in using a rubber spatula. Use a cutting motion — down through the middle, across the bottom, and up the side. Rotate the bowl as you go. Once it is mostly combined, add the remaining whipped cream and fold until no white streaks remain. The mixture should be light, airy, and uniform in color.
- Layer the Cake: Spread a thin layer of the cream mixture (about 1/2 cup) on the bottom of your 9×13-inch dish. This helps the cookies stick. Then, arrange a single layer of Oreo cookies on top. I fit about 12 cookies per layer — just place them in a grid pattern, touching each other. You can break a few cookies to fill the gaps. Spread about one-third of the remaining cream mixture over the cookies. Use the spatula to smooth it out evenly. Repeat with another layer of cookies, another third of the cream, another layer of cookies, and finally the last of the cream on top.
- Top It Off: Smooth the top layer of cream with your spatula. If you want, sprinkle crushed Oreos or chocolate shavings on top. I like to reserve 4 cookies, crush them roughly, and scatter them over the top for texture.
- Chill, Chill, Chill: Cover the dish tightly with plastic wrap. Refrigerate for at least 6 hours, but overnight is best. The cookies need time to soften and absorb the cream. The cake will be firm enough to slice cleanly after a full night in the fridge. Do not rush this step — I once tried to serve it after only 4 hours, and the cookies were still crunchy in the middle. Not great.
- Slice and Serve: When you are ready to serve, take the cake out of the fridge. Use a sharp knife to cut squares. Wipe the knife clean between cuts for neat slices. Serve cold. The cake will hold its shape beautifully.
Cooking Tips & Techniques
Over the years, I have learned a few things that make this easy no-bake Oreo icebox cake for a crowd turn out perfectly every time. Let me share them with you.
- Temperature Matters: Make sure your cream cheese is truly softened. If it is too cold, you will get lumps in the filling. If it is too warm, the mixture can become runny. Room temperature is your friend. The cream, on the other hand, must be ice cold. Warm cream will not whip properly. I keep my cream in the coldest part of the fridge.
- Do Not Overmix: When you fold the whipped cream into the cream cheese, be gentle. Overmixing will deflate the air you worked so hard to create. A few streaks are okay — they will disappear as the cake chills. I have made the mistake of being too aggressive, and the filling ended up dense and heavy. Learn from my failure.
- Press the Cookies Gently: When you place the cookies in the dish, press them down just slightly so they sit flat. Do not crush them. They will soften as they sit, so you want them intact for that perfect texture contrast.
- Plan Ahead: This is not a last-minute dessert. The chilling time is non-negotiable. I always make this the day before I need it. It actually tastes better on day two — the flavors meld together beautifully.
- Clean Slices: For the prettiest slices, use a long, sharp knife. Dip it in hot water, wipe it dry, and then cut. Repeat for each slice. It takes an extra minute, but the presentation is worth it.
Variations & Adaptations
This easy no-bake Oreo icebox cake for a crowd is incredibly versatile. I have tried many variations, and here are my favorites.
- Peanut Butter Dream: Add 1/2 cup of creamy peanut butter to the cream cheese mixture before folding in the whipped cream. Beat it in until smooth. The peanut butter pairs beautifully with the chocolate cookies. I made this for a Super Bowl party, and it disappeared in minutes.
- Mint Chocolate Chip: Use mint-flavored Oreos (the ones with green filling) and add 1/2 teaspoon of peppermint extract to the cream mixture. Top with a sprinkle of crushed chocolate mint candies. This is perfect for the holidays.
- Berry Bliss: Add a layer of fresh strawberries or raspberries between the cookie layers. Slice the berries thinly and arrange them on top of the cream before adding the next layer of cookies. The tartness of the berries cuts through the richness. I did this for a summer picnic, and it was a hit.
- Vegan Version: Use dairy-free cream cheese and coconut cream (chilled and whipped) instead of heavy cream. Use vegan Oreos (they are accidentally vegan!). The texture is a bit softer, but the flavor is still amazing.
- Gluten-Free Option: Use gluten-free chocolate sandwich cookies. There are several good brands available. The rest of the ingredients are naturally gluten-free, so this is an easy swap.
Serving & Storage Suggestions
This easy no-bake Oreo icebox cake for a crowd is best served cold, straight from the fridge. I like to take it out about 10 minutes before serving to take the chill off slightly, but it should still be firm. Cut it into squares and serve on a plate with a fork. It is rich, so a small slice goes a long way.
For presentation, I sometimes add a dollop of fresh whipped cream on each slice and a whole Oreo on top. It looks fancy with almost no effort. You can also drizzle melted chocolate or caramel sauce over the top before serving.
This cake pairs beautifully with a cup of coffee or a glass of cold milk. For a dessert spread, serve it alongside fresh fruit or a light sorbet to balance the richness.
Storage is simple. Cover the dish tightly with plastic wrap or foil and keep it in the refrigerator. It will stay good for up to 5 days. The cookies will continue to soften over time, so the texture changes slightly. I actually prefer it on day three — it becomes almost like a mousse cake. You can also freeze individual slices. Wrap them tightly in plastic wrap and then foil, and freeze for up to 2 months. Thaw in the refrigerator overnight before serving. The texture after freezing is still excellent.
Nutritional Information & Benefits
Let us be real — this is a dessert. It is not health food. But it does have some redeeming qualities. Here is the approximate nutritional breakdown per serving (based on 16 servings).
- Calories: 380
- Fat: 24g
- Carbohydrates: 38g
- Protein: 4g
- Sugar: 28g
The cream cheese provides a small amount of calcium and protein. The heavy cream adds vitamin A and healthy fats. And let us not forget the emotional benefits — dessert makes people happy. That counts for something, right? If you are watching your sugar intake, you can reduce the powdered sugar to 3/4 cup. The filling will be less sweet, but the Oreos provide plenty of sweetness on their own. This recipe is not suitable for those with dairy allergies or celiac disease unless you use the substitutions mentioned above. Always check ingredient labels if you are serving someone with dietary restrictions.
Conclusion
This easy no-bake Oreo icebox cake for a crowd has saved me more times than I can count. It started as a mistake born from a failed mousse cake and a looming storm, but it became my most requested dessert. It is proof that sometimes the best things come from letting go of perfection and just making something with what you have. I love this recipe because it brings people together. It is simple enough for a beginner, impressive enough for a celebration, and delicious enough to make everyone ask for the recipe. I hope you give it a try and make it your own. Add your favorite toppings, swap in different cookies, or keep it classic. Either way, I promise you will not regret it. If you make this, I would love to hear about it. Leave a comment below and tell me how it turned out. Did you add a twist? Did your family love it? Share your story — I read every single one. Now go grab some Oreos and get layering. You have got this.
Frequently Asked Questions
Can I use low-fat cream cheese or whipped cream?
I do not recommend it. Low-fat cream cheese has a higher water content, which can make the filling runny. Full-fat cream cheese and heavy cream give the best texture and stability. Save the low-fat options for another recipe.
How far in advance can I make this cake?
You can make it up to 2 days in advance. In fact, it tastes better on day two. Just keep it covered in the refrigerator. After 5 days, the texture starts to break down, so try to eat it within that window.
Can I use Double Stuf Oreos?
Absolutely. Double Stuf Oreos work great. They add a bit more creaminess to the layers. Just note that the cake might be slightly sweeter. I have used them many times, and the result is always delicious.
My cake turned out runny. What went wrong?
This usually happens if the cream was not whipped to stiff peaks, or if the cream cheese was too warm. Make sure your cream is cold and you whip it until it holds firm peaks. Also, let the cake chill for the full 6 hours minimum. Patience is key here.
Can I make this in a different size pan?
Yes. You can use a 8×8-inch pan for a thicker cake, or a loaf pan for a smaller version. Just adjust the number of layers and the amount of filling. For an 8×8 pan, you will need about 24 cookies and half the filling. Adjust the chilling time as needed.
Pin This Recipe!
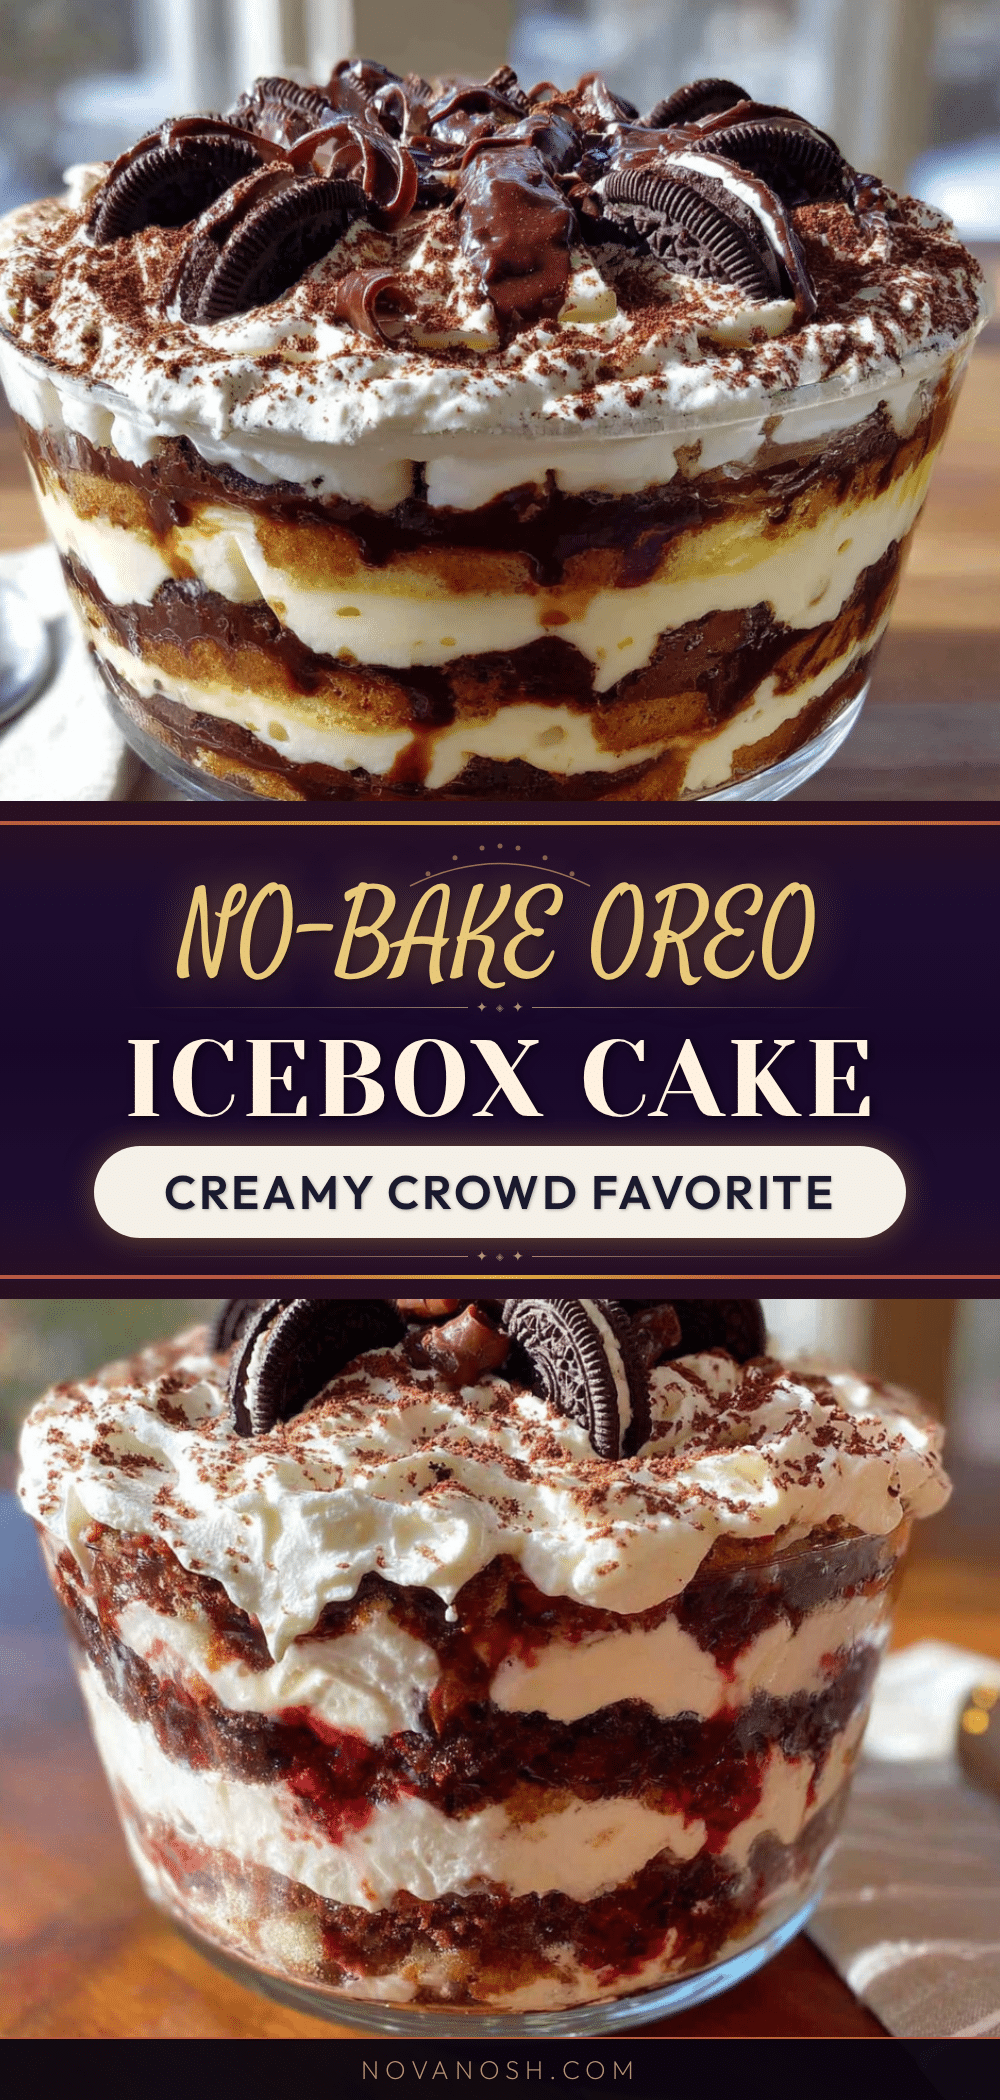
Easy No-Bake Oreo Icebox Cake for a Crowd
This easy no-bake Oreo icebox cake for a crowd is a simple, creamy dessert made with layers of Oreo cookies and a light cream cheese filling. Perfect for potlucks, parties, and hot summer days, it requires no oven and can be made ahead of time.
- Prep Time: 20 minutes
- Cook Time: 0 minutes
- Total Time: 6 hours 20 minutes (includes chilling)
- Yield: 12-16 servings 1x
- Category: Dessert
- Cuisine: American
Ingredients
- 2 family-size packages Oreo cookies (about 36–40 cookies)
- 2 cups heavy whipping cream (480 ml)
- 8 ounces cream cheese, softened (226 grams)
- 1 cup powdered sugar (120 grams)
- 1 teaspoon vanilla extract
- Optional: crushed Oreos, chocolate shavings, or flaky sea salt for topping
Instructions
- Whip the cream: Pour 2 cups of cold heavy whipping cream into a large mixing bowl. Using an electric mixer on medium-high speed, whip the cream until stiff peaks form, about 3-4 minutes. Set aside in the refrigerator.
- Make the cream cheese base: In another large bowl, beat 8 ounces of softened cream cheese with an electric mixer on medium speed until smooth and creamy, about 2 minutes. Scrape down the sides. Add 1 cup of powdered sugar and 1 teaspoon of vanilla extract. Beat on low speed until combined, then increase to medium and beat for another minute until light and fluffy.
- Fold it together: Take the whipped cream out of the fridge. Add about one-third of it to the cream cheese mixture. Gently fold it in using a rubber spatula with a cutting motion. Once mostly combined, add the remaining whipped cream and fold until no white streaks remain.
- Layer the cake: Spread a thin layer of the cream mixture (about 1/2 cup) on the bottom of a 9×13-inch dish. Arrange a single layer of Oreo cookies on top (about 12 cookies). Spread about one-third of the remaining cream mixture over the cookies. Repeat with another layer of cookies, another third of the cream, another layer of cookies, and finally the last of the cream on top.
- Top it off: Smooth the top layer of cream. Sprinkle crushed Oreos or chocolate shavings on top if desired.
- Chill: Cover the dish tightly with plastic wrap. Refrigerate for at least 6 hours, but overnight is best.
- Slice and serve: Use a sharp knife to cut squares. Wipe the knife clean between cuts. Serve cold.
Notes
Make sure cream cheese is softened to room temperature and heavy cream is ice cold. Do not overmix when folding. Chill for at least 6 hours, preferably overnight. For clean slices, dip knife in hot water and wipe dry between cuts. Can be made up to 2 days in advance. Store covered in refrigerator for up to 5 days. Freeze individual slices wrapped tightly for up to 2 months.
Nutrition
- Serving Size: 1 slice (1/16 of cak
- Calories: 380
- Sugar: 28
- Sodium: 220
- Fat: 24
- Saturated Fat: 14
- Carbohydrates: 38
- Fiber: 1
- Protein: 4
Keywords: no-bake dessert, Oreo icebox cake, easy dessert, crowd-pleaser, potluck dessert, summer dessert, make-ahead dessert