Love this? Save it for later!
Share the inspiration with your friends
There used to be a little bakery on the corner of Maple and 3rd, a place called “The Gilded Spatula,” that made a pumpkin bundt cake so impossibly moist, so perfectly spiced, it was the reason I got out of bed on chilly autumn mornings. When they closed their doors two years ago—a “For Lease” sign went up, and my heart sank right along with it—I went through a serious mourning period. I mean, I actually called my sister to complain. “What am I going to do for Thanksgiving?” I whined. She, being the practical one, said, “You’re a good cook. Figure it out.” So, I did. After seven tries—seven!—I finally got it. And honestly, this version is better. I know that sounds like a bold claim, but let me tell you, when you nail the texture and the kids start circling the kitchen like hungry sharks, you know you’ve got something special.
This isn’t just another pumpkin cake recipe. This is the one that makes your kitchen smell like a dream and your family think you spent hours slaving away. The secret? A single bowl, simple ingredients, and a technique that keeps it from drying out. Maybe you’ve been there, staring at a dry, crumbly slice of pumpkin bread, wondering where you went wrong. I was *that* person. The power even went out during my second attempt, and I had to finish the batter by flashlight. But you know what? That accidental extra mixing time might have been the key. This recipe is forgiving, it’s reliable, and it’s the one I keep coming back to, year after year.
Why You’ll Love This Recipe
This isn’t just another pumpkin cake. It’s a weeknight hero, a holiday showstopper, and a lunchbox superstar all rolled into one. Here’s why it deserves a permanent spot in your rotation:
- Quick & Easy: From start to finish, you’re looking at about an hour. The actual hands-on time is maybe ten minutes. Perfect for those after-school chaos hours.
- Simple Ingredients: You probably have most of these in your pantry right now. No fancy extracts or hard-to-find spices. Just real, honest baking staples.
- Perfect for Family Meals: It’s not too sweet, which means it works as a breakfast treat, an after-school snack, or a simple dessert. It pleases everyone from your toddler to your picky teenager.
- Crowd-Pleaser: I’ve brought this to potlucks, school bake sales, and family gatherings. It disappears every single time. I’m not exaggerating.
- Unbelievably Delicious: The texture is what gets you. It’s dense but not heavy, moist but not soggy. The crumb is tender, and the pumpkin flavor is warm and cozy without being overpowering.
What makes this recipe different from the rest? It’s the one-bowl method. No creaming butter and sugar separately. No sifting dry ingredients into a separate bowl. You dump everything in, mix it up, and pour it into the pan. This isn’t just about saving dishes—it’s about keeping the batter from getting overworked, which is the number one cause of a tough cake. This is comfort food reimagined: fast, foolproof, and with the same soul-soothing satisfaction as a recipe that takes all afternoon.
What Ingredients You Will Need
This recipe uses simple, wholesome ingredients to deliver that rich, comforting pumpkin flavor without any fuss. Most of these are pantry staples, so you can whip this up on a whim.
- All-Purpose Flour (2 ½ cups / 312g): The backbone of the cake. Spoon and level it into your measuring cup for the most accurate results. Don’t scoop directly from the bag, or you’ll pack in too much flour and get a dry cake.
- Granulated Sugar (1 ½ cups / 300g): Provides sweetness and structure. It also helps create that beautiful golden-brown crust.
- Light Brown Sugar (½ cup / 100g, packed): This adds a touch of molasses flavor and extra moisture. I use light brown sugar, but dark brown sugar will work in a pinch for a deeper flavor.
- Pumpkin Purée (1 15-ounce can / 425g): Make sure you’re buying 100% pumpkin purée, not pumpkin pie filling. I prefer Libby’s brand for its consistent, thick texture. It’s not watery, which is crucial for a moist cake.
- Vegetable Oil (1 cup / 240ml): This is the secret to a tender, moist crumb that stays soft for days. Melted coconut oil or canola oil will also work beautifully. Butter adds flavor but can make the cake a bit drier, so I stick with oil here.
- Large Eggs (4): They bind everything together and add richness. Make sure they’re at room temperature for the best emulsion. If you forget, just place them in a bowl of warm water for 5 minutes.
- Vanilla Extract (2 teaspoons): Enhances all the warm, cozy flavors. Pure vanilla extract is best, but imitation vanilla will do in a pinch.
- Baking Soda (2 teaspoons): The leavening agent that gives the cake its rise. Make sure it’s fresh—test it by dropping a little into vinegar; it should fizz vigorously.
- Baking Powder (1 teaspoon): Works alongside the baking soda for a lighter, more even crumb.
- Salt (1 teaspoon): Don’t skip it! Salt balances the sweetness and makes all the other flavors pop.
- Ground Cinnamon (2 teaspoons): The classic pumpkin spice backbone. It’s warm and aromatic.
- Ground Ginger (1 teaspoon): Adds a subtle, gentle warmth that kids don’t even notice, but it makes the flavor more complex.
- Ground Nutmeg (½ teaspoon): A little goes a long way. It adds that classic, cozy autumn note.
- Ground Cloves (¼ teaspoon): Use a light hand here. Cloves are potent, but they add a depth that makes this cake taste like it’s been simmering all day.
Equipment Needed
You don’t need a professional bakery setup for this. Just a few reliable tools that will make the process smooth and easy.
- One Large Mixing Bowl: The star of the show. A good, sturdy bowl is all you need. I use a classic Pyrex glass bowl—it’s heavy, stable, and easy to clean.
- A Whisk or Wooden Spoon: A whisk is great for breaking up lumps, but a good old-fashioned wooden spoon works perfectly too. I often use a silicone spatula for scraping the sides.
- A 10-inch Bundt Pan: This is non-negotiable. A standard 10-cup bundt pan is the perfect size. I’ve had success with both non-stick and ceramic-coated pans. Avoid dark-colored metal pans, as they can cause the cake to brown too quickly on the outside while the inside remains undercooked.
- Measuring Cups and Spoons: For accuracy. A kitchen scale is even better for the flour, but cups work fine if you use the spoon-and-level method.
- Cooling Rack: Essential for letting the cake cool completely. If you leave it in the pan, the steam will make the bottom soggy.
- Cooking Spray with Flour: This is my secret weapon for bundt cakes. Regular cooking spray can cause sticking, but the kind with flour (like Baker’s Joy) ensures a perfect release every time.
Preparation Method
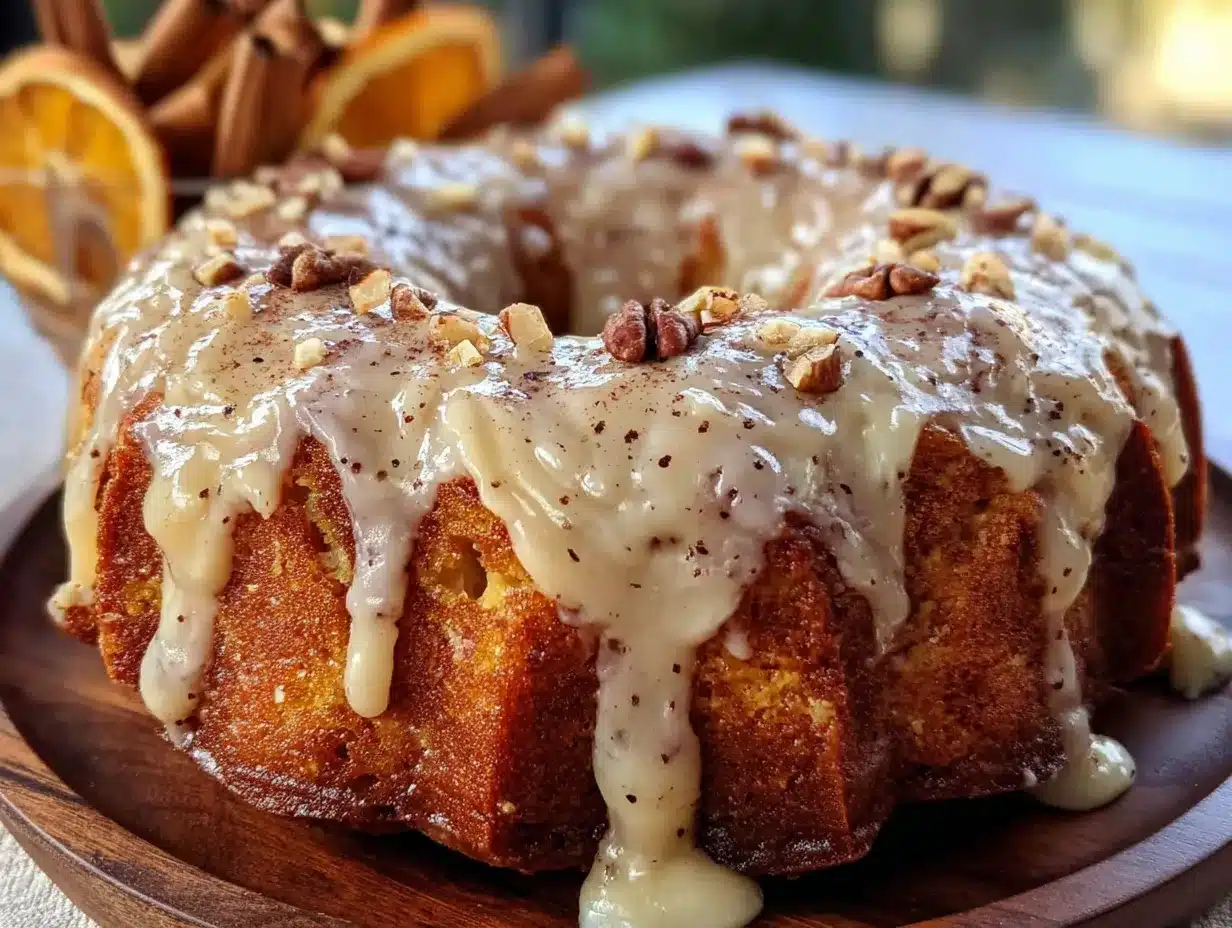
Alright, let’s get baking. This is the easiest cake you’ll ever make, I promise. Just follow these steps, and you’ll have a beautiful, moist cake that will make you look like a pro.
- Preheat and Prep (5 minutes): First things first, preheat your oven to 350°F (175°C). While it’s heating, generously grease your bundt pan with that flour-based cooking spray. Don’t be shy—get into every nook and cranny of the pan’s design. This is the most important step for a clean release. I learned this the hard way after a beautiful cake ended up in pieces on my counter.
- Mix the Wet Ingredients (5 minutes): In your large mixing bowl, combine the pumpkin purée, vegetable oil, granulated sugar, brown sugar, and eggs. Whisk it all together until it’s smooth and well combined. The mixture will be a beautiful, deep orange color. Add the vanilla extract and give it one more stir.
- Add the Dry Ingredients (5 minutes): Now, dump the flour, baking soda, baking powder, salt, and all the spices—cinnamon, ginger, nutmeg, and cloves—right into the bowl with the wet ingredients. Don’t mix yet! I like to give the dry ingredients a quick stir with a fork right on top of the wet mixture to combine them a bit.
- Mix the Batter (2 minutes): Now, use your whisk or wooden spoon to stir everything together. Stir gently, just until you don’t see any more streaks of flour. A few small lumps are totally fine. Overmixing at this stage will develop the gluten and make your cake tough. You want a thick, smooth batter that smells incredible.
- Pour and Bake (45-55 minutes): Pour the batter into your prepared bundt pan. Use a spatula to spread it evenly. Give the pan a gentle tap on the counter to release any air bubbles. Bake for 45-55 minutes, or until a wooden skewer or toothpick inserted into the center comes out clean or with just a few moist crumbs. The top should be golden brown and spring back when you gently touch it.
- Cool in the Pan (15 minutes): This is a crucial step. Let the cake cool in the pan on a wire rack for exactly 15 minutes. If you try to turn it out too soon, it will fall apart. If you wait too long, it will stick to the pan. Set a timer! After 15 minutes, place a large plate or cooling rack over the top of the pan. In one swift, confident motion, flip the whole thing over. Lift the pan off gently. If it sticks in one spot, give the pan a gentle tap. The cake should release beautifully.
- Cool Completely (1 hour): Let the cake cool completely on the wire rack before you even think about slicing it. This allows the crumb to set. If you cut into it while it’s still warm, it will be a crumbly mess. I know it’s hard to wait, but it’s worth it.
Cooking Tips & Techniques
After making this cake more times than I can count, I’ve picked up a few tricks that make a real difference. Here’s what I wish I had known from the start.
The Room Temperature Rule: I know it’s a pain, but letting your eggs and pumpkin purée come to room temperature for about 30 minutes before you start makes a huge difference. Cold ingredients don’t emulsify as well, which can lead to a denser, less tender cake. If you’re in a hurry, you can place the eggs in a bowl of warm water for 5 minutes.
The “Don’t Overmix” Mantra: This is the number one mistake home bakers make. Once you add the flour, you are just combining ingredients. You’re not trying to develop gluten like you would with bread. Overmixing leads to a tough, rubbery cake. Mix until it just comes together. A few lumps are your friend.
The Grease is the Word: I cannot stress this enough. A well-greased pan is the difference between a gorgeous, Instagram-worthy cake and a sad pile of crumbs. Use a pastry brush to get the spray into every crevice of your bundt pan. I’ve had a cake stick so badly that I had to eat it with a spoon out of the pan. It was delicious, but not the look I was going for.
The Toothpick Test: Don’t rely on the timer alone. Ovens vary wildly. Start checking your cake at the 45-minute mark. Insert a toothpick into the thickest part of the cake. If it comes out clean or with just a few moist crumbs, it’s done. If it’s wet with batter, give it another 5 minutes and check again.
Variations & Adaptations
This recipe is a fantastic base for all sorts of fun twists. Here are a few ways I’ve changed it up depending on what I have on hand or who I’m feeding.
- Chocolate Chip Pumpkin Bundt: This is my kids’ absolute favorite. After mixing the batter, gently fold in 1 cup of semi-sweet or dark chocolate chips. The melty pockets of chocolate are a perfect match for the warm pumpkin spice. You can also use white chocolate chips for a sweeter, creamier version.
- Gluten-Free Pumpkin Bundt: I’ve made this for friends with gluten sensitivities, and it works surprisingly well. Simply substitute the all-purpose flour with a 1:1 gluten-free baking flour blend (like Bob’s Red Mill or King Arthur). Do not overmix the batter, as gluten-free flours can get gummy if you work them too much. The texture will be slightly more tender, but it’s still delicious.
- Cream Cheese Swirl Pumpkin Bundt: For a truly decadent treat, make a cream cheese swirl. In a small bowl, beat 8 ounces of softened cream cheese with ¼ cup of sugar and 1 egg until smooth. Pour half of the pumpkin batter into the pan, spoon the cream cheese mixture on top, and then cover with the remaining pumpkin batter. Use a knife to gently swirl the two together. It creates a beautiful marbled effect and a tangy, creamy center.
- Pumpkin Spice Latte Bundt: For the coffee lovers out there, add 2 tablespoons of instant espresso powder to the dry ingredients. The coffee doesn’t make it taste like a latte, but it deepens the chocolate and spice flavors in a way that’s absolutely magical. It’s a subtle, sophisticated upgrade.
Serving & Storage Suggestions
This cake is wonderful all on its own, but a little extra something can take it over the top. Here’s how I like to serve it and keep it fresh.
Serving: I love serving this cake at room temperature. A simple dusting of powdered sugar is all it needs to look fancy. For a special occasion, I make a quick glaze by whisking together 1 cup of powdered sugar with 2-3 tablespoons of milk and a splash of vanilla. Drizzle it over the cooled cake. A scoop of vanilla ice cream or a dollop of lightly sweetened whipped cream is also a fantastic pairing. The cold creaminess against the warm, spiced cake is pure comfort.
Storage: This cake stays moist for days, which is one of its best qualities. Store it in an airtight container at room temperature for up to 4 days. I actually find that it tastes even better on the second day, as the flavors have had time to meld together. Do not refrigerate it, as the cold air will dry it out.
Freezing: This cake freezes like a dream. Wrap the completely cooled cake (unglazed) tightly in a layer of plastic wrap, then a layer of aluminum foil. Freeze for up to 3 months. When you’re ready to enjoy it, let it thaw overnight in the refrigerator or on the counter for a few hours. You can then glaze it or dust it with powdered sugar. It’s a lifesaver for holiday prep!
Nutritional Information & Benefits
While this is a treat, it does have a few redeeming qualities! Here’s a general idea of what you’re getting in a single slice (based on 12 servings).
- Calories: ~380 kcal
- Fat: 18g
- Carbohydrates: 52g
- Protein: 5g
- Fiber: 2g
- Sugar: 32g
Health Benefits: Pumpkin is packed with Vitamin A, which is great for eye health and your immune system. It’s also a good source of fiber. The cinnamon in this recipe has anti-inflammatory properties and can help regulate blood sugar. So, while you’re enjoying a delicious slice of cake, you’re also getting a little nutritional boost. It’s not health food, but it’s a comfort food that makes you feel a little less guilty!
Dietary Considerations: This recipe is vegetarian. For a dairy-free version, simply use a dairy-free milk alternative in the glaze. For the gluten-free option, see the variations section above. This recipe contains gluten, eggs, and dairy (if glazed with milk).
Conclusion
This one-bowl pumpkin bundt cake is more than just a recipe; it’s a solution. It’s the answer to “What do I bring to the potluck?” and “What can I make that everyone will eat?” It’s the smell that fills your home and makes everyone feel warm and welcome. It’s the slice of joy you sneak after the kids go to bed. I love this recipe because it’s forgiving, it’s reliable, and it always, always delivers. It brings back that memory of The Gilded Spatula, but now I have my own version, and honestly, it’s even better because I made it for my own family.
I’d love to see your version of this cake! Did you add chocolate chips? Try the cream cheese swirl? Leave a comment below and tell me how it turned out. Don’t forget to share this recipe with a friend who needs a little pumpkin magic in their life. Happy baking, friends!
Frequently Asked Questions
Can I use a different pan if I don’t have a bundt pan?
Yes, you can! This batter works wonderfully in a 9×13 inch rectangular pan. Just grease the pan well and bake at 350°F for about 30-35 minutes, or until a toothpick comes out clean. You can also use two 9-inch round cake pans, but reduce the baking time to 25-30 minutes.
My cake stuck to the pan. What did I do wrong?
This is the most common bundt cake problem! The culprit is usually not greasing the pan thoroughly enough. Make sure you use a cooking spray that contains flour, and get into every single crevice of your pan. Also, be patient with the cooling time. Letting it cool for exactly 15 minutes in the pan is crucial. If you try to flip it too soon, it will stick.
Can I use pumpkin pie spice instead of the individual spices?
Absolutely! If you have a jar of pumpkin pie spice, you can use 4 teaspoons of it in place of the cinnamon, ginger, nutmeg, and cloves. It’s a great shortcut and will still give you that classic pumpkin flavor.
How do I know when the cake is fully baked?
Use the toothpick test! Insert a wooden skewer or toothpick into the thickest part of the cake. If it comes out clean or with just a few moist crumbs attached, it’s done. If there’s wet batter on it, it needs more time. The top of the cake should also be golden brown and spring back when you gently press it.
Can I make this cake ahead of time for a party?
Yes, this cake is perfect for making ahead. You can bake it a day or two in advance and store it tightly wrapped at room temperature. The flavors actually get better as they meld! You can also freeze it for up to 3 months, making it a fantastic option for holiday planning.
Pin This Recipe!
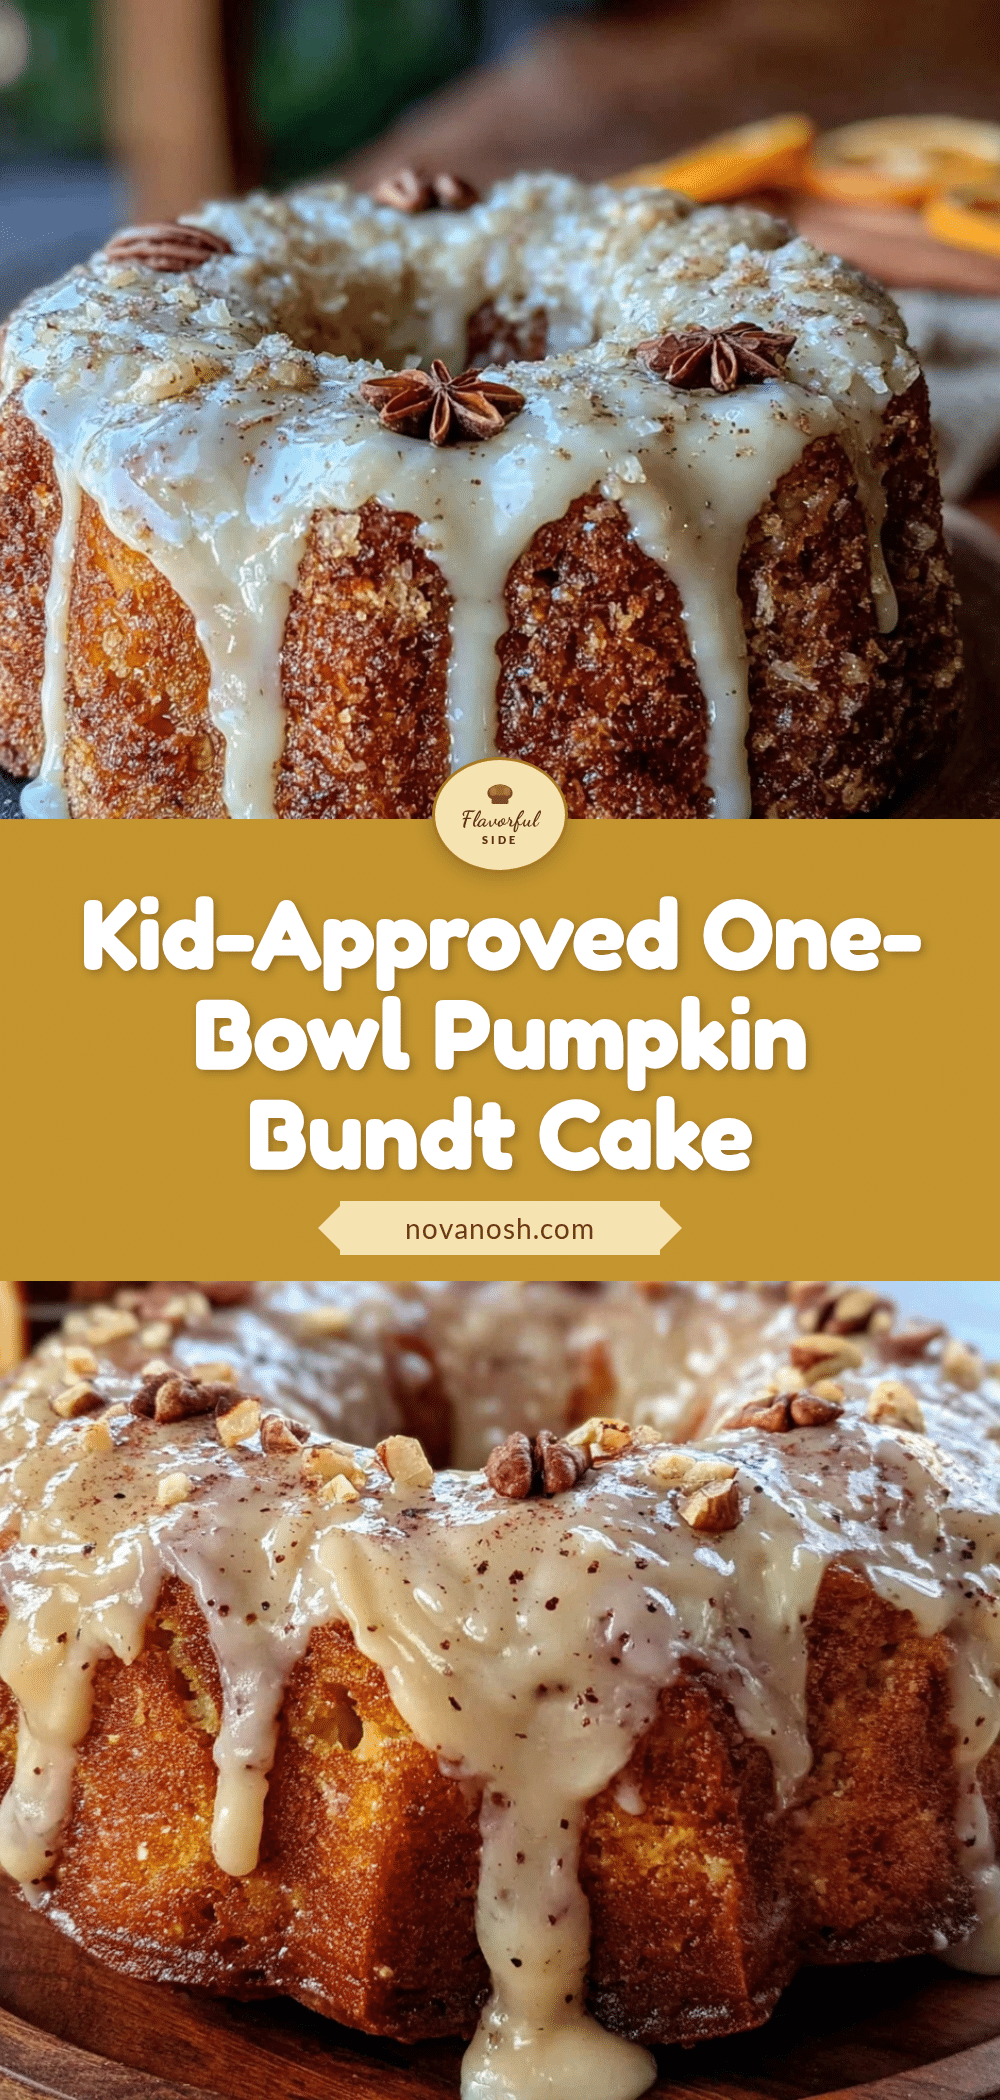
Easy One-Bowl Pumpkin Bundt Cake Recipe Kids Love
This incredibly moist and perfectly spiced pumpkin bundt cake is a one-bowl wonder that’s quick, easy, and a guaranteed crowd-pleaser. Made with simple pantry ingredients, it’s perfect for family meals, potlucks, or a cozy autumn treat.
- Prep Time: 15 minutes
- Cook Time: 50 minutes
- Total Time: 1 hour 5 minutes
- Yield: 12 servings 1x
- Category: Dessert
- Cuisine: American
Ingredients
- 2 ½ cups (312g) all-purpose flour
- 1 ½ cups (300g) granulated sugar
- ½ cup (100g) light brown sugar, packed
- 1 (15-ounce) can (425g) pumpkin purée (not pumpkin pie filling)
- 1 cup (240ml) vegetable oil
- 4 large eggs, at room temperature
- 2 teaspoons vanilla extract
- 2 teaspoons baking soda
- 1 teaspoon baking powder
- 1 teaspoon salt
- 2 teaspoons ground cinnamon
- 1 teaspoon ground ginger
- ½ teaspoon ground nutmeg
- ¼ teaspoon ground cloves
Instructions
- Preheat your oven to 350°F (175°C). Generously grease a 10-inch bundt pan with a flour-based cooking spray, making sure to get into all the crevices.
- In a large mixing bowl, combine the pumpkin purée, vegetable oil, granulated sugar, brown sugar, and eggs. Whisk until smooth and well combined. Stir in the vanilla extract.
- Add the flour, baking soda, baking powder, salt, cinnamon, ginger, nutmeg, and cloves directly into the bowl with the wet ingredients. Give the dry ingredients a quick stir with a fork to combine them slightly.
- Stir the batter gently with a whisk or wooden spoon just until no streaks of flour remain. A few small lumps are fine. Do not overmix.
- Pour the batter into the prepared bundt pan and spread it evenly. Tap the pan gently on the counter to release any air bubbles.
- Bake for 45-55 minutes, or until a wooden skewer or toothpick inserted into the center comes out clean or with just a few moist crumbs. The top should be golden brown and spring back when touched.
- Let the cake cool in the pan on a wire rack for exactly 15 minutes. Then, place a plate or cooling rack over the pan, flip it over, and lift the pan off gently. Let the cake cool completely on the wire rack before slicing.
Notes
For best results, ensure eggs and pumpkin purée are at room temperature. Do not overmix the batter. Grease the bundt pan thoroughly for a clean release. Let the cake cool in the pan for exactly 15 minutes before turning out. Store in an airtight container at room temperature for up to 4 days, or freeze for up to 3 months.
Nutrition
- Serving Size: 1 slice
- Calories: 380
- Sugar: 32
- Sodium: 380
- Fat: 18
- Saturated Fat: 3
- Carbohydrates: 52
- Fiber: 2
- Protein: 5
Keywords: pumpkin bundt cake, easy pumpkin cake, one-bowl cake, fall dessert, pumpkin recipe, bundt cake, kid-friendly


