Love this? Save it for later!
Share the inspiration with your friends
This was supposed to be a batch of banana muffins. I had the bananas, the walnuts, the whole plan mapped out in my head. But somewhere between grabbing the sugar and the flour, I realized I’d poured everything into one bowl before even preheating the oven—and I didn’t have a mixer. Honestly, I stood there for a solid minute, spatula in hand, wondering if I should just scrap it and start over. But I’m not the kind of cook who wastes ripe bananas. So I grabbed a fork, mashed the bananas right in the same bowl, and stirred everything together by hand, muttering something about “this better work.”
What came out of the oven was nothing like the muffins I’d planned—and so much better. The loaf rose beautifully, the crust turned a deep golden brown, and the inside was so tender it practically fell apart when I sliced it. My neighbor, who’d popped over to borrow eggs, ended up staying for two slices and taking half the loaf home. I mean, I was shocked. One bowl, no mixer, and somehow this banana walnut bread turned out moister than any version I’d ever made with my stand mixer. Maybe you’ve been there—standing in your kitchen, ingredients half-mixed, realizing you don’t have the right tool and deciding to just go for it anyway. That’s the energy this recipe was born from, and honestly, it’s the energy that keeps me making it again and again.
Three winters ago, I made this bread for a friend who was going through a rough patch. She took one bite, closed her eyes, and said, “This tastes like someone hugged me.” That’s when I knew this wasn’t just a happy accident—it was my new go-to banana bread. It’s the recipe I turn to when I need something reliable, something that feels like comfort without any fuss. No mixer, no complicated steps, just a fork, a bowl, and a whole lot of banana flavor.
Why You’ll Love This Recipe
Let me tell you why this banana walnut bread has become my most-requested recipe. It’s not fancy, but it’s honest—and that’s what keeps people coming back for seconds.
- One Bowl, No Mixer: You don’t need a stand mixer, hand mixer, or any fancy gadget. Just a bowl, a fork, and ten minutes of your time. The cleanup is almost nonexistent.
- Simple Ingredients: Butter, sugar, eggs, bananas, flour, walnuts—these are things you probably already have in your pantry. No trips to a specialty store required.
- Perfect for Busy Mornings: This bread comes together in under an hour, making it ideal for a lazy Sunday breakfast or a last-minute contribution to a brunch potluck.
- Crowd-Pleaser: I’ve brought this to family dinners, office parties, and neighborhood gatherings. It disappears every single time. Kids love it, adults love it, and even picky eaters ask for the recipe.
- Unbelievably Moist: The secret is in the technique—or rather, the lack of technique. Overmixing is the enemy of tender baked goods, and by mixing everything by hand, you avoid that pitfall naturally. The result is a bread that’s soft, tender, and stays moist for days.
This isn’t just another banana bread recipe. It’s the one that makes you close your eyes after the first bite. It’s comfort food reimagined—simpler, faster, but with the same soul-soothing satisfaction. Whether you’re making it for a holiday morning or just because you have three brown bananas sitting on your counter, this recipe delivers every single time.
What Ingredients You Will Need
This recipe uses simple, wholesome ingredients to deliver bold flavor and satisfying texture without any fuss. Most of these are pantry staples, which is exactly what I love about it.
- Ripe Bananas (3 large, mashed): The riper, the better. Look for bananas with brown spots on the skin—they’re sweeter and easier to mash. If your bananas aren’t ripe enough, you can speed things up by baking them at 300°F for 15 minutes, then letting them cool.
- Unsalted Butter (½ cup, melted): I use unsalted so I can control the salt level. Melt the butter and let it cool slightly before adding it to the bowl—you don’t want it to cook the eggs.
- Granulated Sugar (¾ cup): This gives the bread structure and sweetness. You can reduce it to ½ cup if your bananas are very ripe and sweet, but I find ¾ cup gives the perfect balance.
- Large Eggs (2, room temperature): Room-temperature eggs mix more evenly into the batter. If you’re short on time, place them in a bowl of warm water for 5 minutes.
- Vanilla Extract (1 teaspoon): Pure vanilla extract adds warmth and depth. I prefer Nielsen-Massey for its rich flavor, but any brand works fine.
- All-Purpose Flour (1½ cups): Spoon and level your flour—don’t scoop directly from the bag, or you’ll end up with too much flour and a dry bread. If you want a whole wheat version, swap half the flour for whole wheat pastry flour.
- Baking Soda (1 teaspoon): This is the leavening agent that helps the bread rise. Make sure it’s fresh—test it by dropping a bit into vinegar; if it fizzes, it’s good.
- Salt (½ teaspoon): Salt balances the sweetness and enhances the banana flavor. I use fine sea salt for even distribution.
- Ground Cinnamon (1 teaspoon): Cinnamon and banana are a classic pairing. It adds warmth without overpowering the fruit.
- Chopped Walnuts (½ cup, plus extra for topping): Toast them first for extra flavor. Spread them on a baking sheet at 350°F for 5-7 minutes, until fragrant. I like to leave some pieces larger for texture.
Equipment Needed
The beauty of this recipe is that you don’t need much. Here’s what you’ll need to get started:
- Large Mixing Bowl: Any large bowl will do. I use a ceramic one because it’s sturdy and doesn’t slide around.
- Fork or Whisk: A fork works perfectly for mashing bananas and mixing the batter. A whisk is fine too, but honestly, a fork is easier to clean.
- 9×5-inch Loaf Pan: This is the standard size for banana bread. If you use an 8×4-inch pan, the bread will be taller and may need a few extra minutes in the oven.
- Parchment Paper: Line your loaf pan with parchment paper, leaving some overhang on the sides. This makes lifting the bread out effortless—no stuck-on slices.
- Cooling Rack: A wire rack allows air to circulate around the bread, preventing the bottom from getting soggy. If you don’t have one, you can use the inverted loaf pan lid or just let it cool in the pan for 10 minutes before turning it out.
- Measuring Cups and Spoons: For accuracy, use dry measuring cups for flour and sugar, and liquid measuring cups for the melted butter.
I’ve made this bread with a $5 thrift-store loaf pan and a fancy nonstick one, and honestly, both worked fine. Don’t overthink the equipment—just use what you have.
Preparation Method
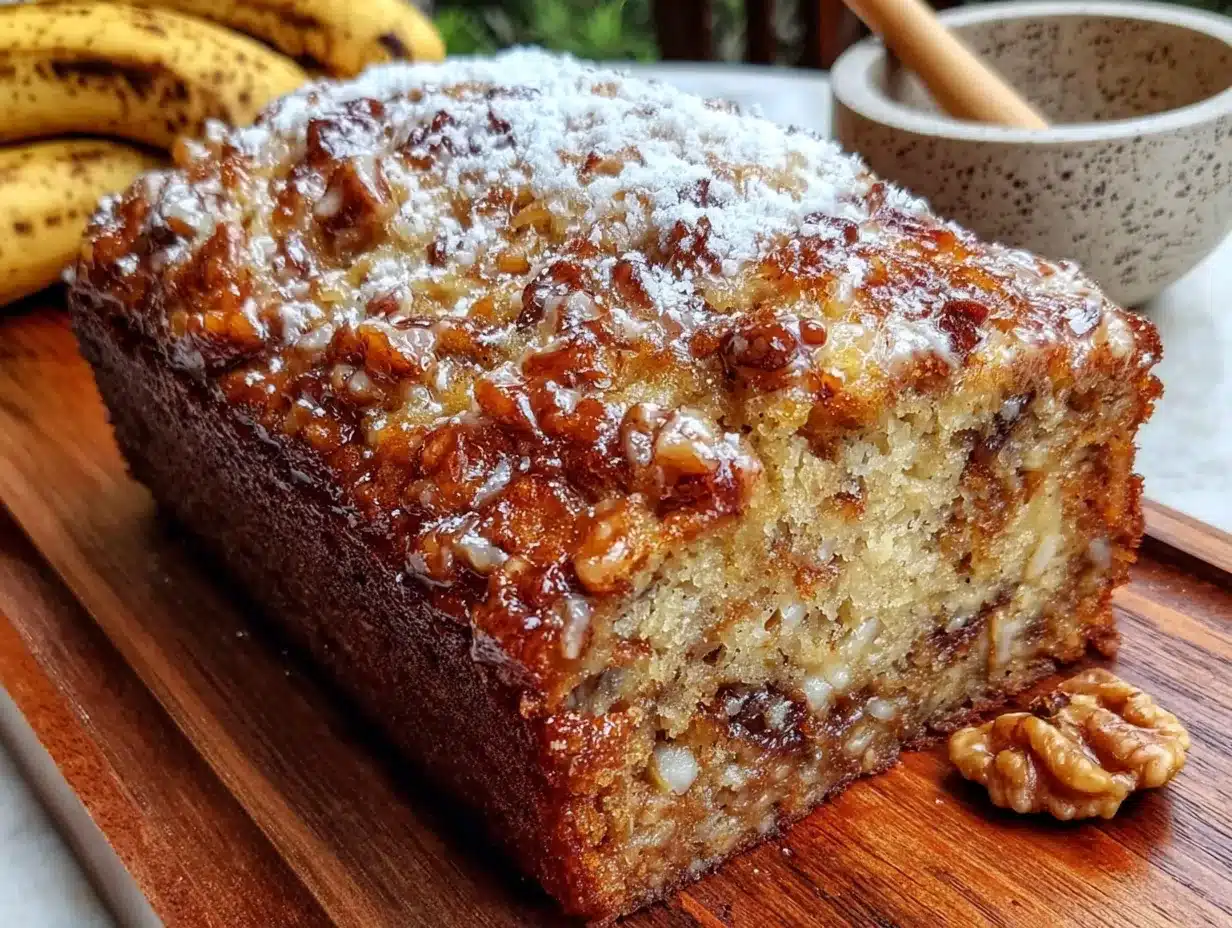
This is where the magic happens. Follow these steps, and you’ll have a loaf that’s moist, tender, and packed with banana flavor.
- Preheat your oven to 350°F (175°C). Position the rack in the center of the oven. While it’s heating, line your 9×5-inch loaf pan with parchment paper, leaving a 2-inch overhang on the long sides. This will make lifting the bread out a breeze.
- Mash the bananas. In your large mixing bowl, add the three ripe bananas. Use a fork to mash them until they’re mostly smooth with a few small lumps remaining. I like to leave some texture—it adds little pockets of banana flavor throughout the bread. This should take about 1-2 minutes.
- Add the wet ingredients. To the mashed bananas, add the melted butter, granulated sugar, eggs, and vanilla extract. Stir with your fork or a whisk until everything is well combined. The mixture should look smooth and slightly glossy. Don’t worry if it seems a little thin—that’s normal.
- Add the dry ingredients. Sprinkle the flour, baking soda, salt, and cinnamon over the wet mixture. Use a spatula or your fork to fold everything together gently. Stir just until you no longer see streaks of flour—overmixing will make the bread tough. A few lumps are perfectly fine.
- Fold in the walnuts. Add the chopped walnuts and fold them in with just a few strokes. Reserve a handful of walnuts to sprinkle on top for a nice presentation.
- Pour the batter into the prepared loaf pan. Use your spatula to spread it evenly. Sprinkle the reserved walnuts on top, pressing them gently into the batter so they stick.
- Bake for 50-60 minutes. Place the pan in the preheated oven and bake until a toothpick inserted into the center comes out clean or with just a few moist crumbs. The top should be deep golden brown and cracked beautifully. If the top is browning too quickly after 40 minutes, tent it loosely with aluminum foil.
- Cool in the pan for 10 minutes. Remove the loaf from the oven and place it on a cooling rack. Let it rest in the pan for exactly 10 minutes—this allows the structure to set. Then, using the parchment paper overhang, lift the bread out of the pan and transfer it to the cooling rack to cool completely.
- Slice and serve. Wait until the bread is completely cool before slicing. I know it’s tempting, but warm banana bread is fragile and can crumble. If you can’t wait, use a serrated knife and gentle sawing motion.
Cooking Tips & Techniques
I’ve made this banana walnut bread more times than I can count, and I’ve learned a few things along the way. Here are my best tips for getting it right every time.
Don’t overmix the batter. This is the number one mistake people make. When you stir the flour into the wet ingredients, gluten develops. The more you stir, the more gluten forms, and the tougher your bread becomes. Stir just until the flour disappears—a few lumps are your friend. I learned this the hard way after making a brick-like loaf that my dog wouldn’t even eat.
Use a kitchen scale for accuracy. If you have one, weigh your flour. One cup of all-purpose flour should weigh about 120 grams. Scooping directly from the bag can give you 150 grams or more, which leads to dry bread. I bought a $15 scale after my third dry loaf, and it made all the difference.
Toast your walnuts. This is a small step that adds a huge flavor boost. Toasting brings out the natural oils and makes the nuts crunchier. Spread them on a baking sheet and toast at 350°F for 5-7 minutes, shaking the pan halfway through. Watch them closely—they go from toasted to burnt in seconds.
Check for doneness with a thermometer. If you’re unsure about the toothpick test, use an instant-read thermometer. The internal temperature of a perfectly baked banana bread should be around 200-205°F. This takes the guesswork out of it.
Let it cool completely. I know, I know—the smell is intoxicating. But slicing into warm banana bread is a recipe for crumbs. The bread continues to set as it cools, and the moisture redistributes. If you can wait 2 hours, you’ll be rewarded with perfect slices.
Variations & Adaptations
One of the best things about this recipe is how adaptable it is. Here are some ways to make it your own.
Chocolate Chip Banana Walnut Bread: Swap the walnuts for ½ cup of semi-sweet chocolate chips. The combination of banana and chocolate is a classic for a reason. I make this version when I’m craving something a little more indulgent.
Gluten-Free Option: Replace the all-purpose flour with a 1:1 gluten-free baking flour blend. I’ve used Bob’s Red Mill and King Arthur brands with great success. Just make sure the blend contains xanthan gum for structure. The texture will be slightly more tender, but it’s still delicious.
Vegan Banana Bread: Substitute the butter with melted coconut oil or vegan butter, and replace the eggs with two flax eggs (2 tablespoons ground flaxseed mixed with 6 tablespoons water, let sit for 5 minutes). The bread will be a bit denser, but the flavor is still amazing. I made this version for a vegan friend’s birthday, and she asked for the recipe.
Spiced Banana Bread: Add ½ teaspoon of nutmeg and ¼ teaspoon of cloves along with the cinnamon. This gives the bread a warm, holiday-like flavor that’s perfect for fall mornings.
Nut-Free Option: If you have a nut allergy or just don’t have walnuts on hand, you can skip them entirely. The bread will still be delicious. You can also add ½ cup of raisins, dried cranberries, or shredded coconut for texture.
Serving & Storage Suggestions
This banana walnut bread is versatile enough for any time of day. Here’s how I like to serve and store it.
Serving: I love serving this bread slightly warm with a pat of salted butter melting into the slices. For breakfast, it’s perfect with a cup of coffee or a glass of cold milk. For dessert, try it with a scoop of vanilla ice cream and a drizzle of caramel sauce—trust me on this one.
Storage: Once completely cooled, wrap the loaf tightly in plastic wrap or aluminum foil. Store it at room temperature for up to 4 days. The moisture actually improves after the first day, so it might taste even better on day two.
Freezing: This bread freezes beautifully. Wrap the cooled loaf in plastic wrap, then a layer of aluminum foil, and place it in a freezer-safe bag. It will keep for up to 3 months. When you’re ready to enjoy it, thaw it overnight in the refrigerator or on the counter for a few hours. You can also slice it before freezing and grab individual slices as needed.
Reheating: To revive that fresh-baked feel, warm individual slices in the microwave for 15-20 seconds, or in a toaster oven at 300°F for 5 minutes. The edges get slightly crisp while the inside stays soft—it’s heavenly.
Nutritional Information & Benefits
This banana walnut bread is a treat, but it also has some redeeming qualities. Here’s a rough estimate per slice (based on 10 slices):
- Calories: 280
- Fat: 14g
- Carbohydrates: 36g
- Fiber: 2g
- Sugar: 18g
- Protein: 5g
Bananas are a great source of potassium, vitamin B6, and vitamin C. They also contain pectin, which can help with digestion. Walnuts are packed with omega-3 fatty acids, which are great for heart health. And the cinnamon adds a touch of antioxidants.
If you’re watching your sugar intake, you can reduce the sugar to ½ cup or use a natural sweetener like coconut sugar. For a lower-fat version, substitute the butter with applesauce—the bread will be slightly denser but still moist.
Conclusion
This moist one-bowl banana walnut bread is proof that you don’t need fancy equipment or complicated techniques to make something truly special. It’s the recipe I turn to when I need a little comfort, when I have ripe bananas begging to be used, or when I want to fill my kitchen with the warm, familiar smell of baking. No mixer, no stress, just pure banana goodness.
I hope you give this recipe a try and make it your own. Maybe you’ll add chocolate chips, swap in pecans, or double the cinnamon—whatever you do, I’d love to hear about it. Drop a comment below and let me know how it turned out, or share your own twist on this classic. Happy baking, friend!
Frequently Asked Questions
Can I use frozen bananas for this recipe?
Absolutely! Frozen bananas work great. Thaw them completely, then drain off any excess liquid before mashing. The texture will be slightly softer, but the flavor is just as good.
Why did my banana bread turn out dry?
Dry banana bread is usually caused by overmixing the batter, using too much flour, or baking it too long. Make sure to spoon and level your flour, mix just until combined, and check for doneness at the 50-minute mark.
Can I make this recipe without walnuts?
Yes, you can leave the walnuts out entirely. The bread will still be moist and delicious. You can also substitute them with pecans, chocolate chips, or dried fruit.
How do I know when my bananas are ripe enough?
Look for bananas with brown spots on the skin—the more spots, the sweeter they are. The bananas should be soft to the touch and easy to mash. If they’re still firm and yellow, they need more time.
Can I double this recipe?
Yes, you can double the ingredients and bake the batter in two loaf pans. Just make sure your oven has enough space for both pans to allow proper air circulation. You may need to add a few extra minutes to the baking time.
Pin This Recipe!
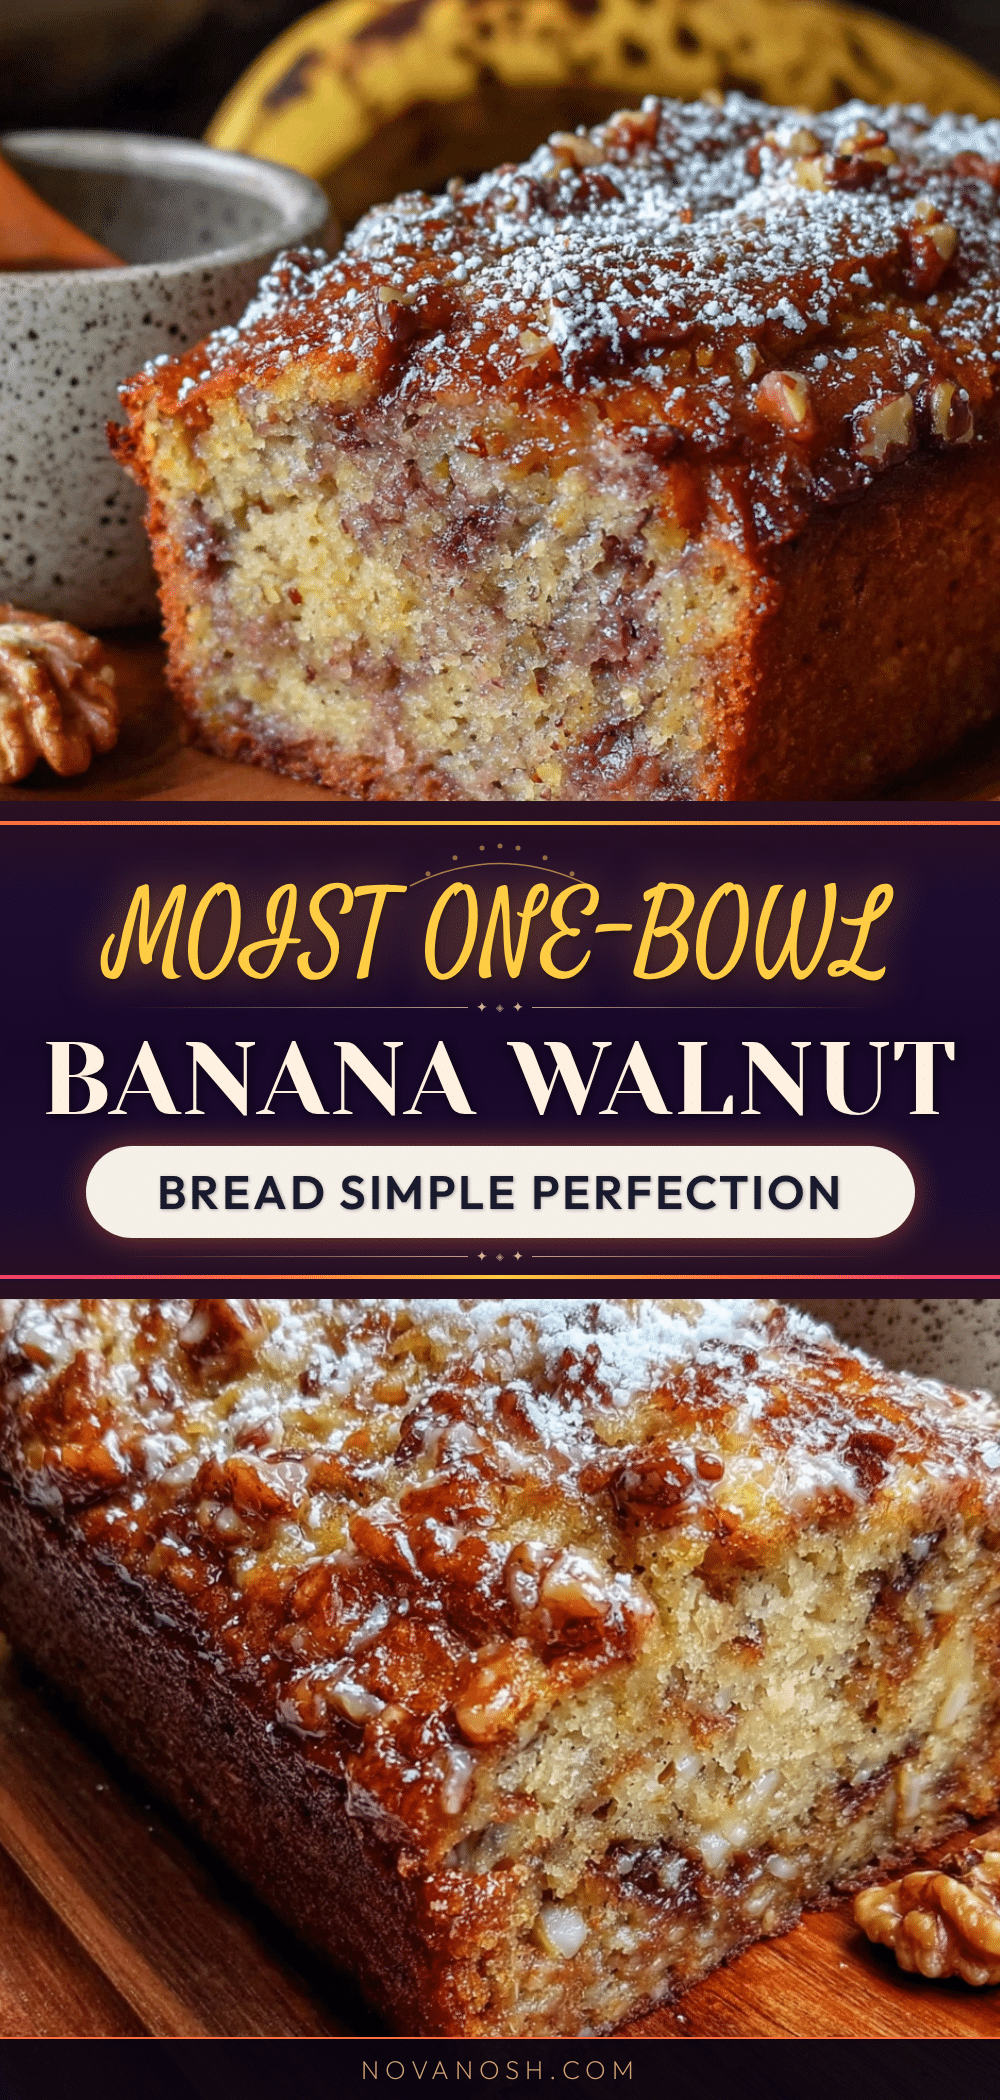
Moist One-Bowl Banana Walnut Bread – Easy No-Mixer Recipe
This moist one-bowl banana walnut bread is proof that you don’t need fancy equipment or complicated techniques to make something truly special. No mixer, no stress, just pure banana goodness.
- Prep Time: 10 minutes
- Cook Time: 55 minutes
- Total Time: 1 hour 5 minutes
- Yield: 10 servings 1x
- Category: Dessert
- Cuisine: American
Ingredients
- 3 large ripe bananas, mashed
- ½ cup unsalted butter, melted
- ¾ cup granulated sugar
- 2 large eggs, room temperature
- 1 teaspoon vanilla extract
- 1½ cups all-purpose flour
- 1 teaspoon baking soda
- ½ teaspoon salt
- 1 teaspoon ground cinnamon
- ½ cup chopped walnuts, plus extra for topping
Instructions
- Preheat your oven to 350°F (175°C). Position the rack in the center of the oven. Line a 9×5-inch loaf pan with parchment paper, leaving a 2-inch overhang on the long sides.
- In a large mixing bowl, mash the bananas with a fork until mostly smooth with a few small lumps remaining.
- Add the melted butter, granulated sugar, eggs, and vanilla extract to the mashed bananas. Stir until well combined and smooth.
- Sprinkle the flour, baking soda, salt, and cinnamon over the wet mixture. Fold gently with a spatula or fork until just combined—do not overmix. A few lumps are fine.
- Fold in the chopped walnuts with a few strokes. Reserve a handful for topping.
- Pour the batter into the prepared loaf pan and spread evenly. Sprinkle reserved walnuts on top, pressing them gently into the batter.
- Bake for 50-60 minutes, until a toothpick inserted into the center comes out clean or with a few moist crumbs. If the top browns too quickly after 40 minutes, tent loosely with aluminum foil.
- Cool in the pan for 10 minutes, then lift the bread out using the parchment paper and transfer to a wire rack to cool completely.
- Slice and serve once completely cool.
Notes
Don’t overmix the batter—stir just until the flour disappears. Use a kitchen scale for accuracy (1 cup flour = 120g). Toast walnuts at 350°F for 5-7 minutes for extra flavor. Let the bread cool completely before slicing for best results.
Nutrition
- Serving Size: 1 slice
- Calories: 280
- Sugar: 18
- Sodium: 280
- Fat: 14
- Saturated Fat: 6
- Carbohydrates: 36
- Fiber: 2
- Protein: 5
Keywords: banana bread, banana walnut bread, one bowl banana bread, easy banana bread, no mixer banana bread, moist banana bread


