Love this? Save it for later!
Share the inspiration with your friends
My aunt had sworn off challah for over a decade. “Too dry,” she’d say every year when I’d mention braiding one for Rosh Hashanah. “The bakery version is fine.” And I believed her—until the autumn I decided to prove her wrong, not out of spite, but out of a quiet, stubborn hope that the right recipe could change her mind.
It was a Tuesday afternoon, three years ago, when I finally caught her. She’d stopped by unannounced, and there I was, mid-braid, with a kitchen dusted in flour and the faint, warm smell of honey drifting from the oven. “I’m just testing something,” I said, half-embarrassed. She sat at the counter, arms crossed, watching me work. An hour later, as the loaf came out golden and glossy, she asked for a slice. Then another. Then she asked for the recipe. Honestly, I think she was as surprised as I was.
You know that feeling when a recipe just clicks? When the dough feels right in your hands, and the braid holds its shape without fighting you? That’s this challah. The apple and honey aren’t just symbolic—they’re the secret to keeping it impossibly soft, with a tender crumb that stays fresh for days. Maybe you’ve been there, searching for that one holiday bread that lives up to the occasion. Let me tell you, this is the one.
Why You’ll Love This Recipe
This isn’t just another challah recipe. After testing this version over three Rosh Hashanahs, tweaking the hydration and the apple-to-honey ratio, I can say with confidence: this is the one that converts skeptics. My aunt is living proof.
- Incredibly Soft & Tender : The grated apple adds natural moisture, so you get a pillowy crumb without any dry spots. It’s the kind of bread that makes you close your eyes after the first bite.
- Symbolic & Delicious : Honey and apple are the heart of Rosh Hashanah, but here they’re baked right into the dough, not just brushed on top. Every slice tastes like a sweet new year.
- Surprisingly Simple : No stand mixer required. You can mix and knead this by hand in about 15 minutes. The dough is forgiving and a joy to work with—even if you’ve never braided a challah before.
- Make-Ahead Friendly : The dough rests overnight in the fridge, so you can prep it the day before and bake fresh on the holiday. Less stress, more time with family.
- Crowd-Pleasing : Kids love the subtle sweetness, and adults appreciate that it’s not overly sugary. It’s perfect for the holiday table, but honestly, I make it year-round now.
This recipe is comfort food reimagined—healthier than a brioche, faster than a traditional yeast bread, but with the same soul-soothing satisfaction. It’s the kind of bread that turns a simple meal into something memorable.
What Ingredients You Will Need
This recipe uses simple, wholesome ingredients to deliver a beautifully soft and flavorful challah. Most of these are pantry staples, but a few key items make all the difference.
- All-Purpose Flour (4 cups / 500g) – I prefer King Arthur Flour for its consistent protein content. It gives the dough structure without making it tough. Bread flour works too, but the crumb will be slightly chewier.
- Active Dry Yeast (2 ¼ teaspoons / 7g, or one packet) – Make sure your yeast is fresh. I always proof it in warm water first to check it’s alive and bubbly.
- Honey (⅓ cup / 110g) – Use a mild, floral honey like clover or orange blossom. Stronger honey like buckwheat can overpower the apple. This is the star of the show, so choose one you love.
- Apple (1 medium, grated) – A sweet-tart apple like Honeycrisp or Fuji works best. Grate it on the large holes of a box grater, skin and all. The apple adds moisture and a subtle fruity note without chunky pieces.
- Eggs (3 large, plus 1 for the wash) – Room temperature eggs incorporate more easily into the dough. Save that extra egg for the beautiful golden glaze on top.
- Vegetable Oil (¼ cup / 60ml) – A neutral oil like canola or avocado keeps the crumb tender. Olive oil will change the flavor, so stick with neutral here.
- Salt (1 ½ teaspoons / 9g) – Don’t skimp on salt; it balances the sweetness and strengthens the gluten structure. I use fine sea salt.
- Water (¾ cup / 180ml, warm) – About 110°F, or warm to the touch but not hot. Too hot will kill the yeast.
- Optional Toppings – Sesame seeds, poppy seeds, or a sprinkle of coarse sugar for the top. I love black and white sesame seeds mixed together for a beautiful contrast.
Substitution Notes: For a dairy-free version, this recipe is already dairy-free! For a gluten-free option, I haven’t tested it, but a good 1:1 gluten-free flour blend might work—though the texture will be different. If you’re out of fresh apple, ½ cup of unsweetened applesauce works in a pinch, but the texture won’t be quite as tender.
Equipment Needed
You don’t need fancy tools to make this challah, which is part of its charm. Here’s what I use every time.
- Large Mixing Bowl – A simple glass or ceramic bowl works fine. I use my grandmother’s old pottery bowl; it holds the dough perfectly and feels right for the occasion.
- Box Grater – For grating the apple. A microplane works too, but it takes longer. The box grater gives you nice, fine shreds that melt into the dough.
- Bench Scraper or Dough Cutter – Makes dividing and shaping the dough so much easier. A sharp knife works in a pinch.
- Baking Sheet – Line it with parchment paper for easy cleanup. I prefer a light-colored sheet for even browning.
- Pastry Brush – For the egg wash. A silicone brush is my favorite—it doesn’t shed bristles. A paper towel works if you’re in a bind.
- Kitchen Scale – Not essential, but highly recommended for consistent results. Measuring flour by weight is more accurate. A simple digital scale costs about $15 and changes your baking.
- Plastic Wrap or a Damp Kitchen Towel – For covering the dough while it rises. A reusable beeswax wrap is a great eco-friendly option.
If you don’t have a stand mixer, don’t worry. This dough is soft and easy to knead by hand. I actually prefer hand-kneading for this recipe—it lets me feel when the dough is ready.
Preparation Method
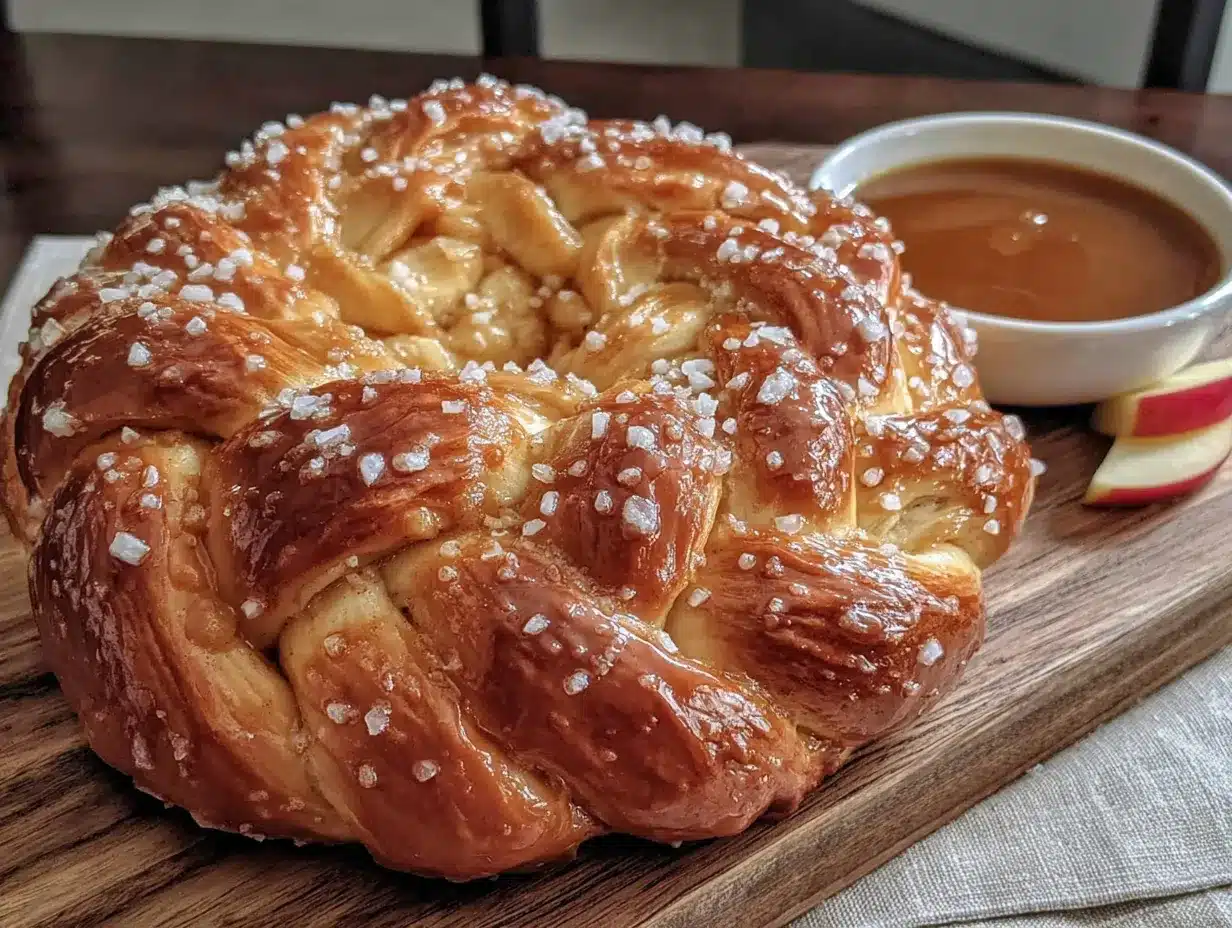
This recipe takes about 3.5 hours total, including rising time. Most of that is hands-off, so you can prep other dishes while the dough does its thing.
- Proof the yeast. In a small bowl, combine the warm water (¾ cup / 180ml), 1 tablespoon of the honey, and the yeast. Stir gently and let it sit for 5-10 minutes until it’s foamy and smells like bread. If it doesn’t foam, your yeast is dead—start over with fresh yeast. I learned this the hard way on a Thanksgiving morning, and trust me, it’s worth the extra 10 minutes.
- Mix the dry ingredients. In a large bowl, whisk together the flour and salt. Make a well in the center. This helps the wet ingredients incorporate evenly without making a mess.
- Combine the wet ingredients. In a separate bowl, whisk together the remaining honey, the vegetable oil, and 3 eggs (room temperature). Stir in the grated apple. The mixture should look a little lumpy from the apple—that’s perfect.
- Bring it together. Pour the yeast mixture and the wet ingredients into the well of the flour. Stir with a wooden spoon or your hands until a shaggy dough forms. It will look messy at first, but keep going. If the dough feels too sticky, add flour one tablespoon at a time. If it’s too dry, add a teaspoon of water.
- Knead the dough. Turn the dough onto a lightly floured surface. Knead for 8-10 minutes, pushing the dough away from you with the heel of your hand, then folding it back. The dough should become smooth, elastic, and slightly tacky but not sticky. You’ll know it’s ready when you press it with a finger and it springs back slowly. This is my favorite part—there’s something meditative about the rhythm of kneading.
- First rise. Place the dough in a lightly oiled bowl, turning it once to coat. Cover with plastic wrap or a damp towel. Let it rise in a warm, draft-free spot for 1.5 to 2 hours, until doubled in size. I put mine in the oven with the light on—it’s the perfect warm spot. Don’t rush this; a slow rise builds flavor.
- Punch down and shape. Gently punch the dough to release the air. Turn it onto a floured surface and divide it into 4 equal pieces (for a 4-strand braid) or 3 pieces (for a 3-strand braid). Roll each piece into a rope about 14 inches long. If the ropes shrink back, let them rest for 5 minutes and try again.
- Braid the challah. For a 4-strand braid: lay the ropes vertically. Pinch the tops together. Take the outer left rope and cross it over the second rope, then under the third rope, and over the fourth. Repeat, always starting with the outer left rope, until you reach the end. Pinch the ends and tuck them under. It sounds complicated, but there are great video tutorials online. My first braid looked like a mess, but it still tasted amazing.
- Second rise. Place the braided loaf on a parchment-lined baking sheet. Cover loosely with a towel and let it rise for 30-45 minutes, until puffy and almost doubled. Preheat your oven to 350°F (175°C) during the last 15 minutes of this rise.
- Egg wash and bake. Whisk the remaining egg with 1 tablespoon of water. Brush the challah gently with the egg wash—don’t press too hard or you’ll deflate it. Sprinkle with seeds or sugar if desired. Bake for 30-35 minutes, until deep golden brown and the loaf sounds hollow when tapped on the bottom. If the top browns too quickly, tent loosely with foil after 20 minutes.
- Cool completely. Transfer the challah to a wire rack. Let it cool for at least 1 hour before slicing. I know it’s tempting to cut into it warm, but the structure needs time to set. The wait is worth it.
Cooking Tips & Techniques
After making this challah more times than I can count, I’ve collected a few tricks that make the process smoother and the results more consistent.
Temperature matters. Cold ingredients can shock the yeast and slow down your rise. Take your eggs out of the fridge 30 minutes before you start, and warm your water to exactly 110°F. Too hot and you’ll kill the yeast; too cold and it won’t activate. I use a kitchen thermometer, but the wrist test works too—it should feel like warm bath water.
Don’t over-knead. This dough is soft and forgiving, but over-kneading can make it tough. Stop when the dough is smooth and springs back when poked. If you’re using a stand mixer, 6-7 minutes on medium-low speed is usually enough. I once let my mixer run for 12 minutes while I answered the phone, and the resulting challah was dense and chewy—not the texture we’re after.
The apple trick. Grate the apple just before adding it to the dough, and don’t squeeze out the juice. That liquid is pure flavor and moisture. I’ve tested this with and without squeezing, and the unsqueezed version is noticeably more tender. The apple pieces disappear into the dough, leaving only sweetness and a subtle fruitiness.
Braid with confidence. If your ropes are uneven, don’t stress. The braid will still look beautiful, and the imperfections make it look homemade. For a cleaner braid, keep the ropes slightly thicker in the middle and tapered at the ends. And if the dough starts to dry out while you’re shaping, cover the pieces you’re not working with a damp towel.
Timing strategy. This dough is perfect for an overnight rise. After the first rise, punch it down, cover it tightly, and refrigerate for up to 24 hours. The next day, shape and let it come to room temperature before the second rise. This actually develops more flavor, like a slow-fermented bread. It’s my go-to method for holiday mornings when I want fresh challah without waking up at dawn.
Variations & Adaptations
This recipe is a wonderful base for experimentation. Here are a few ways I’ve adapted it over the years.
- Add Dried Fruit : Fold in ½ cup of golden raisins or chopped dried apricots after kneading. Soak them in warm water or apple juice for 10 minutes first, then drain—this plumps them up so they don’t draw moisture from the dough. I love the little bursts of sweetness in every slice.
- Spiced Version : Add 1 teaspoon of cinnamon, ½ teaspoon of nutmeg, and a pinch of cloves to the flour. This turns it into an apple-spice challah that smells like autumn. I make this version for Thanksgiving now, and it’s always the first bread to disappear.
- Mini Challahs : Divide the dough into 6 pieces and braid small loaves. Bake for 18-22 minutes instead of 30-35. These are perfect for gifts or for kids to have their own loaf at the table. My niece loves having her “personal challah.”
- Gluten-Free Attempt : I’ve tested this with a 1:1 gluten-free flour blend, and it worked, but the texture was more cake-like than bread-like. If you need gluten-free, I recommend using a blend with xanthan gum and adding an extra tablespoon of oil for moisture.
- Savory Twist : Omit the honey and apple, and add 2 teaspoons of za’atar or dried rosemary to the flour. Use olive oil instead of vegetable oil. This makes a beautiful savory challah for dipping in soup or serving with cheese. It’s not traditional for Rosh Hashanah, but it’s delicious year-round.
Serving & Storage Suggestions
This challah is best served at room temperature or slightly warm. The honey and apple flavors are most pronounced when the bread has cooled completely, but there’s something magical about a warm slice with a pat of butter melting into it.
Serving ideas: Slice thick and serve alongside honey and apple slices for dipping—a beautiful nod to the holiday tradition. It’s also wonderful toasted for breakfast, or used for French toast the next day (seriously, it makes the best French toast you’ve ever had). For a savory pairing, try it with roasted chicken or a hearty lentil soup. The subtle sweetness complements both sweet and savory dishes.
Storage: Keep the challah in a paper bag at room temperature for up to 3 days. A plastic bag will make the crust soft, which some people prefer, but I like the slight chew of a paper bag. If you’re storing it longer, wrap it tightly in plastic wrap and then foil, and freeze for up to 3 months. Thaw at room temperature, still wrapped, for about 4 hours.
Reheating: To refresh a day-old challah, wrap it in foil and warm it in a 300°F oven for 10 minutes. This brings back the softness without drying it out. For individual slices, the toaster works perfectly. The flavors actually develop overnight—the honey becomes more mellow and the apple sweetness deepens. I often think it tastes even better on day two.
Nutritional Information & Benefits
While challah is a treat, this version offers some surprising benefits thanks to its wholesome ingredients.
| Nutrient | Per Slice (1/12 of loaf) |
|---|---|
| Calories | 210 |
| Total Fat | 6g |
| Saturated Fat | 1g |
| Carbohydrates | 34g |
| Fiber | 1.5g |
| Sugar | 10g |
| Protein | 6g |
The apple provides a small dose of fiber and vitamin C, while the honey offers antioxidants and natural sweetness with a lower glycemic impact than refined sugar. The eggs add high-quality protein and B vitamins. This isn’t a health food, but it’s a more nourishing version of a classic treat. For a lower-sugar option, you can reduce the honey to ¼ cup, though the texture will be slightly less tender.
Dietary notes: This recipe is dairy-free and nut-free. It contains gluten, eggs, and honey. For a vegan version, you can try using flax eggs (3 tablespoons ground flaxseed mixed with 9 tablespoons water) and maple syrup instead of honey, but the texture will be denser. I haven’t perfected that version yet, so let me know if you experiment with it!
Conclusion
This honey apple challah has become my signature holiday bread, the one my family requests every year without fail. It’s more than a recipe—it’s a tradition that started with a stubborn aunt and a quiet determination to prove that homemade could be better than bakery. And honestly, it is.
I hope you give this challah a try, whether for Rosh Hashanah or just because you want a beautiful, soft bread that fills your kitchen with the smell of honey and apples. Don’t be afraid to make it your own—add your favorite spices, shape it into a round for the holiday, or braid it with a friend. That’s the beauty of homemade bread; it carries your touch.
I’d love to hear how it turns out for you. Drop a comment below and tell me about your braiding adventures, or share a photo of your loaf. And if you have a variation that works beautifully, please share it—I’m always looking for new ideas. Until then, happy baking, and may your new year be as sweet as this challah.
Frequently Asked Questions
Can I make this challah ahead of time?
Absolutely. You can prepare the dough through the first rise, then refrigerate it overnight. The next day, shape, do the second rise, and bake. The cold fermentation actually improves the flavor. You can also bake the challah a day ahead and store it in a paper bag—it stays soft for 2-3 days.
Why did my challah turn out dense?
Dense challah usually means the dough didn’t rise enough. Check that your yeast is fresh and your water is at the right temperature (110°F). Also, make sure you’re giving it enough time to double during the first rise. A warm, draft-free spot is key. If your kitchen is cold, let it rise in the oven with just the light on.
Can I use whole wheat flour instead of all-purpose?
You can substitute up to half the flour with whole wheat flour. The challah will be denser and nuttier, but still delicious. If you use all whole wheat, add an extra tablespoon of water and let the dough rest for 10 minutes before kneading—the bran needs time to absorb moisture. I’ve done this, and while it’s not as light, it’s very satisfying in a hearty way.
How do I know when the challah is fully baked?
The loaf should be deep golden brown and sound hollow when you tap the bottom. An internal temperature of 190°F (88°C) is a reliable indicator. If you’re unsure, it’s better to bake a few extra minutes than to underbake—undone challah will be gummy in the center. I always use a thermometer for peace of mind.
Can I freeze this challah?
Yes, and it freezes beautifully. Cool the challah completely, then wrap it tightly in plastic wrap and then foil. Freeze for up to 3 months. To thaw, leave it wrapped at room temperature for about 4 hours. For a quick refresh, warm the thawed loaf in a 300°F oven for 10 minutes. I always bake an extra loaf for the freezer during the holidays.
Pin This Recipe!
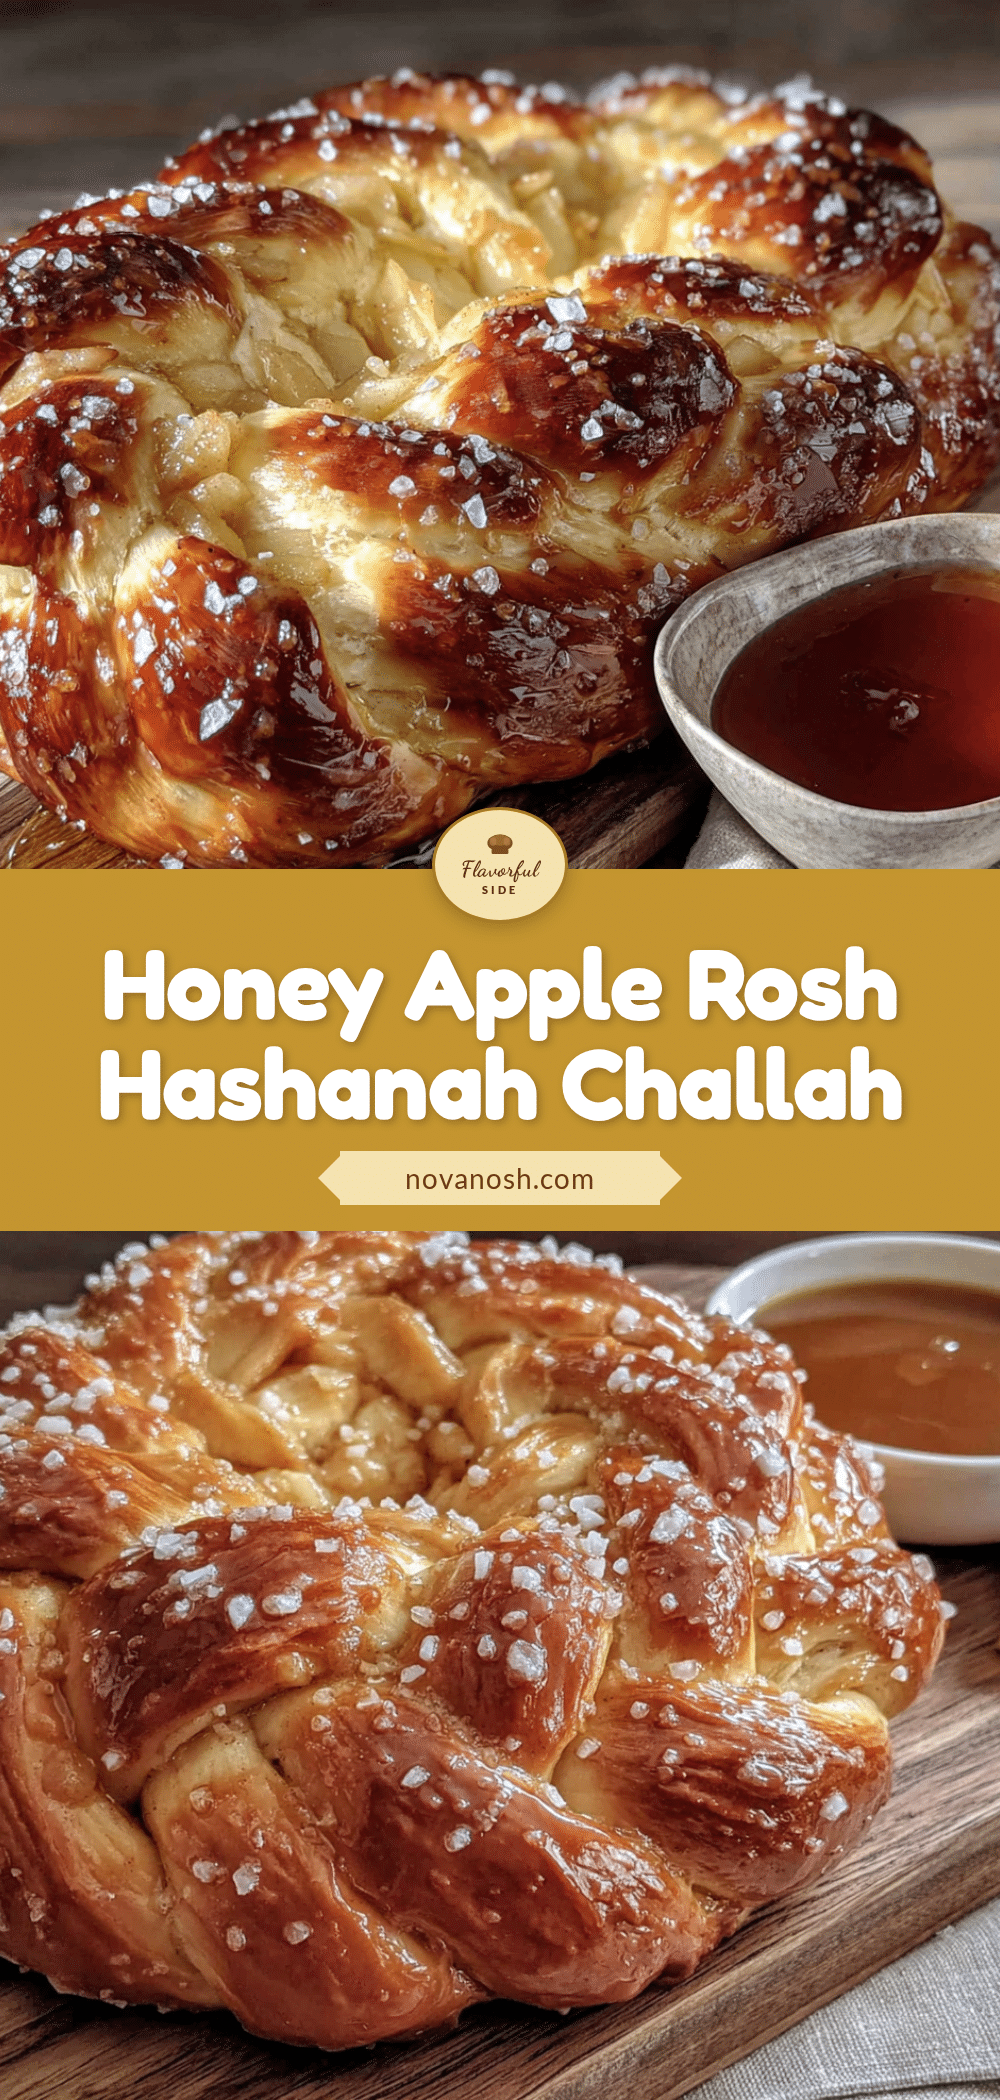
Perfect Honey Apple Rosh Hashanah Challah Recipe
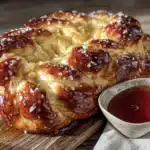
This honey apple challah is incredibly soft and tender, with a sweet, symbolic flavor perfect for Rosh Hashanah. It’s a crowd-pleasing, make-ahead friendly bread that converts even the biggest skeptics.
- Prep Time: 15 minutes
- Cook Time: 30 minutes
- Total Time: 3 hours 30 minutes
- Yield: 12 servings 1x
- Category: Bread
- Cuisine: Jewish
Ingredients
- 4 cups (500g) all-purpose flour
- 2 ¼ teaspoons (7g) active dry yeast
- ⅓ cup (110g) honey
- 1 medium apple (Honeycrisp or Fuji), grated
- 3 large eggs, plus 1 for wash
- ¼ cup (60ml) vegetable oil
- 1 ½ teaspoons (9g) fine sea salt
- ¾ cup (180ml) warm water (110°F)
- Optional: sesame seeds, poppy seeds, or coarse sugar for topping
Instructions
- Proof the yeast: In a small bowl, combine warm water, 1 tablespoon honey, and yeast. Let sit 5-10 minutes until foamy.
- Mix dry ingredients: In a large bowl, whisk together flour and salt. Make a well in the center.
- Combine wet ingredients: In a separate bowl, whisk together remaining honey, oil, and 3 eggs. Stir in grated apple.
- Bring it together: Pour yeast mixture and wet ingredients into the well of the flour. Stir until a shaggy dough forms. Adjust with flour or water if needed.
- Knead the dough: Turn onto a floured surface and knead 8-10 minutes until smooth, elastic, and slightly tacky.
- First rise: Place dough in a lightly oiled bowl, cover, and let rise in a warm spot for 1.5-2 hours until doubled.
- Punch down and shape: Punch down dough, divide into 4 equal pieces, and roll each into a 14-inch rope.
- Braid the challah: For a 4-strand braid, lay ropes vertically, pinch tops, and braid by crossing outer left rope over second, under third, over fourth. Repeat until end. Pinch ends and tuck under.
- Second rise: Place braided loaf on parchment-lined baking sheet, cover, and let rise 30-45 minutes until puffy. Preheat oven to 350°F (175°C) during last 15 minutes.
- Egg wash and bake: Whisk remaining egg with 1 tablespoon water. Brush gently over challah. Sprinkle with seeds or sugar if desired. Bake 30-35 minutes until deep golden brown and hollow-sounding when tapped. Tent with foil if browning too quickly.
- Cool completely: Transfer to a wire rack and cool at least 1 hour before slicing.
Notes
For best results, use room temperature eggs and warm water at 110°F. Grate apple just before adding and do not squeeze out juice. The dough can be refrigerated overnight after the first rise for enhanced flavor. If the top browns too quickly, tent with foil after 20 minutes of baking.
Nutrition
- Serving Size: 1 slice (1/12 of loa
- Calories: 210
- Sugar: 10
- Sodium: 150
- Fat: 6
- Saturated Fat: 1
- Carbohydrates: 34
- Fiber: 1.5
- Protein: 6
Keywords: challah, honey apple challah, Rosh Hashanah, braided bread, holiday bread, apple challah, honey challah