Love this? Save it for later!
Share the inspiration with your friends
This was supposed to be a simple berry tart for a last-minute Fourth of July BBQ. I grabbed the wrong cream cheese—yes, the whipped one instead of the block—and the mixer was on the fritz, buzzing oddly as I tried to blend the filling. Meanwhile, the heat outside was making me sweat, and honestly, I was already running late because the guests were due any minute. What came out was nothing like the planned tart—more like a layered cheesecake bar with these bright, bold red, white, and blue stripes that somehow held together despite my chaos. It was messy, sticky, and totally unplanned, but you know what? That first bite was a quiet little revelation, and I haven’t stopped making these Perfect Red White and Blue Layered Cheesecake Bars for celebrations since.
Maybe you’ve been there—rushing, distracted, juggling too many things, and somehow the kitchen disasters turn into your favorite recipes. I still laugh remembering the cracked mixing bowl and the berry stains on my apron. But these bars? They bring all that summer joy in one easy, festive bite, and honestly, they’re the kind of treat that makes you close your eyes and savor the moment. They’re perfect for any patriotic occasion, from backyard parties to casual family gatherings. Let me tell you, this recipe stays with you—not just because of the colors, but because it’s a little bit sweet, creamy, and surprisingly simple to pull off even when the kitchen isn’t your friend.
Why You’ll Love This Recipe
After making the Perfect Red White and Blue Layered Cheesecake Bars countless times, I can say this is one recipe that’s truly a crowd-pleaser. Here’s why it might just become your go-to for celebrations:
- Quick & Easy: These bars come together in about 45 minutes, perfect for busy weekends or last-minute holiday plans.
- Simple Ingredients: No fancy shopping trips needed—most of what you need is probably already in your pantry and fridge.
- Perfect for Patriotic Occasions: Whether it’s Fourth of July, Memorial Day, or Labor Day, these bars add a festive touch without fuss.
- Crowd-Pleaser: Kids love the colorful layers, and adults appreciate the creamy texture and balanced sweetness.
- Unbelievably Delicious: The crunchy graham cracker crust paired with silky cheesecake and fresh berry layers hits all the right notes.
- This isn’t just another cheesecake bar recipe. The secret is in the layering technique and the touch of fresh berries mixed into the red and blue layers, adding bursts of real flavor that make these bars stand out.
- It’s comfort food with a patriotic twist—light enough to enjoy after a big meal but rich enough to feel like a treat.
What Ingredients You Will Need
This recipe uses simple, wholesome ingredients to deliver bold flavor and satisfying texture without the fuss. The ingredients are mostly pantry staples, with just a couple of fresh ones to make those red and blue layers pop.
- For the Crust:
- 1 ½ cups graham cracker crumbs (about 12 full sheets) – I prefer Honey Maid for its perfect sweetness and texture
- 5 tablespoons unsalted butter, melted (adds richness and helps bind the crust)
- 2 tablespoons granulated sugar (balances the buttery crust)
- For the Cheesecake Filling:
- 16 ounces (450g) cream cheese, softened (use full-fat for best creaminess)
- ⅔ cup granulated sugar
- 2 large eggs, room temperature
- 1 teaspoon pure vanilla extract
- ½ cup sour cream (adds a slight tang and smooth texture)
- For the Red Layer:
- 1 cup fresh strawberries, hulled and roughly chopped (in summer, swapping frozen berries works too)
- 2 tablespoons sugar (to macerate the berries)
- 1 teaspoon lemon juice (brightens the flavor)
- For the Blue Layer:
- 1 cup fresh blueberries
- 2 tablespoons sugar
- 1 teaspoon lemon juice
Substitution tips: If you want dairy-free, use a vegan cream cheese and coconut yogurt instead of sour cream. For a gluten-free crust, almond flour works well but results in a slightly different texture.
Equipment Needed
- 9×9-inch (23×23 cm) square baking pan – You can use a glass or metal pan; I find metal gives a crisper crust.
- Mixing bowls – At least three, one for crust, one for filling, and separate bowls for macerating berries.
- Electric mixer or stand mixer – Helps to get a smooth cheesecake batter but a sturdy whisk can work if you’re patient.
- Food processor or rolling pin – For crushing graham crackers if you don’t buy pre-crumbled.
- Spatula and wooden spoon – For folding and scraping down bowls.
- Fine mesh sieve or blender – Optional, if you want super smooth berry purees for the layers.
Personally, I like using a silicone spatula because it scrapes every bit of batter efficiently. If you don’t have a food processor, placing graham crackers in a sealed bag and crushing them with a rolling pin works just fine. Budget-wise, you can get a mixer that’s great for this recipe for under $50, and it’s worth the investment if you bake often.
Preparation Method
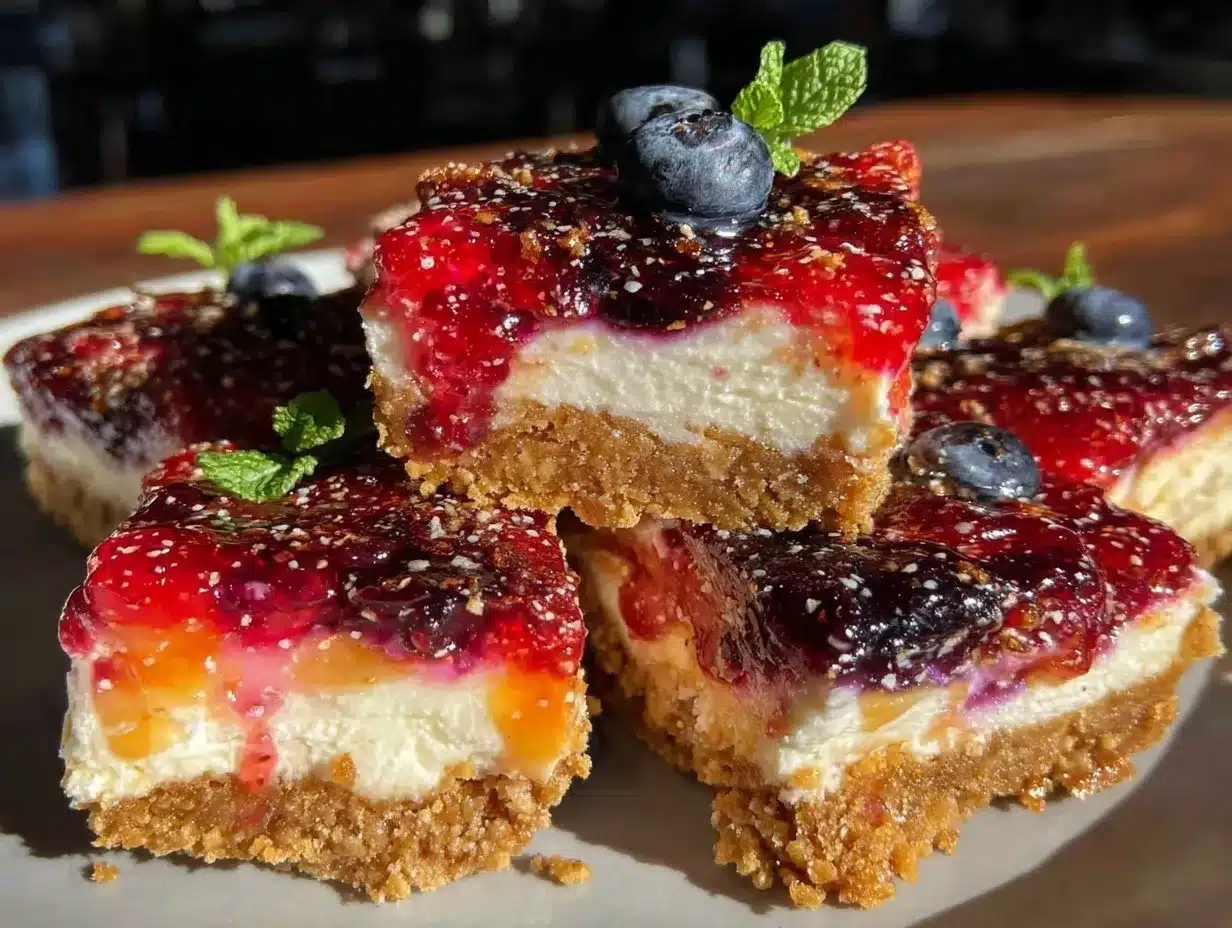
- Prep the Crust (10 minutes): Preheat your oven to 325°F (160°C). In a bowl, combine the graham cracker crumbs, melted butter, and sugar. Stir until the crumbs are evenly coated and look like wet sand. Press this mixture firmly into the bottom of your 9×9-inch pan, making sure it’s even and compact. Bake for 8-10 minutes until golden and fragrant. Let it cool while you prepare the filling.
- Macerate the Berries (10 minutes): In two separate small bowls, combine strawberries with sugar and lemon juice, and do the same with blueberries. Stir gently and set aside to release their juices while you make the cheesecake filling. This step adds natural sweetness and moisture to your layers.
- Make the Cheesecake Filling (15 minutes): In a large bowl, beat softened cream cheese with sugar until smooth and creamy, about 2-3 minutes on medium speed. Add eggs one at a time, mixing well after each. Stir in vanilla extract and sour cream until fully combined. The batter should be silky and thick, not runny.
- Divide and Color the Batter (5 minutes): Pour about one-third of the cheesecake batter into a separate bowl. To the remaining two-thirds, gently fold in the macerated strawberries with most of the syrup, blending until you have a vibrant red layer. Repeat with the other third of batter and blueberries for the blue layer. If you want a smoother look, you can puree the berries before folding.
- Assemble the Layers (10 minutes): Pour the plain cheesecake batter evenly over the cooled crust and spread gently with a spatula. Next, carefully spoon the red strawberry cheesecake layer on top, smoothing gently. Finally, add the blue blueberry layer as the top layer. The colors will swirl slightly, but that’s part of the charm.
- Bake the Bars (35-40 minutes): Bake in the oven at 325°F (160°C) until the edges are set but the center still jiggles slightly when you shake the pan—about 35 to 40 minutes. Avoid overbaking, or the bars will crack and dry out.
- Cool and Chill (at least 4 hours): Let the bars cool to room temperature, then refrigerate for at least 4 hours or overnight. Chilling helps the layers firm up and makes slicing cleaner. For best results, tip: run a knife along the edges before slicing to prevent sticking.
Cooking Tips & Techniques
Getting the Perfect Red White and Blue Layered Cheesecake Bars just right can feel tricky, but a few tips make it much easier:
- Don’t overmix the batter. When adding eggs or folding in berries, mix gently to keep the batter light and creamy.
- Use room temperature cream cheese and eggs. This prevents lumps and helps everything blend smoothly.
- Press the crust firmly. A compact crust means your bars hold together better when sliced.
- Watch your baking time closely. The slight jiggle in the center is key; it will firm up as it cools.
- Chill thoroughly. I learned the hard way that trying to cut these bars too soon leads to messy slices. Patience pays off.
- Fresh berries make a difference. Frozen can work, but fresh strawberries and blueberries give brighter flavor and better texture.
- For clean layers, spoon gently. Pouring layers slowly and smoothing carefully avoids mixing the colors too much.
Variations & Adaptations
- Dairy-Free Version: Substitute cream cheese with a vegan alternative and use coconut yogurt instead of sour cream. Use gluten-free graham crackers for the crust.
- Seasonal Twist: Swap the strawberry and blueberry layers for peach and blackberry in late summer, or raspberry and cherry in winter for different but equally festive colors.
- Chocolate Layer: Add a thin chocolate ganache layer between the white and colored cheesecake layers for a richer flavor.
- Mini Bars: Make individual bars using a muffin tin lined with parchment paper for portable party treats.
- Personal Tried Variation: Once, I added a splash of lemon zest and a hint of almond extract to the white cheesecake layer, which made it surprisingly fresh and bright.
Serving & Storage Suggestions
These cheesecake bars are best served chilled, straight from the fridge, where their layers look their brightest and the texture is perfectly creamy. Presentation-wise, a simple dusting of powdered sugar or a few fresh berries on top adds a festive touch.
They pair wonderfully with a light sparkling wine or freshly brewed iced tea for warm-weather celebrations. If you’re planning a full patriotic feast, they make a sweet ending alongside classic dishes like grilled chicken or crispy garlic chicken.
Store leftover bars in an airtight container in the refrigerator for up to 4 days. You can freeze them for longer storage—just wrap tightly and thaw overnight in the fridge. When reheating, I recommend serving cold or at room temperature to keep their texture intact. Flavors actually deepen after a day, so if you can wait, even better.
Nutritional Information & Benefits
Each bar provides a satisfying combination of protein, calcium, and antioxidants thanks to the cream cheese and fresh berries. The recipe is moderate in sugar, and you can adjust sweetness by reducing granulated sugar slightly if you prefer.
These bars are gluten-containing due to the graham cracker crust, but swapping in almond flour or gluten-free crackers makes them accessible for gluten-sensitive eaters. The berries add vitamins C and K, while the sour cream and cream cheese contribute probiotics and healthy fats.
From my perspective, this recipe strikes a nice balance between indulgence and nutrition—perfect for celebrations when you want something special but not overly heavy.
Conclusion
In the end, the Perfect Red White and Blue Layered Cheesecake Bars are a recipe that came from a kitchen mishap but stayed because they’re just that good. They bring a festive, colorful flair to any celebration without complicated steps or rare ingredients. I encourage you to make them your own by experimenting with your favorite berries or adding a personal touch with spices or extracts. I love how these bars spark joy and conversation at parties, and I hope they become a staple in your recipe box too.
If you try this recipe, I’d love to hear how it went—drop a comment below, share your favorite variations, or tell me which occasion you made them for. Here’s to sweet, simple celebrations and happy baking!
FAQs
- Can I use frozen berries for the red and blue layers? Yes, but thaw and drain them well to avoid excess liquid, which can make the cheesecake watery.
- How do I prevent cracks in my cheesecake bars? Avoid overbaking and don’t open the oven door while baking. Also, mixing gently helps keep the batter smooth.
- Can I make these bars ahead of time? Absolutely! They taste even better after chilling overnight and can be stored for several days in the fridge.
- What’s the best way to cut these bars cleanly? Use a sharp knife warmed under hot water and wiped dry between cuts to get smooth slices.
- Can I substitute the graham cracker crust? Yes, a digestive biscuit crust or gluten-free cracker crust works well too, just adjust quantities accordingly.
Pin This Recipe!
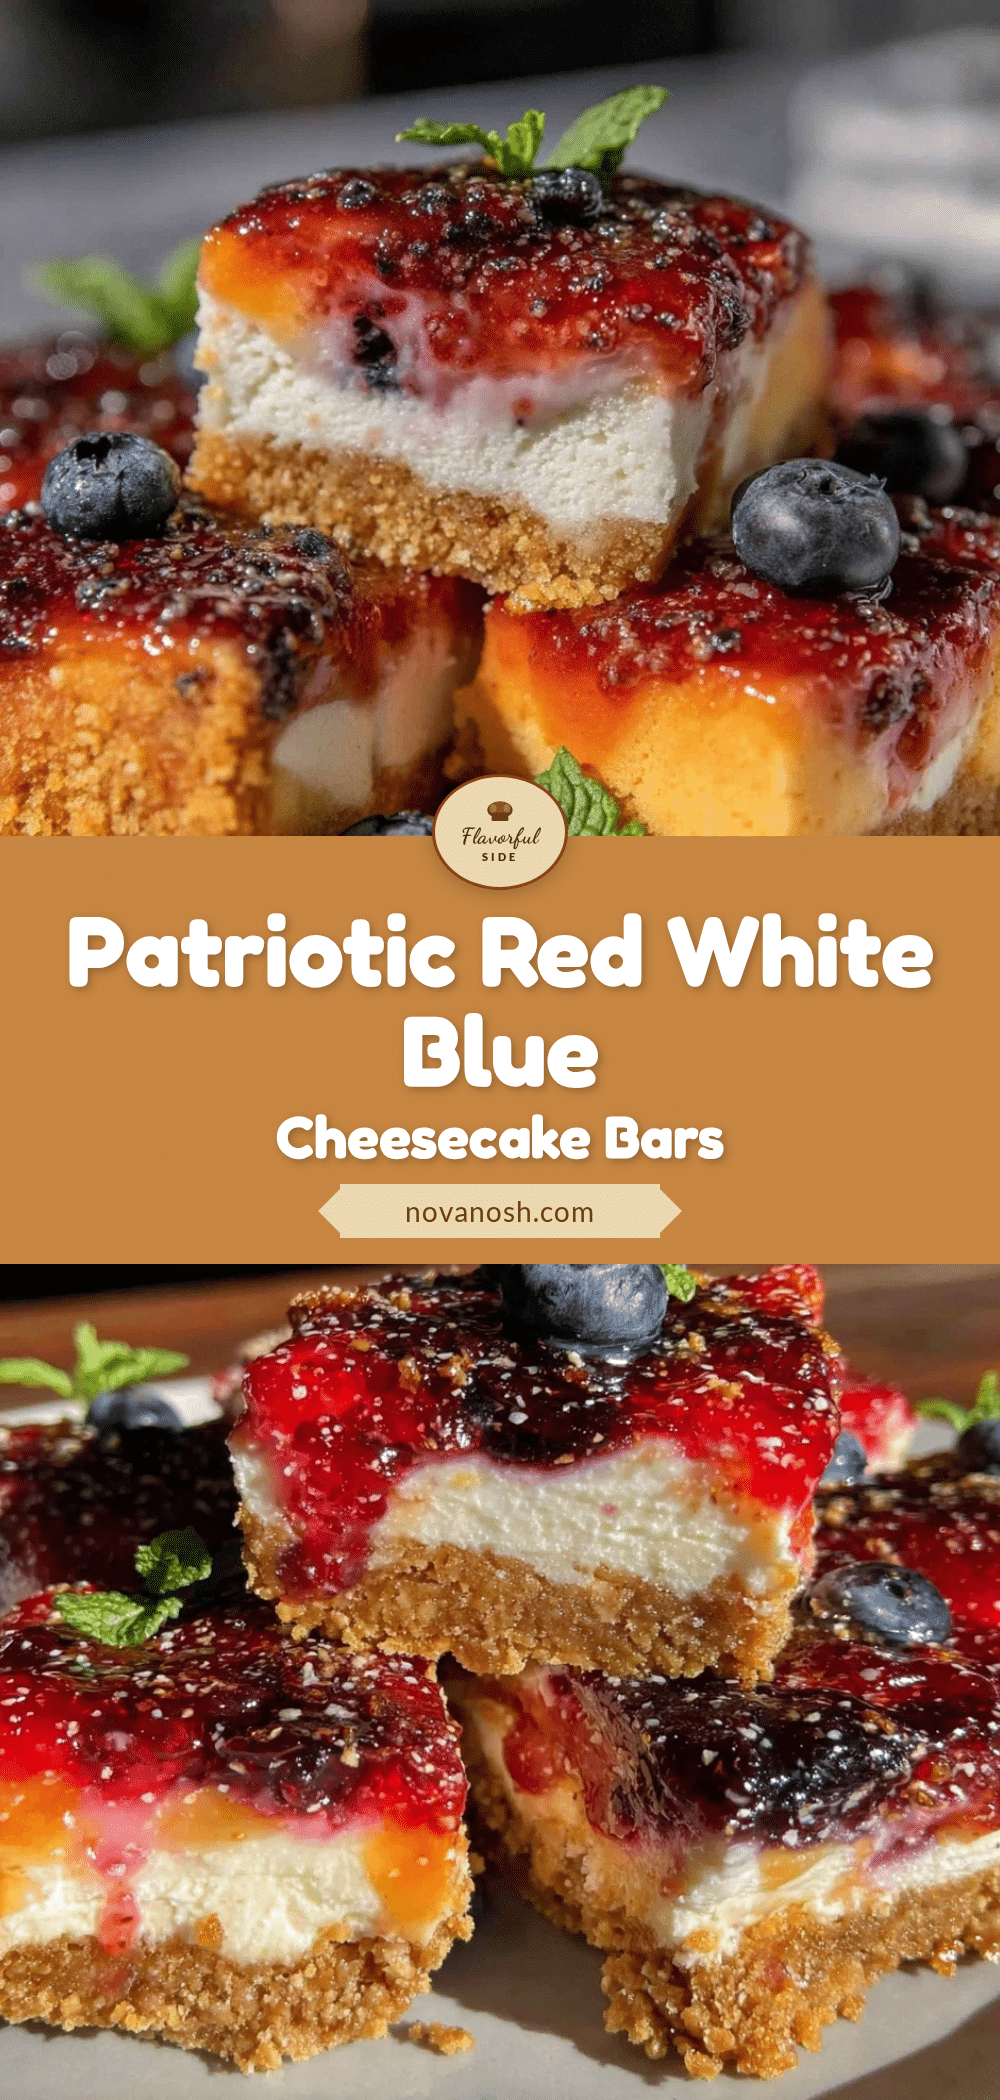
Perfect Red White and Blue Layered Cheesecake Bars
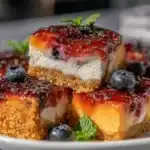
These festive cheesecake bars feature vibrant red, white, and blue layers with a crunchy graham cracker crust, perfect for patriotic celebrations like the Fourth of July. They are creamy, sweet, and surprisingly simple to make.
- Prep Time: 30 minutes
- Cook Time: 40 minutes
- Total Time: 4 hours 70 minutes
- Yield: 16 servings 1x
- Category: Dessert
- Cuisine: American
Ingredients
- 1 ½ cups graham cracker crumbs (about 12 full sheets)
- 5 tablespoons unsalted butter, melted
- 2 tablespoons granulated sugar
- 16 ounces (450g) cream cheese, softened
- ⅔ cup granulated sugar
- 2 large eggs, room temperature
- 1 teaspoon pure vanilla extract
- ½ cup sour cream
- 1 cup fresh strawberries, hulled and roughly chopped
- 2 tablespoons sugar (for strawberries)
- 1 teaspoon lemon juice (for strawberries)
- 1 cup fresh blueberries
- 2 tablespoons sugar (for blueberries)
- 1 teaspoon lemon juice (for blueberries)
Instructions
- Preheat oven to 325°F (160°C). In a bowl, combine graham cracker crumbs, melted butter, and sugar. Stir until evenly coated and press firmly into the bottom of a 9×9-inch pan. Bake for 8-10 minutes until golden and fragrant. Let cool.
- In two separate small bowls, combine strawberries with sugar and lemon juice, and blueberries with sugar and lemon juice. Stir gently and set aside to macerate for 10 minutes.
- In a large bowl, beat softened cream cheese with sugar until smooth and creamy, about 2-3 minutes. Add eggs one at a time, mixing well after each. Stir in vanilla extract and sour cream until fully combined.
- Divide the cheesecake batter into three parts: pour about one-third into a separate bowl. To the remaining two-thirds, fold in the macerated strawberries with most of the syrup for the red layer. Fold the blueberries into the remaining third for the blue layer.
- Pour the plain cheesecake batter evenly over the cooled crust and spread gently. Spoon the red strawberry cheesecake layer on top, smoothing gently. Add the blue blueberry layer as the top layer.
- Bake at 325°F (160°C) for 35-40 minutes until edges are set but center jiggles slightly. Avoid overbaking.
- Let bars cool to room temperature, then refrigerate for at least 4 hours or overnight before slicing.
Notes
Do not overmix the batter to keep it light and creamy. Use room temperature cream cheese and eggs to avoid lumps. Press crust firmly for better bar structure. Watch baking time closely; the center should jiggle slightly. Chill bars thoroughly before slicing for clean cuts. Fresh berries provide better flavor and texture than frozen. For clean layers, spoon gently and smooth carefully.
Nutrition
- Serving Size: 1 bar (assuming 16 b
- Calories: 280
- Sugar: 16
- Sodium: 220
- Fat: 18
- Saturated Fat: 10
- Carbohydrates: 22
- Fiber: 1
- Protein: 5
Keywords: cheesecake bars, patriotic dessert, Fourth of July dessert, red white and blue dessert, berry cheesecake, easy cheesecake bars