Love this? Save it for later!
Share the inspiration with your friends
There used to be a tiny deli tucked away on a sleepy street corner in Seattle’s Ballard neighborhood that made the most unforgettable quick pickles. When they suddenly closed down one chilly October afternoon, I was gutted. Honestly, their tangy garlic dill refrigerator pickles were the kind of thing that made sandwich lunches feel like a celebration. After about a dozen tries—some too sour, others too bland, and one batch where I forgot the garlic entirely (don’t ask)—I finally got it right. The balance of zing and crunch, that unmistakable garlic punch, and the fresh dill aroma all came together perfectly.
I mean, maybe you’ve been there—you find a flavor that sticks with you, and when it disappears, nothing else quite cuts it. The recipe stayed with me, nagging like a good mystery until I cracked the code. Now, whenever I need that quick tangy garlic dill hit, I reach for this recipe. It’s honestly saved my lunches more times than I can count, and it’s ridiculously easy to whip up when life gets hectic.
Let me tell you, these pickles aren’t just a side; they’re a quick burst of homemade magic that brightens up any meal. So, if you’re chasing that elusive deli flavor or just want a fast, fresh pickle fix, this recipe’s got you covered.
Why You’ll Love This Recipe
After countless kitchen experiments and taste tests, I can say this quick tangy garlic dill refrigerator pickles recipe truly stands out. It’s not just easy—it’s thoughtfully crafted to bring out the best in every crunch.
- Quick & Easy: Ready in just 5 minutes, perfect for last-minute pickle cravings or speedy meal prep.
- Simple Ingredients: Uses everyday pantry staples and fresh herbs—no obscure or pricey items.
- Perfect for Any Occasion: Whether it’s a casual barbecue, a picnic, or just jazzing up your sandwich, these pickles fit right in.
- Crowd-Pleaser: Kids, adults, picky eaters—they all love the bright, tangy flavor profile.
- Unbelievably Delicious: The garlic and dill combo creates a fresh, vibrant taste that’s both tangy and aromatic.
- Unique Twist: Unlike some recipes that take days, this one uses a quick refrigerator method, so you get crispness without the wait.
This isn’t your average pickle recipe. The secret lies in balancing the vinegar’s sharpness with fresh dill and garlic, creating a lively flavor that’s anything but ordinary. If you ever thought pickles were just boring sides, well, these will make you think again. Honestly, it’s the kind of recipe that makes you pause and savor that first crunchy bite.
What Ingredients You Will Need
This recipe uses simple, wholesome ingredients to deliver bold flavor and satisfying crunch without fuss. Most are pantry staples, and substitutions are easy if needed.
- Cucumbers – 4 medium Kirby or Persian cucumbers, sliced into ¼-inch rounds (these are best for crispness)
- Fresh Dill – 3-4 sprigs, roughly chopped (fresh dill is key for that authentic flavor)
- Garlic Cloves – 3, smashed or thinly sliced (don’t skimp; garlic gives the pickles their punch)
- White Vinegar – 1 cup (250 ml), provides the classic tang; you can substitute with apple cider vinegar for a milder bite
- Water – 1 cup (250 ml), balances the acidity
- Granulated Sugar – 1 tablespoon, helps soften the sharpness
- Salt – 1 tablespoon kosher salt or pickling salt (table salt works but use less)
- Black Peppercorns – 1 teaspoon, whole (adds subtle warmth)
- Red Pepper Flakes – ½ teaspoon, optional for a gentle kick
I usually recommend using Diamond Crystal kosher salt for pickling because it dissolves well and isn’t too salty. If you want a gluten-free option, just double-check your vinegar brand, though most are naturally gluten-free. In summer, I sometimes swap the cucumbers for fresh green beans or carrots to mix things up.
Equipment Needed
- Medium mixing bowl for combining the brine ingredients
- Sharp knife and cutting board for slicing cucumbers and garlic
- Measuring cups and spoons for precision (I prefer glass measuring cups for liquids)
- A quart-sized (1 liter) glass jar or any airtight container for pickling
- Optional: a vegetable peeler if you want to remove cucumber skins for a milder taste
You don’t need fancy equipment here. I’ve used everything from simple mason jars to reused store-bought pickle jars. Just make sure whatever container you use seals tightly to keep flavors fresh. If you have a mandoline slicer, it speeds up slicing, but a good knife works just fine. Also, make sure your jar is clean and dry to avoid any unwanted fermentation surprises.
Preparation Method
- Slice the Cucumbers: Using a sharp knife, slice 4 medium Kirby cucumbers into ¼-inch thick rounds. This usually takes about 5 minutes. Try to keep the slices even for consistent pickling.
- Prepare the Brine: In a medium bowl, combine 1 cup (250 ml) white vinegar, 1 cup (250 ml) water, 1 tablespoon sugar, and 1 tablespoon kosher salt. Stir until the sugar and salt dissolve completely—this should take about 2 minutes. If you notice any undissolved salt, keep stirring or gently warm the mixture (don’t boil).
- Add Flavorings: Toss in 3 smashed garlic cloves, 3-4 sprigs of fresh dill, 1 teaspoon black peppercorns, and ½ teaspoon red pepper flakes if using. Mix gently to distribute the spices and herbs.
- Combine Cucumbers and Brine: Pack the cucumber slices tightly into a clean quart-sized glass jar or container. Pour the brine over the cucumbers until fully submerged. Use a clean spoon to press the cucumbers down if needed.
- Seal and Refrigerate: Close the jar tightly and give it a gentle shake to mix the ingredients. Place the jar in the refrigerator for at least 2 hours, but ideally 24 hours for the best flavor. The pickles will stay crisp and tangy for up to 2 weeks.
Note: If your cucumbers float above the brine, place a small clean weight or a folded piece of parchment inside the jar to keep them submerged. This prevents spoilage and helps flavor absorption. Also, I’ve learned that smashing the garlic (instead of chopping finely) gives a milder but more fragrant garlic essence—you can adjust this based on your taste.
Cooking Tips & Techniques
Honestly, making quick refrigerator pickles is straightforward, but a few tricks make all the difference.
- Choose the Right Cucumber: Kirby or Persian cucumbers have a firmer texture and fewer seeds, which keeps pickles crisp. Regular slicing cucumbers tend to get mushy fast.
- Keep Them Submerged: Flavor and safety demand the cucumbers stay under the brine. I once ruined a batch by forgetting this—floating slices turned soft and off-tasting quickly.
- Don’t Overdo the Sugar: A tablespoon is enough to balance the vinegar’s acidity. More sugar makes pickles taste like candy, which some folks like, but it’s not my style.
- Use Fresh Dill: Dried dill just doesn’t cut it here. The fresh herb brings that unmistakable aroma and flavor that defines these pickles.
- Patience is Key: Though the recipe is “quick,” letting the pickles chill for at least a few hours amps up the flavor. I usually make mine the night before and enjoy them the next day.
- Multitasking Tip: While the pickles chill, prep other sides or your main dish. It’s a great way to keep the kitchen moving without rushing.
Variations & Adaptations
- Spicy Pickles: Add sliced fresh jalapeños or increase red pepper flakes for an extra kick. I tried this once for a summer BBQ, and it was a hit.
- Garlic-Free Version: If you’re not a garlic fan or want a milder flavor, simply omit the garlic and add a teaspoon of mustard seeds for a different aromatic profile.
- Low-Sodium Option: Cut the salt in half and use low-sodium vinegar. Keep in mind, this might affect preservation time, so consume pickles sooner.
- Different Vegetables: Swap cucumbers for green beans, carrots, or even cauliflower florets. The same brine works beautifully, and the variety keeps things interesting.
- Herb Variations: Try adding fresh thyme, tarragon, or oregano for a unique twist. I once mixed dill with fresh tarragon, and it gave a lovely anise-like note.
Serving & Storage Suggestions
These quick tangy garlic dill refrigerator pickles are best served chilled straight from the fridge. They make a fantastic crunchy topping for sandwiches, burgers, and hot dogs. I love pairing them with a rich crispy garlic chicken or alongside a creamy egg salad for contrast.
Store pickles in an airtight container in the refrigerator where they’ll keep fresh and crisp for up to two weeks. If you find the pickles soften over time, try transferring them to a fresh brine mix to revive the crunch. For reheating (if you like warm pickles), a quick toss in a pan with a bit of olive oil works well, but honestly, cold is my preference.
Flavors tend to meld and deepen after a day or two, so making them ahead of time is a smart move. Just remember to give the jar a little shake before serving to redistribute the spices and herbs.
Nutritional Information & Benefits
Each serving of these pickles is low in calories (about 10-15 calories per two-tablespoon serving) and fat-free, making them a guilt-free snack or condiment. Cucumbers provide hydration and small amounts of vitamin K, while the vinegar may support digestive health. Garlic adds antioxidants and anti-inflammatory benefits, and dill brings vitamin A and C.
The recipe is naturally gluten-free, vegan, and low-carb—great for most dietary preferences. Just watch for sodium if you’re on a restricted salt intake. Personally, I find these pickles a refreshing way to add flavor without extra calories or processed ingredients.
Conclusion
So there you have it—quick tangy garlic dill refrigerator pickles that capture the magic I missed from that little Seattle deli. This recipe is easy, fast, and delivers that perfect balance of tang, garlic, and dill that makes pickles truly shine. I love how it brightens up my meals and turns simple sandwiches into something special.
Feel free to tweak the garlic level, spice, or herbs to match your taste. The best part? You don’t need to wait days to enjoy them. If you give this recipe a try, I’d love to hear how you make it your own! Drop a comment or share your adaptations—you never know who might find your twist inspiring.
Happy pickling, friends! Here’s to crunchy, tangy bites that bring a little joy to every meal.
Frequently Asked Questions
How long do these refrigerator pickles last?
They keep well in the fridge for up to two weeks. After that, they may lose crunch and flavor.
Can I use regular cucumbers instead of Kirby cucumbers?
You can, but regular slicing cucumbers tend to be less crisp and seedier, so the texture might be softer.
Is it necessary to use fresh dill?
Fresh dill is strongly recommended for the best flavor. Dried dill doesn’t provide the same aromatic punch.
Can I make these pickles without garlic?
Yes! Omit garlic and consider adding mustard seeds or extra herbs for flavor.
What if my cucumbers float above the brine?
Use a clean weight or a folded piece of parchment paper inside the jar to keep cucumbers submerged and prevent spoilage.
Pin This Recipe!
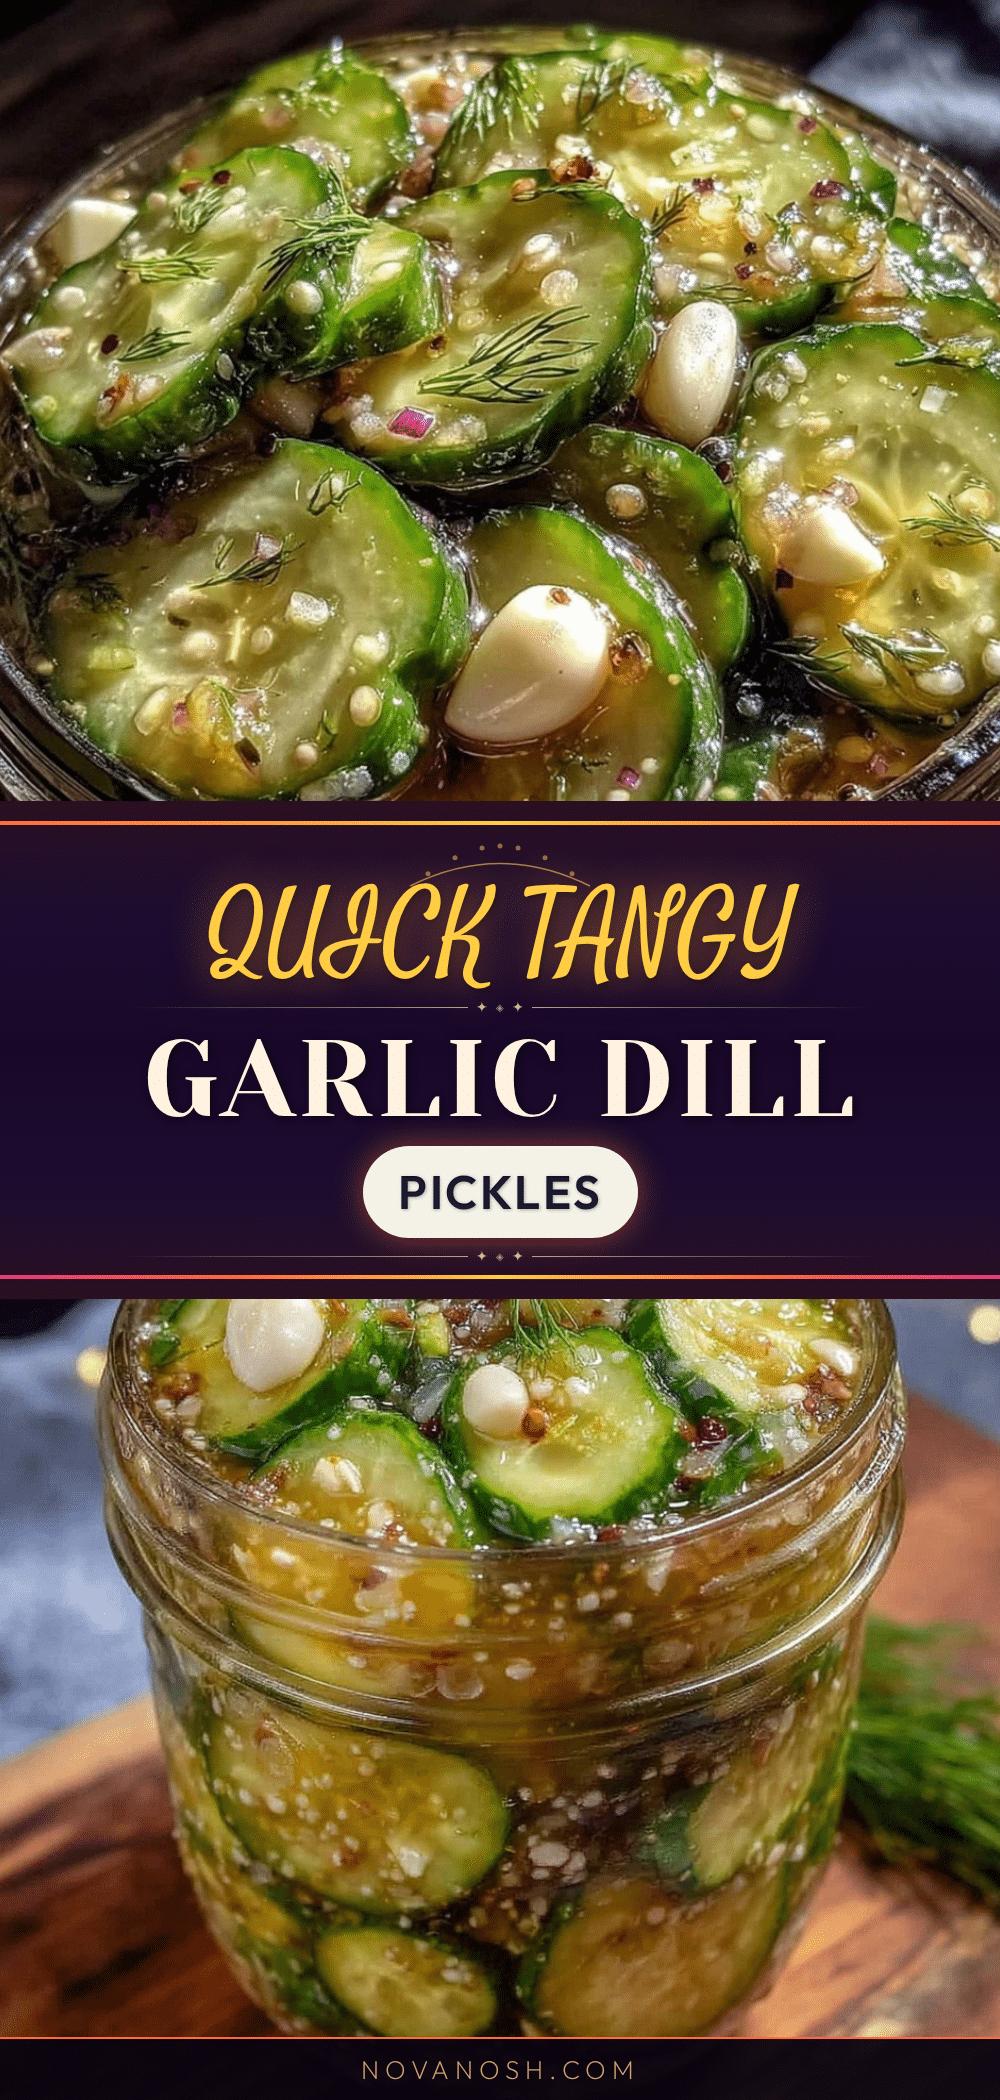
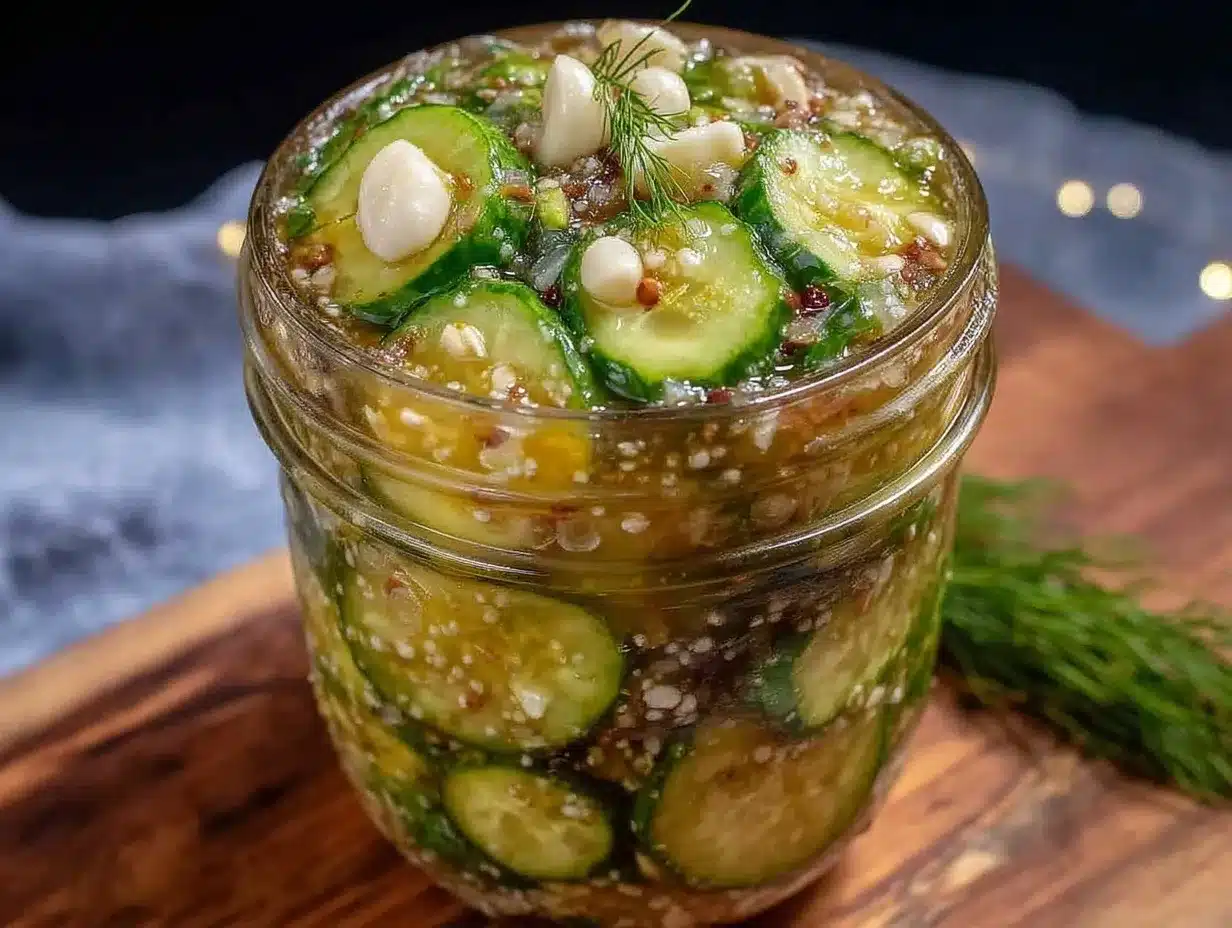
Quick Tangy Garlic Dill Refrigerator Pickles
A fast and easy recipe for tangy, crunchy garlic dill pickles made with simple ingredients and ready in just 5 minutes of prep time. Perfect for adding a burst of flavor to sandwiches and snacks.
- Prep Time: 5 minutes
- Cook Time: 0 minutes
- Total Time: 2 hours (minimum refrigeration time)
- Yield: About 4 servings 1x
- Category: Condiment
- Cuisine: American
Ingredients
- 4 medium Kirby or Persian cucumbers, sliced into 1/4-inch rounds
- 3–4 sprigs fresh dill, roughly chopped
- 3 garlic cloves, smashed or thinly sliced
- 1 cup white vinegar (250 ml)
- 1 cup water (250 ml)
- 1 tablespoon granulated sugar
- 1 tablespoon kosher salt or pickling salt
- 1 teaspoon whole black peppercorns
- 1/2 teaspoon red pepper flakes (optional)
Instructions
- Slice the cucumbers into 1/4-inch thick rounds using a sharp knife.
- In a medium bowl, combine white vinegar, water, sugar, and kosher salt. Stir until sugar and salt dissolve completely.
- Add smashed garlic cloves, fresh dill, black peppercorns, and red pepper flakes (if using) to the brine and mix gently.
- Pack cucumber slices tightly into a clean quart-sized glass jar or airtight container.
- Pour the brine over the cucumbers until fully submerged. Use a clean spoon to press down if needed.
- Seal the jar tightly and shake gently to mix ingredients.
- Refrigerate for at least 2 hours, ideally 24 hours for best flavor. Pickles will stay crisp and tangy for up to 2 weeks.
Notes
Use Kirby or Persian cucumbers for best crispness. Keep cucumbers fully submerged in brine to prevent spoilage. Fresh dill is recommended for authentic flavor. Smashing garlic gives a milder, fragrant essence. Refrigerate at least 2 hours, preferably 24 hours for best taste. Pickles keep up to 2 weeks refrigerated. Variations include adding jalapeños for spice or omitting garlic for a milder flavor.
Nutrition
- Serving Size: 2 tablespoons
- Calories: 12
- Sugar: 2
- Sodium: 600
- Carbohydrates: 3
- Fiber: 0.5
- Protein: 0.3
Keywords: quick pickles, refrigerator pickles, garlic dill pickles, easy pickles, tangy pickles, homemade pickles, dill pickles, no canning pickles