Love this? Save it for later!
Share the inspiration with your friends
My neighbor, a retired baker named Carol, asked me why I couldn’t just swap pumpkin puree into my standard snickerdoodle recipe. I started to explain why that wouldn’t work — all the extra moisture, the way pumpkin changes the chemistry of a cookie. Then I stopped. I honestly had no good reason except that I’d never tried it. So I did. And let me tell you, the first batch came out of the oven looking like sad, flat pancakes. But the taste? That was something else entirely.
I spent the next three Tuesdays in my kitchen, tweaking and testing. The problem was always the texture — too cakey, too dense, or just plain weird. Then it hit me while I was making brown sugar cookies for a potluck. Brown sugar has more moisture than white sugar, and it pairs beautifully with pumpkin. I mean, it was one of those forehead-slap moments. I swapped the white sugar for dark brown sugar, added a bit more flour, and baked them just until the edges were set. The result was these incredibly soft, pillowy cookies with that classic snickerdoodle cinnamon-sugar coating.
You know that feeling when you bite into a cookie and it just melts? That’s what these do. They have this warm, spiced flavor from the pumpkin and cinnamon, but they’re not heavy at all. My kitchen smelled like fall for days, and I may have eaten three before they even cooled completely. Maybe you’ve been there too — testing a recipe until it’s just right, then realizing the best version came from listening to someone else’s crazy idea. That’s how these Soft Baked Brown Sugar Pumpkin Snickerdoodle Cookies were born. And honestly? I’m so glad Carol asked that question.
Why You’ll Love This Recipe
I’ve tested this recipe at least eight times to get it just right. My family has been my official taste-testing committee, and they’ve been very enthusiastic about their job. These cookies have that perfect balance of pumpkin flavor and classic snickerdoodle warmth, without being too pumpkin-forward or overly sweet.
- Quick & Easy : From start to finish, these come together in about 30 minutes. No chilling required, which is a game-changer when you need cookies fast.
- Simple Ingredients : You probably have most of these in your pantry already. No fancy extracts or hard-to-find spices here.
- Perfect for Fall Baking : Great for Thanksgiving gatherings, Halloween parties, or just cozy weekend baking sessions.
- Crowd-Pleaser : I brought these to a neighborhood gathering and got asked for the recipe four times. Four!
- Unbelievably Soft : The brown sugar and pumpkin create this incredibly tender texture that stays soft for days.
What makes these different from other pumpkin snickerdoodles is the technique. I use dark brown sugar instead of white, which adds deeper flavor and keeps the cookies extra moist. The pumpkin puree is carefully measured so the cookies stay soft without becoming gummy. And that cinnamon-sugar coating? It creates this lovely crunchy exterior that contrasts perfectly with the soft inside.
This recipe is the kind that makes you close your eyes after the first bite. It’s comfort food reimagined — familiar enough to feel nostalgic, but different enough to feel special. Perfect for impressing guests without spending hours in the kitchen, or turning a simple Tuesday into something memorable.
What Ingredients You Will Need
This recipe uses simple, wholesome ingredients to deliver bold flavor and satisfying texture without the fuss. Most of these are pantry staples, which makes these cookies perfect for spontaneous baking cravings.
For the Cookie Dough:
- 1/2 cup unsalted butter, softened to room temperature (I prefer Kerrygold for its rich flavor)
- 1 cup packed dark brown sugar (light brown works too, but dark gives deeper flavor)
- 1/3 cup pumpkin puree (not pumpkin pie filling — make sure it’s 100% pure pumpkin)
- 1 large egg, room temperature
- 1 teaspoon vanilla extract
- 2 cups all-purpose flour (spooned and leveled)
- 1 teaspoon baking soda
- 1/2 teaspoon cream of tartar (this gives snickerdoodles their signature tang)
- 1/2 teaspoon salt
- 1 teaspoon ground cinnamon
- 1/2 teaspoon ground nutmeg
- 1/4 teaspoon ground ginger
- 1/8 teaspoon ground cloves
For the Cinnamon-Sugar Coating:
- 1/4 cup granulated sugar
- 2 teaspoons ground cinnamon
A few notes on ingredients. For the pumpkin puree, I recommend Libby’s or store-brand 100% pumpkin. Avoid the organic brands that are sometimes thinner — they can make the cookies too wet. The cream of tartar is non-negotiable here; it reacts with the baking soda to create that soft, pillowy texture and gives snickerdoodles their distinctive tangy flavor. If you don’t have cream of tartar, you can substitute 1 teaspoon of lemon juice or white vinegar, but the texture won’t be quite the same.
For the brown sugar, make sure it’s fresh and soft. Hard brown sugar won’t incorporate properly and can leave gritty spots in your cookies. If your brown sugar has hardened, microwave it with a damp paper towel for 20 seconds to soften it up.
You can use pumpkin pie spice instead of the individual spices if that’s what you have on hand. Just use 2 teaspoons of pumpkin pie spice in place of the cinnamon, nutmeg, ginger, and cloves.
Equipment Needed
You don’t need fancy equipment for these cookies, which is part of their charm. Here’s what you’ll need:
- Large mixing bowl and medium mixing bowl
- Electric hand mixer or stand mixer with paddle attachment (a wooden spoon works too, but your arm will get a workout)
- Measuring cups and spoons
- Baking sheets (I use Nordic Ware — they distribute heat evenly and don’t warp)
- Parchment paper or silicone baking mats
- Cookie scoop (I use a 1.5-tablespoon scoop for consistent sizing)
- Cooling rack
- Small bowl for the cinnamon-sugar coating
If you don’t have a cookie scoop, you can use two spoons to portion the dough. Just make sure each cookie is roughly the same size so they bake evenly. I learned this the hard way after making a batch where some cookies were burnt and others were underdone.
Parchment paper is worth the investment here — it prevents sticking and makes cleanup a breeze. Silicone baking mats work great too, but they can sometimes make cookies spread a bit more. I’ve used both and prefer parchment for these particular cookies.
Preparation Method
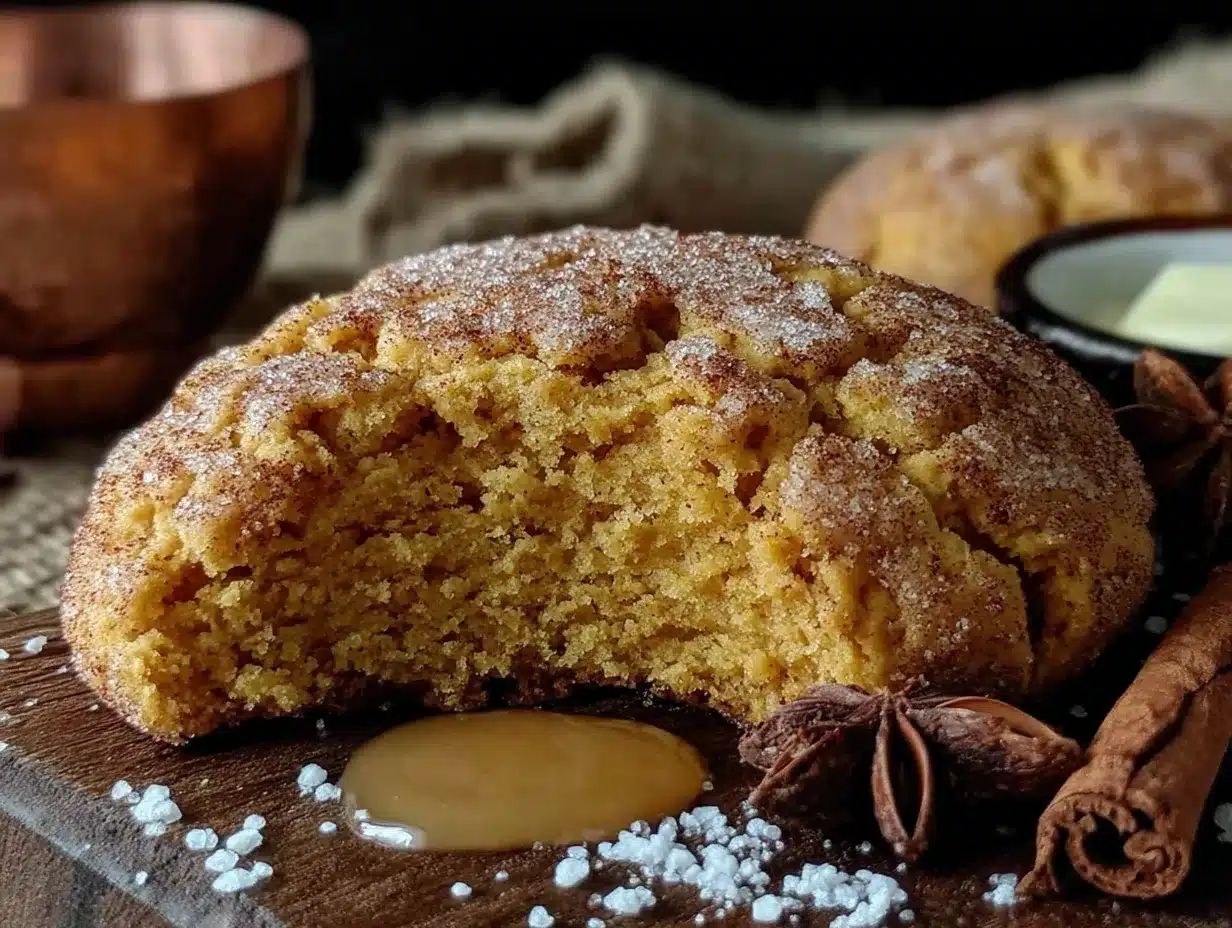
Preheat your oven to 350°F (175°C). Line two baking sheets with parchment paper or silicone mats. This recipe makes about 24 cookies, so you’ll likely need to bake in batches.
- Cream the butter and sugar. In a large mixing bowl, beat the softened butter and dark brown sugar together until light and fluffy, about 2-3 minutes. Scrape down the sides of the bowl halfway through. The mixture should look pale and slightly increased in volume. Don’t rush this step — proper creaming creates air pockets that help the cookies rise.
- Add the wet ingredients. Beat in the pumpkin puree, egg, and vanilla extract until well combined. The mixture might look slightly curdled at this point — that’s normal because of the moisture in the pumpkin. Don’t panic. Just mix until smooth.
- Mix the dry ingredients. In a separate medium bowl, whisk together the flour, baking soda, cream of tartar, salt, cinnamon, nutmeg, ginger, and cloves. Whisking ensures the spices and leavening agents are evenly distributed throughout the flour.
- Combine wet and dry. Gradually add the dry ingredients to the wet mixture, mixing on low speed or folding with a spatula until just combined. Stop mixing as soon as you no longer see streaks of flour. Overmixing develops gluten and will make your cookies tough instead of soft.
- Prepare the coating. In a small bowl, mix together the granulated sugar and cinnamon for the coating.
- Shape the cookies. Using a cookie scoop or tablespoon, portion out about 1.5 tablespoons of dough. Roll each portion into a smooth ball between your palms. The dough will be slightly sticky — that’s okay. If it’s too sticky to handle, refrigerate it for 10 minutes.
- Coat the cookies. Roll each dough ball in the cinnamon-sugar mixture until completely coated. Place them on the prepared baking sheets, spacing them about 2 inches apart. They will spread slightly, so give them room.
- Bake. Bake for 9-11 minutes, or until the edges are set and the tops look slightly cracked. The centers will still look soft and slightly underdone — that’s exactly what you want. For soft baked cookies, it’s better to underbake slightly than overbake.
- Cool. Let the cookies cool on the baking sheet for 5 minutes. This allows them to set up without becoming hard. Then transfer them to a wire rack to cool completely. If you try to move them too soon, they’ll fall apart.
Here’s a tip I learned from my third failed batch: the cookies will continue to bake from the residual heat of the pan after you take them out of the oven. So if they look slightly underdone in the center at 9 minutes, they’re perfect. If they look fully set, they’ll be overbaked and crunchy by the time they cool.
Cooking Tips & Techniques
I’ve made more batches of these cookies than I care to admit, and I’ve learned a few things along the way. Let me save you some trouble.
Don’t overmix the dough. This is the number one mistake I made. The first few batches were tough and dense because I kept mixing until everything was perfectly smooth. Stop as soon as the flour disappears. A few streaks are fine and will work themselves out during baking.
Use room temperature ingredients. Cold butter won’t cream properly with the sugar, and cold egg can make the dough lumpy. Take your butter and egg out of the fridge about 30 minutes before you start baking. For the pumpkin puree, just let it sit on the counter while you gather your other ingredients.
Measure your flour correctly. Spoon the flour into your measuring cup and level it off with a knife. Scooping directly from the bag packs the flour down and can add an extra 20-30% more flour than you need. I learned this after making a batch of cookies that were dry and crumbly — I had accidentally used too much flour.
Watch the baking time closely. Ovens vary wildly in temperature. My first oven ran hot and I burned three batches before I figured it out. Start checking at 9 minutes. The cookies are done when the edges are golden and the tops look puffed and slightly cracked. The centers should still look soft and a little underdone.
Use a cookie scoop for consistent sizing. This ensures all your cookies bake evenly. If some are larger and some are smaller, you’ll end up with burnt edges on the small ones and raw centers on the big ones.
Let them cool properly. I know it’s tempting to eat them right away, but letting them cool on the baking sheet for 5 minutes is crucial. This allows the structure to set so they don’t fall apart when you move them. Trust me, I’ve eaten more than a few cookie crumbs because I was impatient.
Variations & Adaptations
One of the best things about this recipe is how adaptable it is. Here are some variations I’ve tried and loved:
Gluten-Free Version: Substitute the all-purpose flour with a 1:1 gluten-free baking flour blend that contains xanthan gum. I’ve used Bob’s Red Mill 1:1 Baking Flour with great results. The texture will be slightly more delicate, but the flavor is still amazing.
Dairy-Free Version: Use vegan butter or coconut oil in place of the unsalted butter. If using coconut oil, make sure it’s solid but softened, not melted. I’ve tried this with Earth Balance butter and the cookies turned out perfectly soft.
White Chocolate Pumpkin Snickerdoodles: Add 1/2 cup of white chocolate chips to the dough before shaping. The sweetness of the white chocolate pairs beautifully with the warm pumpkin spices. This is my personal favorite variation.
Maple Glaze Drizzle: Mix 1/2 cup powdered sugar with 2 tablespoons maple syrup and a splash of milk. Drizzle over the cooled cookies for an extra layer of fall flavor. It takes these from delicious to absolutely decadent.
Spiced Sugar Coating: Add 1/4 teaspoon of nutmeg or ginger to the cinnamon-sugar coating for extra warmth. I sometimes add a pinch of cardamom when I’m feeling adventurous.
Pumpkin Chocolate Chip: Omit the cream of tartar and add 1 cup of semi-sweet chocolate chips. The chocolate balances the pumpkin flavor beautifully and makes these feel like a totally different cookie.
Serving & Storage Suggestions
These cookies are best served slightly warm, when the centers are still soft and the cinnamon-sugar coating is perfectly crunchy. Let them cool for about 10 minutes after baking, then serve with a glass of cold milk or a hot cup of coffee. They’re also wonderful alongside a scoop of vanilla ice cream for a simple dessert.
For storage, place the completely cooled cookies in an airtight container at room temperature. They’ll stay soft for up to 5 days — though in my house, they never last that long. To keep them extra soft, add a slice of bread to the container. The bread absorbs excess moisture and releases it back to the cookies, keeping them perfectly tender.
You can also freeze these cookies for up to 3 months. Place the baked and cooled cookies in a single layer in a freezer-safe container, with parchment paper between layers. To thaw, leave them at room temperature for about 30 minutes. You can also freeze the unbaked dough balls for up to 3 months. Just roll them in the cinnamon-sugar coating before freezing, then bake directly from frozen, adding 2-3 minutes to the baking time.
Here’s something I’ve noticed — these cookies actually taste better the next day. The flavors meld together overnight, and the texture becomes even softer. So if you can resist eating them all on day one, you’re in for a treat on day two.
Nutritional Information & Benefits
These cookies are a treat, but they do have some redeeming qualities. Each cookie (based on 24 servings) contains approximately:
- Calories: 145
- Fat: 5g
- Carbohydrates: 24g
- Protein: 2g
- Sugar: 14g
- Fiber: 1g
The pumpkin puree adds vitamin A and fiber, which you don’t usually get from cookies. The cinnamon has anti-inflammatory properties and may help with blood sugar regulation. And the brown sugar, while still sugar, contains trace amounts of molasses which provides small amounts of calcium, potassium, and iron.
These cookies are vegetarian and can easily be made dairy-free or gluten-free with the substitutions mentioned above. They do contain wheat and dairy in their standard form, so keep that in mind for anyone with allergies.
I’m not one to pretend cookies are health food, but I do feel a little better about eating three of these knowing there’s actual pumpkin in them. Moderation is key, but honestly? These are worth every single calorie.
Frequently Asked Questions
Can I use pumpkin pie filling instead of pumpkin puree?
No, please don’t. Pumpkin pie filling has added sugar and spices, which will throw off the balance of the recipe. Stick with 100% pure pumpkin puree for the best results.
Why did my cookies turn out flat?
This usually happens when the butter is too soft or melted, or if you used too much pumpkin puree. Make sure your butter is softened but not melted, and measure your pumpkin carefully. Also, check that your baking soda is fresh — old baking soda won’t provide enough lift.
Can I make these cookies ahead of time?
Absolutely! You can make the dough up to 3 days ahead and keep it in the refrigerator. Let it sit at room temperature for 10 minutes before shaping and baking. You can also freeze the baked cookies for up to 3 months.
Do I have to use cream of tartar?
Yes, for the best texture. Cream of tartar gives snickerdoodles their signature soft, pillowy texture and slight tang. If you don’t have it, you can substitute 1 teaspoon of lemon juice or white vinegar, but the texture will be slightly different.
Can I double this recipe?
Yes, this recipe doubles beautifully. Just make sure you have enough baking sheets or bake in batches. The dough can be kept in the refrigerator while you bake the first batch.
Conclusion
These Soft Baked Brown Sugar Pumpkin Snickerdoodle Cookies are everything I want in a fall cookie — warm, spiced, incredibly soft, and just a little bit different from the usual. They came from a moment of humility, when I listened to someone else’s idea instead of trusting my own assumptions. And honestly? That’s what makes them special.
I hope you give these a try and make them your own. Maybe add some white chocolate chips, or drizzle them with maple glaze, or just enjoy them as they are with a cup of coffee on a crisp autumn afternoon. However you make them, I’d love to hear about it. Drop a comment below and let me know how they turned out, or share your own twist on the recipe.
Happy baking, friends. May your cookies always be soft, your cinnamon-sugar coating always stick, and your kitchen always smell like fall.
Pin This Recipe!
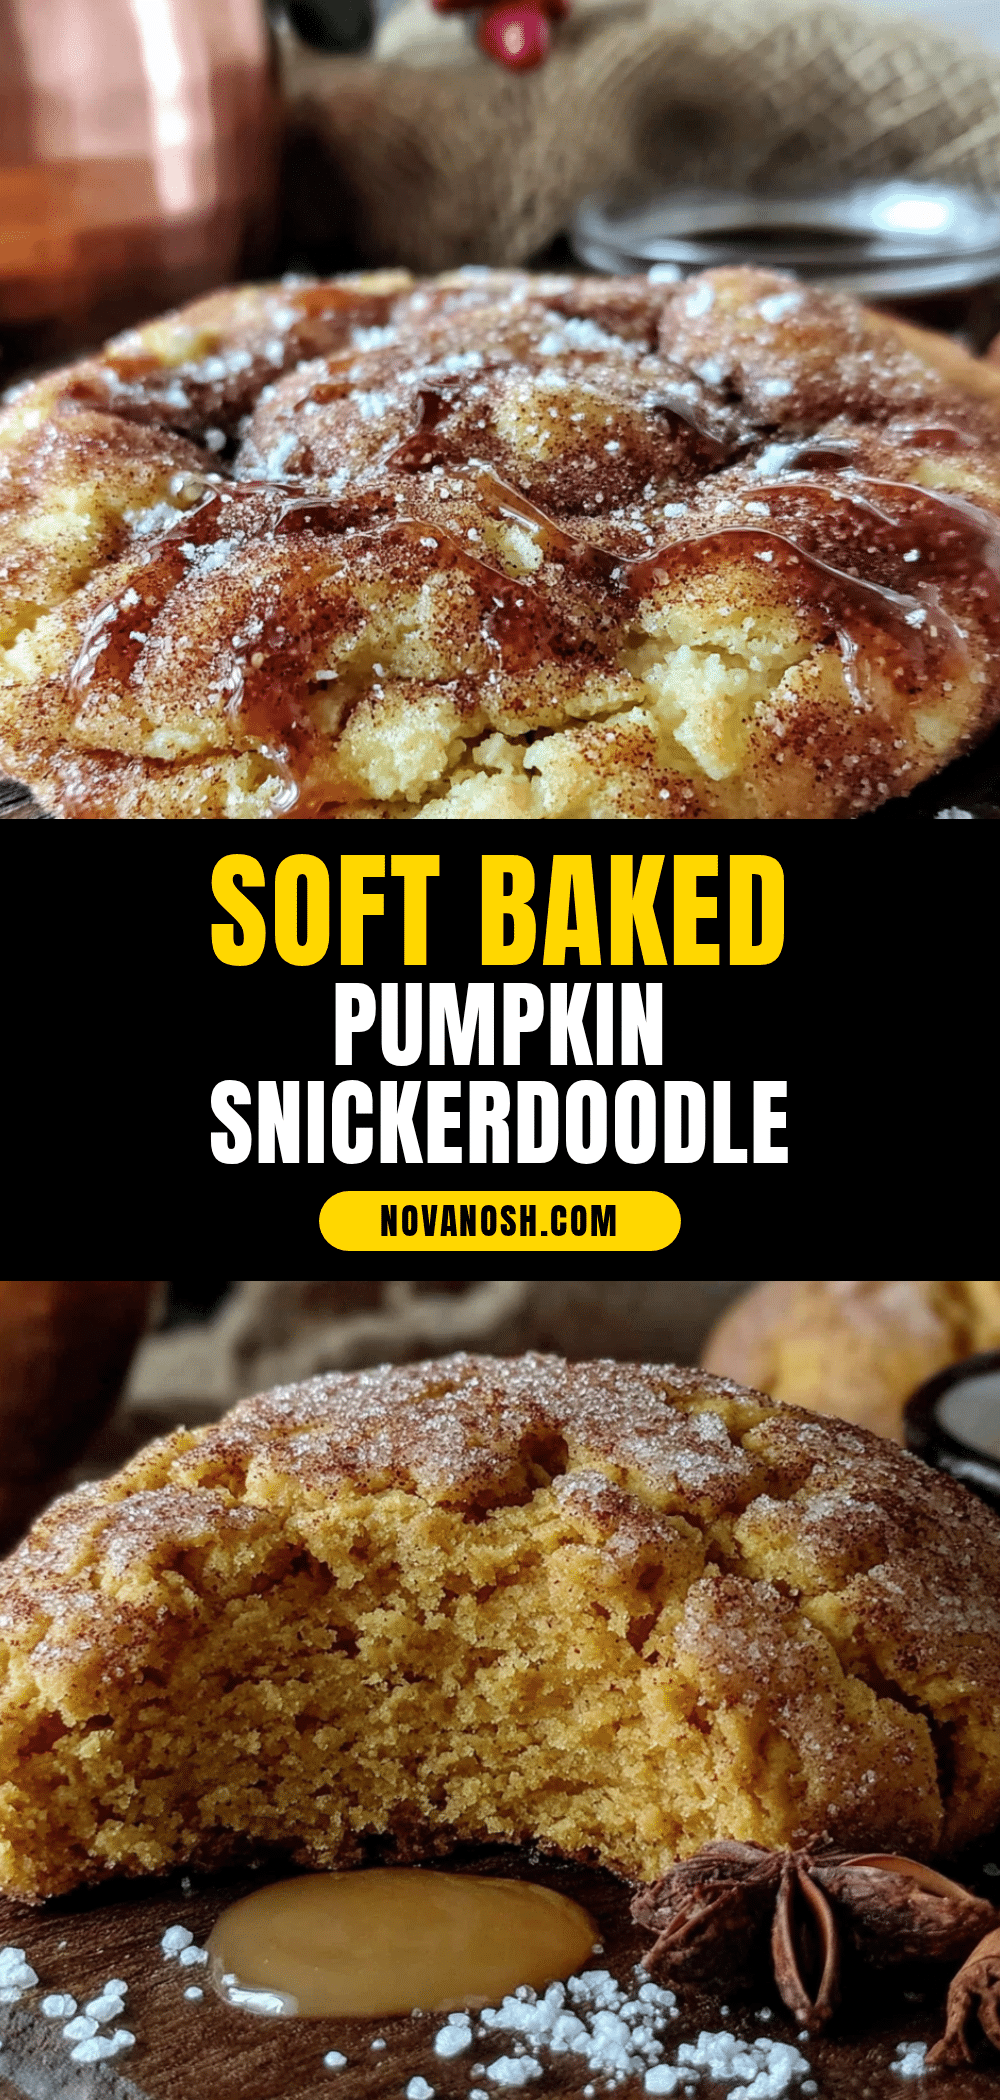
Soft Baked Brown Sugar Pumpkin Snickerdoodle Cookies
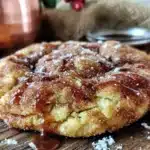
These incredibly soft, pillowy cookies combine the warm spiced flavor of pumpkin with the classic cinnamon-sugar coating of snickerdoodles. Made with dark brown sugar for extra moisture and depth, they’re a perfect fall treat that stays soft for days.
- Prep Time: 15 minutes
- Cook Time: 10 minutes
- Total Time: 25 minutes
- Yield: 24 cookies 1x
- Category: Dessert
- Cuisine: American
Ingredients
- 1/2 cup unsalted butter, softened to room temperature
- 1 cup packed dark brown sugar
- 1/3 cup pumpkin puree (100% pure pumpkin)
- 1 large egg, room temperature
- 1 teaspoon vanilla extract
- 2 cups all-purpose flour (spooned and leveled)
- 1 teaspoon baking soda
- 1/2 teaspoon cream of tartar
- 1/2 teaspoon salt
- 1 teaspoon ground cinnamon
- 1/2 teaspoon ground nutmeg
- 1/4 teaspoon ground ginger
- 1/8 teaspoon ground cloves
- 1/4 cup granulated sugar (for coating)
- 2 teaspoons ground cinnamon (for coating)
Instructions
- Preheat oven to 350°F (175°C). Line two baking sheets with parchment paper or silicone mats.
- In a large mixing bowl, beat the softened butter and dark brown sugar together until light and fluffy, about 2-3 minutes. Scrape down the sides of the bowl halfway through.
- Beat in the pumpkin puree, egg, and vanilla extract until well combined. The mixture might look slightly curdled; mix until smooth.
- In a separate medium bowl, whisk together the flour, baking soda, cream of tartar, salt, cinnamon, nutmeg, ginger, and cloves.
- Gradually add the dry ingredients to the wet mixture, mixing on low speed or folding with a spatula until just combined. Do not overmix.
- In a small bowl, mix together the granulated sugar and cinnamon for the coating.
- Using a cookie scoop or tablespoon, portion out about 1.5 tablespoons of dough. Roll each portion into a smooth ball between your palms.
- Roll each dough ball in the cinnamon-sugar mixture until completely coated. Place on prepared baking sheets, spacing them about 2 inches apart.
- Bake for 9-11 minutes, or until the edges are set and the tops look slightly cracked. The centers will still look soft and slightly underdone.
- Let the cookies cool on the baking sheet for 5 minutes, then transfer to a wire rack to cool completely.
Notes
For best results, use room temperature ingredients. Do not overmix the dough. The cookies will continue to bake from residual heat after removal from oven; they are done when edges are set and tops look slightly cracked. For extra softness, store with a slice of bread in an airtight container. Cookies taste even better the next day.
Nutrition
- Serving Size: 1 cookie
- Calories: 145
- Sugar: 14
- Sodium: 120
- Fat: 5
- Saturated Fat: 3
- Carbohydrates: 24
- Fiber: 1
- Protein: 2
Keywords: pumpkin snickerdoodle, soft baked cookies, brown sugar cookies, fall cookies, pumpkin cookies, snickerdoodle recipe