Love this? Save it for later!
Share the inspiration with your friends
It was 10:47 PM on a random Thursday, and I had a sudden, ridiculous craving for something sticky, salty, and sweet. Not the kind of craving you can ignore with a glass of water and a stern talking-to. I was supposed to be meal-prepping for the weekend, but my brain had other plans. I didn’t have a full rack of ribs or a whole chicken to roast, but I had a bag of chicken wings in the freezer, some honey that was about to crystallize, and a half-empty bottle of soy sauce. Honestly, that’s all it ever takes. I started pulling things out of the pantry, and let me tell you, the quiet of a late-night kitchen is a magical thing. No one is judging your ratios, and you can lick the spoon without an audience.
I wasn’t trying to create a masterpiece. I was just trying to satisfy that itch for something deeply savory and sweet. The kind of wing that makes you forget your manners and eat with your hands, licking the glaze off your fingers without a shred of dignity. I tossed the wings in a simple mix of pantry staples, threw them in the oven, and waited. The smell that filled my apartment was so good it woke up my roommate, who stumbled out in her pajamas asking, “Is something burning? Or is that heaven?” It was heaven. The glaze caramelized into a perfect, glossy shell, and the meat was so tender it practically fell off the bone. I knew right then I had stumbled onto something special, something that needed to be shared. Maybe you’ve been there—staring into your fridge, thinking you have nothing, but actually having everything you need for a truly unforgettable snack. These sticky honey garlic chicken wings are that recipe.
Why You’ll Love This Recipe
Let’s be real for a second. There are a million wing recipes out there. I’ve tested dozens of them, from complicated double-frying methods to dry rubs that require a trip to a specialty spice store. This one is different. This one is the keeper. It’s the recipe I bring to every tailgate, every game day party, and every time I need to impress people without breaking a sweat. It has earned a permanent spot in my rotation, and here is why you are going to feel the same way.
- Quick & Easy: These wings come together in under an hour, with just 10 minutes of active prep. The oven does the heavy lifting, which means you can actually hang out with your guests instead of slaving over a fryer. Perfect for busy weeknights or last-minute party planning.
- Simple Ingredients: No fancy grocery trips needed. You likely already have the honey, soy sauce, garlic, and a few other basics in your kitchen right now. This is a “raid the pantry” kind of recipe that saves the day.
- Perfect for Tailgates: These wings were practically born for a parking lot party. They are sturdy enough to transport, delicious at room temperature, and the sticky factor means they pair perfectly with a cold beer and a paper towel roll.
- Crowd-Pleaser: I have yet to meet a person who doesn’t go back for seconds (or thirds) of these wings. They disappear off the platter faster than anything else. Kids love them, adults love them, and even your picky-eater friend will be asking for the recipe.
- Unbelievably Delicious: The texture is what gets everyone. You get a perfectly crispy, rendered skin that is then coated in a thick, glossy, sweet-and-savory glaze. It’s not just a sauce; it’s a caramelized shell that shatters slightly when you bite into it. It is next-level comfort food.
This isn’t just another wing recipe. The secret is in the technique—baking the wings at a high temperature to render the fat and get the skin crispy *before* you add the sticky glaze. This prevents the wings from turning into a soggy mess. The result is a perfectly balanced wing: crispy on the outside, juicy on the inside, and coated in a honey garlic glaze that hits all the right notes. It is the kind of recipe that makes you close your eyes after the first bite, and honestly, that is the highest compliment I can give.
What Ingredients You Will Need
This recipe relies on a handful of simple, powerful ingredients to create that signature sticky, savory, and sweet flavor profile. Each component plays a crucial role, from building the crispy base to creating the glossy finish. Here is everything you need to make these unforgettable chicken wings.
- For the Wings:
- 2 lbs (900g) chicken wings, separated into drumettes and flats (You can buy them pre-cut, or do it yourself. I prefer to buy whole wings and cut them at home—it saves a bit of money, and you can save the wing tips for stock.)
- 1 tablespoon (15ml) baking powder (This is the secret to crispy skin without deep frying! Do not skip it. It helps dry out the skin and create tiny bubbles that get super crispy in the oven.)
- 1 teaspoon (5g) kosher salt (I prefer Diamond Crystal for its purity, but any kosher salt works. Table salt is much saltier, so use half the amount if that’s all you have.)
- 1/2 teaspoon (2g) black pepper (Freshly ground is always best for that little pop of warmth.)
- 1/2 teaspoon (2g) garlic powder (Not to be confused with garlic salt. This adds a subtle savory base to the skin.)
- For the Sticky Honey Garlic Glaze:
- 1/3 cup (113g) honey (Use a good quality, runny honey. If your honey is crystallized, just warm it up gently in the microwave for a few seconds.)
- 1/4 cup (60ml) low-sodium soy sauce (Low-sodium is key here to control the saltiness. You can also use tamari for a gluten-free option.)
- 4 cloves garlic, minced (Do not use the jarred stuff. Fresh garlic is non-negotiable for that pungent, aromatic flavor that is the heart of this glaze.)
- 2 tablespoons (30ml) rice vinegar (This adds a necessary brightness and acidity to cut through the sweetness. Apple cider vinegar works in a pinch.)
- 1 tablespoon (15ml) sriracha (Optional, but highly recommended. It doesn’t make the wings spicy, it just adds a little depth and a gentle warmth. You can use sambal oelek or red pepper flakes instead.)
- 1 tablespoon (15g) unsalted butter (This is my secret weapon. A little butter stirred in at the end gives the glaze a beautiful shine, a silky texture, and a rich finish.)
- 1 teaspoon (5ml) sesame oil (For a final touch of nutty aroma. A little goes a long way.)
- For Garnish:
- 2 green onions, thinly sliced (For a fresh, sharp bite and a pop of color.)
- 1 tablespoon (15g) toasted sesame seeds (Adds a lovely nutty crunch and makes the wings look extra professional.)
Equipment Needed
You don’t need a deep fryer or a specialty air fryer for these wings. The beauty of this recipe is that it relies on standard kitchen equipment that you probably already own. Here is what you will need to get the job done.
- Large Baking Sheet: A half-sheet pan (18×13 inches) is ideal. It gives the wings enough space to spread out and crisp up without steaming each other. If your pan is smaller, use two pans.
- Wire Rack: This is a game-changer. Placing a wire rack on top of your baking sheet allows hot air to circulate all around the wings, ensuring they get crispy on the bottom as well as the top. It is a cheap investment that makes a huge difference.
- Large Mixing Bowls: You will need one for tossing the wings in the baking powder mixture, and another small bowl for whisking the glaze ingredients together.
- Small Saucepan: For simmering the glaze. A non-stick saucepan is nice for easy cleanup, but any small pot will do.
- Whisk and Spatula: A whisk for the glaze and a silicone spatula for tossing the baked wings in the sticky goodness.
- Paper Towels: An essential tool for patting those wings bone-dry before you start. This step is crucial for maximum crispiness.
Preparation Method
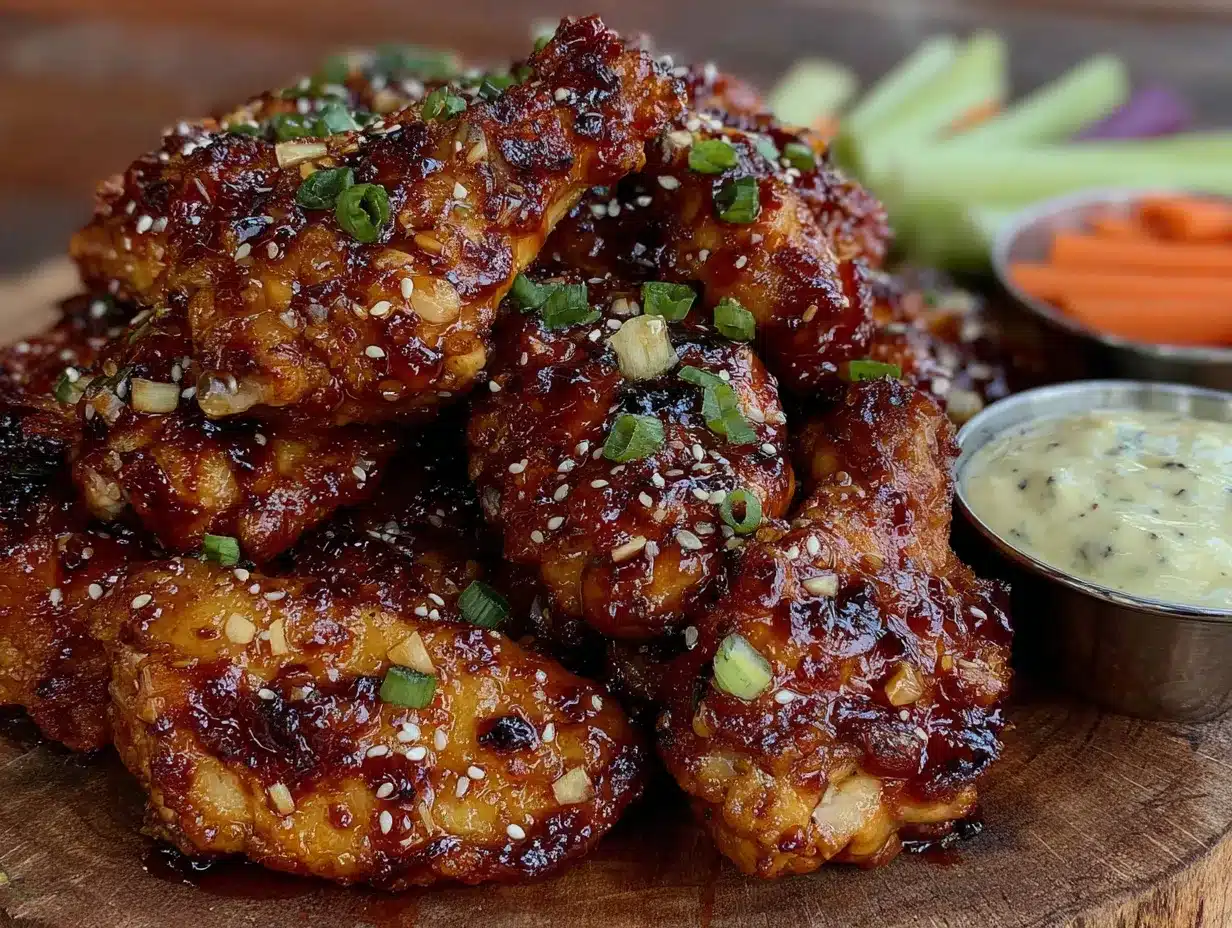
Alright, let’s get cooking. This process is broken down into simple, manageable steps. Follow these closely, and you will have the most incredible sticky honey garlic chicken wings of your life. Trust the process, especially the part about drying the wings. It matters more than you think.
- Prep the Wings (The Most Important Step): Start by patting your chicken wings completely dry with paper towels. I mean, really dry. You want to remove as much surface moisture as possible. This is the single most critical step for achieving crispy skin. If your wings are wet, they will steam instead of crisp. Place the dried wings in a large mixing bowl.
- Create the Crispy Coating: In a small bowl, whisk together the baking powder, kosher salt, black pepper, and garlic powder. Sprinkle this mixture evenly over the dried wings. Toss the wings with your hands to ensure every single piece is coated in the powder. Don’t be shy—massage it into the skin. The baking powder is not a leavening agent here; it’s a drying agent that helps the skin bubble up and get shatteringly crisp.
- Set Up Your Baking Station: Place a wire rack on top of your large baking sheet. Arrange the coated wings in a single layer on the rack, making sure they are not touching. If they are crowded, they will steam. You want space between each wing for the hot air to circulate. Refrigerate the wings, uncovered, for at least 30 minutes. This is a pro move that lets the baking powder dry out the skin even more. If you are short on time, you can skip this, but the results are noticeably better with a little rest.
- Bake the Wings: Preheat your oven to 425°F (220°C). Once hot, place the baking sheet on the middle rack. Bake the wings for 45-50 minutes, flipping them over halfway through (at the 25-minute mark). You are looking for deep golden brown skin that is crispy to the touch. The wings will look a little dry and puffed up—that is perfect. Do not rush this step; the rendered fat is what creates the flavor.
- Make the Sticky Glaze: While the wings are baking, make the glaze. In a small saucepan, combine the honey, low-sodium soy sauce, minced garlic, rice vinegar, and sriracha (if using). Place the pan over medium heat and bring the mixture to a gentle simmer. Let it bubble away for 5-7 minutes, stirring occasionally, until it has thickened slightly and reduced by about a third. It should coat the back of a spoon. Remove the pan from the heat and immediately whisk in the butter and sesame oil. The butter will melt into the glaze, giving it a beautiful, glossy shine. Set the glaze aside.
- Glaze and Finish: Once the wings are out of the oven, let them cool for just 2-3 minutes on the rack. Then, transfer the hot wings to a large, clean mixing bowl. Pour the warm glaze over the wings. Using a spatula, toss the wings gently but thoroughly until every single piece is coated in that sticky, shiny goodness. The heat from the wings will help the glaze adhere perfectly.
- Serve Immediately: Transfer the glazed wings to a serving platter. Sprinkle generously with the sliced green onions and toasted sesame seeds. Serve them hot, while the glaze is still sticky and the skin is still crispy. Watch them disappear.
Cooking Tips & Techniques
Over the years, I have made a few mistakes with these wings so you don’t have to. I’ve produced soggy wings, burnt garlic, and glazes that were more like soup. Here are the hard-earned lessons that will guarantee your success every single time.
- The Baking Powder is Non-Negotiable: I know it sounds weird, but do not skip it. Aluminum-free baking powder is best to avoid any metallic aftertaste. This, combined with the low-and-slow drying process, is what gives you that deep-fried texture without the deep fryer. I once forgot the baking powder, and the skin was just… sad. Flabby. Learn from my mistake.
- Patience with the Glaze: The biggest mistake people make is adding the glaze too early or making it too thin. You want to simmer it until it is thick and syrupy. If it is too thin, it will just run off the wings and make a puddle on your plate. A good test is to draw a line through the glaze on the back of your spoon with your finger—if the line holds, it’s ready.
- Don’t Overcrowd the Pan: I cannot stress this enough. If you cram all the wings onto one baking sheet without a rack, they will release steam and boil in their own juices. Use a rack, and give them space. If you are making a big batch for a tailgate, it is better to use two pans than to overcrowd one.
- Glaze at the Last Minute: The glaze is best when it’s fresh. Only toss the wings in the glaze right before you serve them. If you let them sit for too long, the moisture from the glaze will soften the crispy skin. For a tailgate, I like to bring the baked wings and the warm glaze in separate containers and toss them together right before serving. It’s a showstopper moment.
- Double-Dip for Extra Sticky: If you like your wings *really* sticky and coated, you can double-glaze them. After the first toss, lay the wings back on the wire rack and brush them with another layer of glaze. Pop them back under the broiler for 1-2 minutes to set the glaze. This creates an almost candy-like shell.
Variations & Adaptations
This recipe is a fantastic base, and it is incredibly forgiving. I have played around with it quite a bit, and here are some of my favorite variations that you can try to make it your own.
- Spicy Korean Gochujang: For a deeper, more complex heat, swap the sriracha in the glaze for 1-2 tablespoons of gochujang (Korean chili paste). Whisk it in with the honey and soy sauce. It adds an incredible umami flavor and a beautiful deep red color. This is my personal favorite variation when I want something with a bit more punch.
- Air Fryer Method: This recipe works beautifully in an air fryer. Follow the same steps for drying and coating the wings. Preheat your air fryer to 400°F (200°C). Cook the wings in a single layer (you may need to work in batches) for 20-25 minutes, shaking the basket halfway through. They get incredibly crispy, even faster than the oven. Toss with the glaze as directed.
- Garlic Lovers’ Version: If you are a garlic fiend like me, double the amount of minced garlic in the glaze. For an even deeper garlic flavor, roast a whole head of garlic until it is soft and jammy, then squeeze the cloves into the glaze and whisk until smooth. It adds a sweet, mellow garlic note that is incredible.
- Gluten-Free & Soy-Free: To make this recipe gluten-free, simply use tamari or coconut aminos in place of the soy sauce. For a soy-free version, coconut aminos are a perfect substitute. They are slightly sweeter, so you might want to reduce the honey by a tablespoon. The rest of the ingredients are naturally gluten-free.
- Smoked Wings: For a tailgate that involves a smoker, this is a game-changer. Smoke the wings at 225°F (110°C) for about 1.5 hours, or until they reach an internal temperature of 165°F (74°C). Then, crank up the heat to 425°F (220°C) or use a grill to crisp the skin. Toss with the glaze. The smoky flavor with the sweet honey garlic is a match made in heaven.
Serving & Storage Suggestions
These wings are incredibly versatile, but they are at their absolute best when served fresh and hot. Here is how to serve them like a pro and handle any leftovers (though, honestly, leftovers are rare in my house).
Serving: I love serving these wings on a large wooden board or a platter lined with parchment paper (it helps with the sticky cleanup!). A big pile of extra napkins is a must. They pair beautifully with classic crudités like celery and carrot sticks, which provide a cool, crunchy contrast to the sticky, rich wings. For a complete tailgate spread, serve them alongside a creamy blue cheese or ranch dressing for dipping. A cold, crisp lager or a citrusy IPA is the perfect beverage pairing to cut through the sweetness.
Storage: If you have any leftovers, let the wings cool completely to room temperature. Transfer them to an airtight container and store them in the refrigerator for up to 3 days. The glaze will set and become even stickier overnight.
Reheating: The best way to reheat these wings is in the oven or an air fryer. Do not use the microwave—it will make the skin rubbery and sad. Preheat your oven to 375°F (190°C). Place the wings on a wire rack over a baking sheet and reheat for 8-10 minutes, or until they are hot and the skin crisps back up. In an air fryer, reheat at 350°F (175°C) for 4-5 minutes. If you want to refresh the glaze, brush them with a little extra honey or sauce right before serving.
Nutritional Information & Benefits
Let’s be honest—these are indulgent party wings, not a health food. But that doesn’t mean we can’t appreciate what is in them! Knowing the nutritional profile helps you enjoy them mindfully. Here is an estimated breakdown per serving (based on 4 servings, about 8-10 wings per person).
| Nutrient | Amount Per Serving |
|---|---|
| Calories | 480-550 kcal |
| Protein | 35g |
| Fat | 28g |
| Saturated Fat | 8g |
| Carbohydrates | 25g |
| Sugar | 22g |
| Sodium | 900mg |
Chicken wings are a good source of high-quality protein and essential B vitamins, particularly B6 and B12, which are important for energy metabolism. The skin does contain fat, but baking (as opposed to frying) helps render much of it away, reducing the overall fat content. Honey, while a sugar, provides a quick source of energy and contains trace amounts of antioxidants. The garlic in the glaze is a powerhouse ingredient known for its anti-inflammatory and immune-supporting properties. This recipe is naturally gluten-free (if using tamari) and dairy-free (if you omit the butter or use a plant-based alternative).
Conclusion
So there you have it—my tried-and-true recipe for the best sticky honey garlic chicken wings you will ever make. These wings are more than just a snack; they are a statement. They are the dish that gets you invited back to the tailgate, the recipe your friends will text you about at 11 PM on a Thursday. They are simple enough for a weeknight dinner but impressive enough for the biggest game day party.
I really hope you give these a try. Don’t be afraid to make them your own—add more garlic, dial up the heat, or experiment with the air fryer. The best recipes are the ones you adapt to your own taste. When you make them, I want to hear all about it! Did you try a different variation? Did your guests go wild for them? Drop a comment below and let me know how they turned out. And if you snap a photo, tag me—I love seeing your creations. Now go get those wings sticky!
Frequently Asked Questions
Can I use frozen chicken wings?
Yes, you can use frozen wings, but you must thaw them completely in the refrigerator first. Pat them very dry before starting the recipe. Frozen wings hold a lot of moisture, and if you don’t dry them thoroughly, they will not get crispy.
Why are my wings not crispy?
The most common reason is moisture. Either the wings weren’t dried well enough before adding the baking powder, or they were overcrowded on the pan, causing them to steam. Make sure your wings are bone-dry and have plenty of space on the rack.
Can I make the glaze ahead of time?
Absolutely! You can make the glaze up to 3 days in advance. Store it in an airtight container in the refrigerator. When you are ready to use it, gently reheat it on the stovetop or in the microwave until it is warm and fluid again. You may need to whisk in a teaspoon of water to loosen it up.
How do I make these wings less sweet?
If you prefer a more savory wing, reduce the honey to 1/4 cup and add an extra tablespoon of soy sauce. You can also add a splash of lime juice or increase the amount of vinegar to balance the sweetness with more acidity.
Can I grill these wings instead of baking?
Yes, grilling is a fantastic option! Grill the wings over medium heat (350-400°F) for about 20-25 minutes, turning frequently, until they are cooked through and have nice char marks. Toss them in the glaze during the last few minutes on the grill to let it caramelize, but watch it closely so it doesn’t burn.
Pin This Recipe!
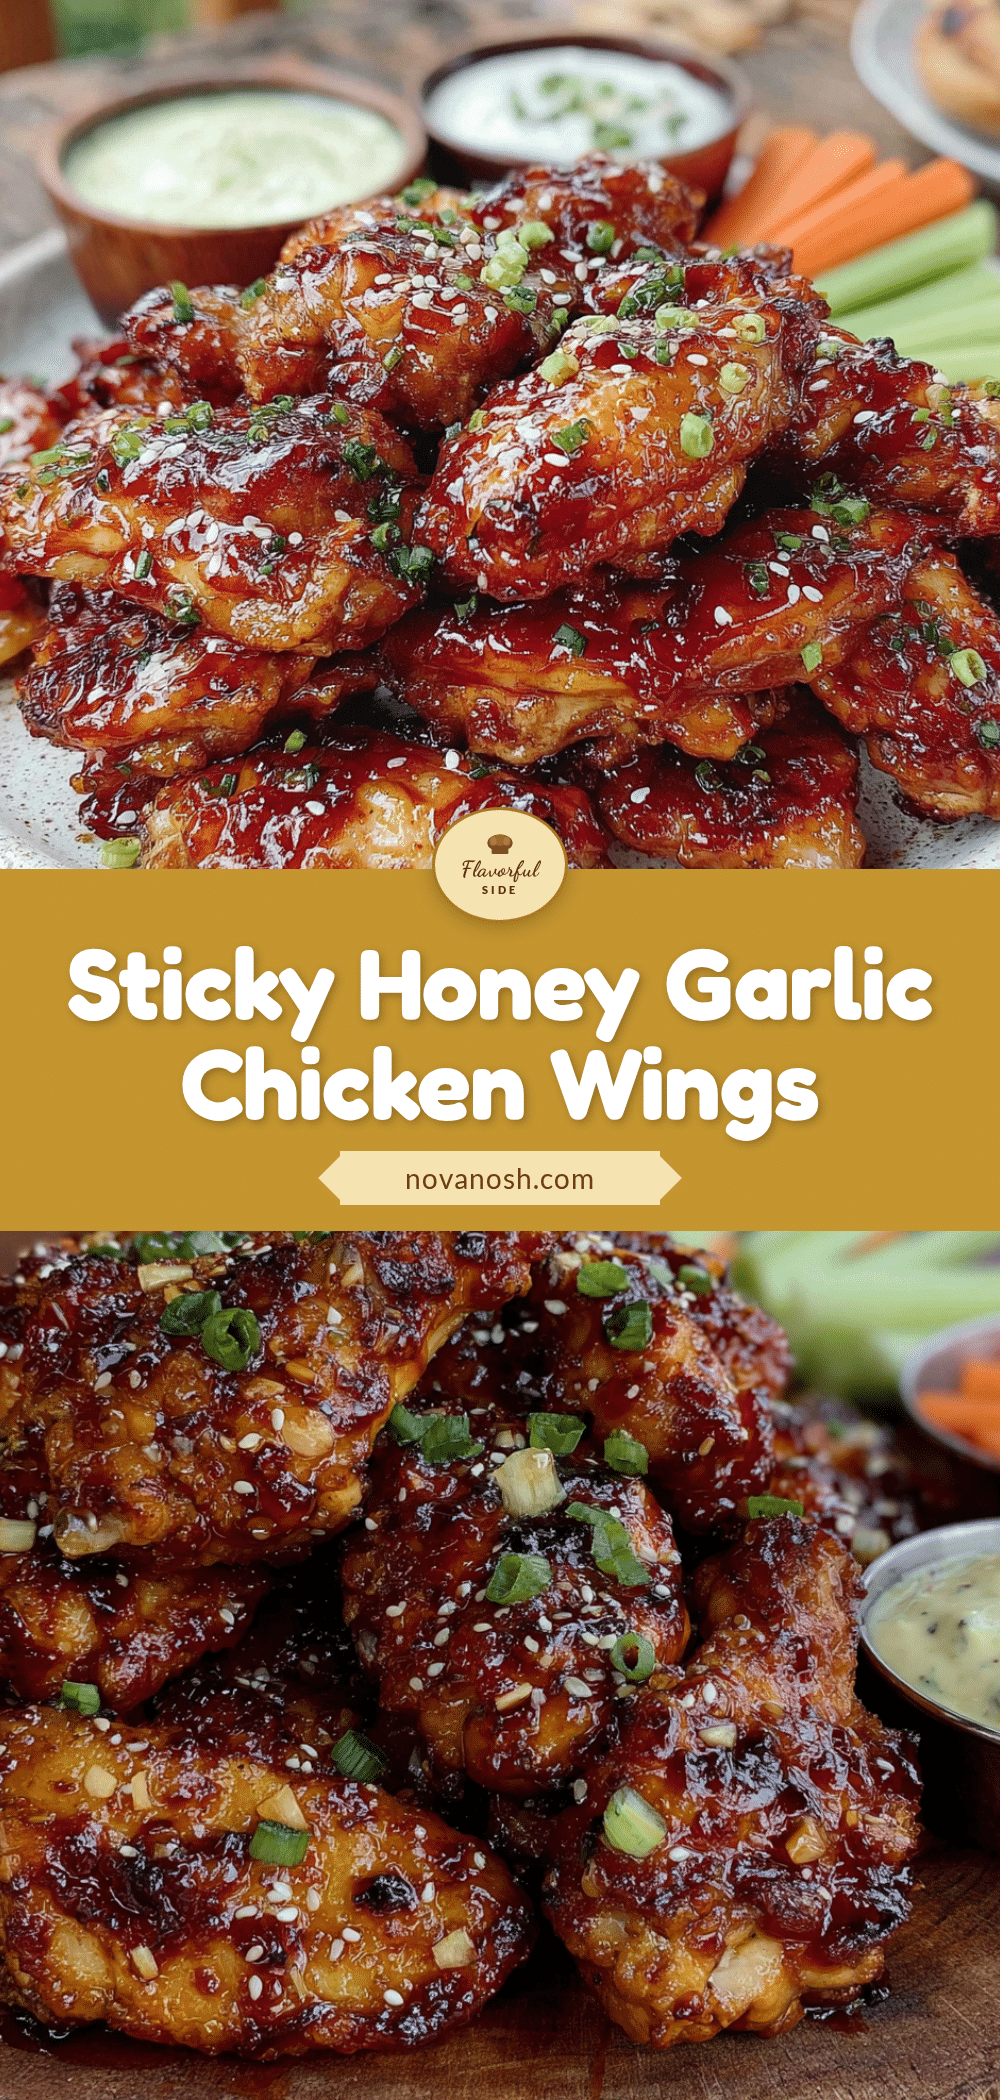
Easy Sticky Honey Garlic Chicken Wings for Tailgate Parties

These sticky honey garlic chicken wings are baked to crispy perfection and coated in a glossy, sweet-and-savory glaze. Perfect for tailgates, game day parties, or any gathering, they come together in under an hour with simple pantry ingredients.
- Prep Time: 10 minutes
- Cook Time: 50 minutes
- Total Time: 1 hour (including 30 minutes optional refrigeration)
- Yield: 4 servings 1x
- Category: Appetizer
- Cuisine: American
Ingredients
- 2 lbs (900g) chicken wings, separated into drumettes and flats
- 1 tablespoon (15ml) baking powder
- 1 teaspoon (5g) kosher salt
- 1/2 teaspoon (2g) black pepper
- 1/2 teaspoon (2g) garlic powder
- 1/3 cup (113g) honey
- 1/4 cup (60ml) low-sodium soy sauce
- 4 cloves garlic, minced
- 2 tablespoons (30ml) rice vinegar
- 1 tablespoon (15ml) sriracha (optional)
- 1 tablespoon (15g) unsalted butter
- 1 teaspoon (5ml) sesame oil
- 2 green onions, thinly sliced
- 1 tablespoon (15g) toasted sesame seeds
Instructions
- Pat the chicken wings completely dry with paper towels. Place in a large mixing bowl.
- In a small bowl, whisk together baking powder, kosher salt, black pepper, and garlic powder. Sprinkle evenly over the wings and toss to coat thoroughly.
- Place a wire rack on a large baking sheet. Arrange the coated wings in a single layer on the rack, ensuring they are not touching. Refrigerate uncovered for at least 30 minutes (or skip if short on time).
- Preheat oven to 425°F (220°C). Bake wings for 45-50 minutes, flipping halfway through, until deep golden brown and crispy.
- While wings bake, make the glaze: In a small saucepan, combine honey, soy sauce, minced garlic, rice vinegar, and sriracha (if using). Bring to a gentle simmer over medium heat and cook for 5-7 minutes, stirring occasionally, until thickened. Remove from heat and whisk in butter and sesame oil.
- Let baked wings cool for 2-3 minutes, then transfer to a large bowl. Pour warm glaze over wings and toss gently until evenly coated.
- Transfer to a serving platter, sprinkle with sliced green onions and toasted sesame seeds. Serve immediately.
Notes
For extra crispy skin, ensure wings are thoroughly dried and use a wire rack. The glaze can be made up to 3 days ahead and reheated. For a tailgate, bring baked wings and warm glaze separately and toss just before serving.
Nutrition
- Serving Size: 8-10 wings per servi
- Calories: 515
- Sugar: 22
- Sodium: 900
- Fat: 28
- Saturated Fat: 8
- Carbohydrates: 25
- Protein: 35
Keywords: sticky honey garlic chicken wings, baked chicken wings, tailgate wings, game day wings, crispy wings, honey garlic glaze