Love this? Save it for later!
Share the inspiration with your friends
It was 11:17 PM on a random Tuesday, and I had a very specific, almost ridiculous craving for banana bread. Not just any banana bread—the kind with a crackly, sugar-crusted top and a tender, melt-in-your-mouth center. The kind that fills your whole apartment with that warm, cozy smell that makes you feel like everything is going to be okay. The only problem? I didn’t have a mixer. My stand mixer was buried somewhere in the back of a cabinet, and my hand mixer had given up the ghost three moves ago. I stood there, staring at three overly ripe bananas on the counter, and just… improvised.
I grabbed a big bowl, a fork, and decided to see if I could make it work with nothing but elbow grease and sheer stubbornness. I mashed the bananas with the fork—it was a little messy, honestly, and I got a few chunks on my shirt—but it felt good. There’s something about doing it by hand that makes you feel more connected to the food, you know? I tossed in the rest of the ingredients, stirred until it just came together, and poured the batter into a loaf pan. I wasn’t sure it would work. I mean, I was half-asleep and running on pure impulse.
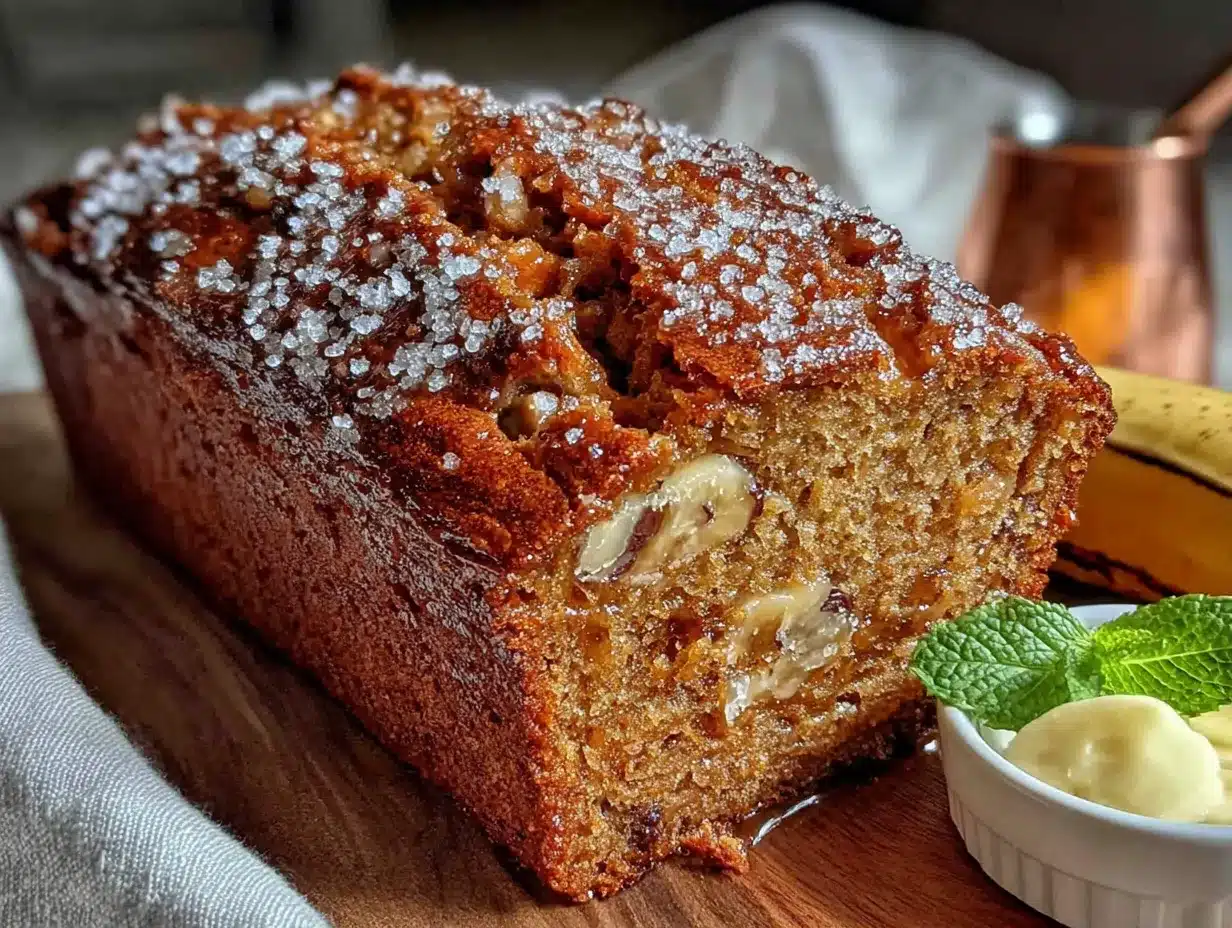
But when I pulled that loaf out of the oven thirty-five minutes later, I knew I had stumbled onto something. The top was perfectly golden and cracked in all the right places. The kitchen smelled incredible. And that first bite? It was so soft, so perfectly moist, that I actually laughed out loud. I was alone in my kitchen at midnight, eating warm banana bread straight from the pan, and it was the best thing I’d made in weeks. Maybe you’ve been there—that late-night moment when you just need something good, and you don’t have the energy for fuss or fancy equipment. This easy one-bowl banana bread is for those nights. It’s for the mornings when you want a quick breakfast, and for the afternoons when you need to impress guests without breaking a sweat. This is the recipe that made me a believer in keeping it simple.
Why You’ll Love This Recipe
Let’s be real for a second. Banana bread recipes are a dime a dozen. But this one is different. It’s the one I come back to again and again, and not just because it’s easy (though it is). It’s because every single time, it delivers that perfect, nostalgic banana bread experience without any of the stress. Here’s why this is the best no-mixer banana bread you’ll ever make:
- Quick & Easy: From start to oven in under 10 minutes. Seriously. No mixer, no complicated steps, no waiting for butter to soften. Just one bowl, a fork, and you’re done.
- Simple Ingredients: You probably have everything you need right now. Flour, sugar, eggs, butter, and, of course, those sad, spotty bananas sitting on your counter.
- Perfect for Hosting: This is a lifesaver when guests are coming over. You can whip it up while they’re on their way, and the smell will greet them at the door. It’s impressive without being fussy.
- Crowd-Pleaser: I’ve brought this to potlucks, brunches, and family dinners. It disappears every single time. Kids love it, adults love it, and no one believes it only took one bowl.
- Unbelievably Delicious: The texture is what gets me every time. It’s incredibly moist, with a tender crumb and a slightly crisp top. The flavor is pure, sweet banana goodness, perfectly balanced with a hint of vanilla and warmth from the cinnamon.
What really sets this recipe apart is the technique. By mashing the bananas thoroughly and using melted butter, we skip the whole “cream butter and sugar” step entirely. This not only saves you time and a dirty mixer bowl, but it also creates a denser, more moist loaf that’s almost pudding-like in its richness. It’s comfort food reimagined—faster, simpler, but with the same soul-soothing satisfaction. Perfect for impressing guests without stress, or turning a simple Tuesday night into something memorable.
What Ingredients You Will Need
This easy one-bowl banana bread uses simple, wholesome ingredients to deliver that classic, comforting flavor. You don’t need anything fancy—just a few pantry staples and some very ripe bananas. Let’s break down what each ingredient does and how to pick the best ones.
- Ripe Bananas (3 medium, about 1 ½ cups mashed): This is the star of the show. The riper, the better—think brown spots, almost black. Those bananas are sweeter and easier to mash, giving you the most intense banana flavor. If your bananas aren’t quite there yet, you can roast them in a 300°F oven for 15-20 minutes to speed up the process.
- Melted Unsalted Butter (⅓ cup / 75g): Using melted butter is the key to the “no mixer” part of this recipe. It mixes right into the batter with no fuss and creates a wonderfully tender, rich crumb. I prefer unsalted so I can control the salt level. If you only have salted butter, just reduce the added salt to ¼ teaspoon.
- Granulated Sugar (½ cup / 100g): This provides the sweetness and helps create that beautiful, crackly top. You can use light brown sugar for a deeper, more caramel-like flavor, but granulated sugar gives the classic texture.
- Large Egg (1, room temperature): The egg binds everything together and adds structure. For best results, let your egg sit out for 15-20 minutes to come to room temperature. If you’re in a hurry, place it in a bowl of warm water for 5 minutes.
- Vanilla Extract (1 teaspoon): A little vanilla goes a long way in rounding out the flavors. Use pure vanilla extract if you have it—it makes a noticeable difference.
- All-Purpose Flour (1 ½ cups / 190g): This is the base of the bread. For the most accurate results, spoon the flour into your measuring cup and level it off with a knife. Scooping directly from the bag can pack the flour and lead to a dry, dense loaf.
- Baking Soda (1 teaspoon): This is our leavening agent. It reacts with the acidity of the bananas to help the bread rise. Make sure your baking soda is fresh—test it by dropping a little into vinegar; it should fizz vigorously.
- Salt (½ teaspoon): Salt is crucial. It doesn’t make the bread salty; it enhances all the other flavors and balances the sweetness. Don’t skip it!
- Ground Cinnamon (1 teaspoon): This is optional, but I never skip it. Cinnamon and banana are a match made in heaven. It adds warmth and depth that makes the bread feel extra cozy.
For the best texture, I recommend using a good quality all-purpose flour like King Arthur Flour or Gold Medal. And for the vanilla, Nielsen-Massey is my go-to—it’s a bit pricier, but the flavor is noticeably purer and richer.
Equipment Needed
One of the best things about this recipe is how little equipment you need. You really don’t need a fancy kitchen to make it. Here’s the short list:
- A Large Mixing Bowl: Any large bowl will do. I love using a wide, deep ceramic bowl because it gives me plenty of room to mash and stir without making a mess.
- A Fork or Potato Masher: A fork works perfectly for mashing the bananas. If you have a potato masher, it’s even faster and gives you a smoother puree.
- A Wooden Spoon or Rubber Spatula: For mixing the batter. A spatula is great for scraping down the sides of the bowl.
- A 9×5-Inch Loaf Pan: This is the standard size for banana bread. If you use an 8×4-inch pan, your bread will be taller and will need a few extra minutes in the oven. I recommend a light-colored metal pan for even browning.
- Parchment Paper (optional but recommended): Lining your loaf pan with parchment paper makes lifting the bread out a breeze and makes cleanup even easier.
- Measuring Cups and Spoons: For accurate measurements. A kitchen scale is even better, especially for the flour.
- Cooling Rack: Essential for letting the bread cool evenly so the bottom doesn’t get soggy.
If you don’t have a loaf pan, you can bake this batter in a 9-inch square pan for about 25-30 minutes for banana bread bars. I’ve done this in a pinch, and it works great!
Preparation Method
Alright, let’s get to the good part. This is the easiest banana bread you will ever make. Follow these steps, and you’ll have a perfect loaf every single time.
- Preheat and Prep (5 minutes): First things first, preheat your oven to 350°F (175°C). While it’s heating up, grease your 9×5-inch loaf pan with butter or non-stick spray. For extra insurance, cut a strip of parchment paper to fit the bottom and long sides of the pan, leaving a little overhang on each side. This will act like handles to lift the bread out later.
- Mash the Bananas (2 minutes): In your large mixing bowl, add the three ripe bananas. Use a fork to mash them until they are mostly smooth with just a few small lumps. You want a puree-like consistency, not chunky. A few small lumps are fine—they add texture. The goal is about 1 ½ cups of mashed banana.
- Add the Wet Ingredients (1 minute): To the mashed bananas, add the ⅓ cup of melted butter, ½ cup of granulated sugar, 1 large egg (room temperature), and 1 teaspoon of vanilla extract. Stir everything together with your wooden spoon or spatula until it’s well combined. The mixture will look a little lumpy and not completely smooth—that’s perfectly normal.
- Combine the Dry Ingredients (1 minute): Sprinkle the 1 ½ cups of all-purpose flour, 1 teaspoon of baking soda, ½ teaspoon of salt, and 1 teaspoon of ground cinnamon over the wet mixture. Now, here’s the most important step: stir everything together gently. Use a folding motion, scraping the bottom and sides of the bowl. Stop stirring as soon as you no longer see any streaks of flour. Over-mixing at this stage will develop the gluten in the flour, which will make your banana bread tough and dense instead of tender and soft. A few small lumps in the batter are totally fine.
- Bake (50-60 minutes): Pour the batter into your prepared loaf pan and spread it into an even layer. Place the pan on the middle rack of your preheated oven. Bake for 50-60 minutes. The bread is done when a toothpick or skewer inserted into the center comes out clean or with just a few moist crumbs attached. If the top is browning too quickly (after about 40 minutes), loosely tent the pan with a piece of aluminum foil to prevent it from burning.
- Cool (20 minutes + 1 hour): Once baked, remove the pan from the oven and place it on a cooling rack. Let the bread cool in the pan for about 20 minutes. Then, using the parchment paper handles, lift the bread out of the pan and transfer it directly to the cooling rack to cool completely. This is crucial! If you cut into it while it’s still warm, it will be gummy and fall apart. Let it cool for at least an hour before slicing.
Cooking Tips & Techniques
After making this easy one-bowl banana bread more times than I can count, I’ve picked up a few tricks that make a real difference. Here’s what I’ve learned the hard way so you don’t have to.
- Don’t Over-mix the Batter: I cannot stress this enough. I’ve ruined plenty of loaves by being too enthusiastic with my stirring. The moment the flour disappears, stop. A few streaks are okay. Over-mixing leads to a tough, rubbery bread, and nobody wants that.
- Use Room Temperature Ingredients: I know it’s tempting to use a cold egg straight from the fridge, but it really does make a difference. A cold egg can seize the melted butter and create a lumpy batter. Just let your egg sit on the counter for 15-20 minutes, or pop it in a bowl of warm water for 5 minutes.
- The Toothpick Test is Your Friend: Ovens vary wildly. Your bread might be done in 50 minutes, or it might need the full 60. Start checking at the 50-minute mark. If the toothpick comes out with wet batter, give it 5 more minutes. If it comes out clean, it’s ready. If it comes out with a few moist crumbs, that’s perfect.
- Let It Cool Completely: This is the hardest part—waiting. I’ve been guilty of cutting into a warm loaf, and I always regret it. The bread needs time to set. Slicing it warm will give you a crumbly, gummy mess. Patience, my friend, is the secret ingredient.
- Toast Leftover Slices: This is my favorite tip. If you have leftovers (which is rare in my house), toast a slice and slather it with butter. The heat brings back the soft, moist interior and crisps up the edges. It’s like a whole new dessert.
Variations & Adaptations
This easy one-bowl banana bread is a fantastic base for all kinds of creative twists. Don’t be afraid to make it your own! Here are a few of my favorite variations.
- Chocolate Chip Banana Bread: Fold in ½ cup of semi-sweet or dark chocolate chips after you’ve mixed the batter. The warm, melted chocolate pockets are pure heaven. I’ve also used white chocolate chips, which are amazing with the banana flavor.
- Nutty Banana Bread: Add ½ cup of chopped walnuts or pecans. I like to toast them in a dry pan for a few minutes first to bring out their flavor. Fold them in at the same time as the flour.
- Gluten-Free Banana Bread: Substitute the all-purpose flour with a good quality 1:1 gluten-free baking flour blend (like King Arthur Measure for Measure or Bob’s Red Mill). No other adjustments are needed! I’ve made this for friends with gluten sensitivities, and they couldn’t tell the difference.
- Vegan Banana Bread: Replace the egg with a “flax egg” (1 tablespoon ground flaxseed mixed with 3 tablespoons water, let sit for 5 minutes to thicken) and use melted coconut oil or vegan butter instead of regular butter. It works beautifully and is just as moist.
- Spiced Banana Bread: Amp up the warm flavors by adding ¼ teaspoon of ground nutmeg, ¼ teaspoon of ground ginger, and a pinch of ground cloves along with the cinnamon. This makes it taste like a cozy fall day.
My personal favorite variation is the chocolate chip version. I made it late one night when I was craving something sweet, and I’ve never looked back. The combination of sweet banana and rich chocolate is just unbeatable.
Serving & Storage Suggestions
This banana bread is incredibly versatile. Here’s how to serve it and keep it fresh.
Serving Suggestions: This bread is delicious on its own, but it’s even better with a little something extra. Serve it warm with a pat of salted butter melting into the slice. For a more decadent treat, spread a layer of cream cheese frosting or a drizzle of honey on top. It’s also fantastic with a scoop of vanilla ice cream for a simple dessert. When I’m hosting, I like to slice it and arrange it on a nice platter with a small bowl of honey butter on the side—it always gets compliments.
Complementary Dishes: This banana bread pairs beautifully with a hot cup of coffee, a glass of cold milk, or a cup of chai tea. For a brunch spread, serve it alongside a fluffy scrambled eggs and fresh fruit for a balanced meal. It’s also a great side for a savory breakfast casserole.
Storage Instructions: Store leftover banana bread in an airtight container at room temperature for up to 4 days. The moisture from the bananas actually keeps it soft and delicious for days. For longer storage, you can wrap the loaf (or individual slices) tightly in plastic wrap, then place it in a freezer-safe bag or container. It will keep in the freezer for up to 3 months. To thaw, simply leave it on the counter for a few hours or pop a slice in the toaster.
Reheating: The best way to reheat a slice is in the toaster or toaster oven. It gives the outside a slight crisp while keeping the inside soft and warm. You can also microwave a slice for about 15-20 seconds, but it won’t have the same texture.
Nutritional Information & Benefits
While this is definitely a treat, it’s made with real, wholesome ingredients. Here’s a quick look at the nutritional profile per slice (based on 10 slices).
| Nutrient | Amount Per Slice |
|---|---|
| Calories | ~220 |
| Total Fat | 8g |
| Saturated Fat | 5g |
| Carbohydrates | 35g |
| Sugar | 16g |
| Fiber | 2g |
| Protein | 4g |
Health Benefits: The star ingredient, bananas, are packed with potassium, which is essential for heart health and muscle function. They also contain vitamin B6 and vitamin C. Using melted butter instead of creaming it with sugar gives you a slightly lighter texture, and you can easily swap in whole wheat pastry flour for half the all-purpose flour to add a bit more fiber. This recipe is also naturally nut-free (unless you add nuts), making it a safe option for many.
Dietary Considerations: As written, this recipe contains gluten, dairy, and eggs. However, I’ve included easy gluten-free and vegan variations above that work wonderfully.
Conclusion
Look, I’m not going to pretend this is some revolutionary, never-before-seen recipe. It’s banana bread. But it’s the best banana bread I’ve ever made, and I think it will be for you too. It’s the one I turn to when I need a quick win in the kitchen, when I want to fill my home with a comforting smell, or when I want to show up to a friend’s house with a gift that says “I care about you.” It’s forgiving, it’s flexible, and it’s absolutely delicious.
I love this recipe because it reminds me that you don’t need fancy tools or complicated techniques to make something truly special. You just need a bowl, a fork, and a few simple ingredients. It’s a little piece of homemade magic that anyone can create. So go ahead, grab those spotty bananas, and give it a try. I promise you won’t regret it.
Have you made this easy one-bowl banana bread? I’d love to hear how it turned out! Leave a comment below and let me know if you added any fun twists. And if you loved it, please share this recipe with a friend who needs a little comfort in their life. Happy baking!
Frequently Asked Questions
Can I use frozen bananas?
Yes, absolutely! Frozen bananas are perfect for banana bread. Thaw them completely, then drain off any excess liquid before mashing. They will be very soft and almost liquid, which makes them even easier to mash.
Why is my banana bread dry?
Dry banana bread is usually the result of using too much flour or over-baking. Make sure you’re measuring your flour correctly (spoon and level) and check for doneness a few minutes early. Also, make sure your bananas are very ripe—under-ripe bananas are less moist.
Can I make this into muffins?
Yes! This batter makes fantastic muffins. Line a 12-cup muffin tin with paper liners and fill each cup about ⅔ full. Bake at 350°F (175°C) for 18-22 minutes, or until a toothpick inserted into the center comes out clean.
How do I get a crackly top?
The crackly top comes from the sugar. Using granulated sugar and making sure the batter isn’t over-mixed helps create that signature crack. Some bakers also sprinkle a little extra sugar on top of the batter before baking for an extra-crunchy crust.
Can I use a different pan?
Absolutely. You can bake this in an 8×8-inch square pan for about 30-35 minutes, or you can use a mini loaf pan for smaller gifts. Just keep an eye on the baking time, as it will vary depending on the pan size.
Pin This Recipe!
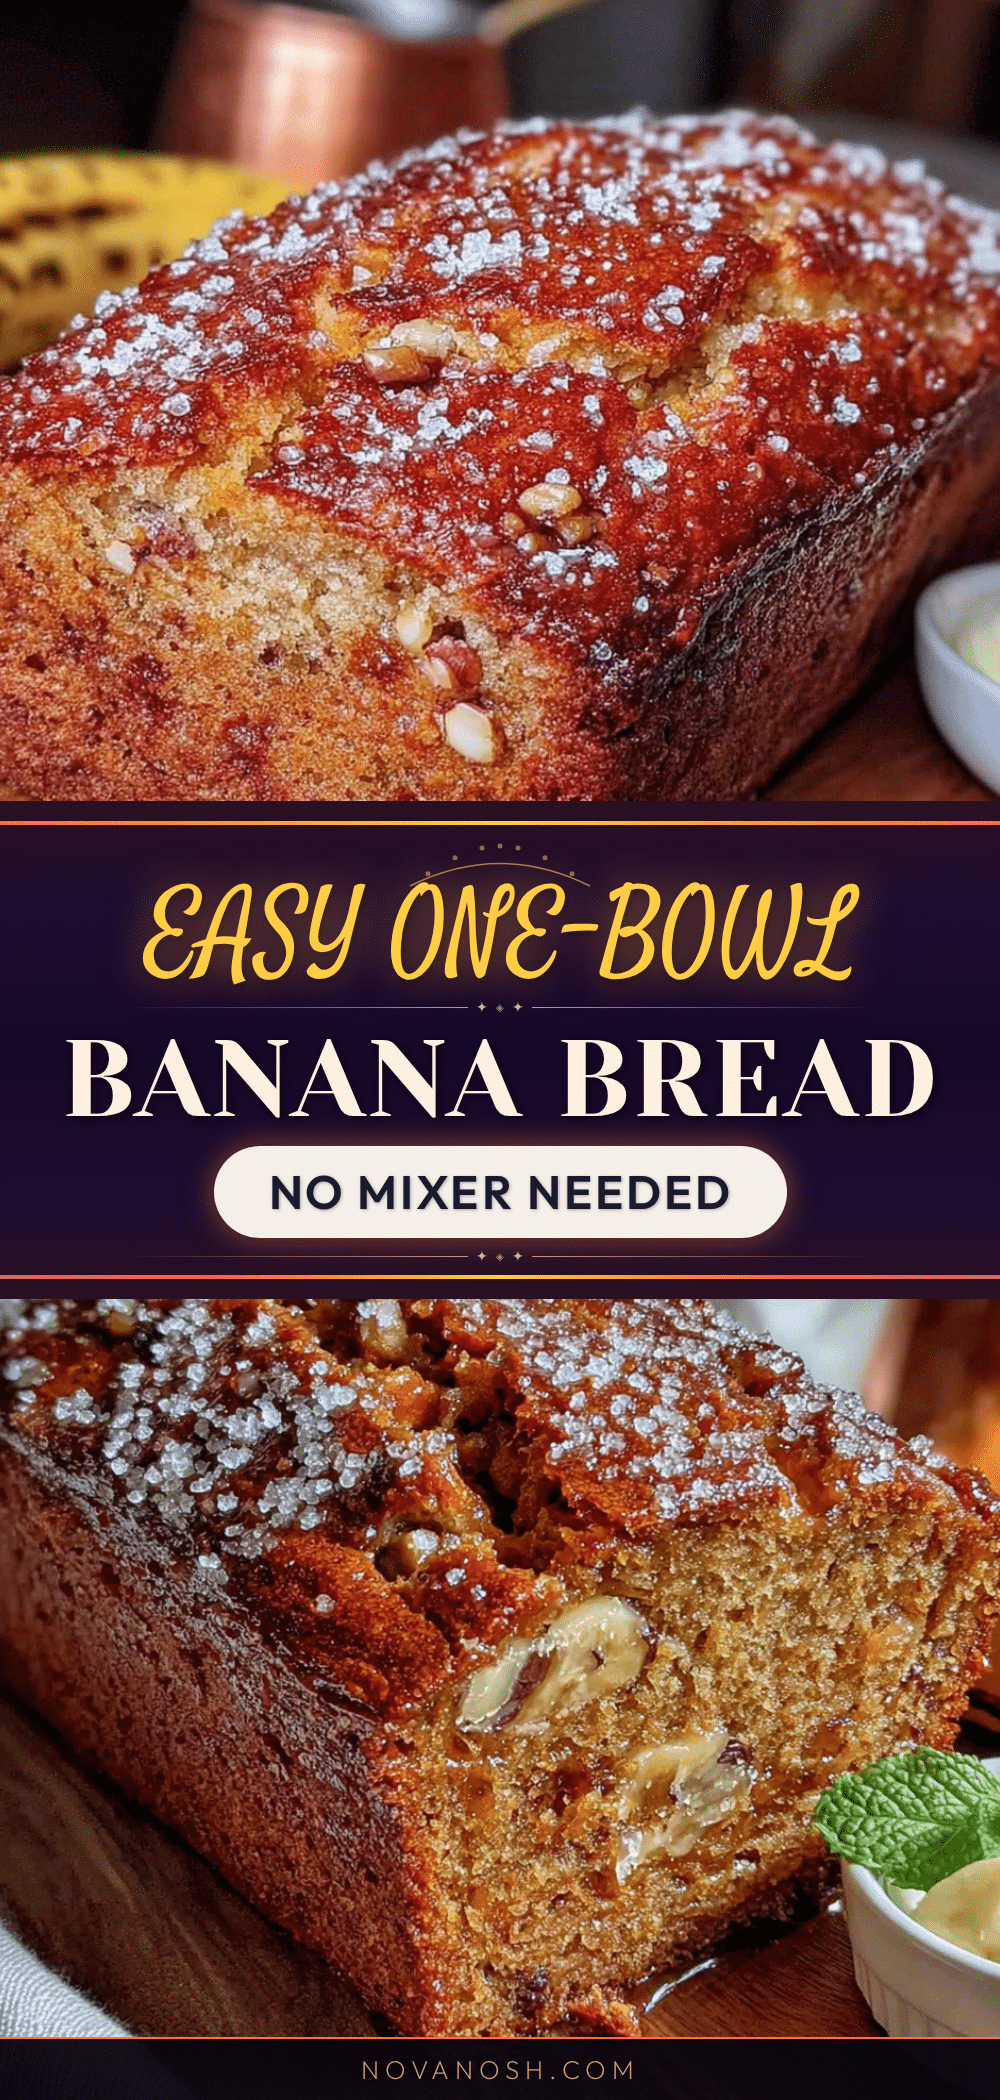
Easy One-Bowl Banana Bread: Best No-Mixer Recipe
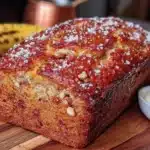
This easy one-bowl banana bread requires no mixer and delivers a perfectly moist, tender loaf with a crackly sugar-crusted top. Made with simple ingredients and ready in under 10 minutes of prep, it’s the ultimate comfort food for any occasion.
- Prep Time: 10 minutes
- Cook Time: 55 minutes
- Total Time: 1 hour 5 minutes
- Yield: 10 servings 1x
- Category: Dessert
- Cuisine: American
Ingredients
- 3 medium ripe bananas (about 1 ½ cups mashed)
- ⅓ cup (75g) unsalted butter, melted
- ½ cup (100g) granulated sugar
- 1 large egg, room temperature
- 1 teaspoon vanilla extract
- 1 ½ cups (190g) all-purpose flour
- 1 teaspoon baking soda
- ½ teaspoon salt
- 1 teaspoon ground cinnamon
Instructions
- Preheat oven to 350°F (175°C). Grease a 9×5-inch loaf pan with butter or non-stick spray. Optionally, line with parchment paper, leaving overhang on the long sides.
- In a large mixing bowl, mash the bananas with a fork until mostly smooth with a few small lumps (about 1 ½ cups).
- Add melted butter, granulated sugar, egg, and vanilla extract to the mashed bananas. Stir until well combined.
- Sprinkle flour, baking soda, salt, and cinnamon over the wet mixture. Stir gently with a folding motion until just combined—do not over-mix. A few lumps are fine.
- Pour batter into the prepared loaf pan and spread evenly. Bake on the middle rack for 50-60 minutes, or until a toothpick inserted in the center comes out clean or with a few moist crumbs. If top browns too quickly, tent with foil after 40 minutes.
- Remove from oven and let cool in the pan on a wire rack for 20 minutes. Then lift out using parchment handles and cool completely on the rack (at least 1 hour) before slicing.
Notes
For best results, use very ripe bananas with brown spots. Do not over-mix the batter to avoid a tough loaf. Let the bread cool completely before slicing to prevent a gummy texture. Leftovers can be stored at room temperature for up to 4 days or frozen for up to 3 months.
Nutrition
- Serving Size: 1 slice
- Calories: 220
- Sugar: 16
- Sodium: 220
- Fat: 8
- Saturated Fat: 5
- Carbohydrates: 35
- Fiber: 2
- Protein: 4
Keywords: banana bread, easy banana bread, one bowl banana bread, no mixer banana bread, moist banana bread, quick banana bread