Love this? Save it for later!
Share the inspiration with your friends
I was standing in the canned goods aisle last December, staring at a jar of maraschino cherries like it held the secrets to the universe, when a specific smell hit me — warm chocolate, a whisper of peppermint, and something faintly piney from the artificial tree my aunt used to drag out of storage every year. And suddenly I was eight years old at Aunt Lena’s house in the middle of a snowstorm, her kitchen counter cluttered with bowls of sprinkles and melted butter and a single, slightly lopsided pan of what she called “Christmas Tree Dip.” She’d passed away three years ago, and I’d never thought to ask her for the recipe. Honestly, I’m not even sure she had one written down. She was the kind of cook who just knew — a pinch of this, a handful of that, and somehow it always turned out perfect. I stood there in the grocery store, the cold air from the freezer section hitting my face, and I made a decision. I was going to figure it out. I was going to recreate that dip, the one that somehow managed to be both a dessert and a centerpiece, the one that made my cousins and me forget about the presents under the tree for at least fifteen minutes. Maybe you’ve had that feeling — the one where a dish is so tied to a person and a place that you can almost taste the memory. This Crowd-Pleasing Christmas Tree Brownie Dip is my attempt to hold onto that moment, one gooey, chocolatey scoop at a time.
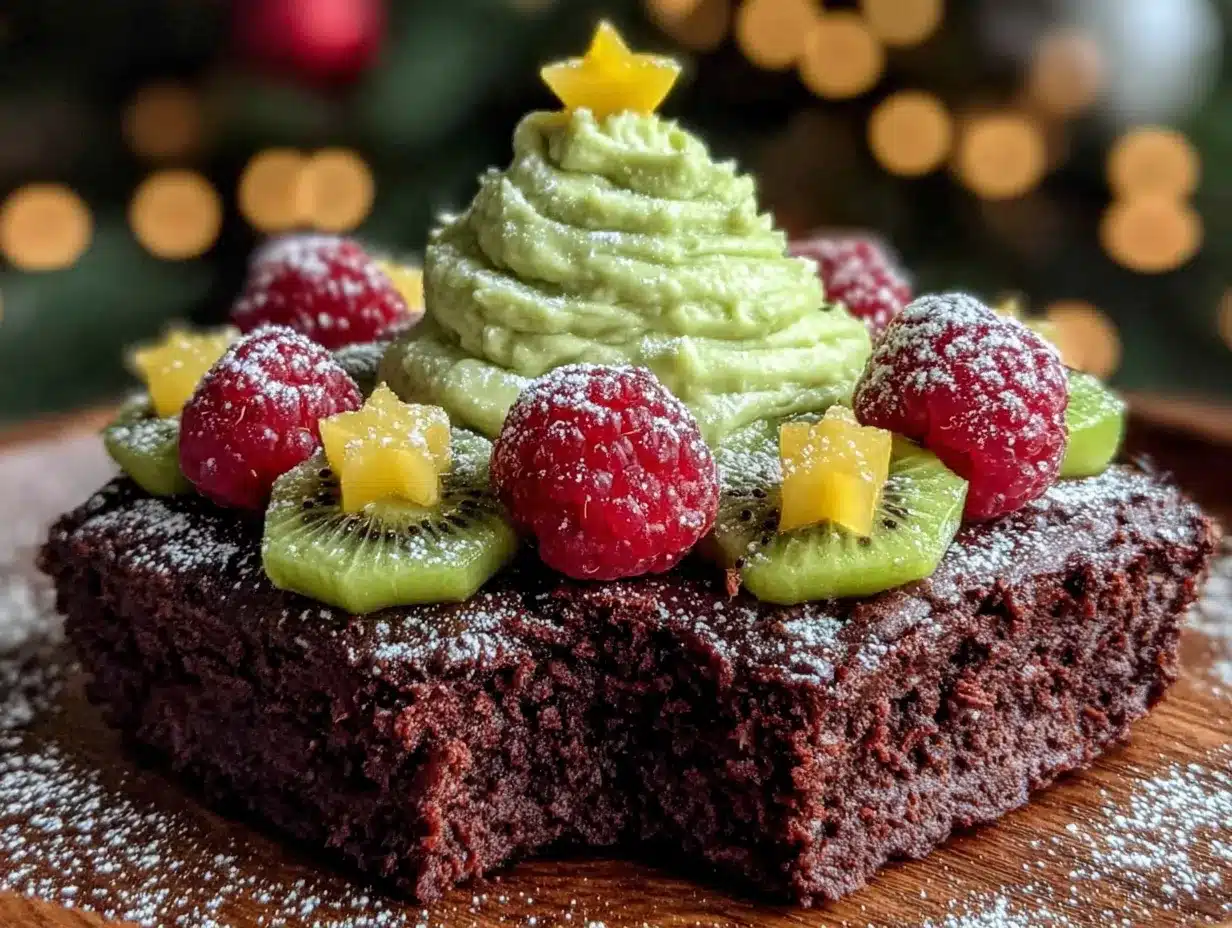
This isn’t just another brownie recipe. It’s a dip — rich, fudgy, and warm, shaped into a Christmas tree and loaded with festive toppings. It’s the kind of thing you bring to a party and watch disappear before the first carol is even sung. I’ve tweaked and tested this version until it matches that hazy, perfect memory: the deep chocolate base, the slight chewiness at the edges, the way the marshmallows get all stretchy and golden on top. It’s meant to be shared, to be scooped up with graham crackers or pretzels or just a spoon if no one’s looking. And honestly, it’s the easiest way I’ve found to bring a little bit of Aunt Lena’s chaotic, wonderful Christmas spirit into my own home.
Why You’ll Love This Recipe
Let me tell you, I have made a lot of desserts for holiday parties. Some have been spectacular successes. Others… well, let’s just say there was a flaming Bûche de Noël incident one year that I’m still not over. This Christmas Tree Brownie Dip is different. It’s the one I come back to every single year, and here’s why I think you’ll love it as much as I do.
- Quick & Easy : This comes together in under 30 minutes. No complicated techniques, no fussy piping — just mix, bake, and decorate. It’s perfect for those last-minute holiday gatherings or when you need a dessert that looks impressive without the stress.
- Simple Ingredients : You probably already have most of these in your pantry. A box of brownie mix, some cream cheese, marshmallows, and a few festive sprinkles. No fancy grocery trips required.
- Perfect for Holiday Parties : This is the ultimate crowd-pleaser. It’s interactive, it’s fun, and it’s shaped like a Christmas tree. Kids love it, adults love it, and everyone gets to dig in with their favorite dippers.
- Crowd-Pleaser : I’ve brought this to cookie swaps, office parties, and family dinners. It never fails to get rave reviews. People always ask for the recipe, and they’re always surprised at how simple it is.
- Unbelievably Delicious : The texture is what gets me every time. The brownie base is perfectly fudgy, the cream cheese layer adds a tangy richness, and the toasted marshmallows on top? Pure heaven. It’s next-level comfort food that feels special without being complicated.
What makes this recipe different from the rest? It’s the combination of textures and flavors — the warm, gooey brownie, the cool, creamy topping, and the little bursts of sweetness from the sprinkles and candies. It’s not just another brownie; it’s an experience. And honestly, it’s the kind of dessert that makes you close your eyes after the first bite. It’s comfort food reimagined — festive, shareable, and guaranteed to make your holiday gathering a little more magical.
What Ingredients You Will Need
This recipe uses simple, pantry-friendly ingredients to create a dessert that looks and tastes like you spent hours on it. Here’s what you’ll need to gather:
For the Brownie Base
- 1 box (18.3 oz) fudge brownie mix — I recommend Duncan Hines or Ghirardelli for the richest flavor. You’ll also need the ingredients called for on the box (usually eggs, oil, and water).
- 1/2 cup unsalted butter, melted — This adds extra richness and helps create that fudgy texture. Use salted butter if that’s all you have, just reduce any added salt.
- 1 large egg — Room temperature is best for even mixing.
For the Cream Cheese Layer
- 8 oz cream cheese, softened — Full-fat cream cheese gives the best texture and tang. Let it sit out for about 30 minutes before mixing.
- 1/4 cup granulated sugar — Just enough to sweeten the layer without making it too sweet.
- 1 teaspoon vanilla extract — Pure vanilla extract is worth it here. It adds a warm, aromatic flavor.
- 1 large egg — Helps the cream cheese layer set up properly.
For the Topping & Decoration
- 1 1/2 cups mini marshmallows — These create the “snow” on the tree. You can also use large marshmallows cut in half, but mini ones are easier to arrange.
- 1/4 cup green sanding sugar or green sprinkles — For the tree effect. You can find these in the baking aisle during the holidays.
- 1/4 cup festive sprinkles — Red and green jimmies, snowflake sprinkles, or whatever you have on hand.
- 1/4 cup chocolate chips or candy melts — For the “ornaments.” I like using red and green M&Ms or mini chocolate chips.
- 1 star-shaped cookie or candy — To top the tree. A star-shaped pretzel, a yellow Starburst, or a fondant star all work great.
For Serving
- Assorted dippers — Graham crackers, pretzel sticks, vanilla wafers, shortbread cookies, or fresh fruit like strawberries and apple slices.
Substitution Tips : If you’re gluten-free, use a gluten-free brownie mix. For a dairy-free option, use dairy-free cream cheese and butter substitutes. You can also swap the cream cheese layer for a simple ganache if you prefer — just heat 1/2 cup heavy cream and pour it over 1 cup chocolate chips, then spread it over the brownie base.
Equipment Needed
You don’t need any fancy equipment for this recipe, which is part of its charm. Here’s what you’ll need:
- 9-inch round or square baking pan — A round pan works best for the tree shape, but a square one will do in a pinch.
- Parchment paper — For easy removal and cleanup. You can also grease the pan well with butter or non-stick spray.
- Electric mixer — A hand mixer or stand mixer works great for the cream cheese layer. You can also mix it by hand if you’re patient, but an electric mixer gives a smoother result.
- Mixing bowls — One for the brownie batter, one for the cream cheese layer.
- Spatula — For spreading the batter evenly.
- Piping bag or zip-top bag — For piping the cream cheese layer into a tree shape. If you don’t have a piping bag, just use a zip-top bag with the corner snipped off.
- Oven — Preheated to 350°F (175°C).
- Cooling rack — For letting the brownie base cool before adding the toppings.
Budget-Friendly Tip : If you don’t have a piping bag, a sturdy zip-top bag works just as well. And if you don’t have an electric mixer, you can beat the cream cheese and sugar by hand — it’ll just take a little more elbow grease.
Preparation Method
Ready to make the most festive dessert on the block? Let’s get started. This recipe comes together in about 30 minutes, with most of that time being hands-off baking.
- Preheat and Prep : Preheat your oven to 350°F (175°C). Line your 9-inch baking pan with parchment paper, leaving some overhang on two sides for easy lifting. Lightly grease the parchment with non-stick spray or butter.
- Make the Brownie Base : In a large mixing bowl, combine the brownie mix, melted butter, egg, and any additional ingredients called for on the box (usually water). Stir until just combined — don’t overmix, or the brownies will be tough. Pour the batter into the prepared pan and spread it evenly with a spatula.
- Bake the Base : Bake for 15-18 minutes, or until the edges are set and the center is just slightly jiggly. You want it underbaked for a fudgy texture. Remove from the oven and let it cool in the pan for about 10 minutes. The brownie will continue to cook from the residual heat.
- Make the Cream Cheese Layer : While the brownie base is cooling, make the cream cheese layer. In a medium bowl, beat the softened cream cheese with the sugar and vanilla extract until smooth and creamy. Add the egg and beat until just combined. Be careful not to overmix — you don’t want to incorporate too much air.
- Shape the Tree : Once the brownie base has cooled slightly, use a knife or cookie cutter to cut out a tree shape. I like to use a star-shaped cookie cutter for the top and then freehand the rest, but you can also just cut a triangle. Transfer the tree shape to a serving platter or leave it in the pan if you’re serving it there.
- Pipe the Cream Cheese Layer : Transfer the cream cheese mixture to a piping bag or zip-top bag with the corner snipped off. Pipe the cream cheese mixture over the brownie tree in a decorative pattern — you can do zigzags, swirls, or just spread it evenly with a spatula. This creates the “snow” on the tree.
- Add the Toppings : While the cream cheese layer is still soft, sprinkle the green sanding sugar or sprinkles over the entire tree. Then add the mini marshmallows, pressing them gently into the cream cheese. Arrange the chocolate chips or M&Ms as ornaments, and place the star-shaped cookie or candy at the top.
- Toast the Marshmallows (Optional) : If you want that gooey, toasted marshmallow flavor, you can pop the assembled dip under the broiler for 1-2 minutes. Watch it carefully — marshmallows burn quickly! Alternatively, you can use a kitchen torch to toast them individually.
- Chill and Serve : Refrigerate the dip for at least 30 minutes before serving to allow the layers to set. This makes it easier to scoop and helps the flavors meld together. Serve with your favorite dippers and watch it disappear!
Sensory Cues : The brownie base should be slightly jiggly in the center when you take it out — it will set as it cools. The cream cheese layer should be smooth and spreadable, not runny. When you toast the marshmallows, look for golden brown spots — that’s your cue to pull them out.
Cooking Tips & Techniques
I’ve made this dip more times than I can count, and I’ve learned a few tricks along the way. Here are my best tips for success:
- Don’t Overbake the Brownie Base : This is the most important tip. A slightly underbaked brownie is the key to that fudgy, dip-able texture. If you overbake it, the brownie will be cakey and dry, and it won’t hold up to the cream cheese layer. Trust me — I learned this the hard way during a particularly disastrous Christmas party.
- Use Room Temperature Ingredients : For the cream cheese layer, make sure your cream cheese and egg are at room temperature. This ensures a smooth, lump-free mixture. Cold cream cheese will result in a grainy texture that’s not as pleasant.
- Get Creative with the Decorations : This is where you can really make it your own. Use different colored sprinkles, add crushed candy canes for a peppermint twist, or drizzle with caramel sauce. I once made a version with a chocolate ganache layer and crushed toffee bits — it was a hit.
- Make Ahead for Stress-Free Hosting : You can prepare the brownie base a day in advance and store it in the pan, covered, at room temperature. Then, on the day of your party, just make the cream cheese layer and decorate. This is a lifesaver when you’re hosting a big gathering.
- Scale It Up for a Crowd : If you’re feeding a larger group, you can easily double the recipe and bake it in a 9×13-inch pan. Just adjust the baking time accordingly — it will need about 5-10 minutes more. You can then cut out multiple tree shapes or just serve it as a rectangular dip.
Variations & Adaptations
One of the best things about this recipe is how versatile it is. Here are a few variations I’ve tried and loved:
- Peppermint Bark Twist : Add 1/2 teaspoon peppermint extract to the brownie batter and top the finished dip with crushed candy canes instead of sprinkles. It’s like a peppermint bark in dip form.
- Chocolate Hazelnut Dream : Spread a layer of Nutella over the brownie base before adding the cream cheese layer. It adds a rich, nutty flavor that pairs beautifully with the chocolate.
- Vegan Version : Use a vegan brownie mix, dairy-free cream cheese, and a flax egg (1 tablespoon ground flaxseed mixed with 3 tablespoons water) for the cream cheese layer. It’s just as delicious and perfect for plant-based guests.
- Gluten-Free Option : Simply use a gluten-free brownie mix. Everything else in the recipe is naturally gluten-free, so you’re good to go.
- Mini Dip Cups : For a party, you can make individual servings in small ramekins or mason jars. Just divide the brownie batter among the cups, bake for 10-12 minutes, and top with the cream cheese layer and decorations. They’re adorable and perfect for portion control.
Serving & Storage Suggestions
This dip is best served slightly chilled or at room temperature. The contrast between the cool cream cheese layer and the warm, fudgy brownie is part of what makes it so addictive. Here are my favorite ways to serve and store it:
- Serving Temperature : I like to let the dip sit out at room temperature for about 15 minutes before serving. This softens the cream cheese layer slightly, making it easier to scoop. If you’re serving it straight from the fridge, it will be a bit firmer — still delicious, but harder to dip.
- What to Serve With It : The possibilities are endless. Graham crackers, pretzel sticks, vanilla wafers, shortbread cookies, and fresh fruit like strawberries, apple slices, or banana chunks all work beautifully. For a savory-sweet twist, try it with salted pretzel chips or butter crackers.
- Presentation Ideas : Arrange the dippers around the dip on a large platter or wooden board. You can also add extra festive touches like sprigs of rosemary (they look like mini Christmas trees!) or a dusting of powdered sugar for a snow effect.
- Storage : Leftover dip can be stored in an airtight container in the refrigerator for up to 3 days. The brownie base will soften slightly, but it’s still delicious. I don’t recommend freezing this dip, as the cream cheese layer can become watery when thawed.
- Reheating : If you want to enjoy it warm, you can reheat individual portions in the microwave for about 15-20 seconds. Just be careful not to overheat it, or the cream cheese layer can separate.
- Flavor Development : Honestly, this dip tastes even better the next day. The flavors meld together overnight, and the brownie base becomes even more fudgy. So don’t be afraid to make it a day ahead!
Nutritional Information & Benefits
Let’s be real — this is a dessert, and it’s meant to be indulgent. But that doesn’t mean it can’t have a few redeeming qualities. Here’s a rough estimate of the nutritional information per serving (based on 12 servings):
- Calories : Approximately 320-350 per serving
- Fat : 18-20g
- Carbohydrates : 38-42g
- Protein : 4-5g
- Sugar : 28-32g
Health Benefits : While this isn’t exactly a health food, there are a few bright spots. The cream cheese provides a good amount of calcium and protein, and if you use dark chocolate chips for the ornaments, you’ll get a dose of antioxidants. Plus, the act of sharing food with loved ones has proven mental health benefits — so consider this dip a form of self-care!
Dietary Considerations : This recipe contains gluten, dairy, and eggs. For a gluten-free version, use a gluten-free brownie mix. For a dairy-free version, use dairy-free cream cheese and butter substitutes. Always check your ingredient labels for potential allergens.
Conclusion
This Crowd-Pleasing Christmas Tree Brownie Dip is more than just a dessert — it’s a memory in the making. It’s the kind of recipe that brings people together, that sparks joy and nostalgia and a little bit of holiday magic. Whether you’re recreating a childhood memory like I did, or starting a new tradition with your own family, I hope this dip brings you as much happiness as it has brought me.
I’d love to hear how it turns out for you! Did you add your own twist? Did the kids help decorate? Drop a comment below and let me know — I read every single one. And if you’re looking for more holiday inspiration, don’t forget to check out my Cranberry Orange Punch Recipe for the perfect drink to serve alongside this dip. Happy holidays, and happy dipping!
Frequently Asked Questions
Can I make this dip ahead of time?
Absolutely! You can prepare the brownie base up to a day in advance. Then, on the day of your event, just make the cream cheese layer and decorate. This makes hosting so much less stressful.
Can I use a different shape instead of a Christmas tree?
Of course! You can use any cookie cutter shape you like — stars, snowflakes, or even a simple round shape. You can also skip the shaping altogether and serve it as a rectangular dip in the pan.
What if I don’t have a piping bag?
No problem! You can use a zip-top bag with the corner snipped off, or simply spread the cream cheese layer with a spatula. It won’t look as decorative, but it will taste just as good.
How do I prevent the marshmallows from burning?
If you’re toasting the marshmallows under the broiler, watch them like a hawk. They can go from perfectly golden to burnt in seconds. I recommend checking them every 30 seconds and rotating the pan if needed.
Can I use a homemade brownie recipe instead of a mix?
Yes, you can! Just use your favorite homemade brownie recipe. Make sure it’s a fudgy, not cakey, brownie for the best texture. You’ll need enough batter to fill a 9-inch pan.
Pin This Recipe!
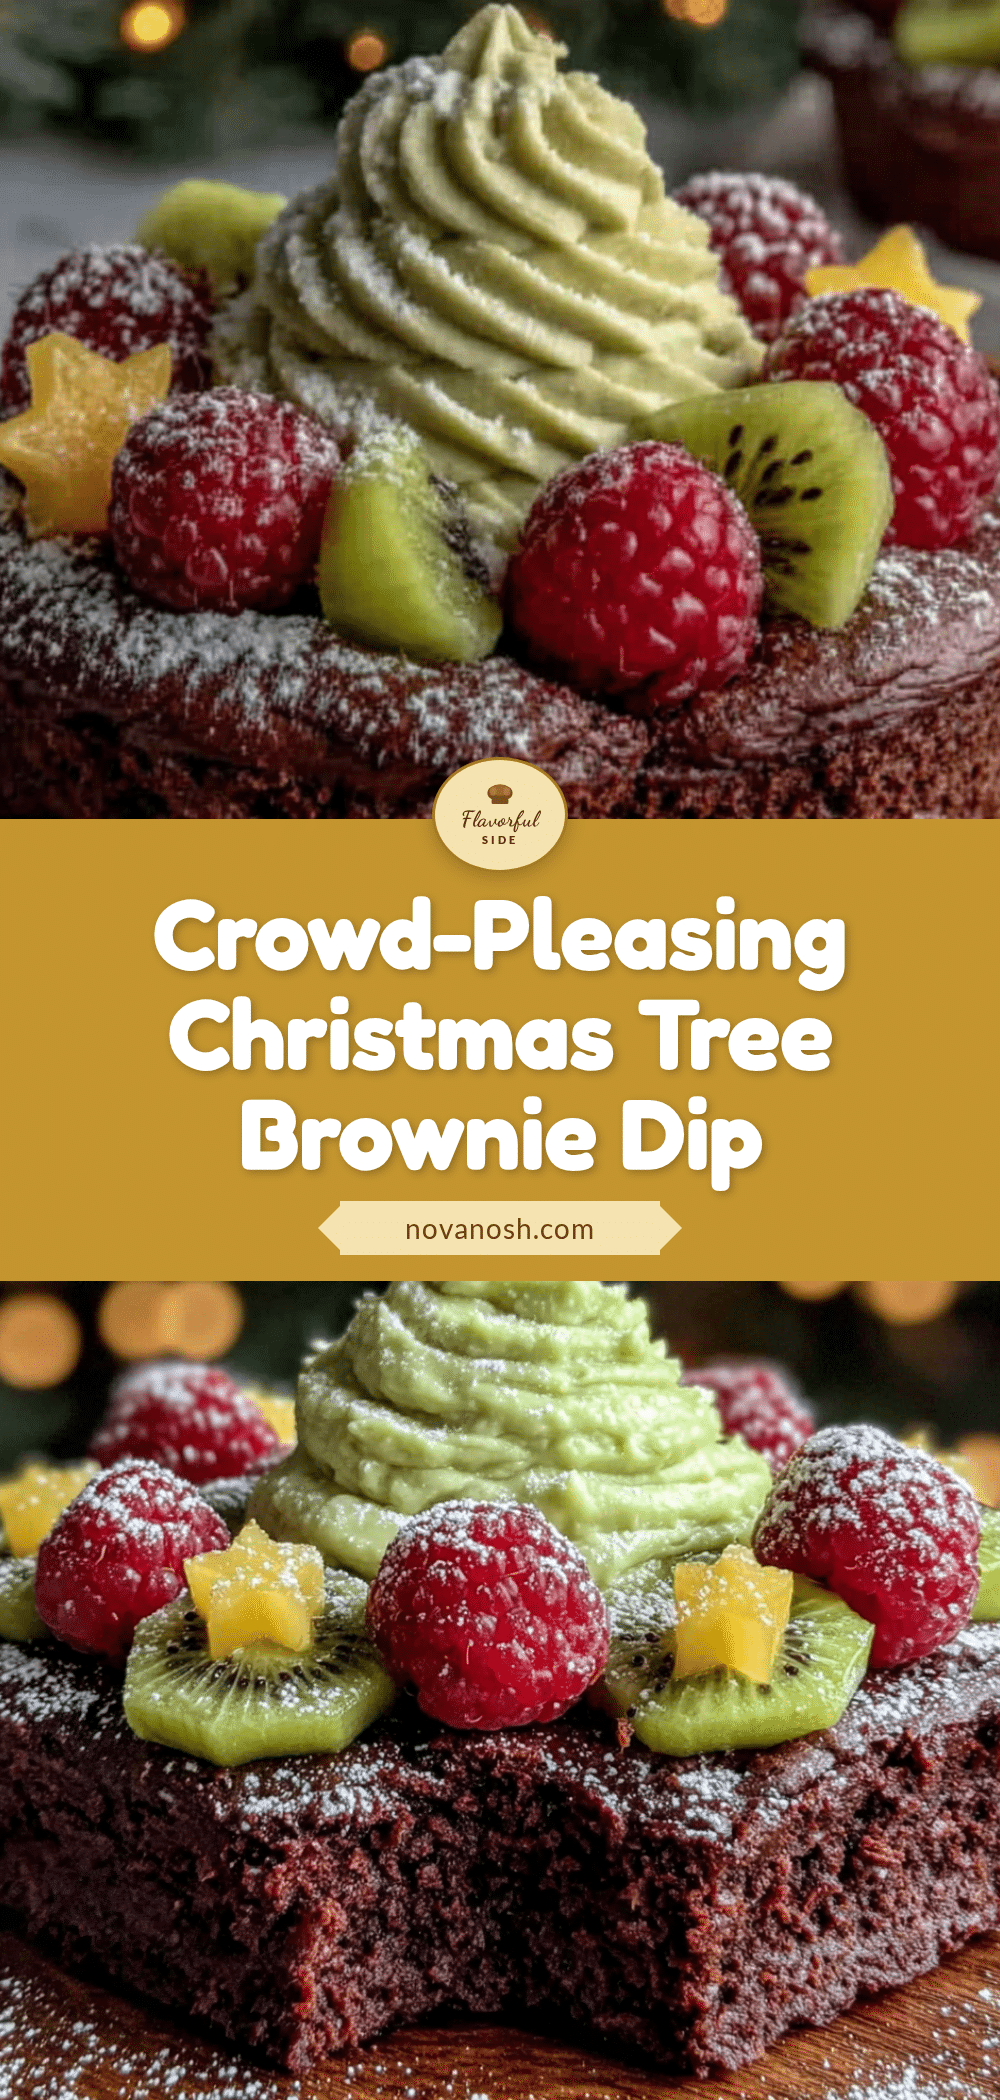
Easy Christmas Tree Brownie Dip Recipe – Perfect Holiday Dessert
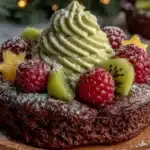
This Crowd-Pleasing Christmas Tree Brownie Dip is a rich, fudgy, and warm dessert shaped into a Christmas tree and loaded with festive toppings. It’s the ultimate holiday party treat that’s quick, easy, and guaranteed to disappear.
- Prep Time: 15 minutes
- Cook Time: 18 minutes
- Total Time: 33 minutes
- Yield: 12 servings 1x
- Category: Dessert
- Cuisine: American
Ingredients
- 1 box (18.3 oz) fudge brownie mix (e.g., Duncan Hines or Ghirardelli)
- 1/2 cup unsalted butter, melted
- 1 large egg (for brownie base)
- Ingredients called for on brownie mix box (usually eggs, oil, water)
- 8 oz cream cheese, softened
- 1/4 cup granulated sugar
- 1 teaspoon vanilla extract
- 1 large egg (for cream cheese layer)
- 1 1/2 cups mini marshmallows
- 1/4 cup green sanding sugar or green sprinkles
- 1/4 cup festive sprinkles (red and green jimmies, snowflake sprinkles, etc.)
- 1/4 cup chocolate chips or candy melts (e.g., red and green M&Ms)
- 1 star-shaped cookie or candy (e.g., star-shaped pretzel, yellow Starburst, fondant star)
- Assorted dippers: graham crackers, pretzel sticks, vanilla wafers, shortbread cookies, fresh fruit (strawberries, apple slices)
Instructions
- Preheat oven to 350°F (175°C). Line a 9-inch baking pan with parchment paper, leaving overhang on two sides. Lightly grease parchment.
- In a large bowl, combine brownie mix, melted butter, egg, and any additional ingredients from the box (usually water). Stir until just combined. Pour into prepared pan and spread evenly.
- Bake for 15-18 minutes, until edges are set and center is slightly jiggly. Let cool in pan for 10 minutes.
- While brownie cools, make cream cheese layer: In a medium bowl, beat softened cream cheese with sugar and vanilla until smooth. Add egg and beat until just combined.
- Once brownie base has cooled slightly, cut out a tree shape using a knife or cookie cutter. Transfer to a serving platter or leave in pan.
- Transfer cream cheese mixture to a piping bag or zip-top bag with corner snipped. Pipe over brownie tree in a decorative pattern (zigzags, swirls, or spread evenly).
- While cream cheese layer is still soft, sprinkle green sanding sugar or sprinkles over entire tree. Add mini marshmallows, pressing gently. Arrange chocolate chips or M&Ms as ornaments. Place star-shaped cookie or candy at top.
- Optional: Toast marshmallows under broiler for 1-2 minutes, watching carefully, or use a kitchen torch.
- Refrigerate dip for at least 30 minutes before serving. Serve with assorted dippers.
Notes
Don’t overbake the brownie base for a fudgy texture. Use room temperature cream cheese and egg for a smooth cream cheese layer. The dip can be made ahead: prepare brownie base a day in advance, then add cream cheese layer and decorate on serving day. For a gluten-free version, use a gluten-free brownie mix. For dairy-free, use dairy-free cream cheese and butter substitutes.
Nutrition
- Serving Size: 1 serving (approx. 1
- Calories: 335
- Sugar: 30
- Sodium: 220
- Fat: 19
- Saturated Fat: 10
- Carbohydrates: 40
- Fiber: 1
- Protein: 4.5
Keywords: Christmas tree brownie dip, holiday dessert, easy brownie dip, festive dip, crowd-pleasing dessert