Love this? Save it for later!
Share the inspiration with your friends
Three winters ago, I stood in my kitchen staring at a package of slider buns that were one day away from stale, a half-empty bag of shredded cheese, and some deli turkey that my youngest had declared “boring” after eating it in a sandwich three days straight. The power had gone out halfway through my planned meal prep session—classic New England ice storm—and I was already behind on packing lunches for the next morning. I grabbed the wrong baking dish (too small), the oven was acting finicky from the outage, and I was already muttering about how this was going to be a disaster. What came out of that oven was nothing like the plan—and better. These little sliders were golden on top, the cheese had melted into every crevice, and the edges were buttery and crisp. My kids devoured them cold the next day at lunch, and I got a text from my neighbor asking for the recipe after her son traded his sandwich for one of mine. Honestly, I almost didn’t tell her the truth—that it started as a desperate attempt to use up odds and ends. But that’s the thing about cooking, right? Sometimes the best recipes come from the moments when you stop trying so hard. These easy mini turkey and cheese sliders have become my go-to lunchbox idea because they work hot or cold, they come together in minutes, and they make you look like you planned ahead when you absolutely did not. Maybe you’ve been there—standing in your kitchen, wondering how you’re going to pull off another week of school lunches without losing your mind. This one’s for you.
Why You’ll Love This Recipe
Let me tell you why these sliders have earned a permanent spot in my weekly rotation. I’ve tested this recipe about a dozen times—changing the cheese, swapping the bread, adjusting the bake time—and this version is the one that keeps getting requested by both kids and adults.
- Quick & Easy : From start to table in under 20 minutes. Seriously, you can make these while your coffee brews in the morning or while the kids are brushing their teeth.
- Simple Ingredients : You probably have everything in your fridge right now. Deli turkey, cheese, slider buns, butter, and a few pantry staples. No fancy grocery trips needed.
- Perfect for Lunchboxes : These hold up beautifully in a lunchbox. They taste just as good at room temperature as they do warm, which is rare for a sandwich situation.
- Crowd-Pleaser : I’ve brought these to playdates, potlucks, and even a casual book club meeting. They disappear every single time.
- Unbelievably Delicious : There’s something about the way the butter-soaked buns toast up around the melty cheese and savory turkey that hits different. It’s comfort food that feels special without being fussy.
What makes this recipe different from the dozens of other slider recipes out there? It’s the balance. The right amount of butter so the buns get golden but not greasy. A secret sprinkle of seasoning that makes people ask, “What’s in this?” And a method that ensures every single slider gets that perfect cheesy pull. This isn’t just another version—it’s the version I make for my own family, and I don’t say that lightly.
What Ingredients You Will Need
This recipe uses simple, everyday ingredients to create something that tastes way more than the sum of its parts. Most of these are pantry and fridge staples, which makes this perfect for those weeks when you need to throw something together without a shopping trip.
- Slider buns (12-count package, Hawaiian sweet rolls or plain white rolls work great) — I prefer King’s Hawaiian for that slight sweetness, but any soft slider bun works. Look for packages where the rolls are connected in a sheet; it makes assembly so much easier.
- Deli turkey (about 1 pound, thinly sliced) — I use oven-roasted turkey breast from the deli counter. Ask them to slice it medium-thin, not paper thin and not too thick. Hillshire Farm or Boar’s Head are my go-to brands when I’m not buying from the local deli.
- Cheese (8-10 slices, Swiss or provolone) — Swiss gives that classic melty pull, but provolone adds a slightly sharper flavor. I’ve also used cheddar in a pinch, and it works fine. Just avoid pre-shredded cheese for this; slices melt more evenly.
- Unsalted butter (1/2 cup, melted) — Salted butter works too, just reduce or skip the added salt later. I always use unsalted so I can control the seasoning.
- Dijon mustard (2 tablespoons) — This adds a subtle tang that cuts through the richness. You can use yellow mustard if that’s what you have, but Dijon gives a more sophisticated flavor.
- Worcestershire sauce (1 tablespoon) — Don’t skip this. It adds that savory depth that makes people wonder what your secret is. Lea & Perrins is the standard for a reason.
- Poppy seeds (1 tablespoon) — These are optional but highly recommended. They add a subtle nuttiness and a beautiful look. If you don’t have poppy seeds, sesame seeds work too.
- Garlic powder (1 teaspoon) — Not garlic salt. Garlic powder distributes more evenly and won’t make the buns salty.
- Onion powder (1/2 teaspoon) — Adds a subtle savory note that rounds everything out.
- Salt and black pepper (to taste) — Go light on the salt since the turkey and cheese already have salt. A good crack of fresh black pepper makes a difference.
For the seasoning blend, I’ve experimented with adding dried minced onion and even a pinch of paprika. The version I’m sharing today is the one my family loves most—simple, balanced, and reliable. You can always adjust the seasoning to your taste once you’ve made it once.
Equipment Needed
You don’t need anything fancy for these sliders, which is part of the appeal. Here’s what you’ll need:
- 9×13 baking dish — This is the perfect size for a 12-count package of slider buns. If you don’t have one, a 9×9 dish works but you’ll need to cut the buns apart and arrange them more carefully.
- Sharp knife — For cutting the entire sheet of buns in half horizontally. A serrated bread knife works best, but a sharp chef’s knife does the job too.
- Small bowl — For mixing the butter sauce. Any small mixing bowl works.
- Pastry brush — For brushing the butter mixture over the tops of the buns. If you don’t have one, you can use a spoon and spread it gently, or even use a paper towel in a pinch. I’ve done it.
- Aluminum foil — For covering the dish during the first part of baking. This keeps the tops from burning before the inside is warm.
- Cutting board — For slicing the sliders apart after baking. A large wooden or plastic cutting board works fine.
A note on the baking dish: I’ve made these in a disposable aluminum pan when I was bringing them to a potluck, and they turned out just as good. So don’t stress if you don’t have the perfect dish. Use what you have.
Preparation Method
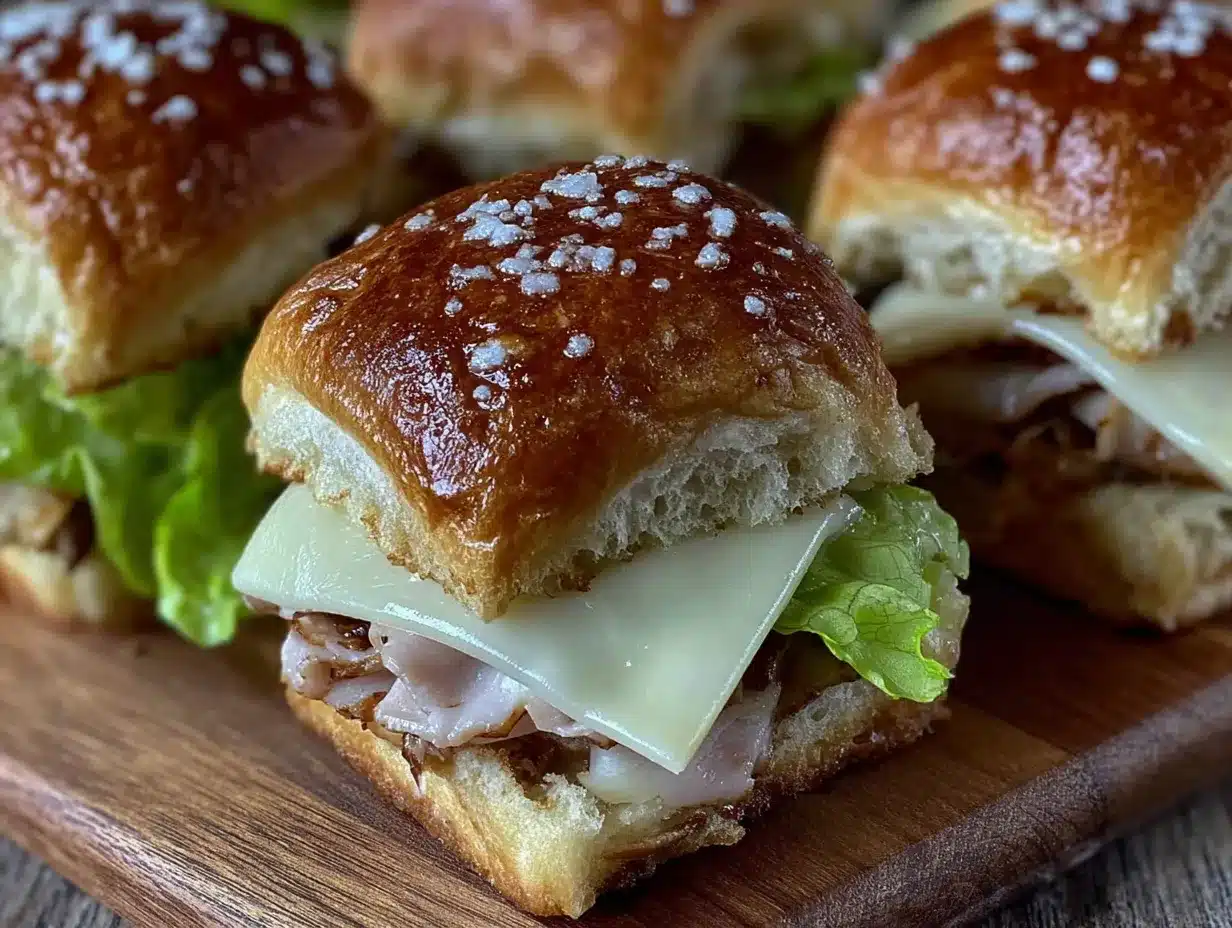
Let’s get into the actual making of these sliders. I’ve broken this down step by step so you can follow along without any confusion.
- Preheat your oven to 350°F (175°C). While it’s heating, take your slider buns out of the package. Keep them connected in the sheet—don’t pull them apart. Place the whole sheet of buns on a cutting board.
- Slice the entire sheet of buns in half horizontally. Use a serrated knife and a gentle sawing motion. You want to keep the tops and bottoms intact as one piece each. This is the trickiest part, so take your time. If the buns start to separate, just press them back together as best you can.
- Place the bottom half of the buns in your 9×13 baking dish. Make sure they fit snugly. If there are gaps, you can pull a bun or two from the edges to fill them in, but it’s usually fine.
- Layer the turkey evenly over the bottom buns. I use about 8-10 slices, overlapping them slightly so every bite has meat. Don’t pile it too thick or the sliders will be hard to bite into.
- Top the turkey with the cheese slices. I arrange 8-10 slices to cover the turkey completely. If your cheese slices are small, you might need to tear some to fill gaps. The goal is even coverage so every slider gets that melty cheese pull.
- Place the top half of the buns over the cheese. Press down gently to set everything in place.
- Make the butter sauce. In a small bowl, combine the melted butter, Dijon mustard, Worcestershire sauce, garlic powder, onion powder, and a pinch of salt and pepper. Whisk until everything is well combined. The mustard and Worcestershire should be fully incorporated into the butter.
- Pour or brush the butter mixture over the tops of the buns. Use your pastry brush to spread it evenly, making sure to get the edges and the cracks between the buns. Don’t rush this step—every bit of exposed bun should get some butter love.
- Sprinkle the poppy seeds over the top. If you’re using them, distribute them evenly. They’ll stick to the butter mixture.
- Cover the dish with aluminum foil. Make sure it’s sealed well around the edges so steam doesn’t escape.
- Bake for 15 minutes covered. This allows the cheese to melt and the turkey to heat through without the tops burning.
- Remove the foil and bake for another 5-7 minutes. Keep an eye on them—you want the tops to be golden brown and slightly crispy, but not dark. The butter should be bubbling around the edges.
- Let them rest for 5 minutes before slicing. This is important! If you cut into them right away, the cheese will ooze out and the sliders will fall apart. Five minutes lets everything set up.
- Slice the sliders apart using a sharp knife. Cut along the seams where the buns naturally separate. A pizza cutter also works great for this.
A sensory cue for you: when these are done, your kitchen will smell like buttery, toasty buns with a hint of mustard and Worcestershire. The tops should be golden and the edges will look slightly caramelized from the butter. When you pull one apart, the cheese should stretch in that satisfying way that makes you want to eat it immediately—but wait those five minutes, I promise it’s worth it.
Cooking Tips & Techniques
After making these sliders more times than I can count, I’ve picked up a few tricks that make a real difference. Let me share what I’ve learned the hard way.
Don’t over-saturate the buns. I made this mistake the first time—I poured the butter mixture on too fast and ended up with soggy bottoms. Brush it on gently, and if you have extra butter mixture, save it for another use rather than dumping it all on. The buns should be coated, not swimming.
Let the butter come to room temperature slightly before mixing. If your butter is too hot when you add the mustard and Worcestershire, the mixture can separate and get greasy. Let it cool for a minute or two after melting.
Use room temperature cheese. Cold cheese straight from the fridge doesn’t melt as evenly. Let your cheese slices sit out for 10-15 minutes while you prep everything else. It makes a noticeable difference in how smoothly everything melts together.
Slice the buns while they’re still connected. I know it’s tempting to pull them apart and work with individual buns, but keeping them connected as a sheet creates that beautiful pull-apart effect and makes assembly so much faster. Plus, the edges stay softer and more cohesive.
Watch the last few minutes of baking. Every oven runs a little differently. My old oven would brown these perfectly in exactly 5 minutes uncovered. My current oven needs closer to 7 minutes. Check them at the 4-minute mark and adjust accordingly.
One of my biggest failures with this recipe happened when I doubled it for a party and forgot to adjust the baking time. The center sliders were cold while the edges were overdone. If you’re making a double batch, use two separate dishes and bake them on the same rack, rotating halfway through.
Variations & Adaptations
One of the best things about this recipe is how easy it is to change up. Here are some variations I’ve tried and loved.
Turkey and Cheddar Sliders: Swap the Swiss or provolone for sharp cheddar. The cheddar adds a bolder flavor that pairs beautifully with the turkey. I do this when I want something a little more indulgent. Add a thin layer of honey mustard under the turkey for extra tang.
Ham and Swiss Variation: Replace the turkey with deli ham and use Swiss cheese. Add a thin spread of Dijon mustard on the bottom buns before layering. This is basically a fancy ham and cheese sandwich in slider form, and it’s incredible.
Vegetarian Version: Skip the turkey altogether and layer roasted vegetables—think bell peppers, zucchini, and mushrooms that you’ve roasted ahead of time. Add a spread of pesto or sun-dried tomato paste for flavor. I’ve made this for a friend who doesn’t eat meat, and she asked for the recipe immediately.
Spicy Turkey Sliders: Add a layer of pickled jalapeños or a drizzle of sriracha before adding the top buns. Use pepper jack cheese instead of Swiss. The heat cuts through the richness of the butter and cheese beautifully.
Breakfast Sliders: This is a fun twist—use the same method but fill with scrambled eggs, breakfast sausage or bacon, and cheddar cheese. The butter sauce works just as well. I’ve made these for brunch and they’re always a hit.
For dietary needs: use gluten-free slider buns if needed (just watch the bake time, as gluten-free buns tend to brown faster). For a lower-carb option, you can use large lettuce leaves as “buns” and skip the baking step—just assemble and enjoy cold.
Serving & Storage Suggestions
These sliders are incredibly versatile when it comes to serving. Here’s how I handle them.
Serving temperature: They’re delicious warm, right out of the oven, with the cheese still stretchy and the tops slightly crisp. But honestly? They’re almost as good at room temperature. I’ve packed them in lunchboxes straight from the fridge, and my kids eat them without complaint. The flavors actually meld together more after they’ve sat for a while.
What to serve with them: A simple side of baby carrots or cucumber slices works great for school lunches. For dinner, I serve them with a side salad or some sweet potato fries. They also pair well with tomato soup for a cozy meal. If you’re serving them at a party, set out small bowls of ketchup, honey mustard, and ranch for dipping.
Storage instructions: Store leftover sliders in an airtight container in the refrigerator for up to 4 days. To prevent them from getting soggy, I place a paper towel at the bottom of the container and another on top. This absorbs any excess moisture.
Reheating: The best way to reheat these is in a 350°F oven for about 5-7 minutes, covered with foil. The microwave works in a pinch—about 30 seconds per slider—but the buns won’t be as crisp. For lunchboxes, I don’t reheat them at all. They’re perfectly good cold.
Freezing: You can freeze these sliders before or after baking. To freeze before baking: assemble the sliders, wrap the dish tightly in plastic wrap and then foil, and freeze for up to 3 months. To bake from frozen, add about 10-15 minutes to the covered baking time. To freeze after baking: let them cool completely, wrap individually in plastic wrap, and store in a freezer bag. Thaw in the refrigerator overnight and reheat as directed.
One thing I’ve noticed: the flavors develop overnight. If you make these a day ahead and reheat them, they taste even better. The Worcestershire and mustard have time to soak into the buns, and everything melds together beautifully.
Nutritional Information & Benefits
I’m not a nutritionist, but I’ve done my best to estimate the nutritional values for these sliders. Keep in mind that exact numbers depend on the specific brands and ingredients you use.
Per slider (approximate): Calories: 220-250 | Fat: 12g | Carbohydrates: 18g | Protein: 14g | Fiber: 1g | Sugar: 4g | Sodium: 450mg
These numbers are based on using standard slider buns, oven-roasted turkey breast, Swiss cheese, and the butter sauce as written. If you use lower-fat cheese or reduce the butter, the numbers will change.
Health benefits: Turkey is a lean protein source that’s low in saturated fat compared to red meat. It’s also a good source of B vitamins, particularly B6 and B12, which support energy metabolism. Swiss cheese provides calcium and protein, though it’s higher in fat. The Worcestershire sauce adds a small amount of B vitamins and minerals from the anchovies and tamarind.
Dietary considerations: This recipe is not gluten-free unless you use gluten-free buns. It’s not dairy-free unless you use dairy-free cheese and butter alternatives. For a lower-sodium version, use low-sodium turkey and reduce or skip the added salt in the butter sauce.
From my perspective, these sliders are a practical, balanced option for busy families. They’re not a health food, but they’re made with real ingredients and they satisfy without being overly indulgent. I feel good about packing them in my kids’ lunches because I know exactly what’s in them.
FAQs
Can I make these sliders ahead of time for a party?
Absolutely! Assemble the sliders completely, cover them, and refrigerate for up to 24 hours before baking. When you’re ready to bake, add about 5 minutes to the covered baking time since they’ll be starting from cold. You can also bake them fully, let them cool, and reheat them just before serving.
What if I don’t have slider buns? Can I use regular hamburger buns?
Yes, you can. Cut the hamburger buns in half and arrange them cut-side up in your baking dish. You might fit fewer in the dish, so adjust the turkey and cheese accordingly. The bake time should be about the same, but check them a few minutes early since the larger buns might brown faster.
Can I use a different type of meat?
Definitely. Ham, roast beef, chicken, or even leftover shredded rotisserie chicken all work well. Just make sure the meat is thinly sliced or shredded so it heats through evenly. If you’re using leftover chicken, warm it slightly before assembling so the sliders don’t end up cold in the center.
How do I keep the sliders from getting soggy in a lunchbox?
Let the sliders cool completely before packing them. Place a paper towel in the bottom of the lunchbox container to absorb any moisture. If you’re packing them warm, leave the container lid slightly open until they cool to room temperature, then seal it. This prevents condensation from making the buns soggy.
Can I add vegetables to these sliders?
Yes! Thinly sliced bell peppers, caramelized onions, or even a layer of fresh spinach work well. Just keep in mind that vegetables add moisture, so you might want to pat them dry before adding. Roasted red peppers are another great option—they add sweetness and color without making things soggy.
Conclusion
These easy mini turkey and cheese sliders have saved me on more rushed mornings and tired evenings than I can count. They’re the kind of recipe that feels like a secret weapon—simple enough to throw together without thinking, but impressive enough that people ask for the recipe. Whether you’re packing school lunches, feeding a crowd at a party, or just looking for a quick dinner that everyone will actually eat, these sliders deliver. I love that they’re endlessly adaptable—you can change the meat, the cheese, the seasoning, and they still work. That’s the mark of a truly great recipe, in my opinion. So give them a try, and don’t be afraid to make them your own. Add your favorite mustard, throw in some pickles, swap the cheese for whatever you have in the fridge. Cooking should be flexible, and this recipe gives you plenty of room to play. If you make these, I’d love to hear how they turn out. Drop a comment below or tag me in your photos—I genuinely get excited seeing other people enjoy recipes that have become staples in my own kitchen. Happy cooking, and here’s to making lunchtime a little bit easier and a lot more delicious.
Pin This Recipe!
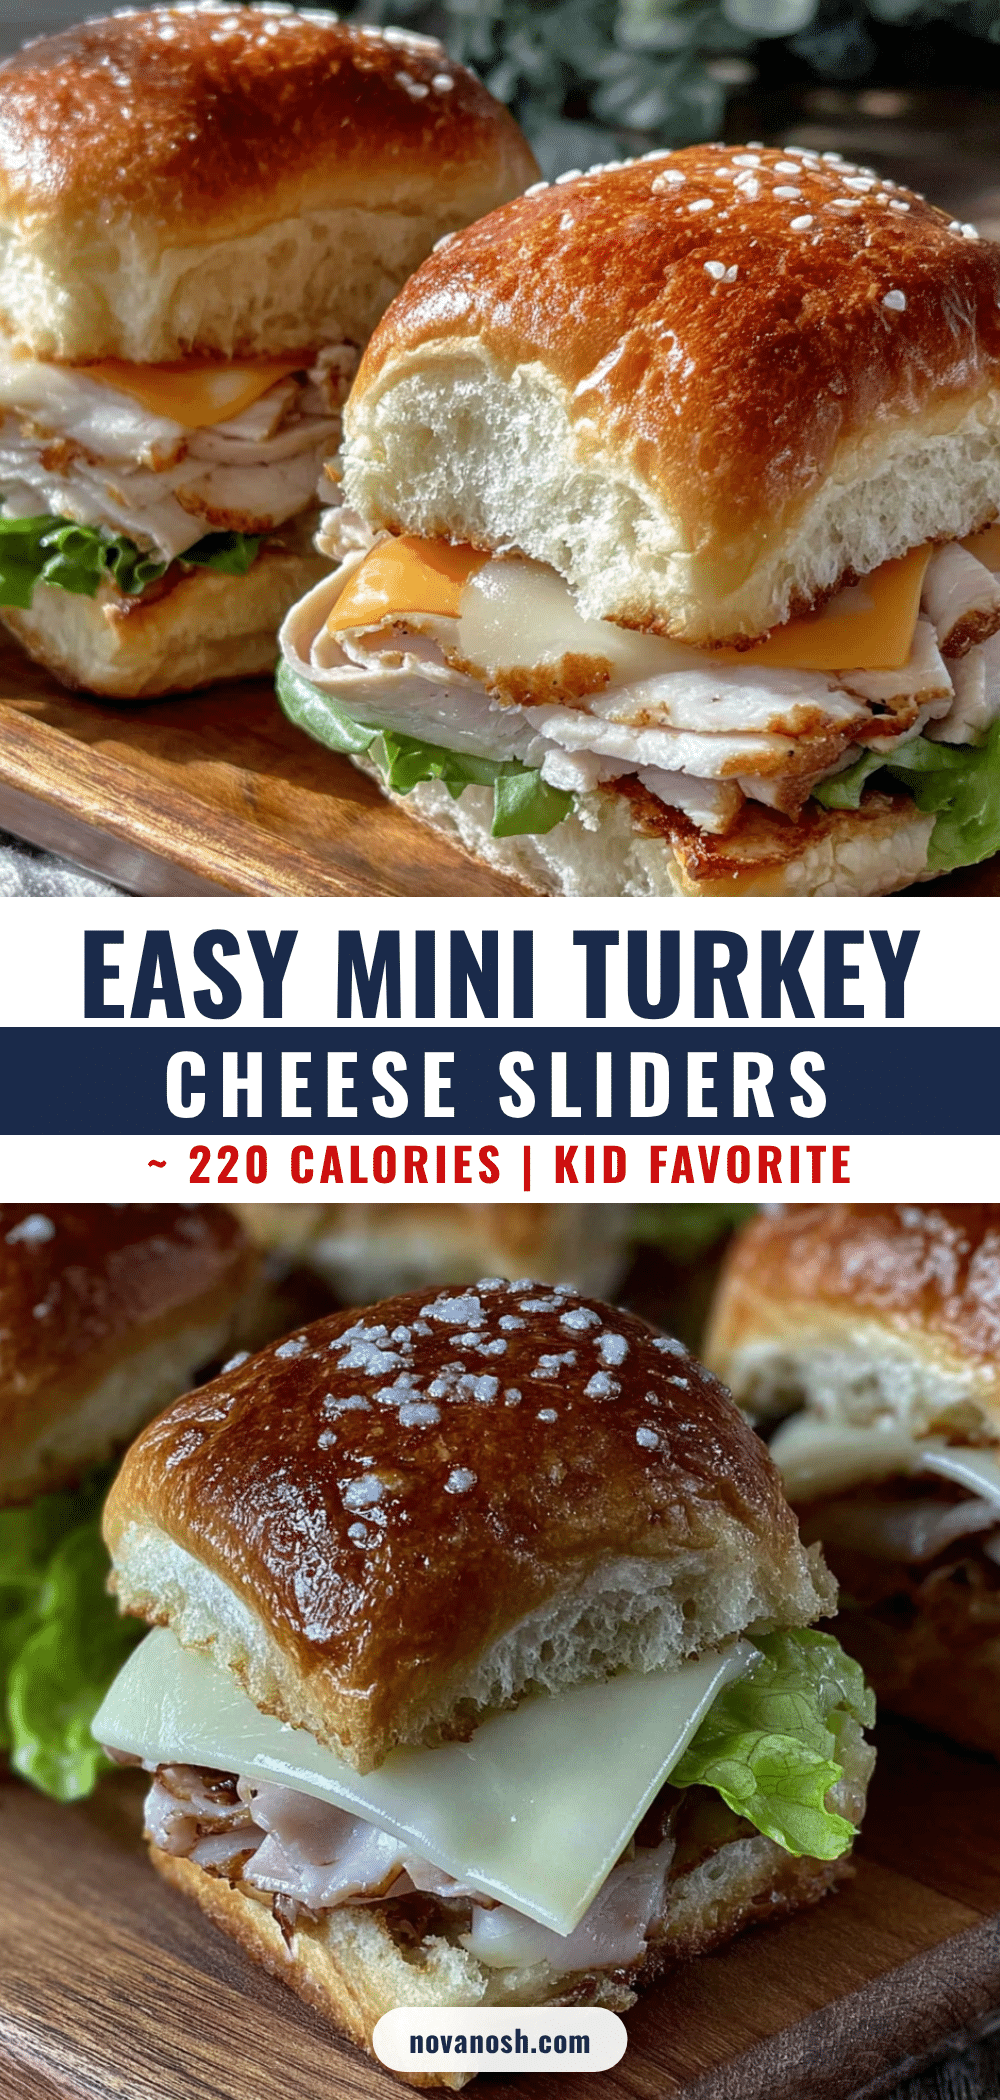
Easy Mini Turkey Cheese Sliders Perfect Lunchbox Idea

These easy mini turkey and cheese sliders are the perfect lunchbox idea—they work hot or cold, come together in minutes, and make you look like you planned ahead when you absolutely did not. Made with simple ingredients like deli turkey, cheese, slider buns, and a buttery seasoning blend, they’re a crowd-pleaser for kids and adults alike.
- Prep Time: 10 minutes
- Cook Time: 20 minutes
- Total Time: 30 minutes
- Yield: 12 sliders 1x
- Category: Main Course
- Cuisine: American
Ingredients
- 12-count package slider buns (Hawaiian sweet rolls or plain white rolls)
- 1 pound deli turkey, thinly sliced
- 8–10 slices Swiss or provolone cheese
- 1/2 cup unsalted butter, melted
- 2 tablespoons Dijon mustard
- 1 tablespoon Worcestershire sauce
- 1 tablespoon poppy seeds (optional)
- 1 teaspoon garlic powder
- 1/2 teaspoon onion powder
- Salt and black pepper to taste
Instructions
- Preheat your oven to 350°F (175°C). Keep the slider buns connected in a sheet and place on a cutting board.
- Slice the entire sheet of buns in half horizontally using a serrated knife, keeping tops and bottoms intact.
- Place the bottom half of the buns in a 9×13 baking dish.
- Layer the turkey evenly over the bottom buns, overlapping slightly.
- Top the turkey with the cheese slices, covering completely.
- Place the top half of the buns over the cheese and press down gently.
- In a small bowl, combine melted butter, Dijon mustard, Worcestershire sauce, garlic powder, onion powder, and a pinch of salt and pepper. Whisk until well combined.
- Pour or brush the butter mixture evenly over the tops of the buns, including edges and cracks.
- Sprinkle poppy seeds over the top if using.
- Cover the dish with aluminum foil and bake for 15 minutes.
- Remove the foil and bake for another 5-7 minutes until tops are golden brown and slightly crispy.
- Let the sliders rest for 5 minutes before slicing.
- Slice the sliders apart along the seams using a sharp knife or pizza cutter.
Notes
Let the sliders rest for 5 minutes after baking to allow the cheese to set. For best results, use room temperature cheese and let the melted butter cool slightly before mixing with other ingredients. The flavors develop overnight, making these even better the next day. To freeze, assemble sliders and wrap tightly before baking, or freeze after baking and reheat.
Nutrition
- Serving Size: 1 slider
- Calories: 235
- Sugar: 4
- Sodium: 450
- Fat: 12
- Saturated Fat: 7
- Carbohydrates: 18
- Fiber: 1
- Protein: 14
Keywords: turkey sliders, cheese sliders, lunchbox ideas, easy sliders, mini sliders, school lunch, party appetizer, quick dinner


