Love this? Save it for later!
Share the inspiration with your friends
This was supposed to be a pumpkin pie. I had the can of pumpkin puree out, the evaporated milk, the whole nine yards. It was the Tuesday before Thanksgiving a few years ago, and I was trying to get a head start on dessert. But somewhere between answering a text from my sister about the turkey brine and realizing I was out of pie crust, the whole plan fell apart. I stood there, staring at the bowl of pumpkin mixture, feeling that familiar kitchen panic rise up. You know that feeling when you’ve already committed to the ingredients and there’s no turning back?
I grabbed the rolled oats from the pantry out of sheer desperation. I mean, I had no idea if this would work. I tossed in some maple syrup, a handful of chocolate chips because why not, and poured the whole mess into a muffin tin. Honestly, I was just hoping for something edible so the pumpkin wouldn’t go to waste. What came out of the oven was nothing like the plan — and better. They were tender, spiced just right, and somehow both hearty and sweet. My husband ate three before they even cooled down.
These Easy Overnight Pumpkin Baked Oatmeal Cups have been on repeat ever since that happy little accident. They’ve saved me on frantic weekday mornings, fueled lazy weekend brunches, and even won over my neighbor who swore she hated oatmeal. Maybe you’ve been there — staring at a half-made dish with no clear path forward. Let me tell you, sometimes the best recipes come from the moments we stop trying so hard. These cups are proof that a wrong turn in the kitchen can lead to something you’ll keep making for years.
Why You’ll Love This Recipe
I’ve tested this recipe more times than I can count, tweaking the oat-to-pumpkin ratio and playing with bake times until everything clicked. What I ended up with is a breakfast that practically makes itself. Here’s why these baked oatmeal cups deserve a permanent spot in your rotation:
- Quick & Easy: The hands-on time is about 10 minutes. Mix everything in one bowl, pour it into a muffin tin, and let the fridge do the rest of the work overnight.
- Simple Ingredients: You probably have most of these in your pantry right now. Oats, pumpkin puree, eggs, milk, maple syrup — no fancy trips to specialty stores required.
- Perfect for Meal Prep: Make a batch on Sunday, and you’ve got breakfast sorted for the whole week. Grab one, reheat for 30 seconds, and you’re out the door.
- Crowd-Pleaser: I’ve served these at brunches, playdates, and even holiday mornings. Kids devour them, adults ask for the recipe, and nobody guesses they’re actually pretty good for you.
- Unbelievably Delicious: The texture is what gets me every time. The oats soak up all that pumpkin goodness overnight, creating a custard-like center with slightly crisp edges. It’s comfort food that feels like a hug in muffin form.
What makes this recipe different from the dozens of other baked oatmeal recipes out there is the overnight soak. Most versions go straight into the oven, which means the oats stay a bit chewy and the flavors don’t fully meld. Letting it rest overnight transforms everything — the oats soften completely, the pumpkin and spices marry together, and the final texture becomes almost pudding-like. It’s not just another oatmeal cup; it’s the best version I’ve ever made.
These cups are the kind of breakfast that makes you close your eyes after the first bite. The pumpkin is cozy without being heavy, the spices warm without being overwhelming, and the whole thing feels like a treat even though it’s packed with fiber and protein. Perfect for impressing overnight guests without any morning stress, or turning a chaotic Tuesday into something a little more special.
What Ingredients You Will Need
This recipe relies on simple, wholesome ingredients that work together to create something genuinely satisfying. Most of these are pantry staples, which makes these cups an easy last-minute breakfast solution.
For the Oatmeal Cups
- Rolled oats, 2 cups (180g) — Use old-fashioned rolled oats, not instant or steel-cut. Rolled oats absorb the liquid beautifully overnight and create the perfect tender texture. I prefer Bob’s Red Mill or Quaker Old-Fashioned for consistent results.
- Pumpkin puree, 1 cup (240g) — Make sure you’re grabbing 100% pure pumpkin puree, not pumpkin pie filling. The pie filling has added sugar and spices that will throw off the balance. Libby’s is my go-to brand, but any pure pumpkin works great.
- Milk, 1 cup (240ml) — Whole milk gives the creamiest result, but 2% or oat milk work well too. If using a dairy-free option, go with unsweetened oat or almond milk to keep the sweetness in check.
- Eggs, 2 large — Room temperature eggs mix more evenly into the batter. If you forgot to take them out ahead of time, place them in a bowl of warm water for 5 minutes.
- Maple syrup, 1/3 cup (80ml) — Pure maple syrup adds a deep, autumnal sweetness that pairs perfectly with pumpkin. Honey works as a substitute, but the flavor will be slightly different.
- Coconut oil, 2 tablespoons (30ml), melted — Melted coconut oil keeps these cups moist without making them greasy. You can substitute melted butter or vegetable oil if that’s what you have on hand.
- Vanilla extract, 1 teaspoon — A good vanilla rounds out the pumpkin spice flavors. I always use pure vanilla extract rather than imitation for a cleaner taste.
For the Spice Blend
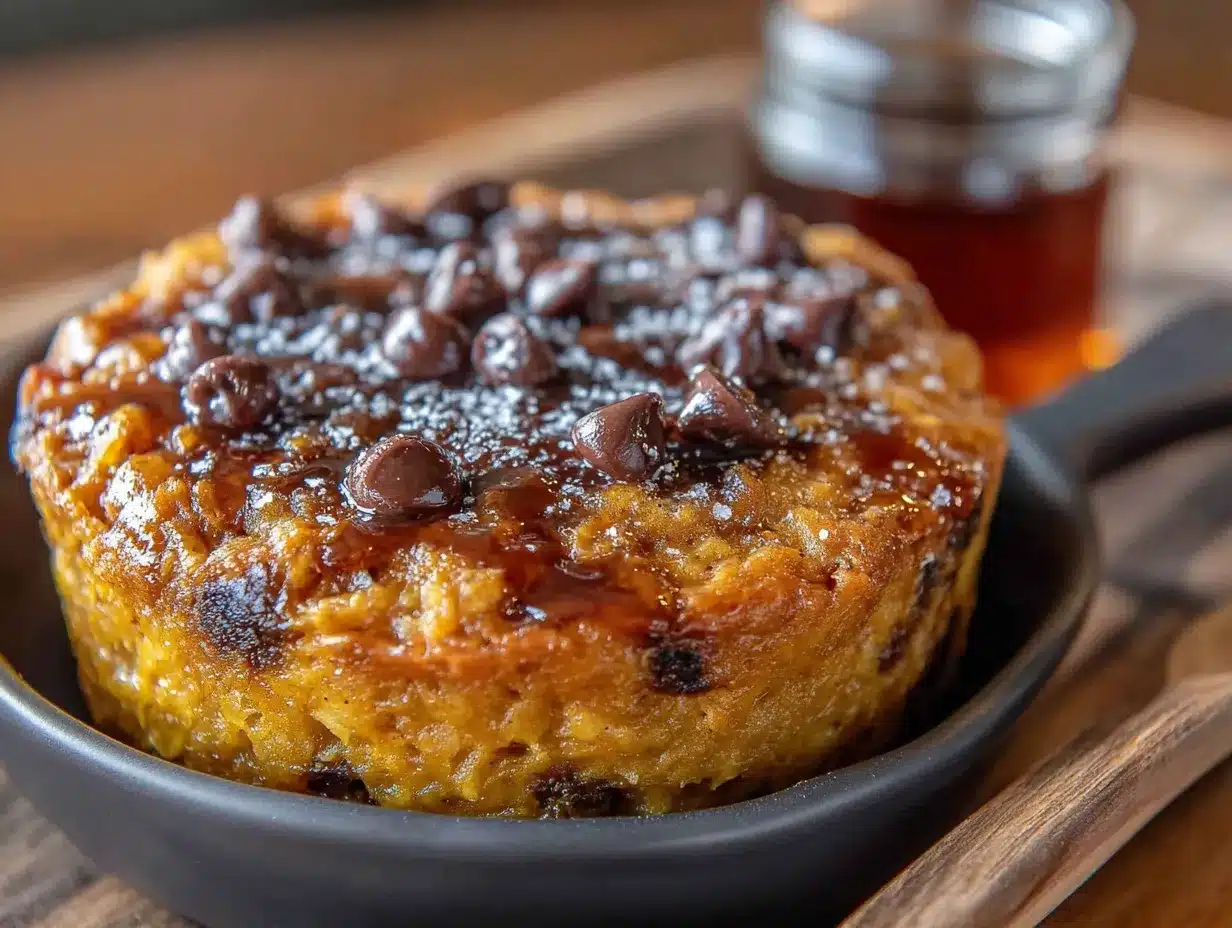
- Pumpkin pie spice, 2 teaspoons — Store-bought blends are perfectly fine. If you want to make your own, mix 1 teaspoon cinnamon, 1/2 teaspoon ginger, 1/4 teaspoon nutmeg, and 1/4 teaspoon cloves.
- Cinnamon, 1 teaspoon — This adds an extra layer of warmth. I’m generous with cinnamon because it pairs so beautifully with pumpkin.
- Salt, 1/4 teaspoon — Don’t skip this. Salt enhances all the other flavors and keeps the oatmeal cups from tasting flat.
Optional Mix-Ins
- Chocolate chips, 1/2 cup (90g) — Semi-sweet or dark chocolate chips add little pockets of melted goodness. I use Enjoy Life brand for dairy-free options.
- Chopped pecans or walnuts, 1/2 cup (60g) — For a bit of crunch on top. Toast them lightly before adding for extra flavor.
- Dried cranberries, 1/4 cup (40g) — The tartness cuts through the sweetness nicely. Craisins work great here.
For substitutions, you can swap the maple syrup with brown sugar (use 1/2 cup packed) or swap the eggs with flax eggs (2 tablespoons ground flaxseed mixed with 6 tablespoons water) for a vegan version. If you’re gluten-sensitive, use certified gluten-free rolled oats — just check the label carefully.
Equipment Needed
You don’t need much fancy gear for these oatmeal cups. Here’s what I use every time:
- Standard 12-cup muffin tin — A non-stick pan works best, but a regular metal tin lined with paper cups does the job too. I’ve had good results with Wilton and USA Pan brands.
- Large mixing bowl — Any medium-to-large bowl works. I use my grandmother’s old ceramic mixing bowl, but glass or stainless steel is fine.
- Whisk — For combining the wet ingredients smoothly. A fork works in a pinch, but a whisk makes it easier.
- Rubber spatula — Essential for scraping down the sides and getting every last bit of batter into the muffin cups.
- Measuring cups and spoons — Accuracy matters here, especially with the oats and liquid. Use dry measuring cups for oats and liquid measuring cups for milk.
- Muffin liners (optional) — Paper liners make cleanup a breeze. If you’re using a non-stick pan, you can grease the cups directly with coconut oil instead.
- Cooling rack — Letting the cups cool in the pan for 5 minutes, then transferring to a rack prevents soggy bottoms.
If you don’t have a muffin tin, you can bake this in an 8×8 inch baking dish. Just spread the mixture evenly and bake for about 30-35 minutes. The texture will be slightly different — more like a bar than individual cups — but it tastes just as good.
Preparation Method
This recipe is ridiculously simple, which is exactly why I keep coming back to it. Here’s how to make these overnight pumpkin baked oatmeal cups step by step.
Step 1: Mix the Wet Ingredients
In your large mixing bowl, crack the two eggs and whisk them until they’re light and frothy, about 30 seconds. Add the pumpkin puree, milk, maple syrup, melted coconut oil, and vanilla extract. Whisk everything together until the mixture is smooth and uniform. It should look like a thick, orange-tinted milkshake. If the coconut oil clumps up because the other ingredients are cold, don’t worry — just whisk a bit longer and it will incorporate.
Step 2: Add the Dry Ingredients
Pour the rolled oats directly into the wet mixture. Sprinkle the pumpkin pie spice, cinnamon, and salt over the top. Stir with your rubber spatula until all the oats are fully coated and no dry spots remain. The batter will look loose at this point — that’s exactly what you want. The oats need that extra liquid to absorb overnight. If you’re adding chocolate chips or nuts, fold them in now.
Step 3: Fill the Muffin Tin
Line your muffin tin with paper liners or grease each cup generously with coconut oil. Using a 1/3 cup measuring cup or a large cookie scoop, divide the batter evenly among the 12 cups. Each cup should be about 3/4 full. The mixture will be fairly liquid — don’t panic if it looks soupy. That’s the oats getting a head start on absorbing all that pumpkin goodness.
Step 4: The Overnight Rest
Cover the muffin tin tightly with plastic wrap or aluminum foil and place it in the refrigerator. Let it rest for at least 8 hours, but 12 to 24 hours is even better. I usually make these right after dinner and bake them first thing in the morning. During this time, the oats soften and expand, the flavors meld together, and the texture transforms from loose batter to a thick, custard-like consistency.
Step 5: Bake to Perfection
When you’re ready to bake, preheat your oven to 375°F (190°C). Remove the muffin tin from the fridge and let it sit on the counter while the oven heats up — about 10 minutes. Bake the oatmeal cups for 22 to 25 minutes. You’ll know they’re done when the tops are set and golden brown around the edges, and a toothpick inserted into the center comes out mostly clean with just a few moist crumbs. The centers should feel firm to the touch but still have a slight give.
Step 6: Cool and Serve
Let the oatmeal cups cool in the pan for exactly 5 minutes. This resting time allows them to set properly so they don’t fall apart when you remove them. After 5 minutes, transfer the cups to a wire cooling rack. If you used paper liners, they should peel away easily. Serve warm, drizzled with a little extra maple syrup or a dollop of Greek yogurt if you’re feeling fancy.
Pro tip: If you’re in a hurry, you can skip the overnight rest and bake these immediately. Just add an extra 5 minutes to the bake time and expect a slightly chewier texture. The overnight version is better, but the quick version still beats a bowl of cold cereal any day.
Cooking Tips & Techniques
After making these cups more times than I care to count, I’ve picked up a few tricks that make the process even smoother.
Don’t overmix the batter. Stir just until the oats are coated. Overmixing can make the final texture a bit gummy, and nobody wants that. A few lumps are totally fine.
Let the batter rest at room temperature for 10 minutes before baking. I learned this one the hard way after pulling a cold muffin tin straight from the fridge and ending up with unevenly cooked cups. That short rest on the counter helps everything bake more evenly.
Use a cookie scoop for consistent portions. A #20 scoop (about 3 tablespoons) gives you perfectly even cups that all finish baking at the same time. If you’re using a measuring cup, level off the top for consistency.
Watch the bake time closely in the last 5 minutes. Every oven runs a little differently. My old apartment oven ran hot and would brown the tops too quickly. I learned to check at the 20-minute mark and rotate the pan if needed. If the tops are browning too fast, tent loosely with foil for the last few minutes.
Let them cool completely before storing. I made the mistake of stacking warm oatmeal cups in a container once, and they turned into a soggy mess. Patience pays off here — let them cool fully on a wire rack before transferring to an airtight container.
Double the batch if you have the freezer space. These freeze beautifully, so I always make extra. Having a stash in the freezer means I’m never more than 30 seconds away from a warm, satisfying breakfast.
Variations & Adaptations
One of the best things about this recipe is how flexible it is. Here are some variations I’ve tried and loved.
Vegan Version
Swap the eggs with flax eggs (2 tablespoons ground flaxseed mixed with 6 tablespoons water, let sit for 5 minutes). Use unsweetened oat milk instead of dairy milk, and replace the maple syrup with agave or coconut sugar. The texture will be slightly denser, but still delicious. I tested this version for a friend with egg allergies and she couldn’t tell the difference.
Apple Pumpkin Version
Finely dice one medium apple (I prefer Honeycrisp or Granny Smith) and fold it into the batter along with an extra 1/4 teaspoon of cinnamon. The apple adds little bursts of sweetness and a slight crunch. This is my favorite fall variation — it tastes like a pumpkin pie and an apple crisp had a baby.
Protein-Packed Version
Add 1 scoop of vanilla or unflavored protein powder (about 30g) and increase the milk by 2 tablespoons to keep the batter from getting too thick. I use collagen peptides for a neutral flavor that doesn’t overpower the pumpkin. This version keeps me full until lunch, which is saying something.
Nut-Free Version
Skip the pecans or walnuts and add pumpkin seeds (pepitas) or sunflower seeds instead. They add a similar crunch without the allergen risk. I’ve also used shredded coconut for texture — toast it lightly first for extra flavor.
Lower Sugar Version
Reduce the maple syrup to 1/4 cup and add 1 mashed very ripe banana. The banana adds natural sweetness and moisture without the extra sugar. This version is less sweet but still satisfying, especially if you’re serving it with a drizzle of yogurt or a sprinkle of cinnamon.
Serving & Storage Suggestions
These oatmeal cups are incredibly versatile when it comes to serving. Here’s how I like to enjoy them.
Serving temperature: Warm is definitely best. Pop one in the microwave for 20-25 seconds, or reheat in a 350°F oven for 5-7 minutes if you’re making a batch. The texture softens beautifully when warmed, and the spices become more aromatic.
Toppings: A drizzle of maple syrup or honey is classic. For extra creaminess, add a dollop of Greek yogurt or a spoonful of coconut cream. A sprinkle of cinnamon or a few toasted pecans on top adds a nice finishing touch. If you’re feeling decadent, a pat of butter melting into the warm oatmeal cup is pure heaven.
Pairings: These cups pair beautifully with a hot cup of coffee or chai tea. For a more substantial breakfast, serve alongside scrambled eggs and fresh fruit. They’re also great crumbled over a bowl of yogurt for a quick parfait.
Storage: Store cooled oatmeal cups in an airtight container in the refrigerator for up to 5 days. Place a paper towel at the bottom of the container to absorb excess moisture, and replace it every couple of days. For longer storage, freeze the cups in a single layer on a baking sheet, then transfer to a freezer-safe bag or container. They’ll keep for up to 3 months.
Reheating from frozen: Microwave a frozen cup for 45-60 seconds, or until warmed through. You can also reheat in a toaster oven at 350°F for 8-10 minutes. The texture stays remarkably good even after freezing — the oats don’t get mushy or weird.
Flavor development: These cups actually taste better on the second or third day. The spices continue to meld, and the texture becomes even more tender. I often make a batch on Sunday specifically to enjoy throughout the week.
Nutritional Information & Benefits
These overnight pumpkin baked oatmeal cups are a breakfast that actually works with your wellness goals, not against them. Here’s the estimated nutrition per cup (based on the base recipe without mix-ins):
| Nutrient | Amount per Cup |
|---|---|
| Calories | 185 |
| Total Fat | 7g |
| Saturated Fat | 4g |
| Cholesterol | 35mg |
| Sodium | 95mg |
| Total Carbohydrates | 27g |
| Dietary Fiber | 4g |
| Sugars | 10g |
| Protein | 6g |
The pumpkin puree is the real star here nutritionally. It’s packed with vitamin A (over 200% of your daily needs in just one cup), which supports eye health and immune function. The oats provide beta-glucan, a type of soluble fiber that helps lower cholesterol and keeps you full. Eggs add high-quality protein and choline for brain health. And the cinnamon? It’s been shown to help regulate blood sugar levels, which means these cups won’t send you on a mid-morning energy crash.
These cups are naturally vegetarian and can easily be made gluten-free, dairy-free, or vegan with simple substitutions. They’re also nut-free if you skip the optional pecans. The only potential allergen to watch for is eggs, but the flax egg substitution works beautifully.
I love that these cups feel indulgent while actually being pretty balanced. They’ve got enough protein and fiber to keep me going until lunch, but they taste like a treat. That’s my favorite kind of breakfast — one that doesn’t make me choose between delicious and nutritious.
Conclusion
These Easy Overnight Pumpkin Baked Oatmeal Cups have become a staple in my kitchen for good reason. They came from a moment of kitchen chaos, but they’ve turned into one of the most reliable, satisfying breakfasts I know how to make. The overnight rest does all the heavy lifting, so your morning self gets to enjoy a warm, spiced, perfectly textured breakfast with almost no effort.
What I love most about this recipe is how forgiving it is. You can swap ingredients, adjust the sweetness, throw in whatever mix-ins you have on hand, and it still works. It’s the kind of recipe that builds your confidence in the kitchen because it’s practically impossible to mess up. And honestly? That’s exactly what I need on a busy weekday morning.
I’d love to hear how these turn out for you. Did you add chocolate chips? Try the apple version? Forget the overnight step and bake them right away? Drop a comment below and let me know — your tweaks might inspire someone else’s new favorite breakfast. And if you loved these, you might also enjoy my cozy pumpkin overnight oats or these healthy baked oatmeal cups for another easy make-ahead option.
Happy baking, friends. May your mornings be warm, your coffee strong, and your breakfast always within arm’s reach.
Frequently Asked Questions
Can I use quick oats instead of rolled oats?
You can, but the texture will be different. Quick oats absorb liquid faster and become softer, almost mushy. Rolled oats give you that nice, chewy texture that holds up well even after refrigerating and reheating. If you only have quick oats, reduce the milk to 3/4 cup and bake immediately rather than soaking overnight.
Can I make these without the overnight rest?
Absolutely. If you’re short on time, mix everything together and bake right away at 375°F for 25-28 minutes. The texture will be slightly chewier and the flavors won’t be as deeply melded, but they’re still delicious. I’ve done this on mornings when I forgot to prep the night before, and nobody complained.
How do I keep the oatmeal cups from sticking to the liners?
This can happen, especially if you use cheap paper liners. I recommend using foil liners or silicone muffin cups for the best release. If you’re using paper liners, give them a quick spray with non-stick cooking spray before adding the batter. Letting the cups cool completely before peeling also helps.
Can I double this recipe?
Yes, and I do it all the time. Double all the ingredients and use two muffin tins. The bake time stays the same. This is perfect for meal prep or if you’re feeding a crowd. I’ve made quadruple batches for holiday brunches and they disappear fast.
Why did my oatmeal cups turn out dry?
This usually happens from overbaking. Every oven is different, so start checking at the 20-minute mark. The cups should be set and golden around the edges but still slightly soft in the center. They’ll continue to set as they cool. Also, make sure you’re measuring your oats correctly — scooping directly from the bag can pack them down and throw off the liquid ratio. Use the spoon-and-level method for accuracy.
Pin This Recipe!
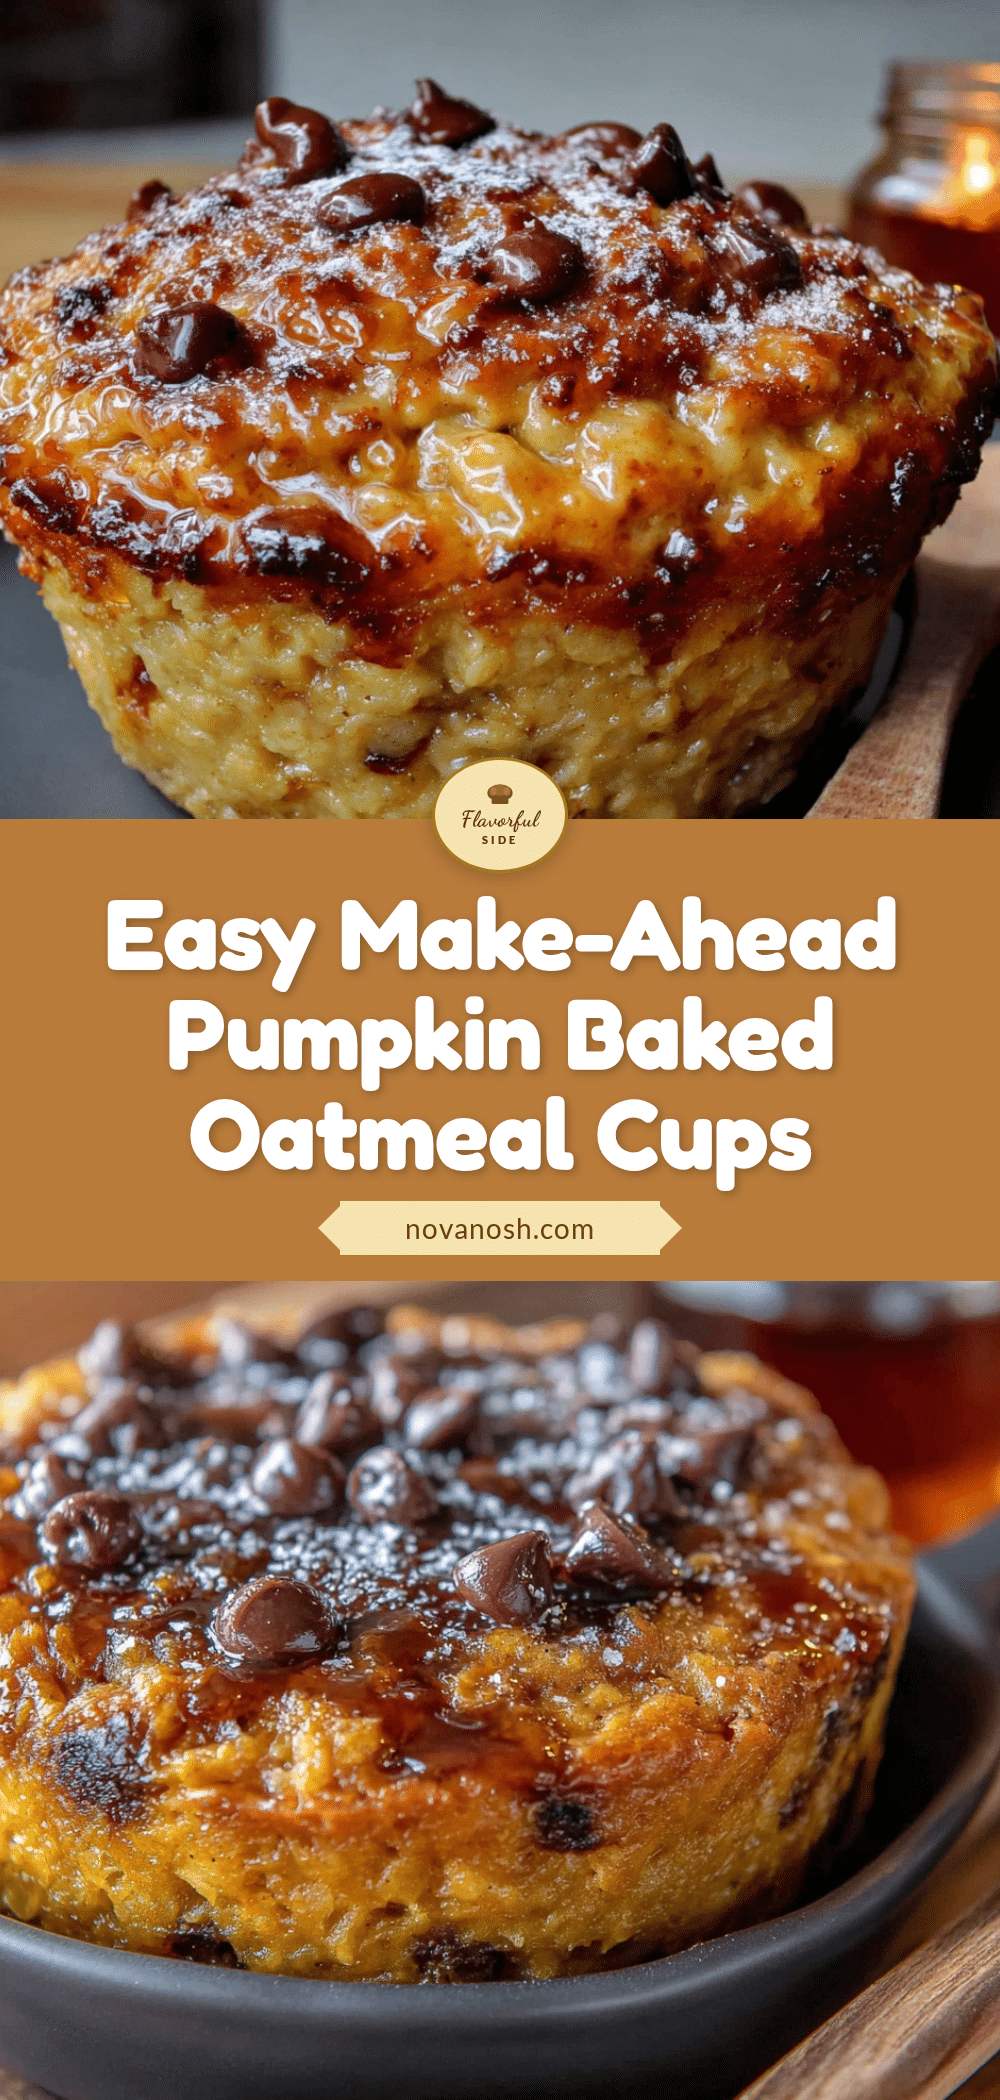
Easy Overnight Pumpkin Baked Oatmeal Cups (Best Make-Ahead Recipe)

These Easy Overnight Pumpkin Baked Oatmeal Cups are a make-ahead breakfast that practically makes itself. With a custard-like center and slightly crisp edges, they’re packed with pumpkin spice flavor and perfect for busy mornings.
- Prep Time: 10 minutes
- Cook Time: 22-25 minutes
- Total Time: 8 hours 35 minutes (includes overnight rest)
- Yield: 12 servings 1x
- Category: Breakfast
- Cuisine: American
Ingredients
- 2 cups (180g) rolled oats
- 1 cup (240g) pumpkin puree
- 1 cup (240ml) milk (whole, 2%, or oat milk)
- 2 large eggs, room temperature
- 1/3 cup (80ml) pure maple syrup
- 2 tablespoons (30ml) coconut oil, melted
- 1 teaspoon vanilla extract
- 2 teaspoons pumpkin pie spice
- 1 teaspoon cinnamon
- 1/4 teaspoon salt
- 1/2 cup (90g) chocolate chips (optional)
- 1/2 cup (60g) chopped pecans or walnuts (optional)
- 1/4 cup (40g) dried cranberries (optional)
Instructions
- In a large mixing bowl, whisk the eggs until light and frothy, about 30 seconds. Add pumpkin puree, milk, maple syrup, melted coconut oil, and vanilla extract. Whisk until smooth and uniform.
- Pour rolled oats into the wet mixture. Sprinkle pumpkin pie spice, cinnamon, and salt over the top. Stir with a rubber spatula until all oats are fully coated and no dry spots remain. Fold in optional mix-ins if using.
- Line a standard 12-cup muffin tin with paper liners or grease each cup with coconut oil. Divide the batter evenly among the cups, filling each about 3/4 full.
- Cover the muffin tin tightly with plastic wrap or aluminum foil and refrigerate for at least 8 hours, preferably 12-24 hours.
- When ready to bake, preheat oven to 375°F (190°C). Remove muffin tin from fridge and let sit on counter for 10 minutes while oven heats.
- Bake for 22-25 minutes, until tops are set and golden brown around the edges, and a toothpick inserted into the center comes out mostly clean with a few moist crumbs.
- Let oatmeal cups cool in the pan for 5 minutes, then transfer to a wire cooling rack. Serve warm, optionally drizzled with extra maple syrup or a dollop of Greek yogurt.
Notes
For a vegan version, replace eggs with flax eggs (2 tablespoons ground flaxseed mixed with 6 tablespoons water, let sit 5 minutes) and use unsweetened oat milk. For gluten-free, use certified gluten-free rolled oats. To skip the overnight rest, bake immediately at 375°F for 25-28 minutes for a slightly chewier texture. These cups taste even better on the second or third day as flavors meld.
Nutrition
- Serving Size: 1 oatmeal cup
- Calories: 185
- Sugar: 10
- Sodium: 95
- Fat: 7
- Saturated Fat: 4
- Carbohydrates: 27
- Fiber: 4
- Protein: 6
Keywords: pumpkin baked oatmeal cups, overnight oatmeal, make-ahead breakfast, pumpkin spice, healthy breakfast, meal prep