Love this? Save it for later!
Share the inspiration with your friends
It was 9:47 PM on a particularly dreary Tuesday, and a craving for something deeply savory and satisfying hit me like a truck. I didn’t have the energy for a lengthy marinade or a complicated sauce, but I had a pack of chicken thighs and a serious need for crispy edges. The idea that arrived was simple: skip the fuss, crank the heat, and let the chicken do the work. I wanted that perfect contrast—tender, juicy meat with a golden, crackling crust—and I wanted it fast.
I pulled out my heaviest skillet, grabbed some soy sauce and a few stray veggies from the crisper drawer, and just started cooking. Honestly, I wasn’t sure if it would work. The chicken went into a screaming hot pan, and the sizzle was so loud it made me jump back. I let it sit, resisting the urge to poke and prod, and when I finally flipped that first thigh, I saw it—a deep, burnished, impossibly crispy edge. I nearly cheered right there in my quiet kitchen.
This recipe came from that moment of pure, hungry improvisation. It’s the kind of meal you make when you’re tired, you’re impatient, and you refuse to compromise on flavor. Maybe you’ve been there, staring into the fridge, wanting something amazing but having zero patience for a long recipe. This stir-fry is the answer. It’s quick, it’s bold, and those crispy edges? They’re non-negotiable. I’ve been making it ever since, and it never gets old.
Why You’ll Love This Recipe
This isn’t just another stir-fry. After testing this method at least a dozen times—sometimes with bone-in thighs, sometimes with boneless—I can tell you that the secret is all in the technique. It’s a recipe I’ve refined through trial and error, and it’s become my go-to for busy nights when I need a guaranteed win.
- Quick & Easy: From fridge to table in under 30 minutes. No marinating required, making it perfect for a last-minute dinner panic.
- Simple Ingredients: You probably have most of these in your pantry and fridge right now. No exotic trips to a specialty store.
- Perfect for Weeknights: This is the ultimate busy-day dinner. It feels special but requires almost no effort.
- Crowd-Pleaser: The crispy edges are a universal hit. Kids love the texture, and adults love the savory flavor.
- Unbelievably Delicious: The combination of a salty, umami-rich sauce with perfectly seared chicken and tender-crisp vegetables is pure comfort.
What makes this recipe different is the focus on that crispy skin. Most stir-fries skip the searing step, leading to soggy chicken. Here, we prioritize getting a deep, golden crust on the thighs before we even think about the sauce. It’s a small shift that makes a massive difference. This isn’t just good—it’s the kind of dinner that makes you close your eyes after the first bite, even if you’re eating it over the kitchen sink.
What Ingredients You Will Need
This recipe relies on a handful of pantry staples and fresh ingredients to deliver maximum flavor with minimal fuss. Each component plays a specific role, from building the savory base to creating that irresistible crispy texture.
- Chicken Thighs: 1.5 lbs (680g) boneless, skinless chicken thighs, cut into 1-inch pieces. Thighs are key here—they stay juicy and tender under high heat, unlike leaner chicken breast.
- Soy Sauce: 3 tablespoons (45ml) low-sodium soy sauce. This is the backbone of our sauce. I prefer low-sodium to control the salt level. For a gluten-free option, use tamari.
- Oyster Sauce: 2 tablespoons (30ml) oyster sauce. This adds a deep, savory-sweet complexity. It’s a game-changer for stir-fry sauces.
- Rice Vinegar: 1 tablespoon (15ml) unseasoned rice vinegar. A splash of acidity balances the richness of the chicken and sauce.
- Brown Sugar: 1 tablespoon (12g) packed light brown sugar. Just a touch to round out the savory flavors and help with caramelization.
- Sesame Oil: 1 teaspoon (5ml) toasted sesame oil. Used for finishing—it adds a wonderful nutty aroma.
- Cornstarch: 2 teaspoons (5g) for the sauce, plus 1 tablespoon (8g) for coating the chicken. This is the secret to the crispy edges and a glossy sauce.
- Garlic: 4 cloves, minced. Fresh garlic is non-negotiable here for that punchy flavor.
- Ginger: 1-inch piece (15g) fresh ginger, peeled and minced. Adds a warm, zesty kick.
- Vegetable Oil: 2 tablespoons (30ml) for searing. Use a neutral oil with a high smoke point, like avocado or canola oil.
- Vegetables: 1 medium bell pepper (any color), sliced; 1 large carrot, julienned; 1 cup (100g) snap peas, trimmed. Feel free to swap in broccoli, bok choy, or mushrooms.
- Green Onions: 3-4, sliced for garnish. A fresh, sharp finish.
- Optional Garnish: Sesame seeds and a drizzle of extra sesame oil.
Equipment Needed
You don’t need a professional kitchen to nail this stir-fry, but the right tools make a big difference. Here’s what I use and recommend.
- Large Skillet or Wok: A 12-inch stainless steel or cast-iron skillet is my go-to. A wok works perfectly too. Avoid non-stick if you want the best crust—it doesn’t get hot enough for that deep sear.
- Sharp Chef’s Knife: A good knife makes cutting the chicken and veggies a breeze. A dull knife is a recipe for frustration and uneven pieces.
- Cutting Board: I prefer a large wooden board. It stays put and is easy on your knife.
- Small Bowls: For prepping your sauce and coating the chicken. It’s all about being organized before you start cooking.
- Spatula or Tongs: A metal spatula is great for scraping up the browned bits (fond) from the pan. Tongs are perfect for flipping the chicken.
- Instant-Read Thermometer (Optional): If you’re nervous about undercooking, this is a foolproof way to check. Chicken thighs are done at 165°F (74°C), but I pull them at 160°F as they’ll carry-over cook.
If you don’t have a wok, don’t sweat it. A large, heavy-bottomed skillet works just as well. The key is giving the chicken enough surface area to sear, not crowd the pan.
Preparation Method
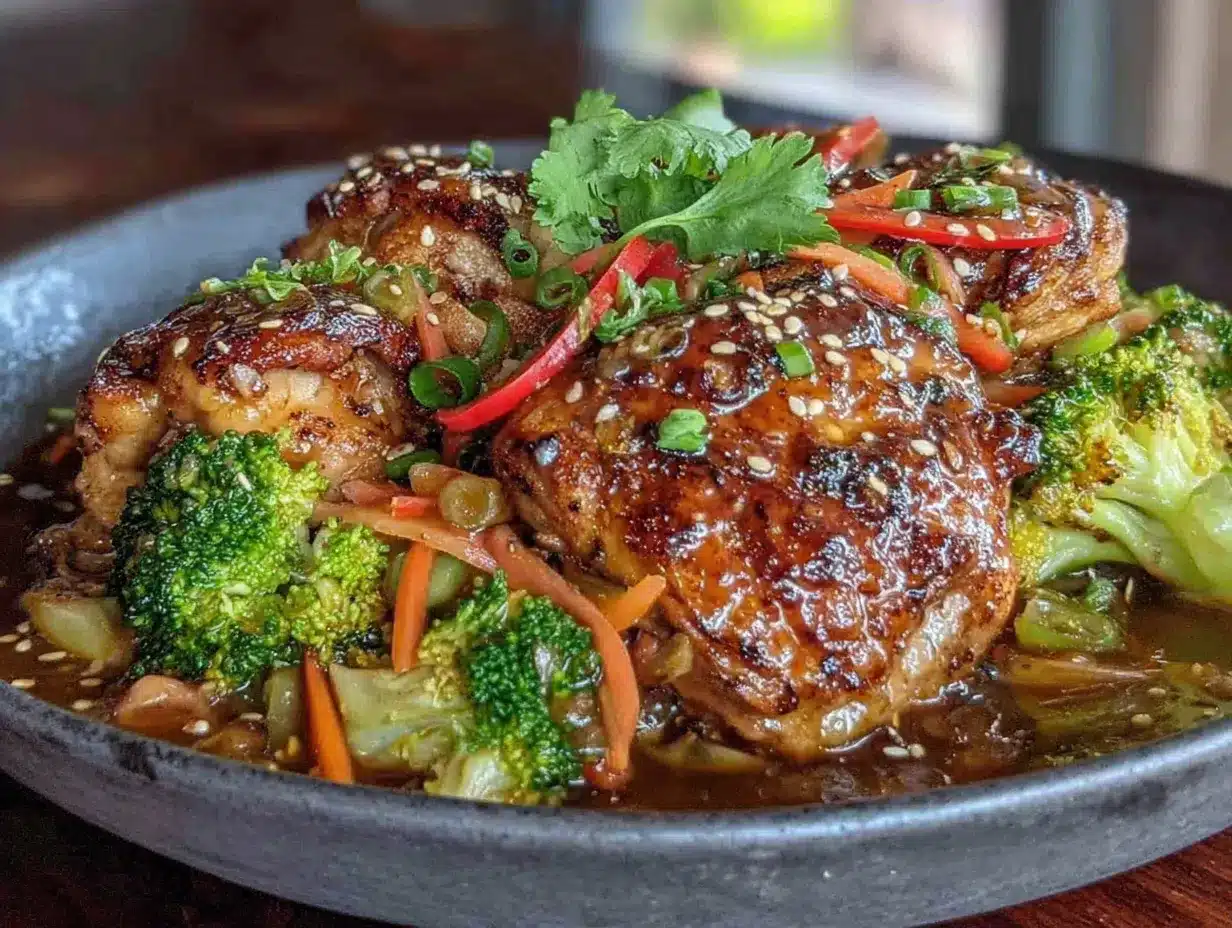
Let’s get cooking. This moves fast, so have everything prepped and ready to go before you turn on the heat. Trust me on this one.
- Prep the Chicken: Pat your chicken thighs completely dry with paper towels. This is crucial for crispy edges. Cut them into 1-inch pieces. In a medium bowl, toss the chicken with 1 tablespoon (8g) cornstarch, 1/2 teaspoon salt, and 1/4 teaspoon black pepper until evenly coated. Set aside.
- Make the Sauce: In a small bowl, whisk together the low-sodium soy sauce, oyster sauce, rice vinegar, brown sugar, 2 teaspoons (5g) cornstarch, and 1/4 cup (60ml) water. Whisk until the sugar and cornstarch are fully dissolved. Set this near the stove.
- Heat Your Pan: Place your large skillet or wok over high heat. Add 2 tablespoons (30ml) of vegetable oil. Wait until the oil is shimmering and just about to smoke—this takes about 2 minutes. You want it screaming hot.
- Sear the Chicken: Carefully add the chicken pieces to the hot pan in a single layer. Do not crowd the pan; work in batches if needed. Let the chicken cook undisturbed for 3-4 minutes. You should hear a loud, steady sizzle. When the bottoms are a deep golden brown and crispy, flip each piece. Cook for another 3-4 minutes until cooked through and crispy on the outside. The internal temperature should reach 165°F (74°C). Transfer the seared chicken to a plate and set aside.
- Cook the Aromatics: Reduce the heat to medium-high. There should be a little oil left in the pan. Add the minced garlic and ginger. Stir constantly for about 30 seconds until fragrant—don’t let them burn!
- Stir-Fry the Vegetables: Add the sliced bell pepper, julienned carrot, and snap peas to the pan. Stir-fry for 2-3 minutes, until the vegetables are tender-crisp. They should still have a bit of bite.
- Combine and Sauce: Return the seared chicken to the pan. Give your prepared sauce a quick whisk (the cornstarch settles), then pour it over the chicken and vegetables. Stir everything together and let it bubble for 1-2 minutes, until the sauce thickens and coats everything beautifully.
- Finish and Serve: Remove the pan from the heat. Drizzle with the toasted sesame oil and toss to combine. Garnish with sliced green onions and sesame seeds. Serve immediately over steamed rice or noodles.
A quick note: if your sauce seems too thick, add a splash of water or chicken broth. If it’s too thin, let it simmer for another minute. The sauce should cling to the chicken and veggies, not pool on the plate.
Cooking Tips & Techniques
I’ve made my fair share of mistakes with stir-fry, and I’ve learned a few things the hard way. Here’s how to avoid the pitfalls and get perfect results every time.
- Don’t Skip Drying the Chicken: Wet chicken is the enemy of crispy edges. Moisture creates steam, which prevents browning. Pat those thighs dry with a paper towel until they feel tacky to the touch.
- High Heat is Your Friend: A stir-fry isn’t the time for medium heat. You need the pan screaming hot to get that deep sear. If the chicken isn’t sizzling loudly when it hits the pan, the pan isn’t hot enough.
- Work in Batches: If you crowd the pan, the temperature drops, and the chicken steams instead of sears. It’s better to cook the chicken in two batches and have perfectly crispy pieces than to save time and end up with sad, pale meat.
- Prep Everything First: This is the most important tip for any stir-fry. The actual cooking takes about 10 minutes. You won’t have time to chop a carrot or whisk a sauce while things are in the pan. Have all your ingredients measured, chopped, and within arm’s reach.
- The Sauce Thickens Fast: Once you add the sauce, it will thicken in a minute or two. Keep the heat high and stir constantly. If you walk away, you’ll end up with a sticky, congealed mess.
- Let the Chicken Rest: After you sear the chicken and transfer it to a plate, let it rest for a few minutes. This allows the juices to redistribute, keeping the meat tender and moist.
My biggest failure was the time I tried to use chicken breast. It was dry and tough. Thighs are more forgiving and stay juicy even with high heat. Learn from my mistake!
Variations & Adaptations
This recipe is a fantastic base for experimentation. Here are a few ways I’ve tweaked it over the years to keep things exciting.
- Spicy Szechuan Version: Add 1-2 teaspoons of Szechuan peppercorns along with the garlic and ginger, and toss in a couple of dried red chilies. Finish with a drizzle of chili oil. The numbing heat is incredible with the crispy chicken.
- Low-Carb / Keto Adaptation: Skip the brown sugar in the sauce and use a sugar-free substitute like monk fruit sweetener or a few drops of liquid stevia. Serve over cauliflower rice instead of regular rice. The stir-fry itself is naturally low in carbs.
- Vegetable-Packed Stir-Fry: This is a great way to use up leftover veggies. Add broccoli florets (blanch them first for 1 minute), sliced mushrooms, baby corn, or water chestnuts. Just remember to cook harder vegetables like broccoli or carrots before softer ones like bell peppers.
- Honey Garlic Twist: Replace the brown sugar with 1 tablespoon of honey and add an extra clove of garlic. The honey will create a slightly stickier, sweeter glaze that’s absolutely addictive.
- Peanut Sauce Variation: For a completely different flavor profile, omit the oyster sauce and brown sugar. Instead, whisk together 2 tablespoons of peanut butter, 1 tablespoon of soy sauce, 1 tablespoon of rice vinegar, and a splash of water. Toss it in at the end for a creamy, nutty stir-fry.
I once made a version with leftover roast chicken and frozen veggie mix from the back of my freezer. It wasn’t pretty, but it was surprisingly tasty. Don’t be afraid to experiment!
Serving & Storage Suggestions
This stir-fry is best enjoyed fresh, right out of the pan, when those crispy edges are at their peak. Here’s how to make the most of it.
- Serving Temperature: Serve it piping hot. The contrast between the hot, saucy chicken and the cool, crisp green onions is part of the magic.
- Presentation: Spoon the stir-fry over a bed of steamed jasmine rice or fluffy white rice. A side of simple steamed or stir-fried greens, like bok choy or gai lan, rounds out the meal beautifully. For a low-carb option, serve over cauliflower rice or zucchini noodles.
- Complementary Dishes: A simple cucumber salad with rice vinegar and a pinch of sugar is a refreshing counterpoint. Egg drop soup or hot and sour soup would also be a fantastic starter.
- Storage: Leftovers can be stored in an airtight container in the refrigerator for up to 3 days. The chicken will soften as it sits, so don’t expect the same level of crispiness on day two.
- Reheating: The best way to reheat is in a hot skillet or wok over medium-high heat with a splash of water or broth. This will help re-steam the chicken and revive some of the sauce. Avoid the microwave, as it will make the chicken rubbery and the vegetables mushy.
I find that the flavors actually meld together beautifully overnight. The leftovers make a fantastic quick lunch, even if the texture isn’t exactly the same. Just don’t expect that first-day crunch.
Nutritional Information & Benefits
This stir-fry is a well-balanced meal that’s packed with protein and vegetables. Here’s a rough estimate of the nutritional values per serving (based on 4 servings, not including rice).
- Calories: Approximately 380-420 calories per serving.
- Protein: About 35-40g. Chicken thighs are an excellent source of lean protein, essential for muscle repair and satiety.
- Fat: Around 20-25g, mostly from the chicken skin and cooking oil. This provides flavor and helps keep you full.
- Carbohydrates: Roughly 15-20g, primarily from the vegetables and a small amount of sugar in the sauce.
- Key Vitamins: This dish is rich in Vitamin A from the carrots, Vitamin C from the bell peppers and snap peas, and B vitamins from the chicken.
Dietary Considerations: This recipe is naturally gluten-free if you use tamari instead of soy sauce. It’s also dairy-free and nut-free (unless you use the peanut variation). For a lower-sodium option, use low-sodium soy sauce and skip the added salt. The high protein content makes it a great choice for post-workout meals or anyone looking to increase their protein intake without a lot of fuss.
I personally love that this dish feels indulgent but is actually quite wholesome. You get the satisfaction of crispy, savory food without a ton of processed ingredients.
FAQs
Can I use chicken breast instead of thighs?
You can, but I don’t recommend it for this recipe. Chicken breast is leaner and dries out easily at the high heat needed for crispy edges. If you must use breast, cut it into slightly larger pieces (1.5-inch chunks) and cook for a shorter time. Check for doneness at 160°F (71°C) and pull it from the pan immediately.
How do I get the chicken extra crispy?
The two secrets are dryness and heat. Pat the chicken completely dry with paper towels before coating it in cornstarch. Then, make sure your pan is screaming hot before you add the chicken. Don’t move it for the first 3-4 minutes—let that crust form undisturbed.
Can I make this recipe ahead of time?
This stir-fry is best made fresh, as the chicken loses its crispiness when stored. However, you can prep all the ingredients ahead of time. Chop the vegetables, cut the chicken, and mix the sauce up to a day in advance. Store them separately in the fridge, then cook everything when you’re ready.
What can I use instead of oyster sauce?
If you don’t have oyster sauce, you can substitute it with hoisin sauce for a sweeter flavor, or with a mixture of 1 tablespoon of soy sauce and 1 teaspoon of sugar. For a vegetarian version, use mushroom stir-fry sauce or a vegetarian “oyster” sauce made from mushrooms.
My sauce turned out lumpy. What went wrong?
Lumpy sauce usually means the cornstarch wasn’t fully dissolved before it hit the heat. Make sure you whisk the cornstarch into the cold water and other liquid ingredients until it’s completely smooth with no white streaks. Give it another whisk right before you pour it into the pan, as the cornstarch settles quickly.
Conclusion
This Quick Chicken Thigh Stir-Fry with Crispy Edges is more than just a weeknight dinner—it’s a testament to the magic that happens when you trust your instincts and a hot pan. It’s proof that you don’t need a dozen ingredients or hours of time to create something truly memorable. The contrast of that shatteringly crisp skin against the tender, juicy meat, all coated in a savory, glossy sauce, is pure comfort food gold.
I hope you give this recipe a try and make it your own. Tweak the vegetables, adjust the spice level, or just enjoy it exactly as written. The beauty of a good stir-fry is its flexibility. I’d love to hear how it turns out for you! Did you discover a new favorite vegetable combo? Did you add extra chili? Drop a comment below and share your creation. Happy cooking, and don’t forget to save those crispy edges for yourself first.
Pin This Recipe!
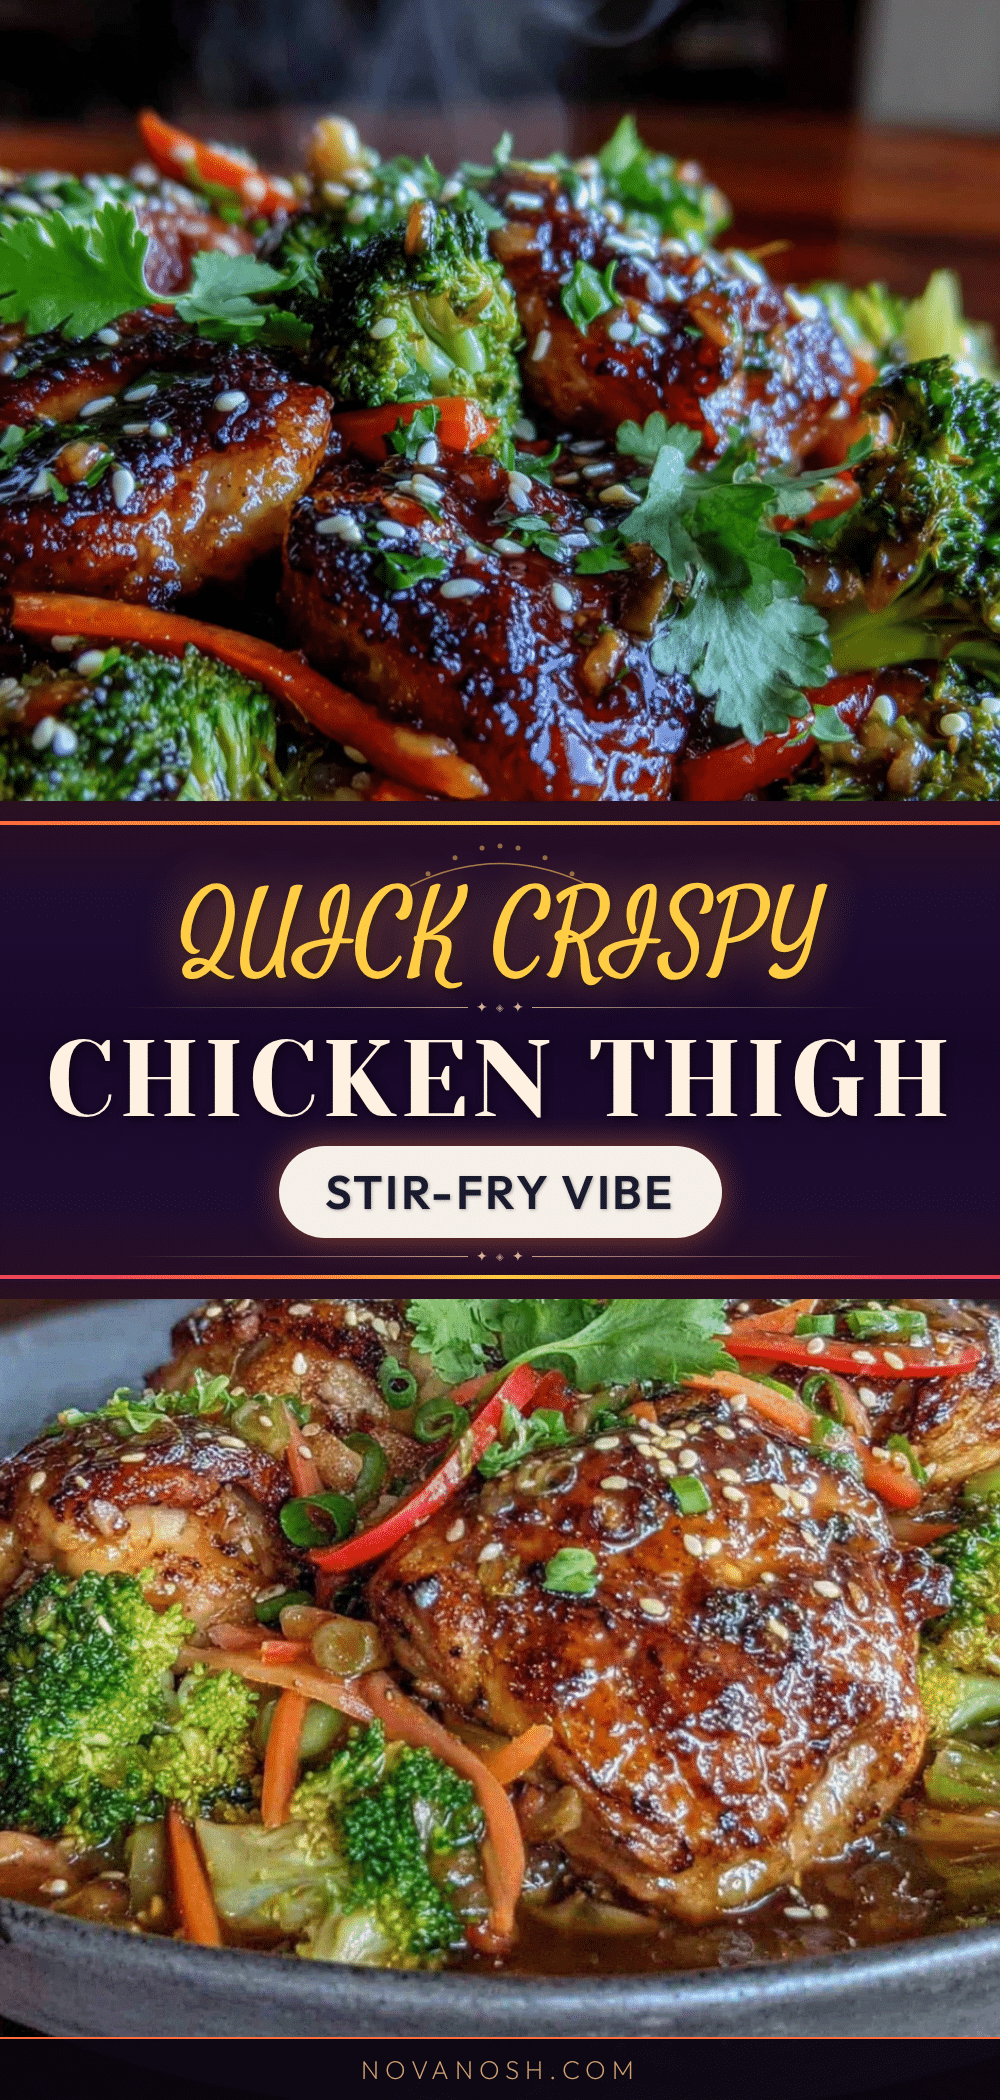
Quick and Easy Crispy Chicken Thigh Stir-Fry
A quick and easy stir-fry featuring juicy chicken thighs with a golden, crackling crust, tossed in a savory umami-rich sauce with tender-crisp vegetables. Perfect for a busy weeknight dinner that delivers big flavor with minimal effort.
- Prep Time: 15 minutes
- Cook Time: 15 minutes
- Total Time: 30 minutes
- Yield: 4 servings 1x
- Category: Main Course
- Cuisine: Asian
Ingredients
- 1.5 lbs (680g) boneless, skinless chicken thighs, cut into 1-inch pieces
- 3 tablespoons (45ml) low-sodium soy sauce
- 2 tablespoons (30ml) oyster sauce
- 1 tablespoon (15ml) unseasoned rice vinegar
- 1 tablespoon (12g) packed light brown sugar
- 1 teaspoon (5ml) toasted sesame oil
- 2 teaspoons (5g) cornstarch for the sauce, plus 1 tablespoon (8g) for coating the chicken
- 4 cloves garlic, minced
- 1-inch piece (15g) fresh ginger, peeled and minced
- 2 tablespoons (30ml) vegetable oil (avocado or canola oil)
- 1 medium bell pepper (any color), sliced
- 1 large carrot, julienned
- 1 cup (100g) snap peas, trimmed
- 3–4 green onions, sliced for garnish
- Optional: sesame seeds and extra sesame oil for garnish
- Salt and black pepper to taste
Instructions
- Prep the Chicken: Pat the chicken thighs completely dry with paper towels. Cut into 1-inch pieces. In a medium bowl, toss the chicken with 1 tablespoon (8g) cornstarch, 1/2 teaspoon salt, and 1/4 teaspoon black pepper until evenly coated. Set aside.
- Make the Sauce: In a small bowl, whisk together the low-sodium soy sauce, oyster sauce, rice vinegar, brown sugar, 2 teaspoons (5g) cornstarch, and 1/4 cup (60ml) water until the sugar and cornstarch are fully dissolved. Set near the stove.
- Heat Your Pan: Place a large skillet or wok over high heat. Add 2 tablespoons (30ml) of vegetable oil. Wait until the oil is shimmering and just about to smoke (about 2 minutes).
- Sear the Chicken: Carefully add the chicken pieces to the hot pan in a single layer (work in batches if needed). Cook undisturbed for 3-4 minutes until the bottoms are deep golden brown and crispy. Flip each piece and cook for another 3-4 minutes until cooked through (internal temperature reaches 165°F/74°C). Transfer to a plate and set aside.
- Cook the Aromatics: Reduce heat to medium-high. Add the minced garlic and ginger to the pan. Stir constantly for about 30 seconds until fragrant.
- Stir-Fry the Vegetables: Add the sliced bell pepper, julienned carrot, and snap peas. Stir-fry for 2-3 minutes until tender-crisp.
- Combine and Sauce: Return the seared chicken to the pan. Whisk the sauce again, then pour it over the chicken and vegetables. Stir and let it bubble for 1-2 minutes until the sauce thickens and coats everything.
- Finish and Serve: Remove from heat. Drizzle with toasted sesame oil and toss to combine. Garnish with sliced green onions and sesame seeds. Serve immediately over steamed rice or noodles.
Notes
Pat the chicken completely dry for maximum crispiness. Work in batches to avoid crowding the pan. Prep all ingredients before starting to cook. For a gluten-free version, use tamari instead of soy sauce. Leftovers can be stored in an airtight container in the refrigerator for up to 3 days; reheat in a hot skillet with a splash of water or broth.
Nutrition
- Serving Size: 1 serving (about 1/4
- Calories: 400
- Sugar: 8
- Sodium: 800
- Fat: 22
- Saturated Fat: 5
- Carbohydrates: 18
- Fiber: 3
- Protein: 38
Keywords: chicken stir-fry, crispy chicken thighs, quick dinner, weeknight meal, easy stir-fry, Asian recipe, high protein


